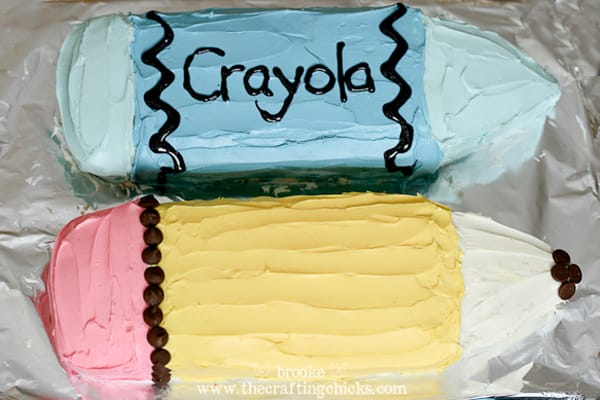
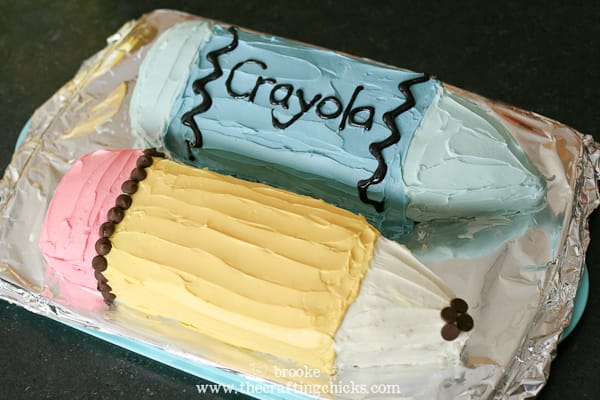
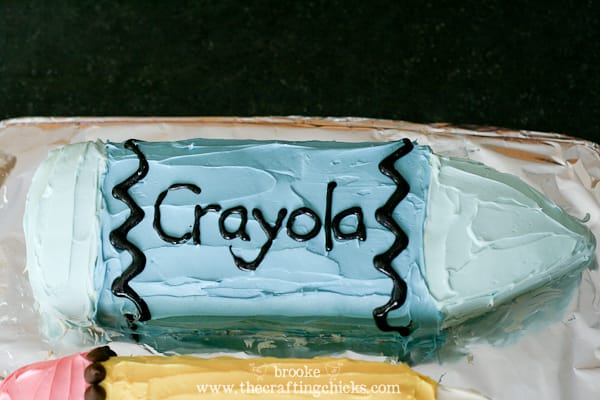
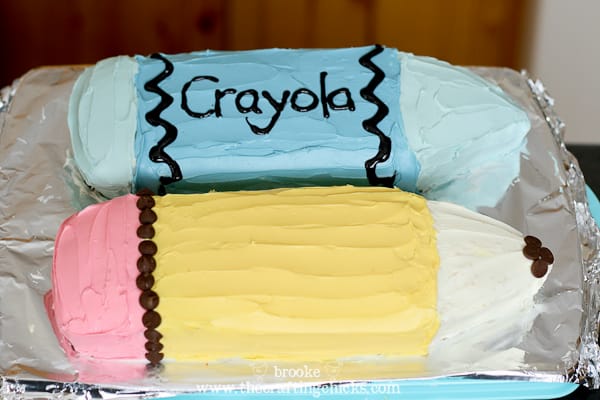
School is officially in session at our house–well, at least for some of our kids! Our oldest started last week, our Kindergartener starts tomorrow and our youngest begins preschool next week. I like to try and make some fun treats for them to celebrate Back to School time (check out my edible crayons from a few years back!), so last night I busted out some cake for dessert—a giant crayon and pencil cake, to be exact! 😉 This is one time it’s okay for your kids to eat their crayon and chew on their pencil, ha ha!
I had bookmarked this cute idea for a pencil cake from Family Fun quite awhile back and thought it would be fun to tackle. I decided to create a crayon cake as well, just by changing the frosting colors. I didn’t follow the exact instructions from the Family Fun recipe, but I improvised to get two cakes from one pan and came up with a few of my own ideas. It worked for me!
Disclaimer: I am definitely not even close to being a professional cake decorator! Not. Even. Close. (as you can see) Cake decorating generally makes me grumpy and sweaty! But it tasted scrumptious and my family was really happy which is what matters! 🙂 And it was definitely a do-able project for this mama.
Things I used to make my crayon and pencil cake:
- 1 9×13 cake recipe (Homemade, store-bought, whatever floats your boat. For this cake I did a white cake.)
- Knife
- Frosting (again, whatever you have on hand)
- Food coloring (red, yellow, blue)
- A handful of chocolate chips for decorating
- Black decorating icing in a tube (can be found at most grocery stores)
So, first I baked a cake in a 9×13 dish. I put parchment paper on the bottom of the dish to make it easier to pop the cake out of the dish when it was done cooling.
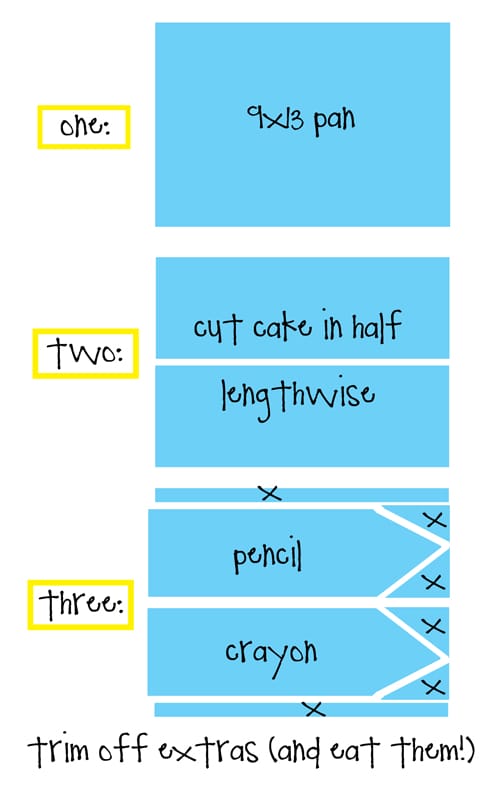
Once the cake was out of the pan and cooled, here is a little diagram about how I cut the cake into the right shapes:
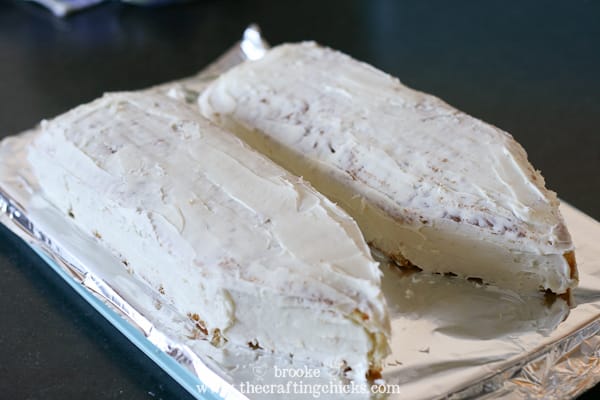
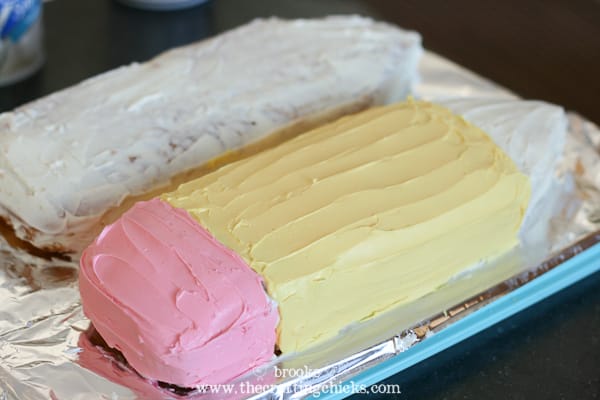
Now comes my least favorite part–the first layer of frosting! I put the cakes in the freezer for about 30 minutes or so to firm them up a bit, then frosted them with a thin layer of frosting to catch all of those pesky crumbs. For some reason I really don’t like doing that part!!! They look hideous but don’t fret, this is just the foundation before the makeup. 😉
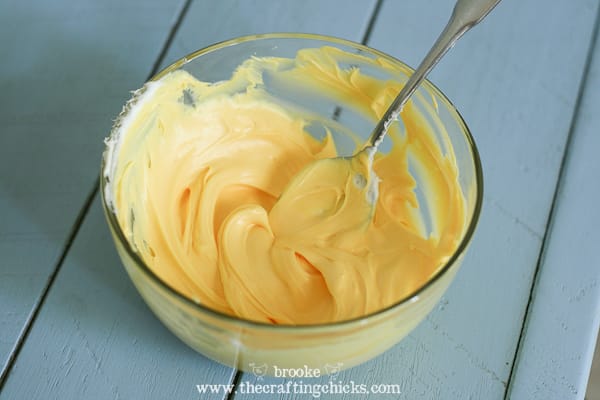
For the frosting, I just divided it into bowls and estimated how much I’d need for each color:
- 2-3 T. PINK (eraser)
- 2-3 T. WHITE (pencil tip)
- approx. 1 cup YELLOW (pencil)
- 3-4 T. LIGHT BLUE (crayon)
- approx. 1 cup DARKER BLUE (crayon wrapper)
I divided off the sections on the cake with a knife to help me remember where to frost the different colors. Then I frosted away!!
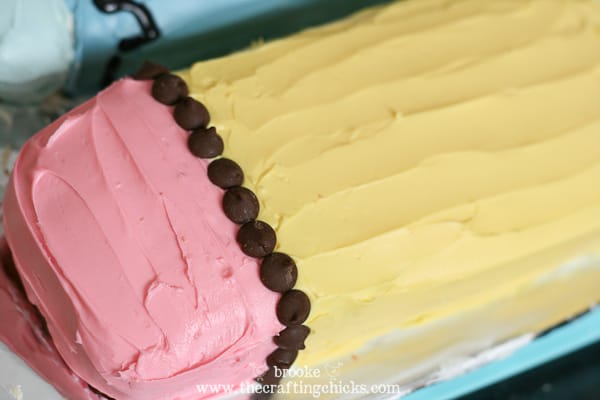
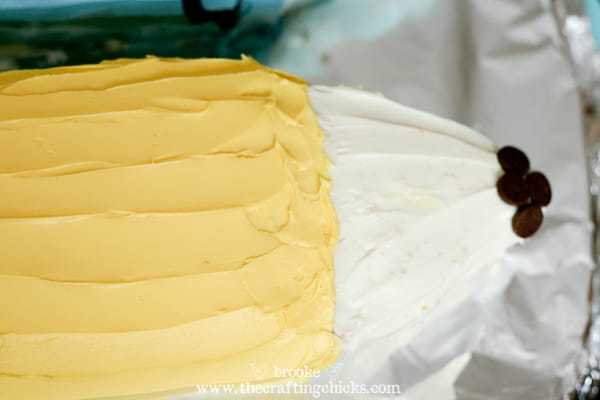
YUM! For the details, I used chocolate chips to separate the eraser from the pencil body, and as the pencil lead.
I used a tube of black decorating icing to make those zigzags on the crayon wrapper as well as to write “crayola”.
Once I finished decorating the crayon and pencil cakes I put them into the fridge to set the frosting. The kids were so excited to finish their dinner and to dig into those cakes!
My kids thought the cakes were so cool–they thought it was hilarious that we were going to be eating a gigantic crayon and pencil! 🙂 A new Back to School tradition for our family? MAYBE. (I’ll decide once I get all the frosting cleaned up in my kitchen!)
*********
Another pencil cake recipe can be found at Food Network, using pound cake as the base (yum!).
I also spotted another pencil cake by the talented Tausha Hoyt, check out her tips and ideas.
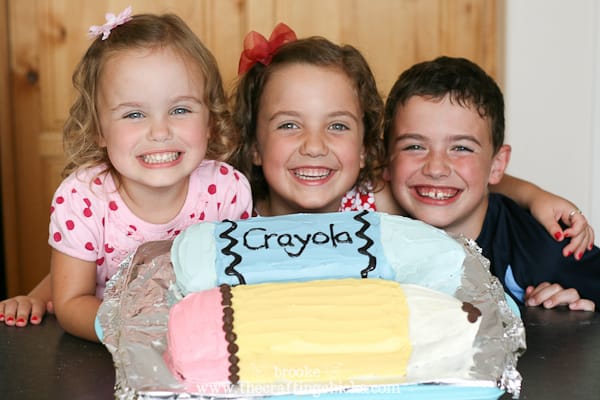

These are so stinkin’ cute! The smile on those kiddos’ faces is priceless! Thanks for sharing!
Thanks Shona!!!
I’ll be calling you with my cake orders now!!! Your kids are so cute (and big!)!!!
Ha ha Susan, yeah right!! YOU are the cake master!! 🙂
SO cute!! When my oldest started kindergarten, I made him a school bus cake for his first day. Then two years later, I did the same for my middle child. My youngest is already asking for his! I wanted to keep the bus special for just the kindergartener, but it would be fun to make these for every other year. Thanks for the inspiration!! I’m including this in a Gimme Five for Friday blog post on Back to School Traditions : )