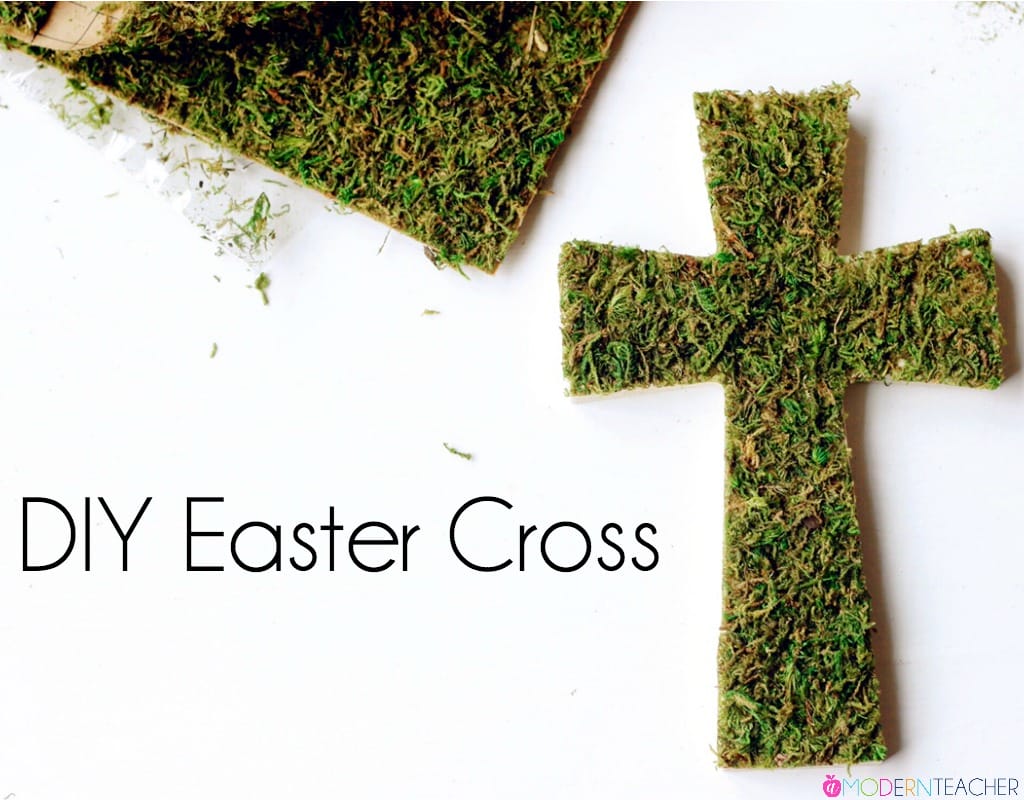
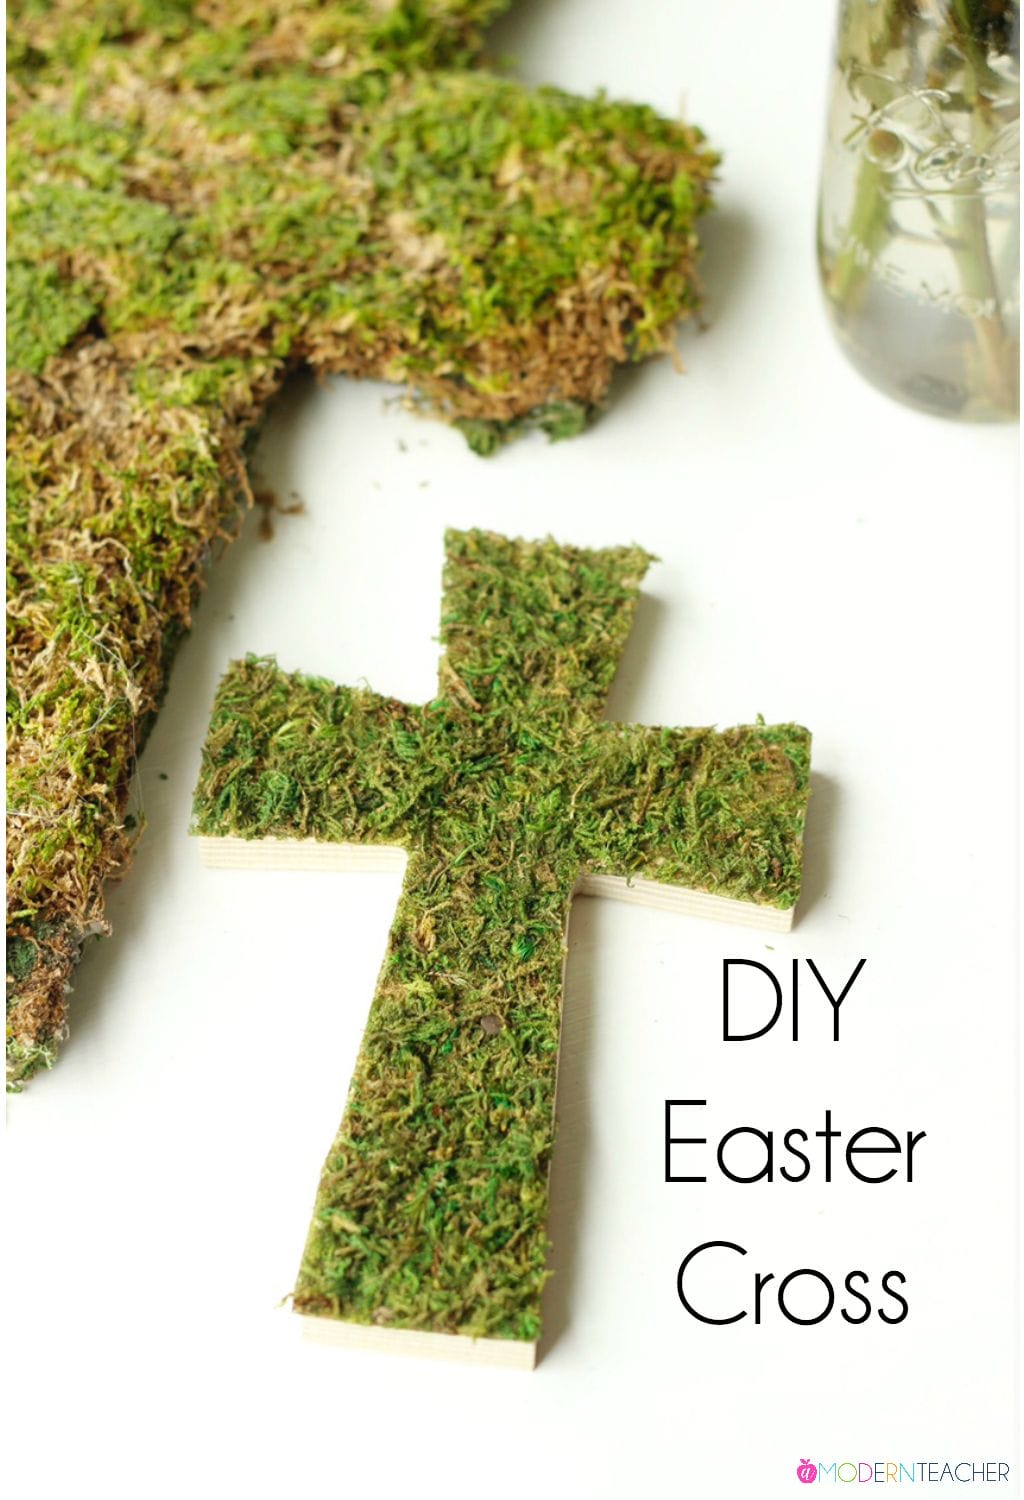
In a quest to bring simple spring decor to my home and create an easy Easter table scape, I decided to make this DIY Easter Cross. I just love everything “farm”. Vintage glass milk bottles, fresh eggs, colorful flowers and bright green grass…(I could go on and on!) I don’t know if I am channeling my inner Joanna or just wishing I lived in the 50’s (Of course, I am a 5th generation Texan so maybe that has something to do with it-ha!!!). But one thing is for sure, I’ve *always* loved simple decor that I can make.
I thought this DIY Easter Cross would be the perfect addition to a table set for Easter Brunch. This project is SUPER simple and requires little time and materials. Let’s get started, shall we?!
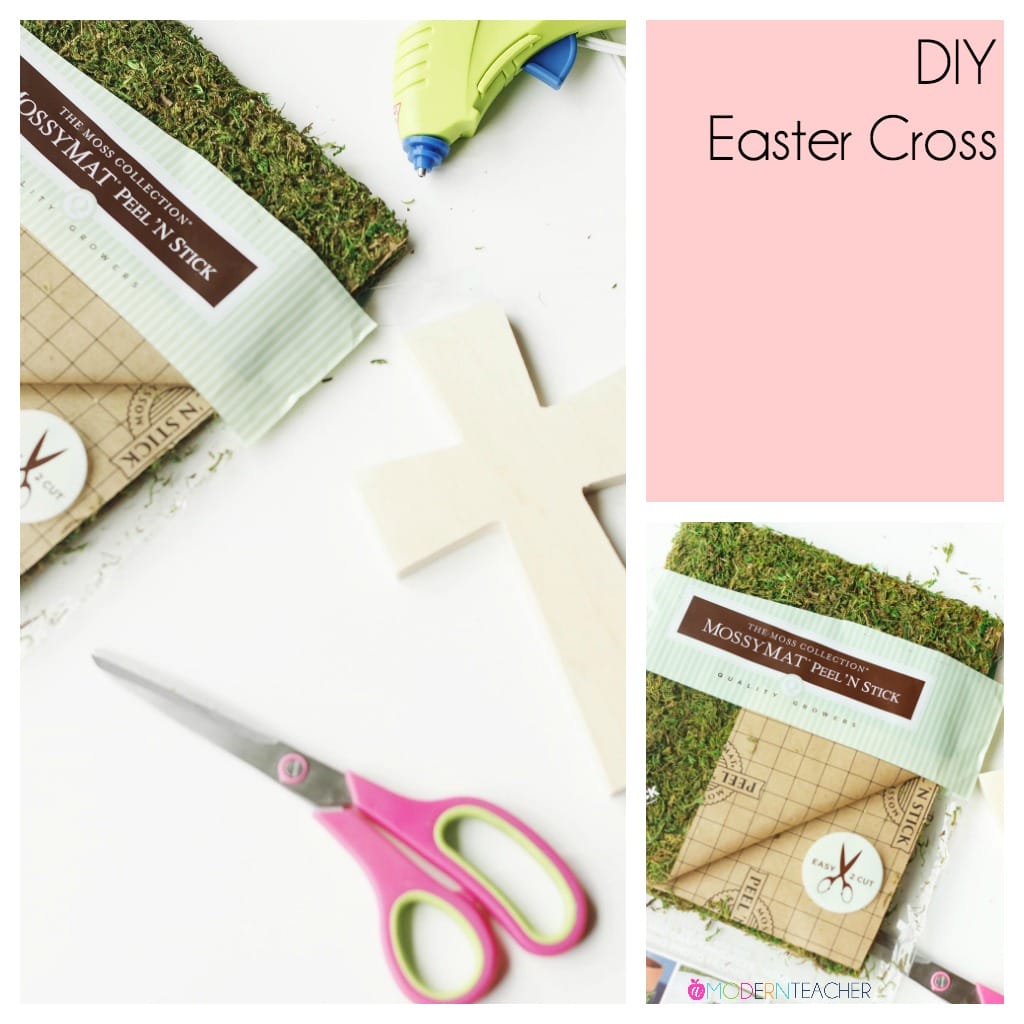
Materials:
Unfinished Wood Cross (I found mine at Hobby Lobby but there is a similar one HERE)
Process:
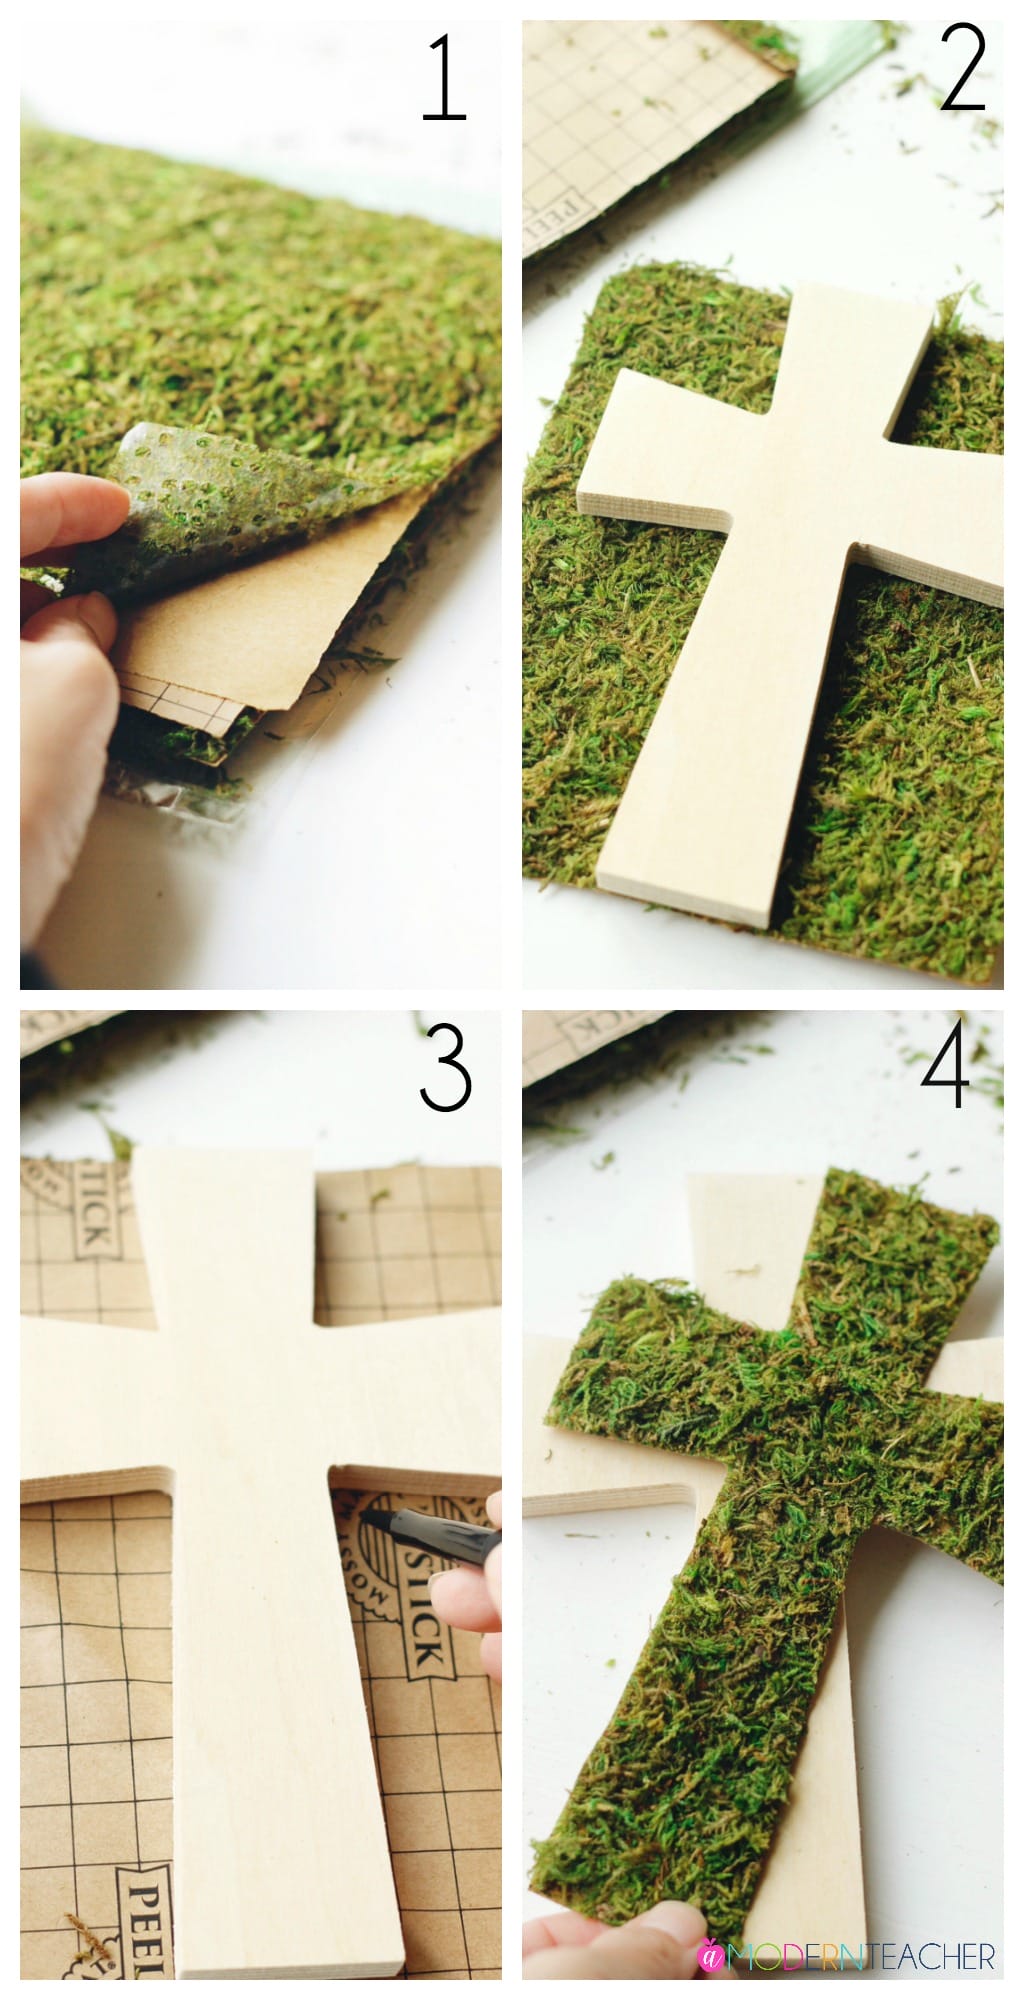
1. Start with the mossy mat peel and stick
2. Cut a square big enough for coverage of the cross
3. Trace an outline of the cross
5. Cut the outline with the scissors
Peel and Stick!
That’s it!
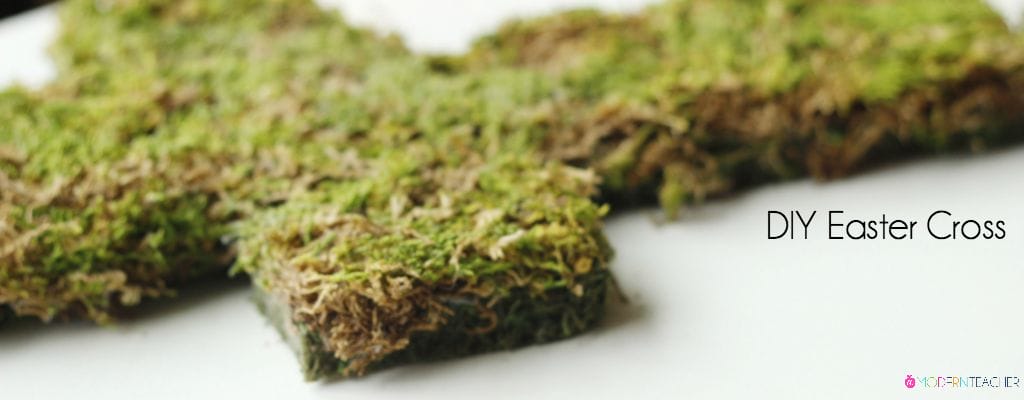
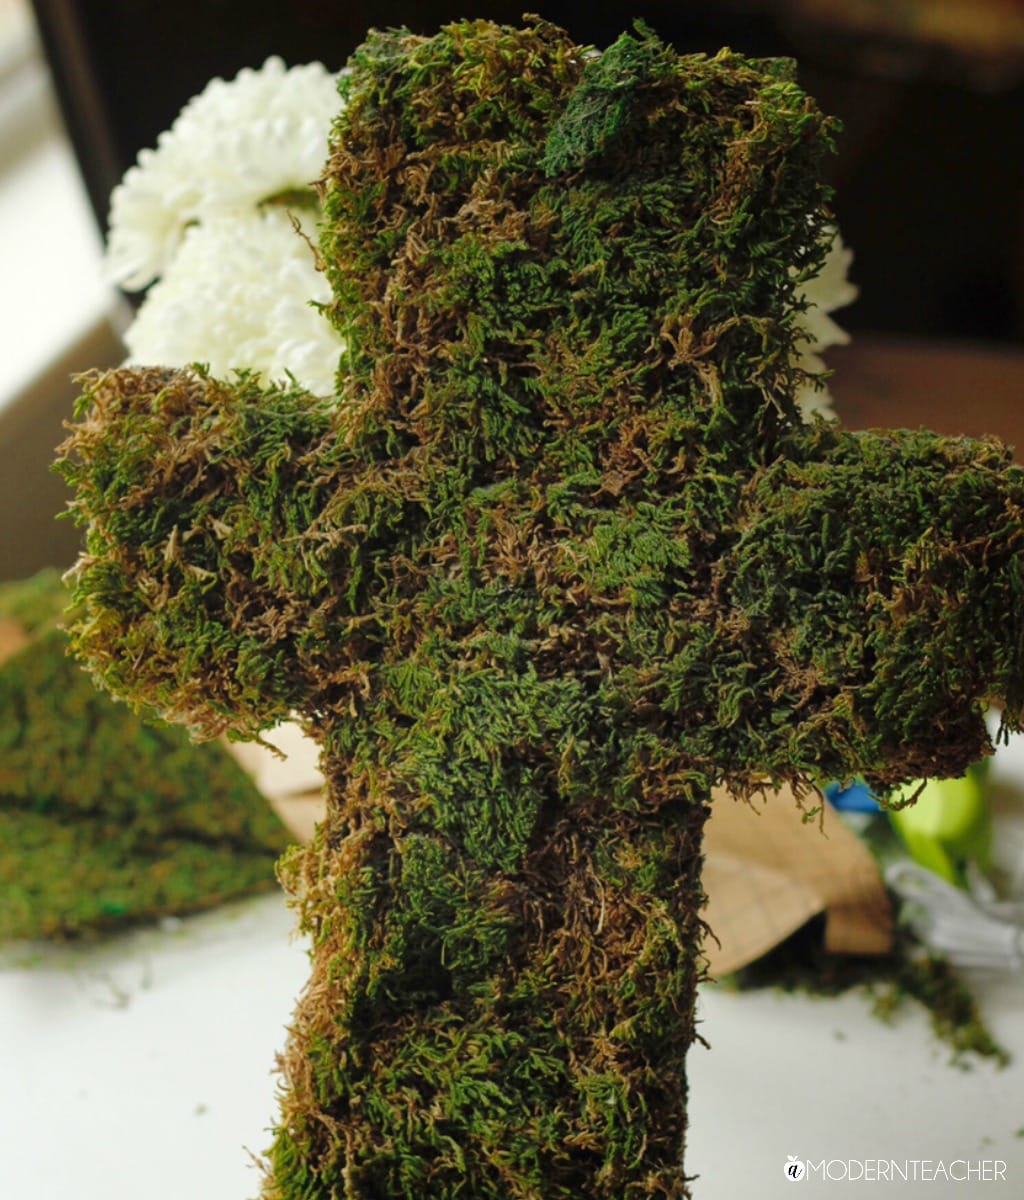
You could also cut pieces for the edges of the cross. The hot glue gun comes in handy for this part.
And you can make different sizes of crosses. You can lay these out for Easter Brunch or you can place them on stands. You could also use mini-crosses for seating arrangements/name plates. I keep one large cross in my foyer all throughout the year. I also think, since 2017 seems to be the year of ‘texture’, a wall of mossy elements (think last name initial, cross, a simple square, etc.). Done right, this could be kind of cool. Possibilities are endless since it is really easy to work with. A little messy but not more than any other crafty project. Have a very Happy Easter!
Happy Crafting! ~April

Leave a Reply