Hey gals!
I’ve been counting down the days since Becky asked me to guest blog over here at The Crafty Chicks!
First of all, let me introduce myself, I’m Autie (which is short for Autumn) from over at iCandy handmade. We’re a relatively new blog with, hopefully, some fun ideas that will inspire you to make something on your own! I’m a mom to two cute little kids, and I love to sew, and craft with just about anything!
When Becky asked me to guest post over here, I wanted to think of something fun and summery. But when I looked at the calendar, I realized that today is flag day (Happy Flag Day!), and I had to do something flag-ish. The 4th of July is coming up fast, so why not!
Here’s what I came up with for today:
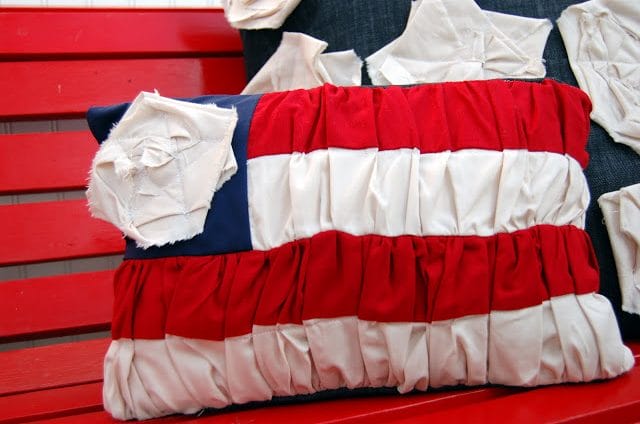
The Ruched Flag Pillow
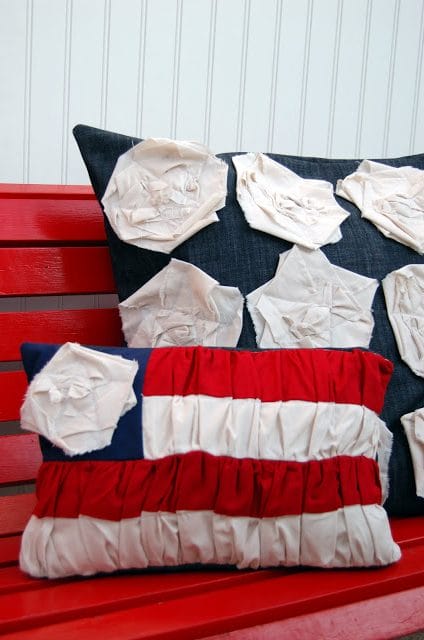
I think I have an obsession with pillows because I make and remake them all the time, but this one is small and fun to make, and it just uses a pillow form, so I can stow it away easily. I used the same technique as I did here with our ruched pillow tutorial, but this one’s just a little different!
Here we go!
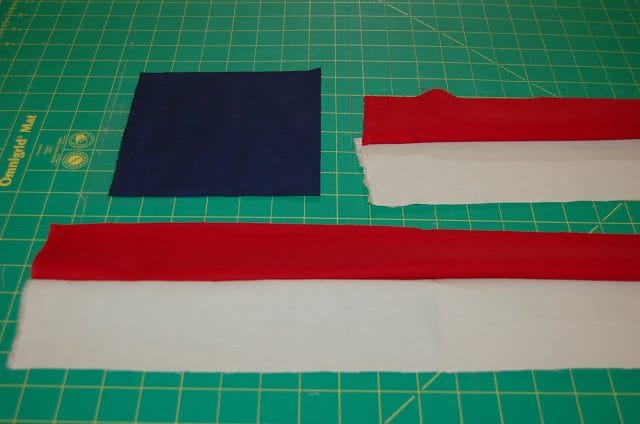
What to cut:
Red: 1-3.25 x 18inch strip
1- 3.25 x length strip
Cream: 1- 3.25 x 18inch strip
1- 3.25 x length strip
1- 2 inch x length strip (torn)
Navy: 1- 6.5 x 6.5 square
Here’s what you’ve got (minus the torn 2″ strip…save that for later)
You’ll also need some backing fabric and a scrap of a cheap material or batting for stability…better wait to cut those until you know exactly how your ruffles go!

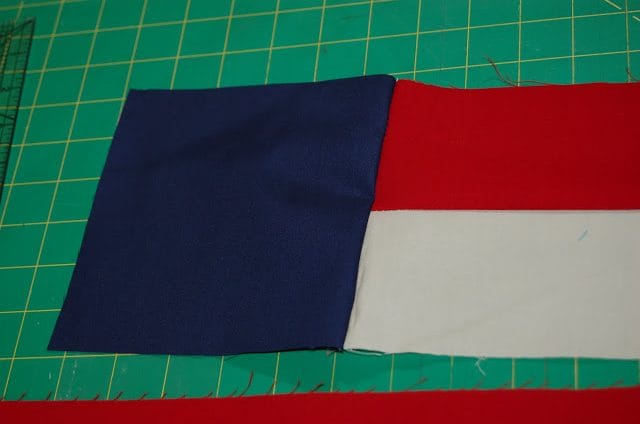
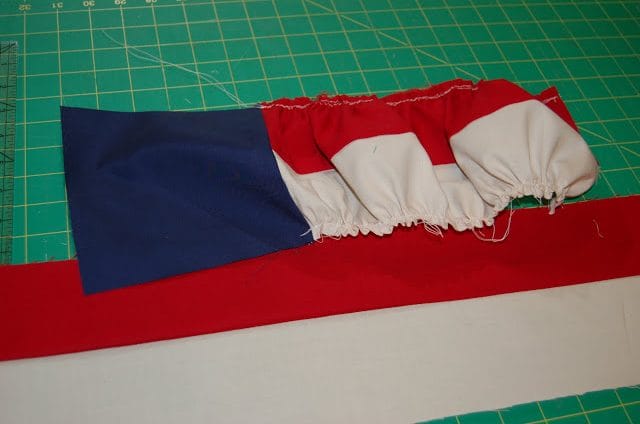
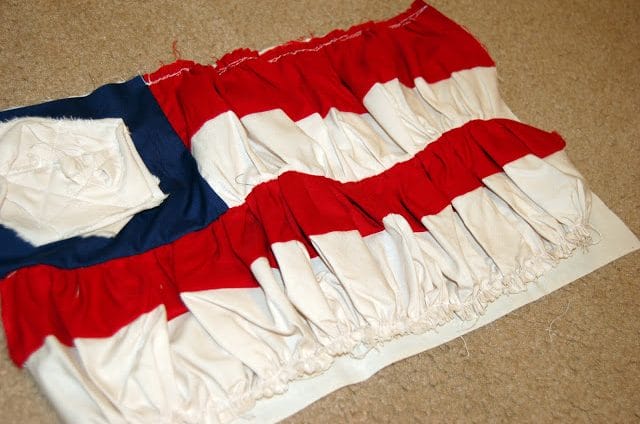
First, sew each red and cream pair together with a 1/4 inch seam (if there is a right side, right sides together) and press.
Then sew the 18″ strips to one side of the navy square and press
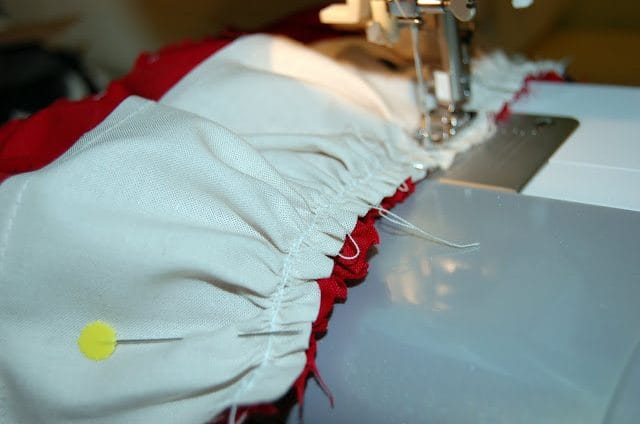
Ruffle the bottom of that segment (square and shorter red/cream combo), starting and back-tacking at the navy and going all the way to the end of the cream strip. (if you don’t know how to ruffle, just set your stitch length to the longest it can be, on my machine, it’s a 4, and instead of back-tacking at the end, sew right on through and leave a long tail before you cut the thread. Then pull only the bobbin thread, gently, and you’ll begin to see a ruffle (just scoot the ruffles down evenly, and finish it off).
After you’ve ruffled one side, set your stitch length back to a normal stitch, and just sew a straight line across your ruffles to keep them where they’re supposed to be!
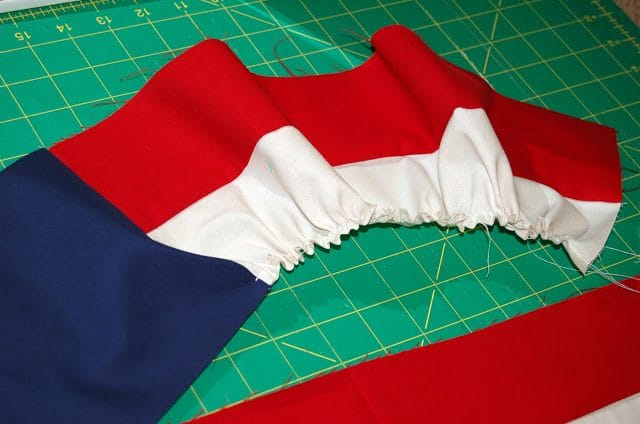
Repeat for the red strip.
Repeat again on the longer red/cream strips, only this time, you don’t have to back-tack at the beginning or the end, just ruffle the whole darn thing…and then stitch the ruffle in place.
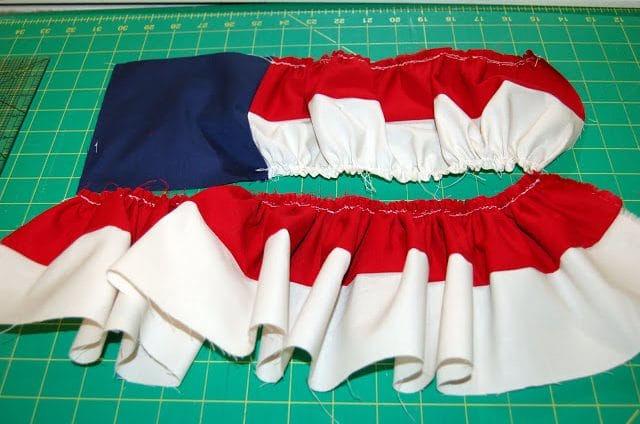
repeat again for the cream side.
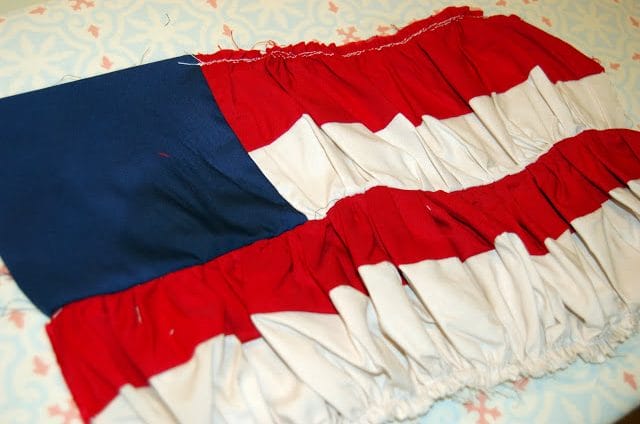
Make sure that you have ruffled the bottom two strips to be the same length as your top two strips…mine turned out to be 15 inches long each.
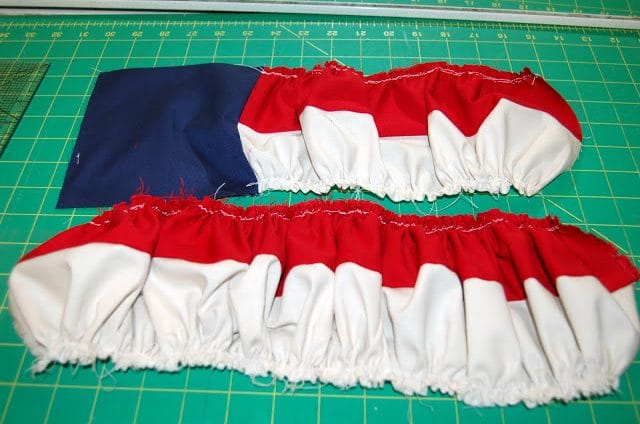
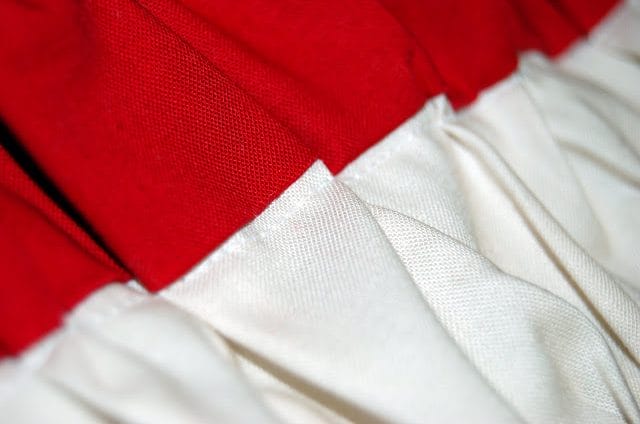
After you’ve made sure your ruffles match, put right sides together, and sew the two sets of strips together, and press flat, pressing the seam to the red side. When you press it, make sure that you’ve hidden your ruffling stitches! If you can see any stitches, just sew another seam real fast a little further in to hide them! (I’m a cheater!)
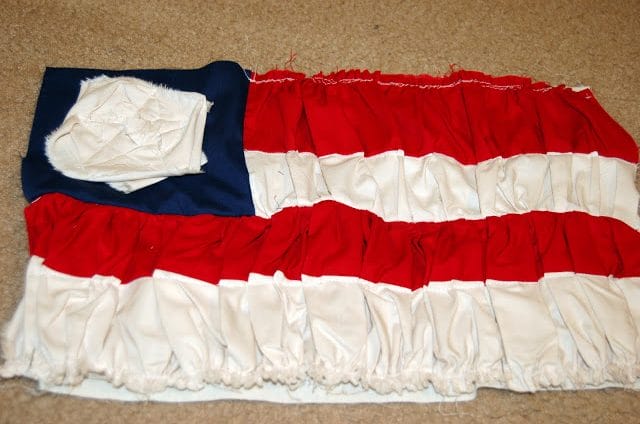
This is what you’ve got…now for your flower…
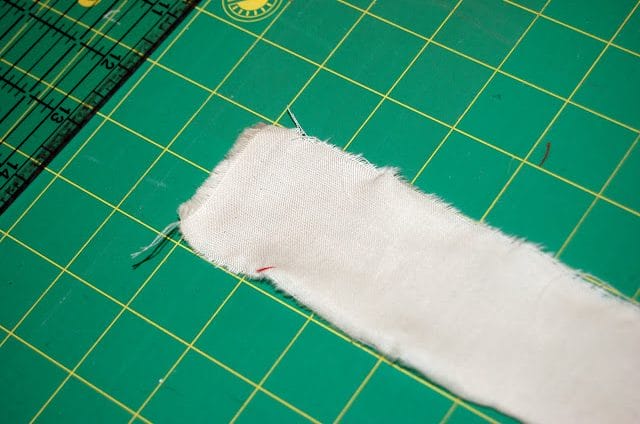
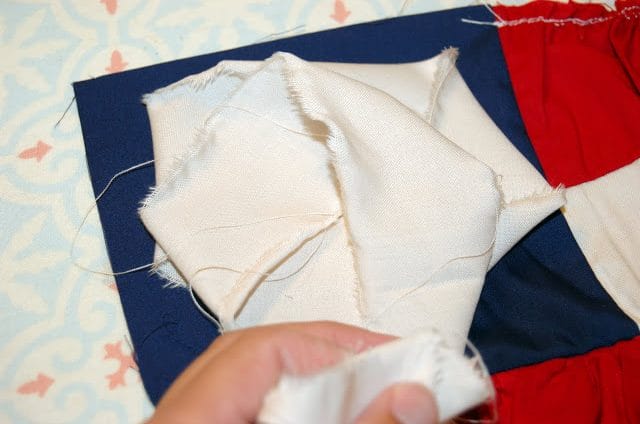
To make your flower, grab that 2″ torn strip of cream fabric. The best way to explain how I did it, is just to show you with a battery of pictures…{I’m not very good with words} Here you go…
You want to hid the two ends, so start by folding one end in the center where you know it’ll get covered up.
{also, helpful hint from someone who had to pick out their flower after the pillow was already finished to re-position it…don’t position your flower exactly in the middle…put it a little to the right and bottom corner to compensate for the seams…you’re smarter than me, I know…but just in case. }
{ps, i don’t enjoy picking out stitches!}
You just wrap and fold, wrap and fold, trying to make each later a little bit smaller, and to place the folds in slightly different places each time,
When you near the end of your strip…
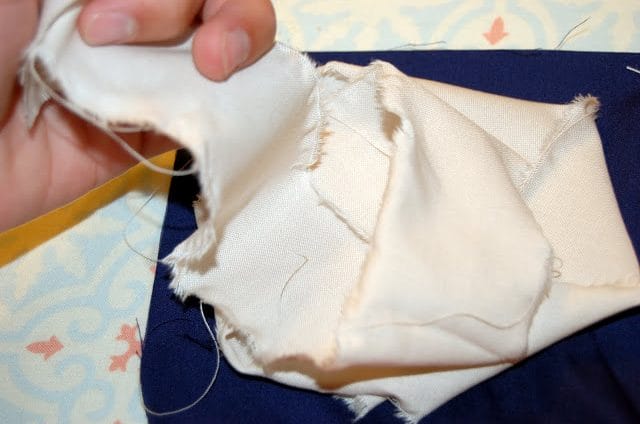
…you fold it under…
and twist it under the fold to hide the end.
and then stick a single pin through it. It’ll hold.
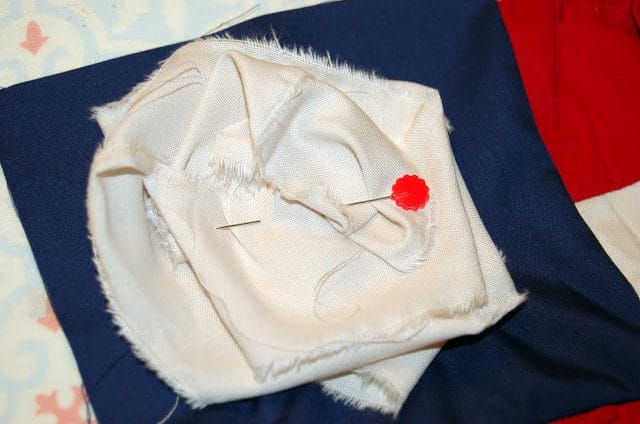
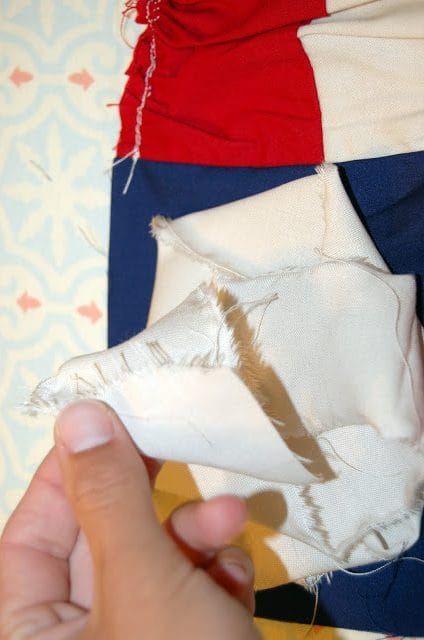
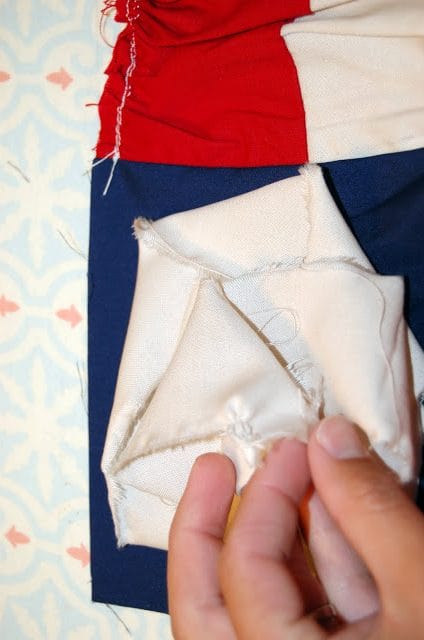
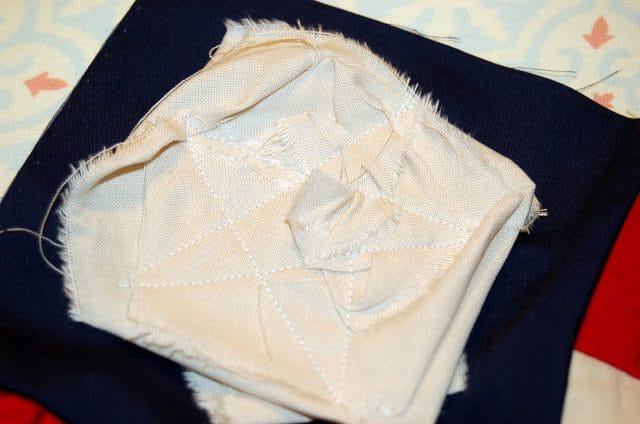
For America’s sake, I sewed a star through the center of the flower…
and there’s your flower. Now onto the rest of the pillow.
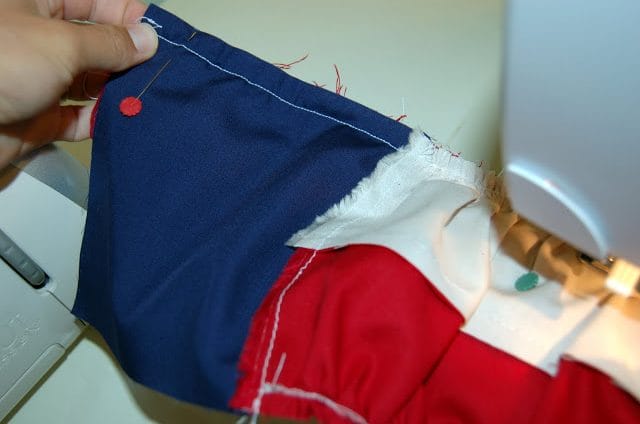
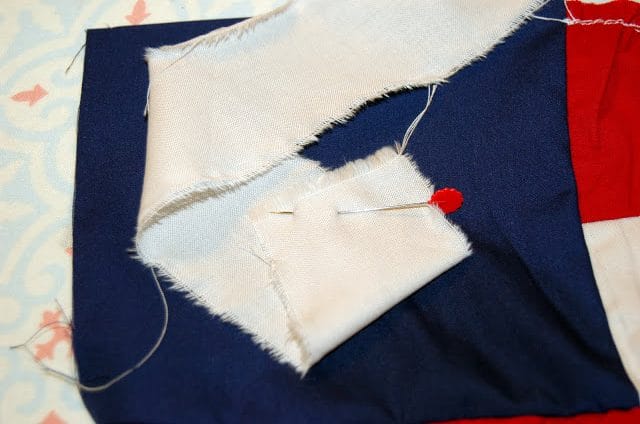
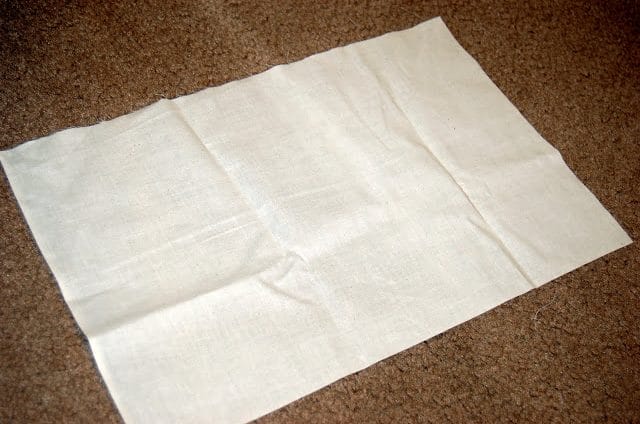
I cut a scrap piece of muslin to be the same size as my ‘flag’ (mine was 10 x 15
Lay your flag on top of the muslin, right side up
and sort of stretch it to match the sides up perfectly…and pin-pin-pin to hold it in place.
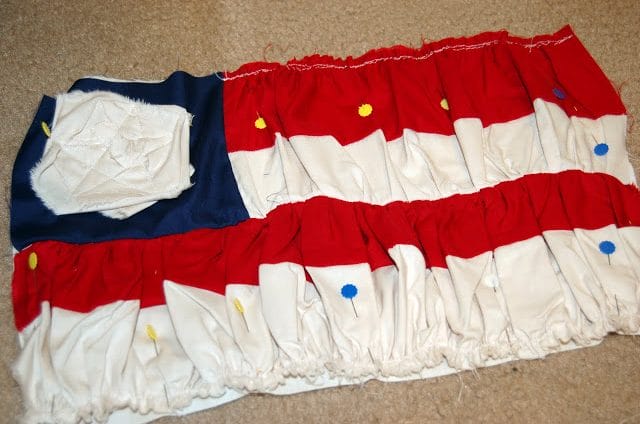
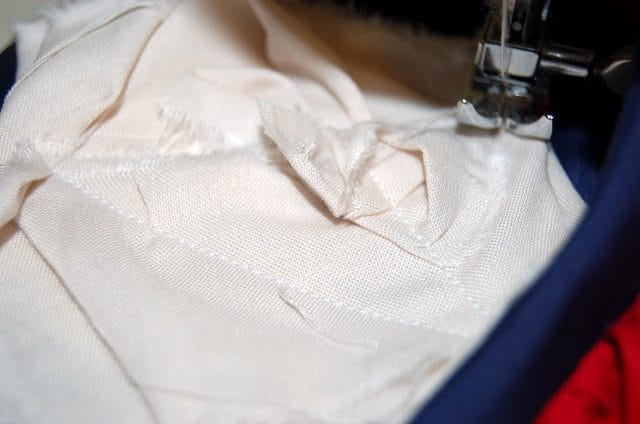
Sew a straight stitch, just on the cream side of the middle of the two rows that aren’t ruffled…(that doesn’t make sense!) You’re just going to stitch the remaining two seams down to the muslin to hold it in place so it doesn’t bulge when you stuff it, and so the ruffles stay how you want them, yada yada…here’s a pic…
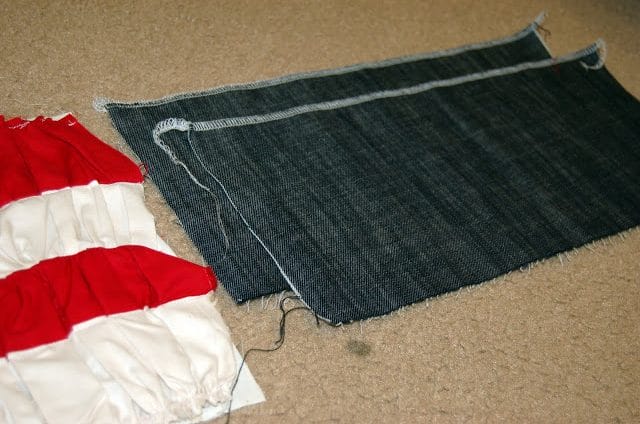
All we have left to do is the back flaps.
I’ve been told, that the rule of thumb when you’re making a pillow for a pillow form, that each side should go up the pillow 2/3rds…So, I cut strips the width of my pillow (15inches) by 7 inches (the length of my pillow was about 10…)
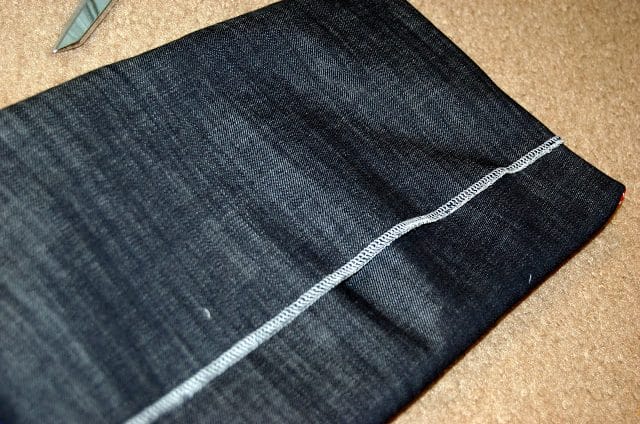
so, 2 strips, each 15 x 7 inches. I serged the edges that would show ( I used a dark denim for the back of my pillow)
With right -sides together, pin one flap down the width
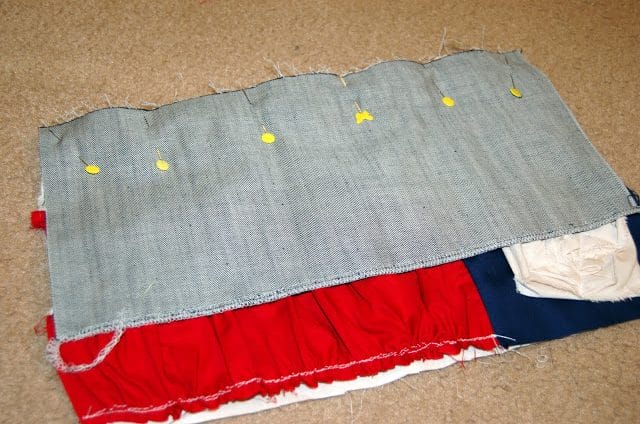
And then with the other flap in place, pin the width of that down…and then go up either side of the pillow.
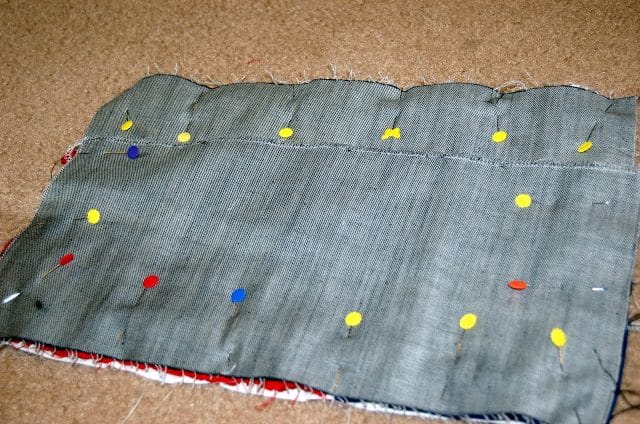
Sew around the pillow completely, and snip the corners off just before the stitching to help you get a pretty corner
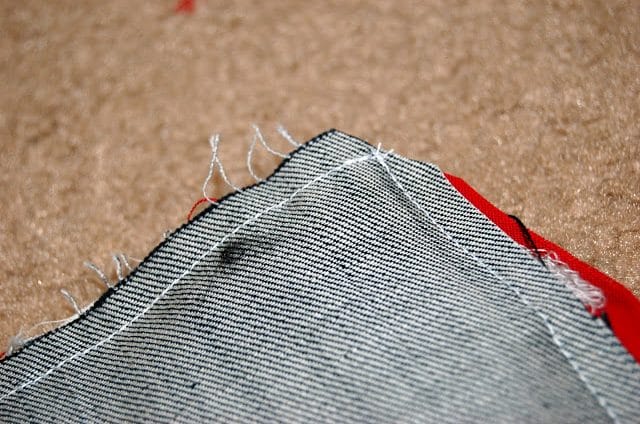
Turn it inside out, and…
say the pledge of allegiance!
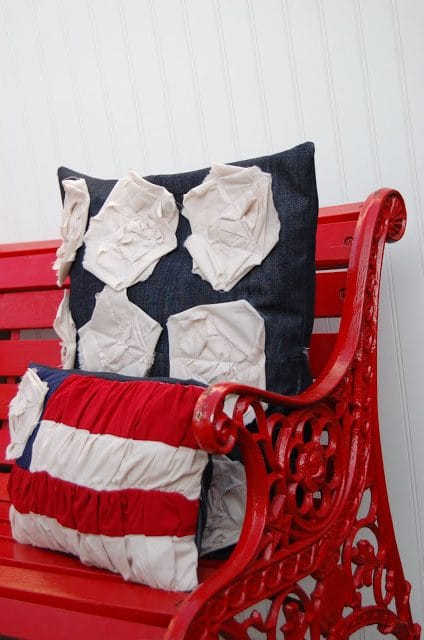
If you’d like to make the denim pillow behind it, I just used the same technique to make the nine flowers, as I did to make the one on our flag. I made them a little bigger, but used the same 2″ strip x the length of my fabric. (my cheap, raggedy knock-off of my favorite target pillow)
I hope you take a minute to pillage around iCandy for a minute…we’d love to have you!
Thanks, Becky for letting me party over here for flag day!
Have a great summer, girls!
autie

I am in LOOOOOOVE with these!! Great job!! Stumbled you too! 🙂 These pillows are gorgeous!!
This is really, really adorable! Possibly one of the cutest pillows I have seen. Fabulous job, Autie!
These pillows are darling! I’m going to feature them on my site this Friday!
Jen
I did just notice that this was a guest post, so I’m going to let Autumn know and I’ll link the feature to both of you. 😉
Jen
SUCH a cute pillow! I linked to your tutorial on Craft Gossip Sewing:
http://sewing.craftgossip.com/tutorial-flag-day-pillow/2011/06/15/
–Anne
I saw these pillows at Scissors and Spatulas–I really like the ruched stripes, what a great idea.
This is gorgeous. I love the ruched stripes! It makes it look like it is waving in the wind. I am featuring this at somedaycrafts.blogspot.com
Love this! What kind of fabric did you use?
I LOVE this and am featuring it today.
I’m doing this project and ran into trouble with the widths of the stripes vs the square when sewing them together. Shouldn’t the stripes be cut 3.5″ wide to compensate for the .25″ seam you lose between them? I don’t have enough fabric now so I’m having to adjust the size of my square and hopefully will be able to compensate for the shortage on the backing. Just thought I’d share my findings….