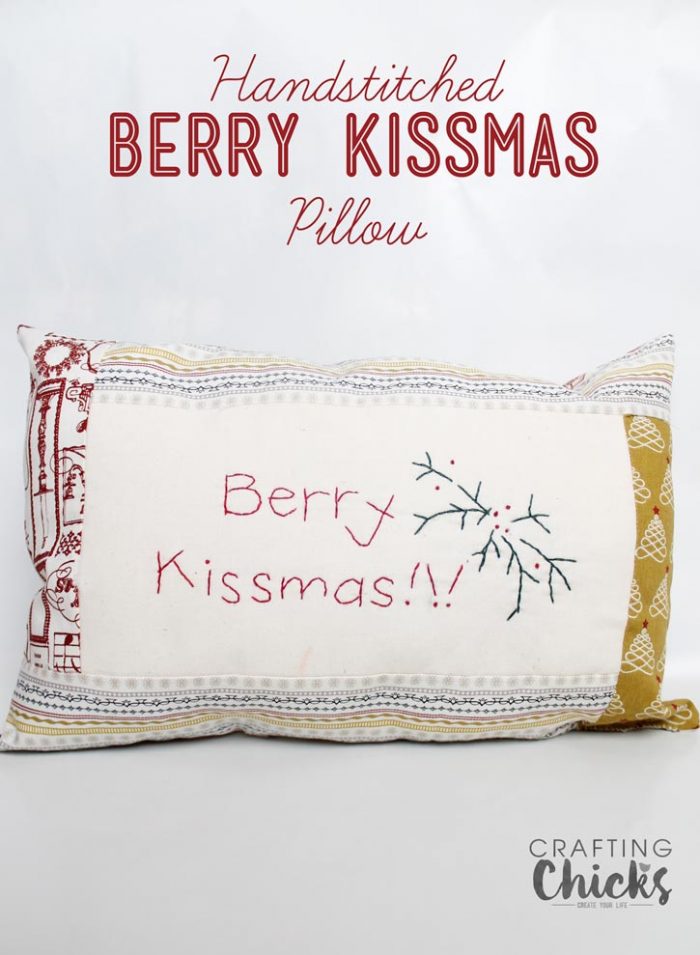
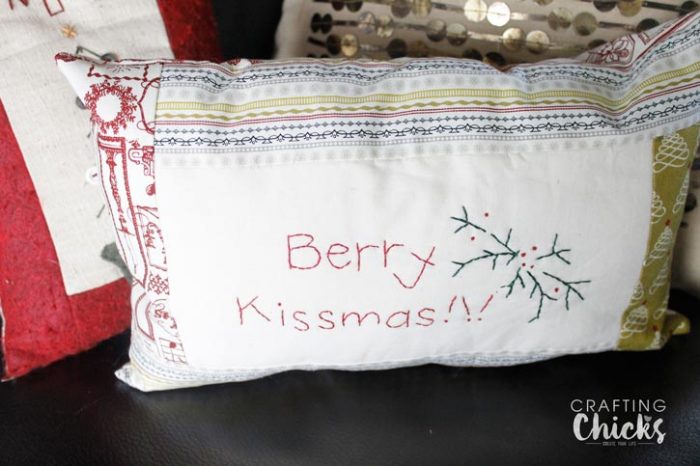
Hand-Stitiched Berry Kissmas Pillow
 We are so excited to be a part of the Riley Blake Stitch ‘n Kitchen Blog Tour.
Today I’m going to be sharing a fun Hand-Stitiched Berry Kissmas Pillow.
I have loved hand-stitiching for many years now. These are so easy to whip up in an afternoon. Here’s what you’ll need to “cook up” your own “Berry Kissmas” pillow.

For the embroidery:
Download the pattern.
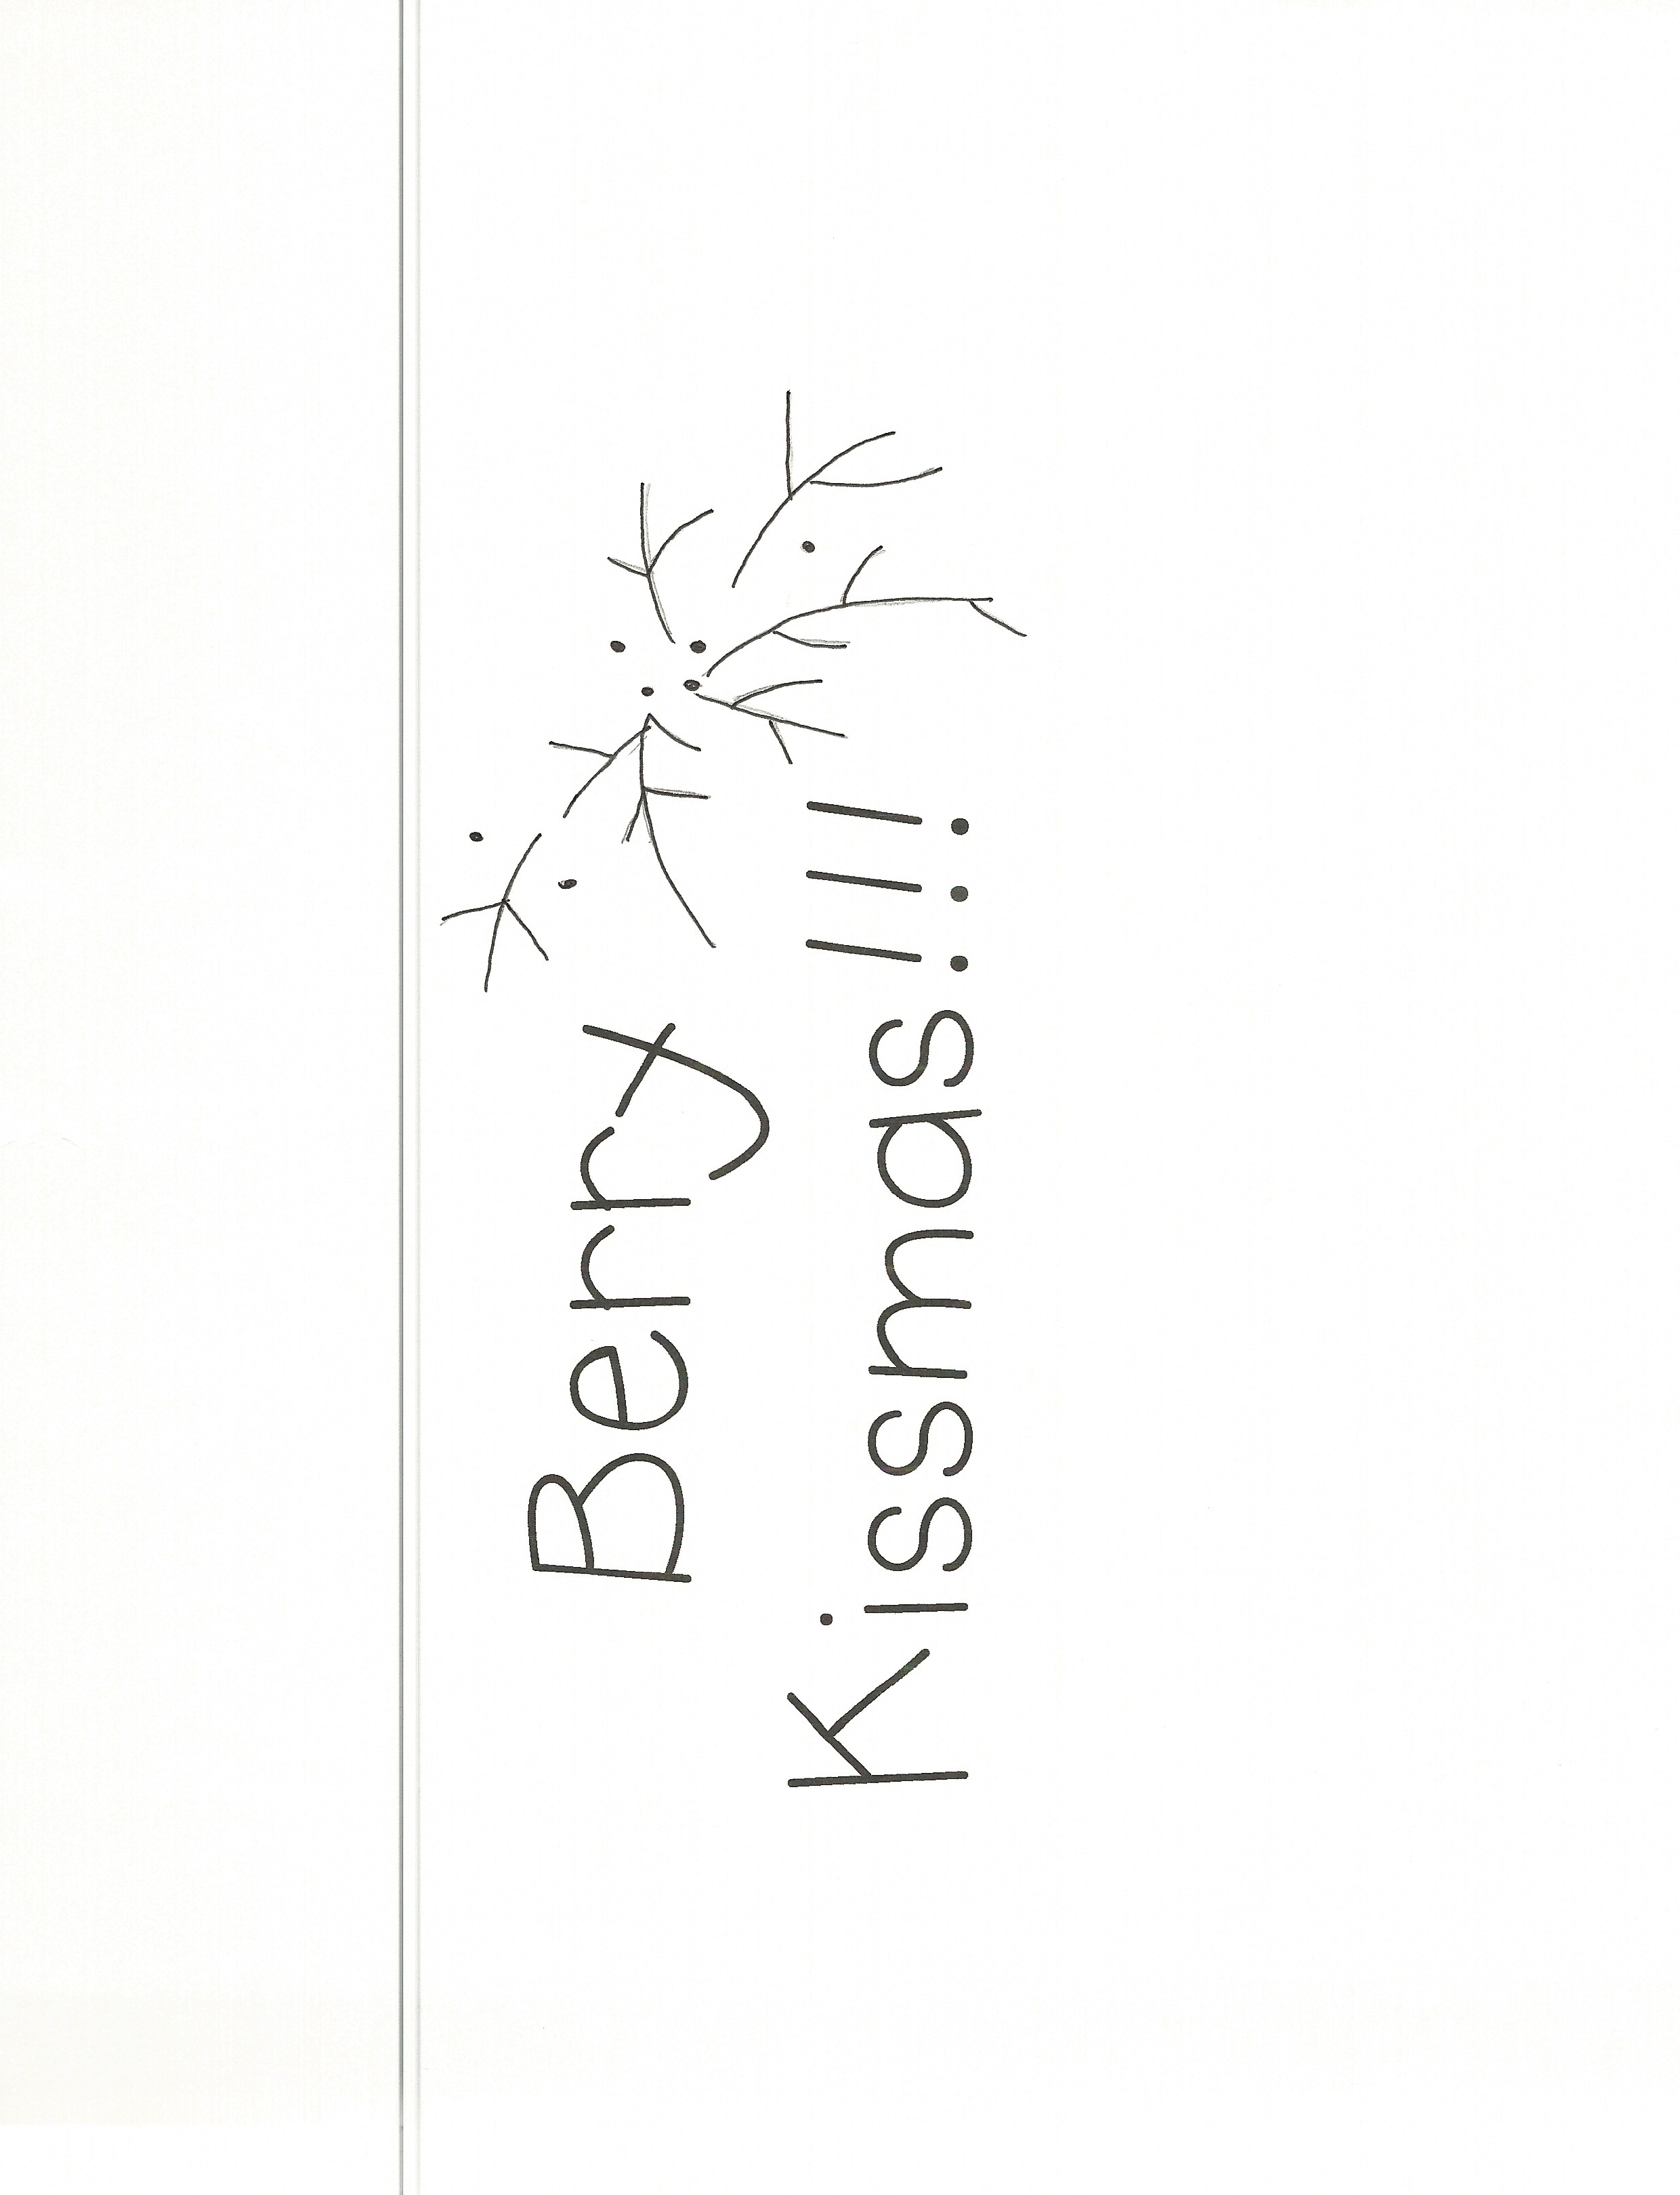
- Transfer your pattern onto your fabric. I always do this by printing and then tapping the pattern to a window. Tape your fabric on top of the pattern and trace with a pencil.
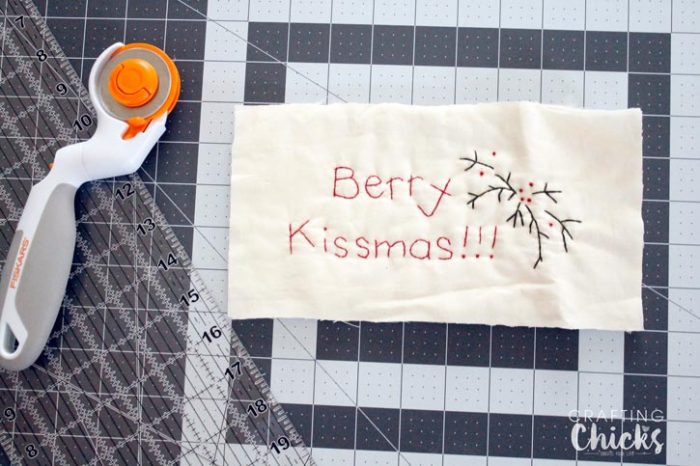
- Use a basic backstitch to make the wording and the mistletoe steams in green.
- Use a french knot for each of the red berries.
- Once your done with your hand-stich, cut it to a finished size of 9 1/4 x 5. Set aside for now.
For the pillow:
- Cut out 2 strips of fabric 11 5/8 x 2 5/8, for the top and bottom.
- Then cut out 2 strips of fabric 7 1/4 x 2 5/8 for the sides.
- Attach the top and the bottom first, rights sides together, using a 1/4″ seam to your embroidery, leaving the longer ends on opposite sides. Press.
- Attach the sides, placing the right sides of the fabric together, using a 1/4″ seam to your embroidery. Press

- Cut a backing out 14 x 9 3/8.

- Place right sides of fabric together and sew pillow together, leaving a space to stuff the pillow and then hand stitch closed.

That’s it!
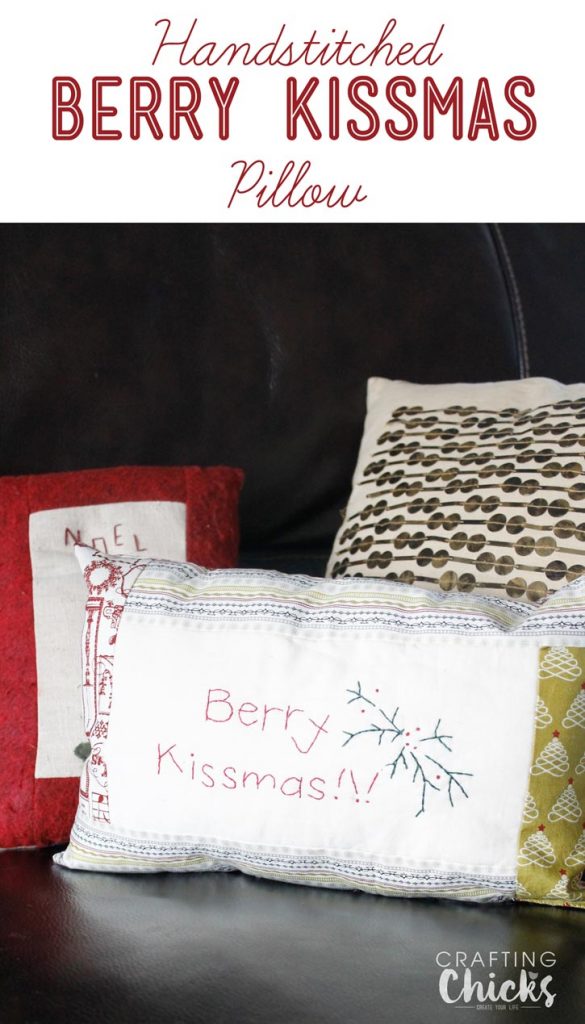
Now you have a really cute pillow to keep or give away!

Now since this is a Stitch ‘n Kitchen Blog Tour, I need to leave you with a yummy recipe.
I can hardly talk about “kissmas” without thinking of Herseys Kisses. We love them at our house and I’m happy to share a yummy recipe with you.
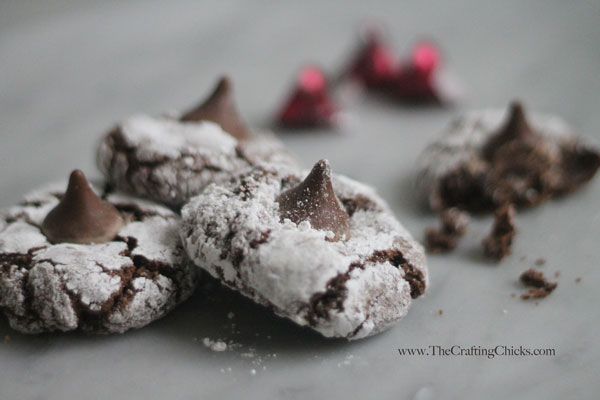
These are our Cherry Cordial Chocolate Crinkle Cookie.
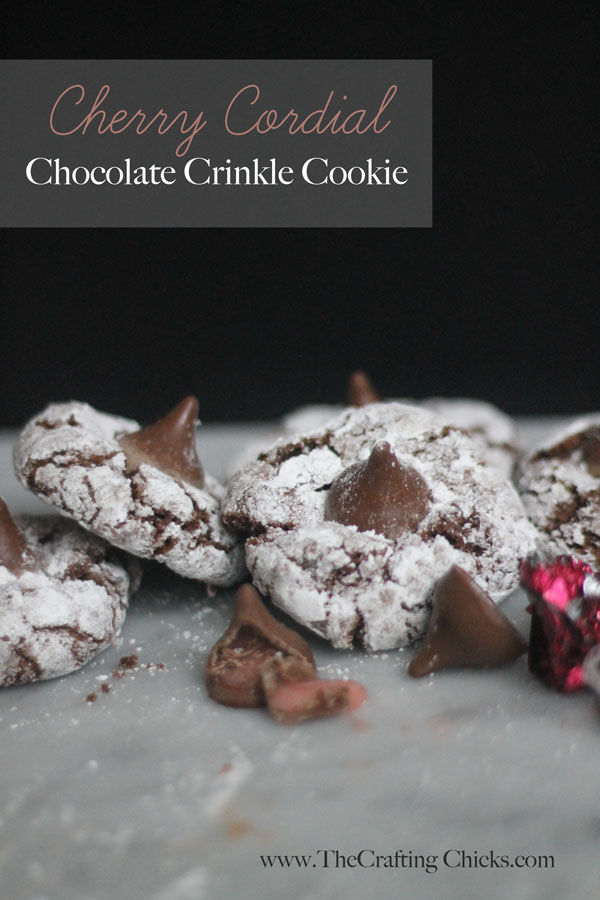
So yummy and soft inside, with just the right amount of cherry.
Hop on over to get the recipe.
Thanks for stopping by!
*This post may contain affiliate links.


24 Comments