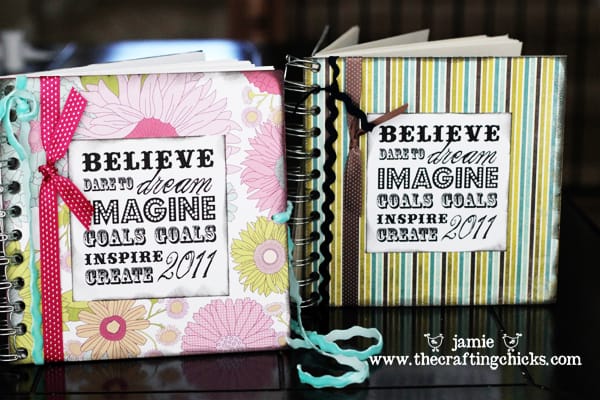
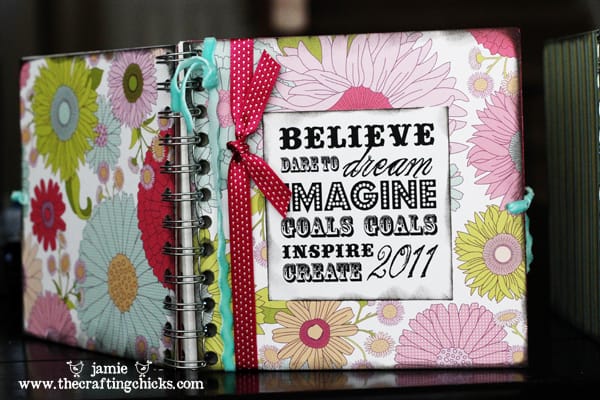
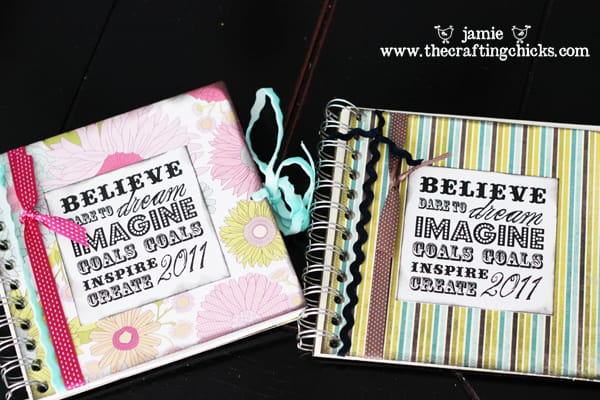
Last week we teamed up with Robert’s Arts and Crafts for their Family Night Craft. If you didn’t get a chance to make one, or if you don’t live near a Robert’s store, well here is the tutorial for you today-You can make one at home! I bet you could even try out a Cinch Binding machine at Robert’s-to see if you like it, and believe me-You will LOVE it! I LOVE the idea that Robert’s Arts and Crafts have to gather families for a fun craft. I thought these journals would be a great thing for each member of a family to make. As a family, you could discuss goals or record keeping and then make these little “inspirational journals.”
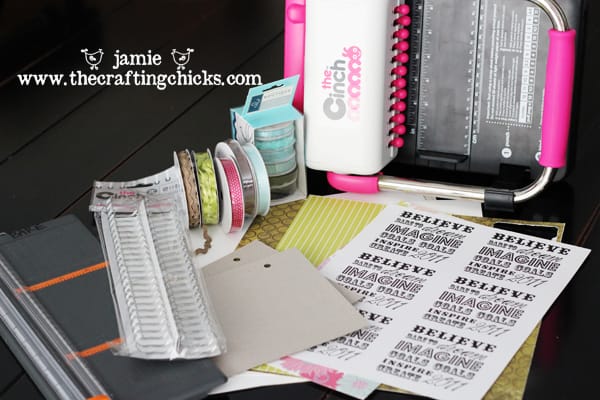
Supplies you need to make the “Inspiration Journal”:
-the Cinch Machine (Robert’s will have some out ready for you to try out) they are amazing and so easy and fun to use!!
-the Cinch binding rings (1/2 inch)
-Bo Bunny chip board 6×6 book fillers (or you can use super heavy card stock or any thin cardboard-like the sturdy cardboard that Costco photo center uses)
-1 12×12 sheet for the front and back
-4 12×12 white or cream card stock (you can do more or less depending on how thick you want to make your journal)
-adhesive
-ink for inking the edges
-cute ribbon that coordinates with your cover
-paper cutter or scissors, and wire cutter
-inspirational word art
You can download the word art I created HERE: http://www.4shared.com/photo/jtAWZKPe/inspiration_journal_word_art_8.html (Personal Use Only Please)
Step 1:
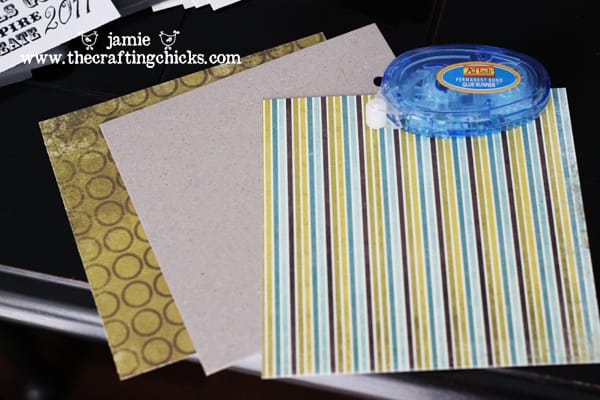
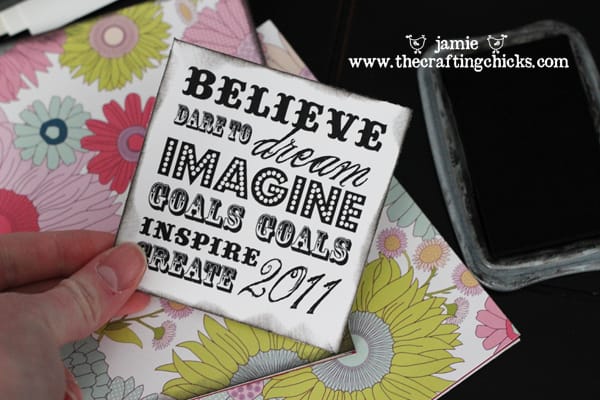
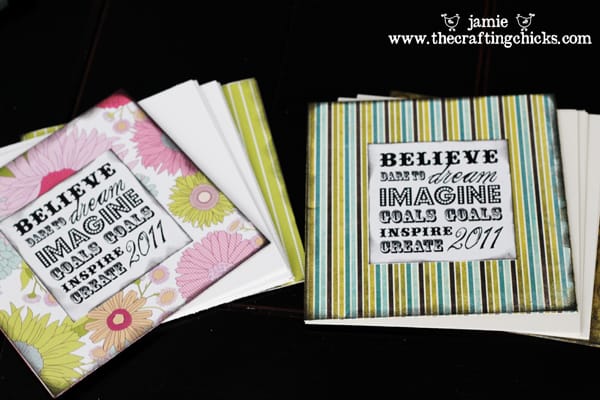
Cut all of your cardstock in 6×6 inch squares. Then take your card stock for the cover and glue it to the front and back of the bo bunny (or cardboard) square. Save the plain white or cream card stock for the middle. Cut our your word art a as well-approx. 3 in x 3 in.
Step 2:
Take your ink and ink around the edges of your word art square and covers (front and back-inside cover and back cover as well). Let dry for a few moments.
Step 3:
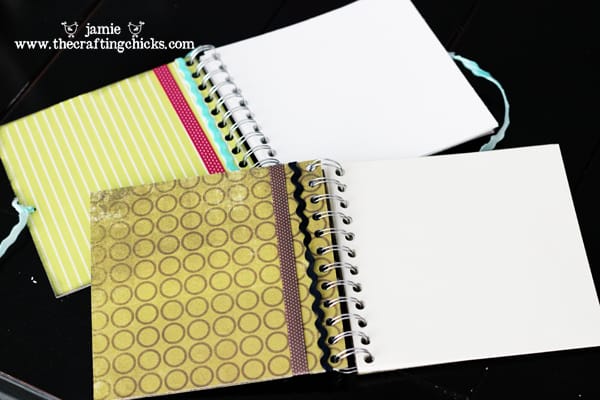
Put your book together how you would like it and get ready to bind the book.
Step 4:
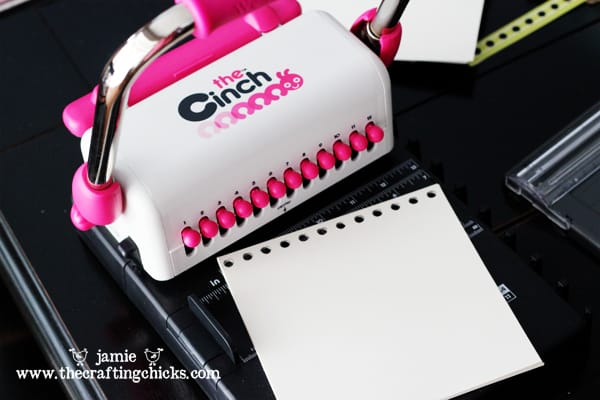
Use the Cinch machine to punch holes in your cover and pages. I LOVED using this machine. I could punch holes in several pieces and and through the chipboard. For this 6×6 book, I lined up my paper at 1/2 cm mark to make the evenly spaced circles. Punch holes in your covers and all of the card stock. (You may want to get a feel for the machine by just practicing with pieces of paper before your journal).
Step 5:
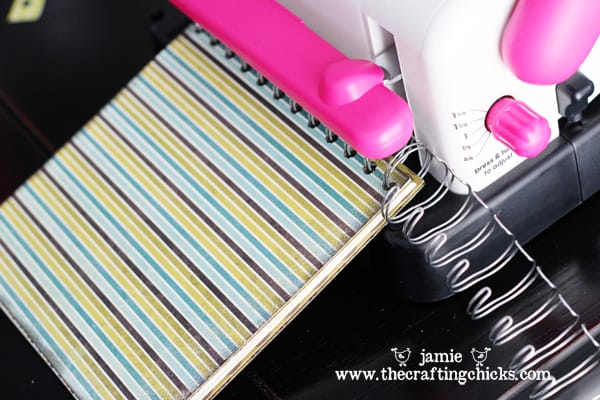
Press the binding ring to 3/4 in. circle using the Cinch machine. This machine comes with awesome instructions. (very easy & quick!)
Step 6:
Cut off your excess binding ring using wire cutters. I tucked the pointy edge of the ring under the ring below it to give it a finished look
Step 7:
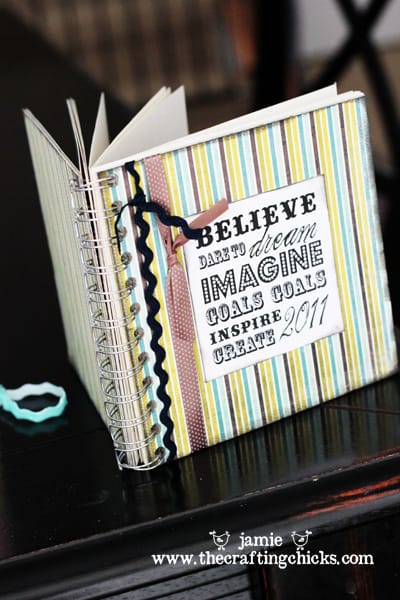
Add even more cuteness by tying ribbon around the joural near the binding. You could also tie little strips around the actual biniding ring. Ribbon makes everything better!
Now you have a very cute inspirational journal where you can record your thoughts, lists, goals, or memories! This would also be a great gift to give with some pens and pencils!

Thank you so much for this post. I want to let you know that I posted a link to your blog in CBH Digital Scrapbooking Freebies, under the Page 11 post on Apr. 01, 2011. Thanks again.
hi! i came across your post when trying to figure out whether or not i should buy a cinch (i did!). i have two questions: what font were you using for the words “believe” and “inspire”? i printed out your inspiration words for the front of my book, but wanted to add a different quote on the back sticking with the same fonts. also i was wondering if you could give me any tips for when pressing the binding rings. mine always come out kinda square-ish lol. thanks! i love the blog!