Okay. You are probably going to make fun of me because I’m back with yet another tutorial featuring OLD BOOK PAGES and a “trash to treasure” project! I told you those old book pages were my latest infatuation (don’t tell my Photoshop, he’ll get jealous). Soon my whole house is going to be covered head to toe with old book pages. 😉 I knew they would make a great Christmas project but I had a hard time deciding exactly what to do. Then it came to me as I was rummaging through my junk craft supplies.
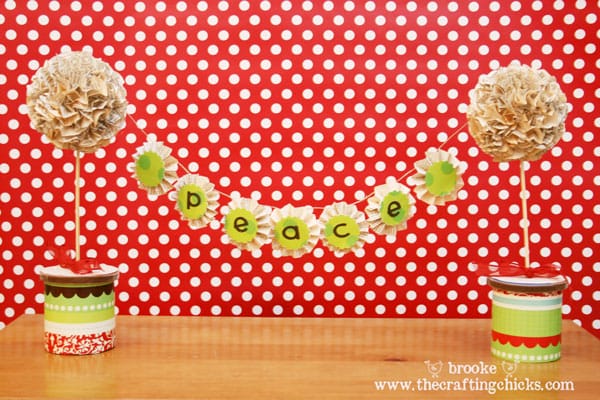
Mini Christmas Topiaries and a Mini Banner! Love it.
The greatest thing? This project basically cost me nothing. I used stuff I’ve had laying around forever, and I had the old book (that cost $1) with lots of pages left over from my daughter’s birthday party decorations. I love the vintage-y vibe old book pages give. And I love all things “mini” too. This is a win-win situation for me. Oh, wait until you see what the bottom “stands” are made from. Talk about trash to treasure 🙂
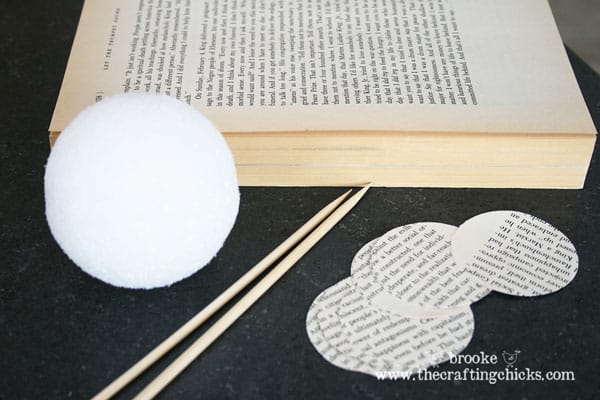
Supplies for my Mini Topiaries:
- 3 inch styrofoam balls (I used 2 for this project)
- 2 wooden skewers (like the kind you use for kabobs)
- pages from an old book
- hot glue gun and glue sticks
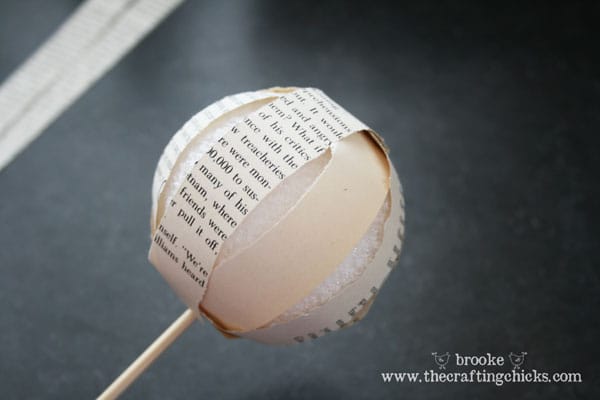
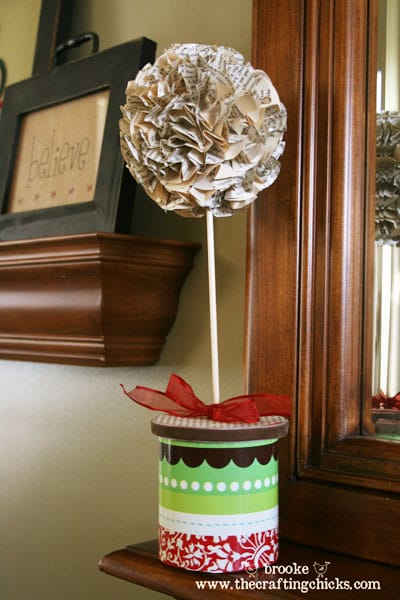
First I took a styrofoam ball and stuck the skewer into it. Then I covered the ball with strips of the old paper, using my glue gun. You could paint the skewer if you wanted, or wrap it with ribbon. I just kept it plain.
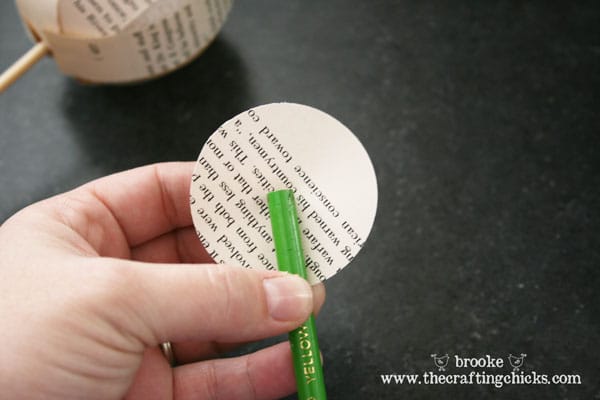
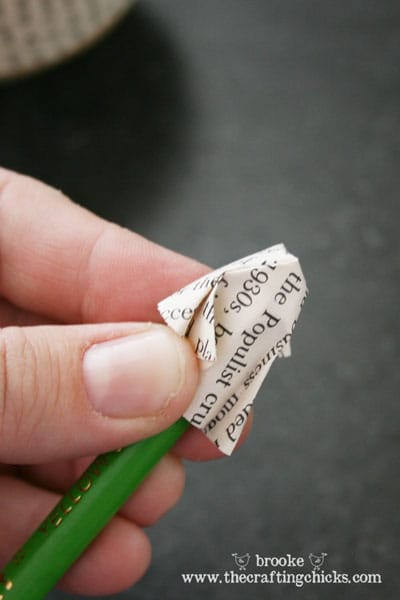
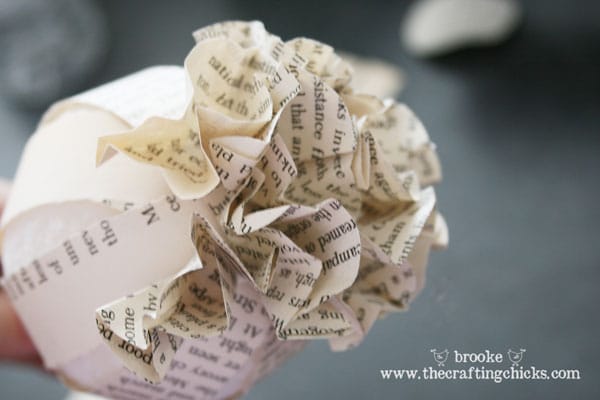
Next I used my 2.5 inch circle punch and cut out a whole bunch of circles out of the old book pages. Then, using the same technique that I used on my Vintage Square Halloween Wreath, I wrapped the circles one at a time around the end of a pencil and hot glued it to the styrofoam ball.
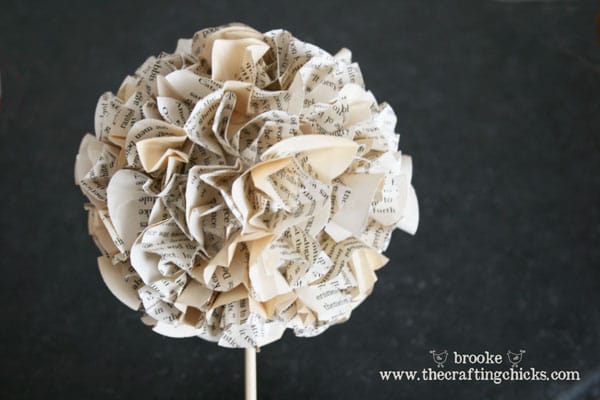
I continued hot gluing the bunched up circles on the ball until it was completely covered. It totally doesn’t have to be perfect. Voila! The top of the topiary was born.
If you wanted to, you could leave out the skewer and just add some ribbon to the top and hang the topiary ball as an ornament on your tree.
Mini Topiary Stands
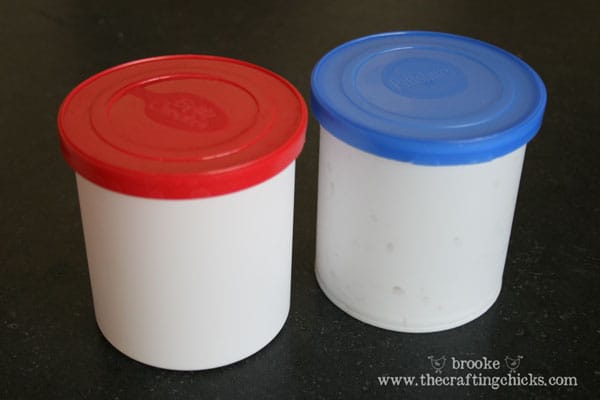
So, I admitted once to saving things (things that normal people would throw away, I know, I’m weird) to use for future projects. I had saved some empty frosting containers and found they were perfect (and FREE!) as little stands to hold the mini topiaries.
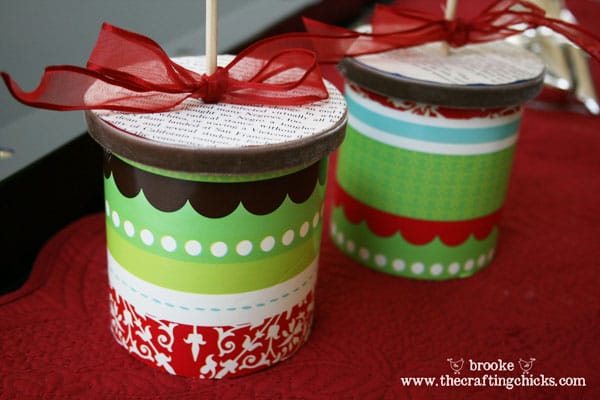
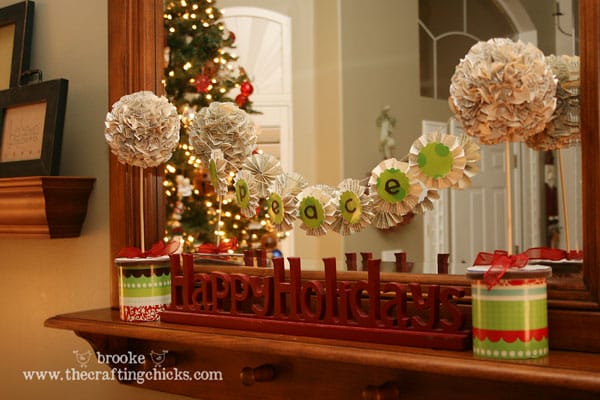
I gave them a pretty makeover by covering them with my favorite wrapping paper from Hobby Lobby (they have awesome wrapping paper there and I got it for about $3 a few weeks ago), some ribbon and some of the old book pages. I cut a little hole in the top of the lid to stick the skewer into. Then I added a bow for a finishing touch.
Here are the two of them during the day before I added the mini banner.
You could use other things to hold the topiaries, such as small buckets with foam inside, or small blocks of wood with a small hole drilled in the top to hold the skewer.
Mini “Peace” Banner
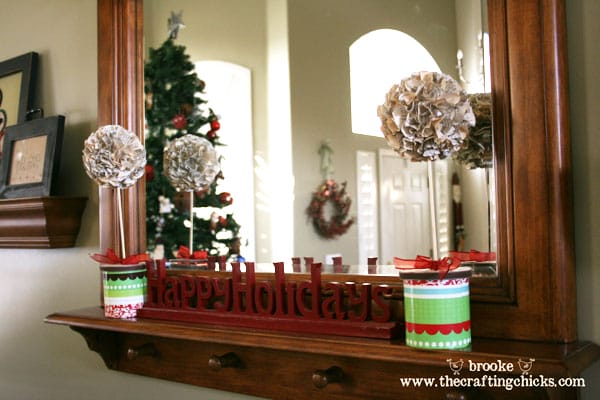
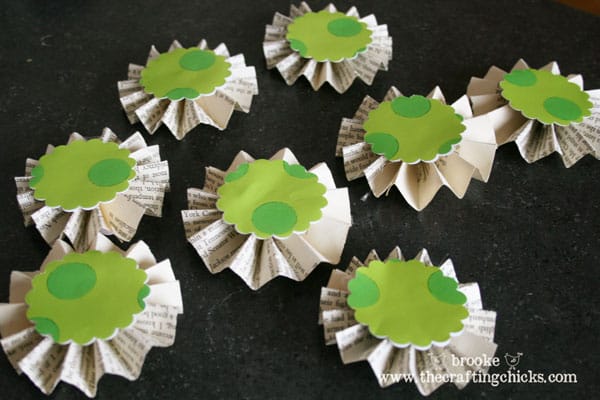
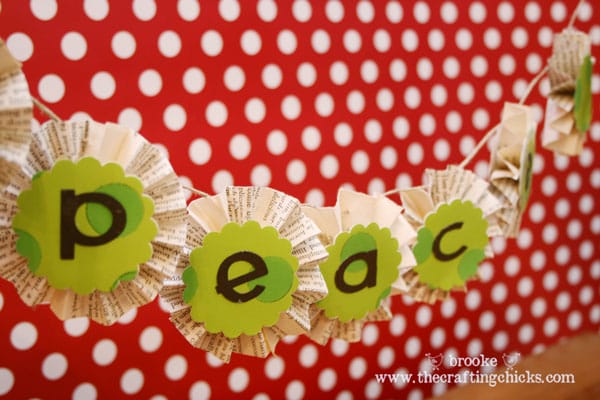
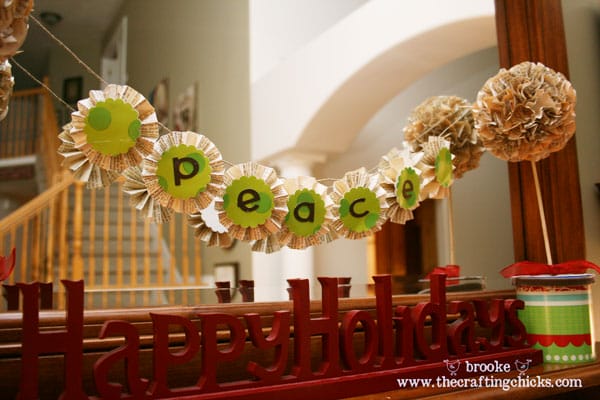
For the mini banner I made these darling little “lollies” out of old book pages as well. There are lots of great tutorials all over the web, Kami at No Biggie has a great one. I used some more cute Hobby Lobby wrapping paper and a small scallop punch to make the centers of the lollies. I cut out the word “peace” out of brown cardstock with my Silhouette machine and glued them onto the lollies. Then I strung them on a thin piece of jute string and used toothpicks to attach the banner to the backs of the topiaries. I think it would be fun to add some glitter too!
I think they turned out cute and add a fun, festive touch to my Christmas decor! Here are some night-time pictures of where they will be living for the month of December–in my living room!
Have fun “decking the halls” in your home! Happy holidays and Merry Christmas! xoxo

You girls are killing me! lol You keep giving me more and more ideas of things to make (and I have no time!! lol) Totally love both projects. They look great together on your shelf. 🙂
Thank you so much Diana!! I don’t have time for any of this either, lol!!!
This is an awesome idea!! I love all the recycling going on here!! …and the book pages – swoooon!!!!
Thanks Heather!!! Recycling is fun. 🙂
Tim Holtz also makes a die for the Big Shot that punches those “lollies” out for you. All you have to do is fold them and glue them together. Ask your local scrapbook store!
Interesting! Good to know, thanks for commenting!
This is super cute! I think I might be most impressed by the topiary bases. lol! I have to make some frosted cookies this weekend, and you can bet I’ll be keeping the empty icing containters!
That’s my job, recruiting more crafty people to save their garbage for craft projects! 🙂
This is so cute, and a great way to repurpose stuff…LOVE IT!
Thanks a ton, Tanya!! I’ve been on a “repurposing” kick for several months now!!! 🙂
Brooke! Holy wowzers! I love this! I adore the choices for papers on the containers. And you KNOW I have a few frosting containers around. And unfortunately, they’re usually empty. Well, unfortunately for my waistline….but super useful for this project. 🙂 I love this. So festive! Way to go!
Thank you Lara!!
I just love this project! I have to tell you that I subscribe to the posts via email and they come in a format that is easy to print up. I am printing and placing my favorite projects in to a holiday craft binder. Just want to say thanks for all your creativity and how much I am enjoying your blog.
Darcy, thank you for your sweet comment! And what a great idea to create a craft binder! Love it.
I think my daughters would have so much fun making these! They are just darling!
So so cute Brooke, I loooove it! You are so creative!!!
LOVE this! Soooo adorable! I’m loving book pages too…i have 2 boxes of old hard cover readers digest books in my closet!!! 🙂 …{maybe 3, lol}
Oh what a great idea! Love it!
Brooke, Brooke, Brooke! Will you just stop. These are too dang cute and I just love the mini-ness of it all!
Hey Brooke, I saw this on Etsy and thought of all your cute book page projects.
Thought you might enjoy 🙂 Thanks for all the fun crafty ideas.
http://www.etsy.com/listing/62605332/oldbook-japanese-masking-tape-set-of-3
Christine, those are really cool! Thanks for sending me the link, how sweet of you! 🙂
love your stuff. Brings back memories. When I was in Kindergarten, mom helped my 2 sisters and me make topiaries for our teachers for christmas.
Thanks for sharing