Happy Halloween friends!!! Since Halloween is my FAVORITE holiday, I have seriously been crafting up a storm. I shared these last week at the FABULOUS BLOG EIGHTEEN25!! We have loved their blog for so long as I’m sure ALL of you have, and we have always enjoyed the fresh ideas that come from these fellow crafters. We have LOVED looking at all the other Halloween ideas for their Spooktacular September….SO FUN!!
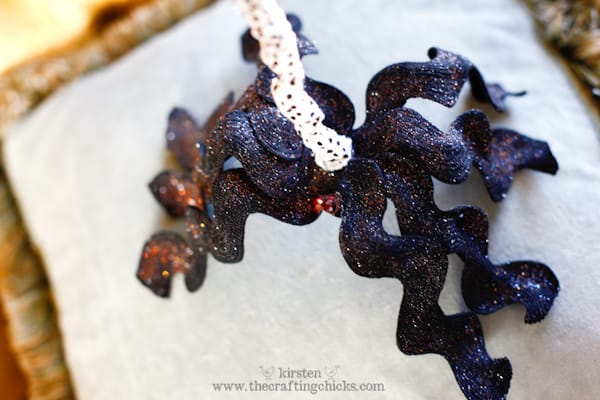
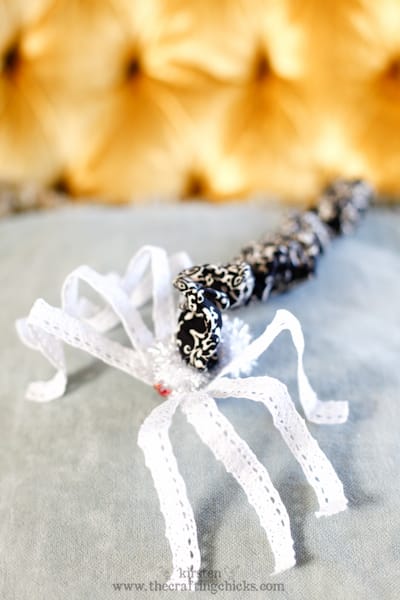
Today I will be sharing my LACE & RIC RAC SPIDERS. I wanted to make some spiders this year. I immediately knew I wanted to use Martha Stewart Fine Glitter, spray glitter, lace, liquid starch, patterned fabric, and some sparkly beads for the eyes. As I went along, I added the pipe cleaners to stiffen the spider legs.
SUPPLIES:
- 4′ ric rac or lace for each spider
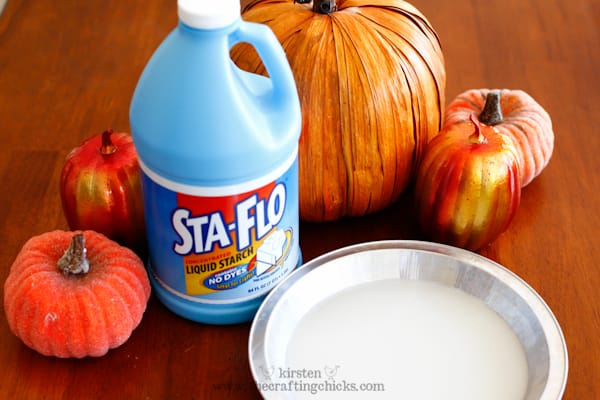
- Sta-Flo Liquid Starch
- matching pipe cleaners
- glitter spray
- loose glitter
- sewing machine
- ribbon
- patterned fabric
- sparkly beads for eyes
- glue and glue gun
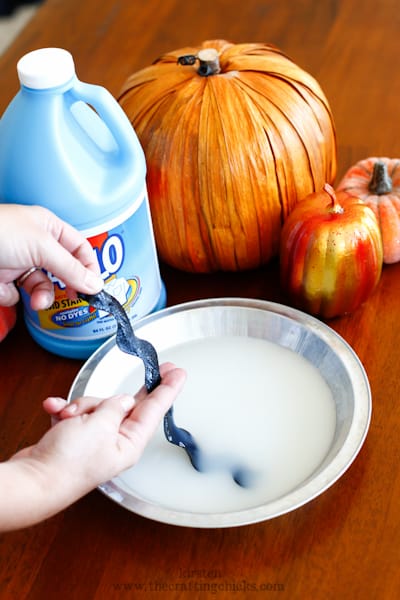
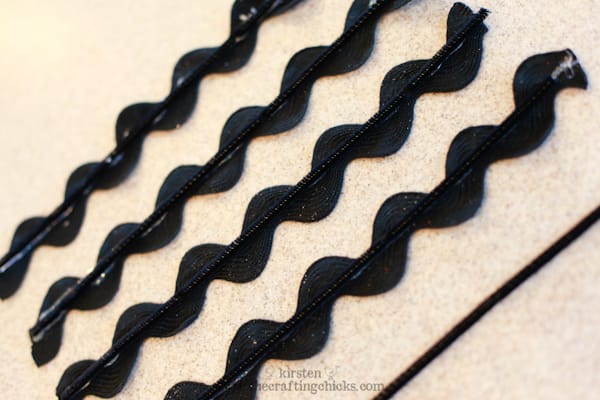
Dip the ric rac and lace in the liquid starch and wring it out so there is still starch on the lace or ric rac, but no excess. Next, hang them up to dry either over a bowl to shape the legs, or hang clothes pin them to a string.
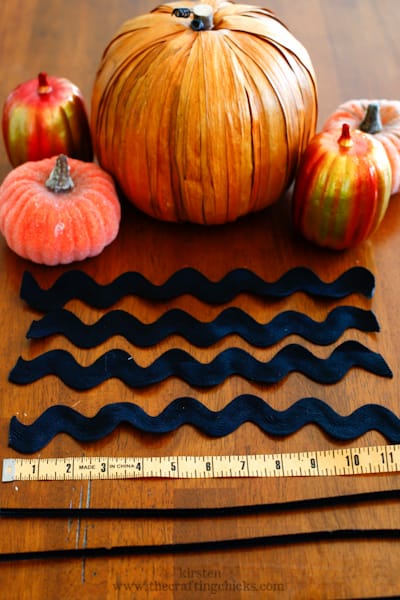
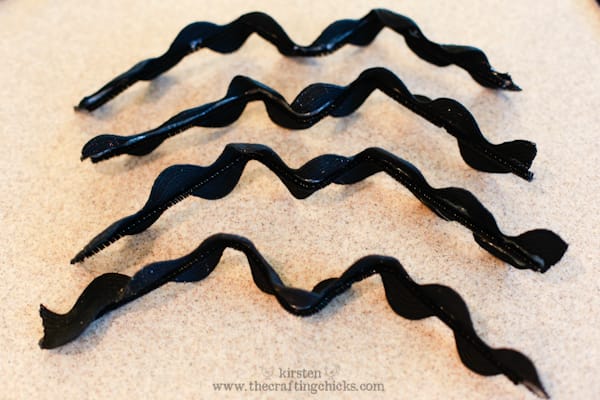
Then, shape the 4 pieces of ric rac into an “M” shape.
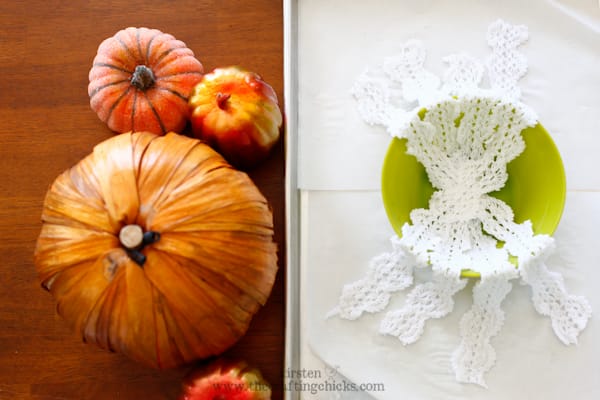
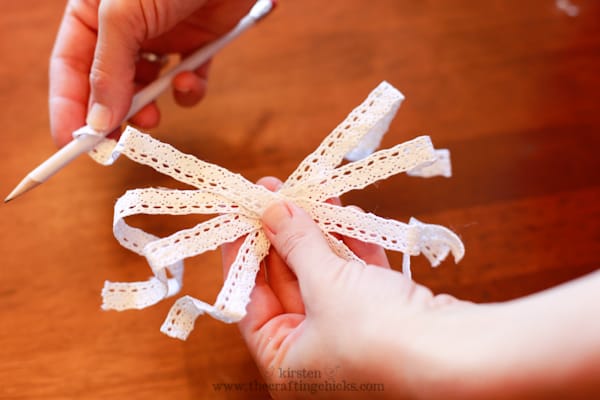
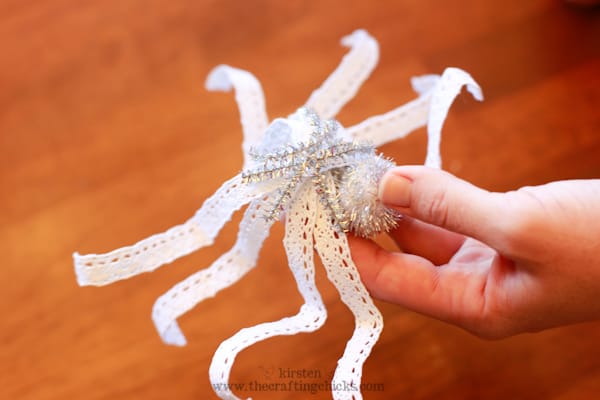
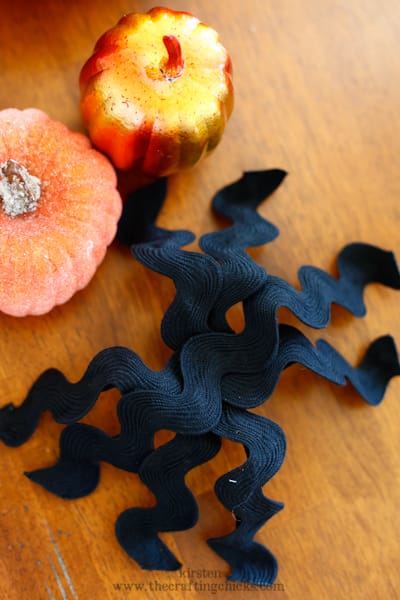

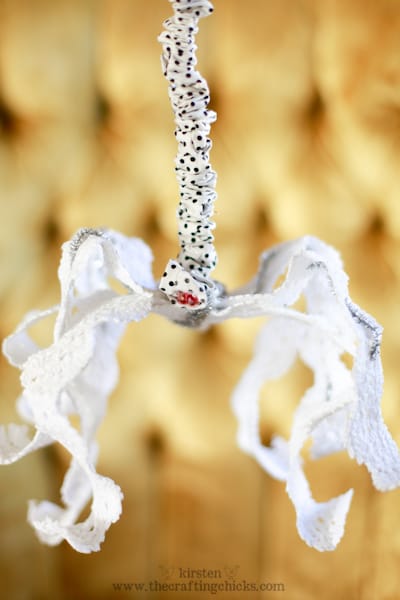
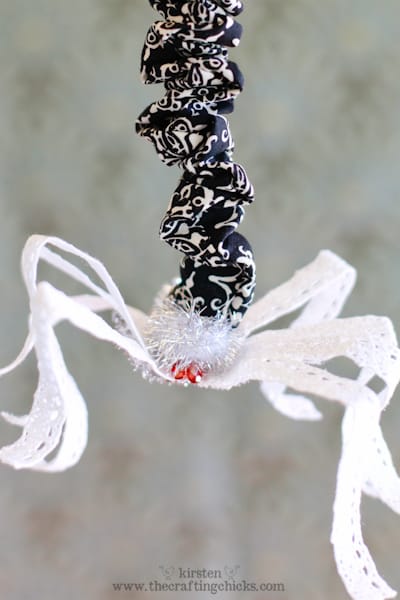
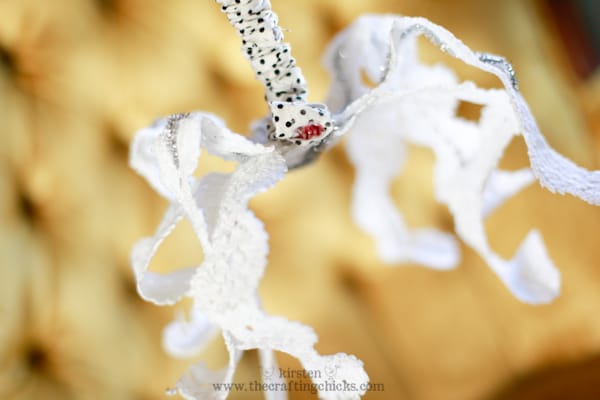
This spider is much bigger. I WISH WISH WISH you could see the glitter on the body, it’s magnificent! For the body of this one, I made a polkadot rosette and folded it into a cylinder then glued it to the spider legs.
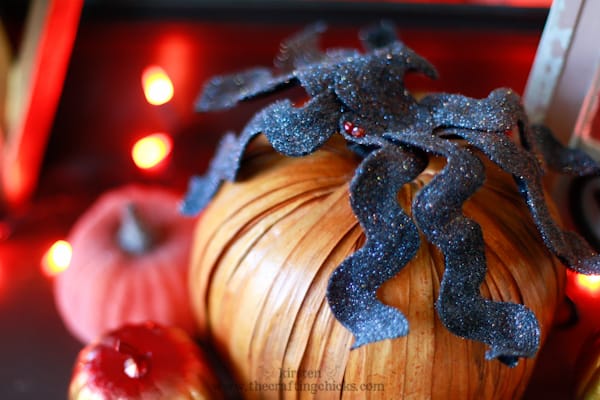
Each one turned out with a unique little personality. I made two of these and this one just fit nicely resting on my corn husk pumpkins.
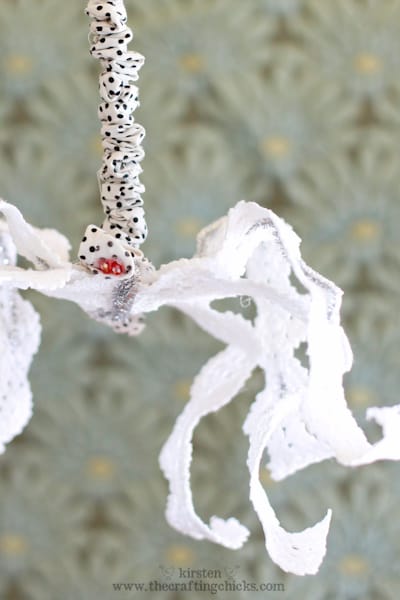
This guy looks a little spooky here, he’s starring at me with his wee beady eyes.
So that’s a wrap! You can use these spiders in a variety of ways….add to a wreath, hang from a chandelier or anything for that matter, rest on a tabletop or other decoration, etc. etc. Happy Crafting!!
xoxo, KIRSTEN

they are pretty! nice idea to use lace and rick racks for crafting spiders.
I linked to your tutorial on my blog – thanks for sharing!
doro K.