Now that summer’s finally here we have been enjoying more time together as a family–and even already checking some stuff off our summer activity list (Pools! Lagoon! Mini Golf! Camping….ish!). While I’m a fan of fun times and sleeping in and a more loose schedule than during the school year, I am also a fan of a summer routine and getting work done in addition to playing hard. I’m still trying to sort out our official “summer system” (with motivating points/prizes/allowance, etc.). But in the meantime I decided to jazz up some old thrift store clipboards we had laying around the house that the kids can use to check off their completed chores. Because we all know if it’s CUTE, it will be more effective, right?!? 🙂
You’ve probably seen clipboards that have been painted or with scrapbook paper mod podged onto them, but mine have a unique twist—I cut different shapes onto the bottoms of the clipboards using a jig saw! FUN! Our kids love them.
To make these shaped altered clipboards, I used:
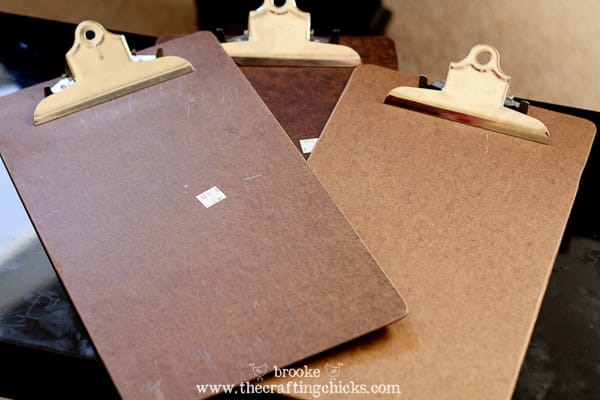
- 3 wood clipboards (can be thrifted or brand new, these were old and made of particle board)
- jig saw
- sanding block
- pencil
- spray paint
- washi tape (I found mine at Target, in the office supply section)
- patterned paper (I used some darling paper sent from our friend Caitlin at Close to My Heart, thank you Caitlin!)
- Mod Podge
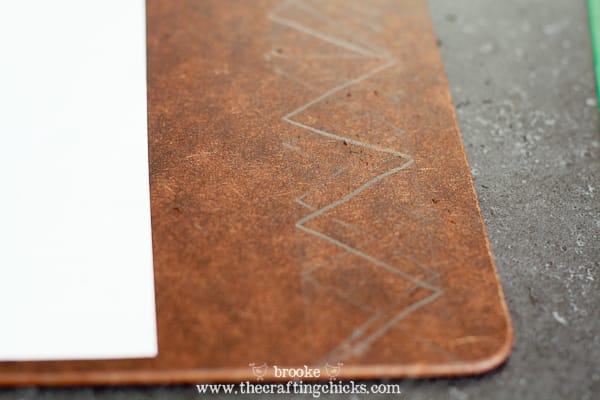
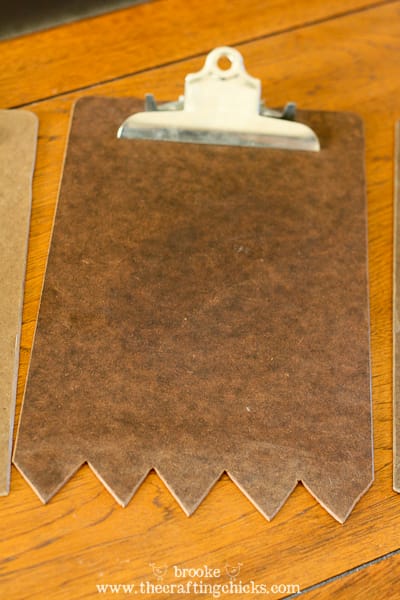
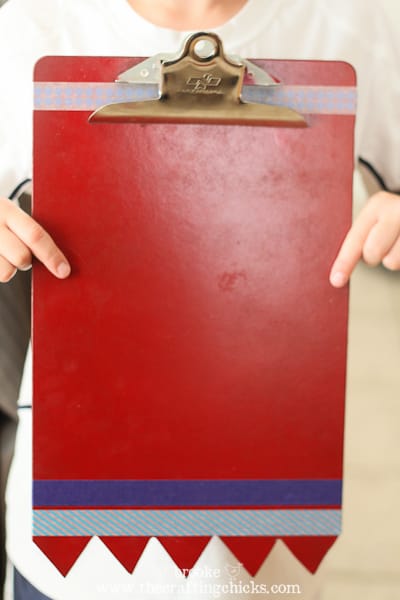
First off I determined what shapes I wanted to cut into the clipboards. For my son I chose a zig zag shape and drew it onto the clipboard with a pencil (you can probably see it took me a few tries to get it how I wanted, ha!).
Then I cut it out carefully using a jig saw. PEOPLE—THIS WAS MY FIRST TIME USING A JIG SAW! 🙂 Exciting for me! I don’t have any pictures of that step because I was trying not to saw my fingers off. But if you’re wanting to know about jig saws, check out my awesome friend Stacy’s blog, Not Just a Housewife. That girl’s got skillz with a jig (and even made a music video to prove it!).
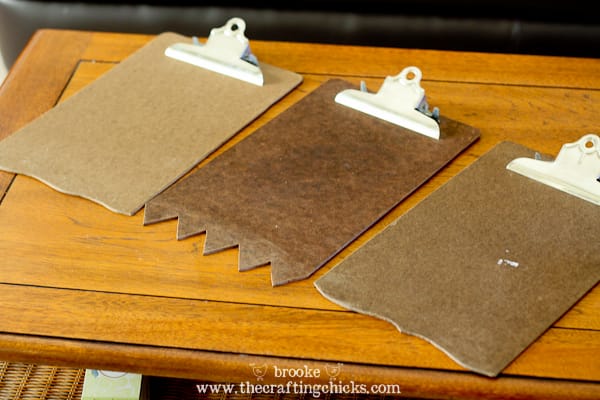
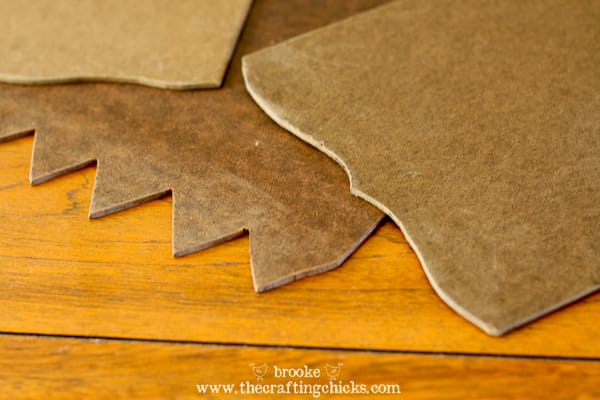
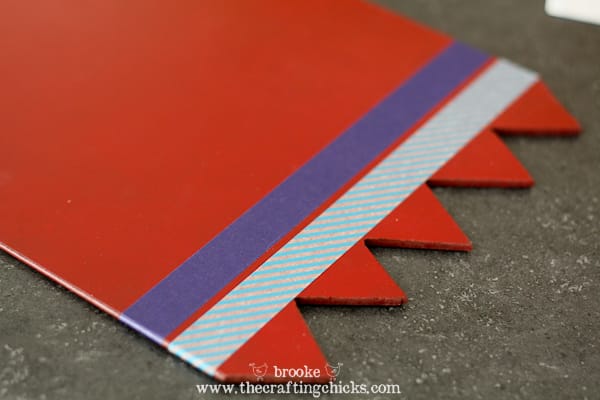
So here it is with the zig zag. Not perfect, but not too shabby for my first time. 🙂 I sanded the rough edges with a sanding block. And then I decided the zig zag was as hard as I could pull off for the night, so I did more simple shapes with the other two clipboards!
I just think the different shapes already bring out some more personality in those boring brown clipboards. I think a scallop would be SUPER cute, but I need to practice a ton more before I attempt that! 🙂
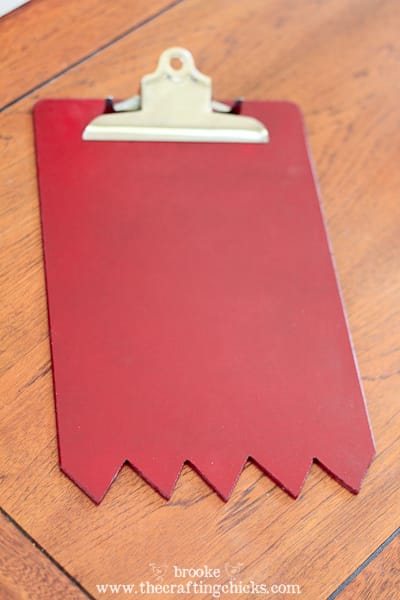
Next comes the paint. You can use spray paint or regular craft paint or glitter paint or whatever you feel like. Give it several good coats of paint and let it dry completely. You could also do stripes or add vinyl or stencils…you can really get creative with this.
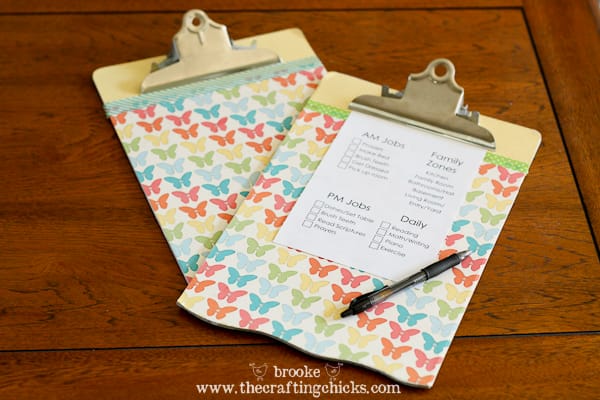
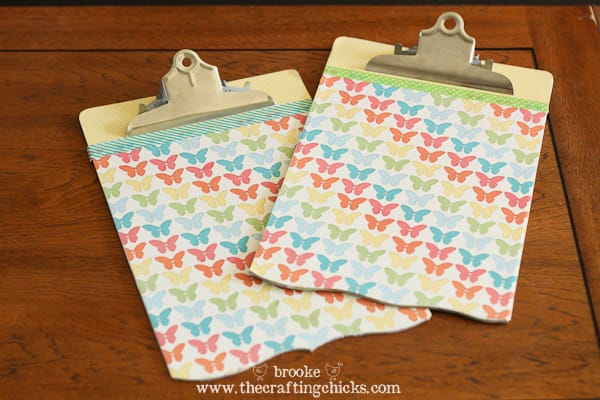
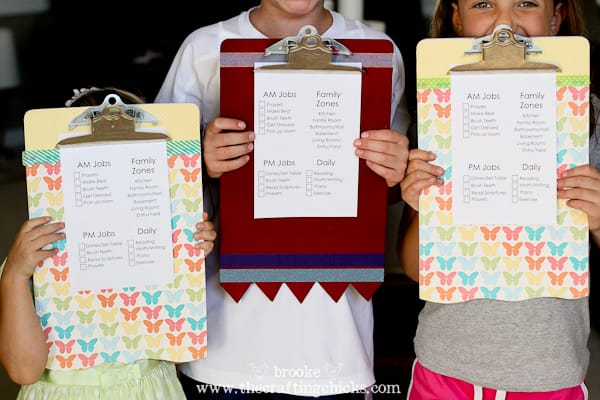
Or you could use some coordinating scrapbook paper (my girls were dying over the butterflies!) and Mod Podge to glue them onto the clipboard, topped with a strip of washi tape. See how the bottoms of the clipboards are cute and wavy? FUN.
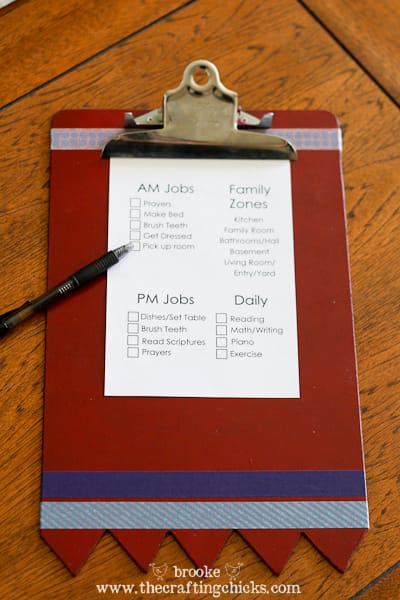
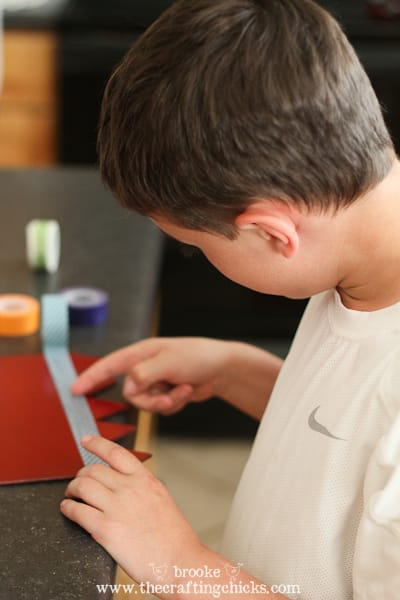
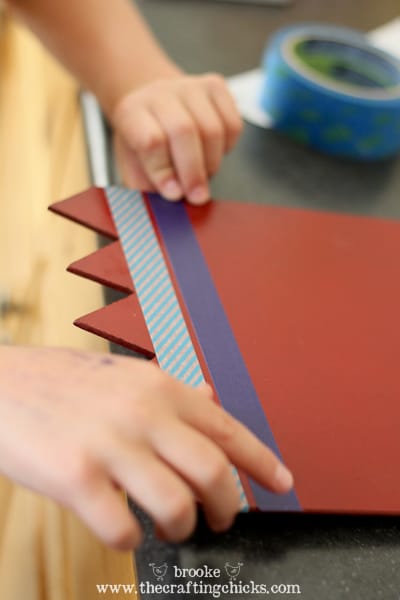
I let my son choose some washi tape to add stripes to his clipboard. SO EASY and I love how cool washi tape looks!
Lookin’ nice and snazzy. I might add his name with vinyl later, for even more personalization.
The only thing left to add is the job chart! I’m planning on laminating the daily responsibilities and having the kids check them off with a dry erase marker as they are completed–then erase and use the same sheet the next day. They LOVE having their own clipboard, it just makes it seem so official and COOL and they honestly get excited to make that check mark. 🙂 I’m going to enjoy that while it lasts.
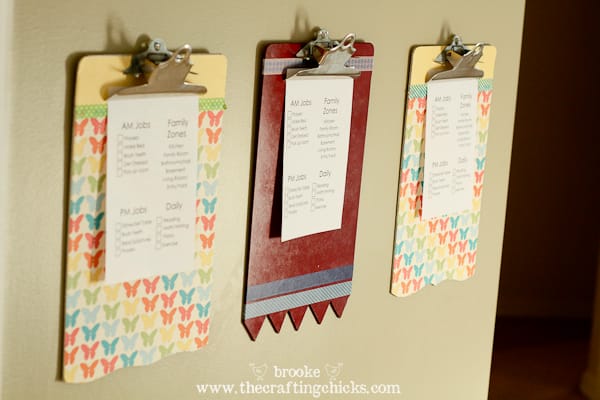
And here they are hanging on the hallway wall by the bedrooms, so it’s one of the first things they see when they wake up and come out of their rooms in the morning. 🙂
I’m hoping these shaped & altered clipboards help us succeed this summer with our chores! And I’m looking forward to breaking out the jig saw for more projects too! 😉
I’d love to hear your ideas in the comments sections for what summer systems work with your families. It’s always great to share ideas and inspire each other! Thanks for reading!

Love these! I need yo cutesy mine up in my classroom 🙂 Did you use clear acrylic spray or Mod Podge over the top of the paper? Thanks so much! Love your ideas 🙂
Thanks Leslie! Yes, I would seal the paper with either a spray sealant or Mod Podge to protect it from dirty little fingers and make it last longer. 🙂 Forgot to mention that step. Great question!
What is the purpose of your family zones list? Is that areas they have to keep picked up?
Each day we focus on a different “zone” in the house, where we sort of deep clean that area that day. So yesterday we did the Kitchen–mopped the floors and wiped the baseboards, etc. Today is Family Room, so we are dusting everything, vacuuming, etc. We all pitch in on the Family Zones each day. Hope that helps!
Oh Brookie!!! I wish you were my mom!! Actually, I love my mom!! Marge is the best!!! Rephrase: I wish I was a mom LIKE YOU!!! You’re amazing!!! Your creativity always astounds me! If I ever get my hands on a jigsaw, I would LOVE to do this to our clipboards in Relief Society. I pass around 2-3 clipboards every week. What a great way to give them something extra. Maybe people will be more inspired to feed the missionaries if the calendar is on a FABULOUS clipboard. 🙂
Beth! You crack me up. 🙂 So sweet and hilarious too! I know for a fact you are an incredible mom, just like YOUR awesome mama. xoxo
I am in love with these! So cute! My kids can’t read yet but this would work with pictures on the list for them. Great idea – pinning this one 🙂 Thanks for sharing!!
If spray painting, do you remove the clip or just tape it off?