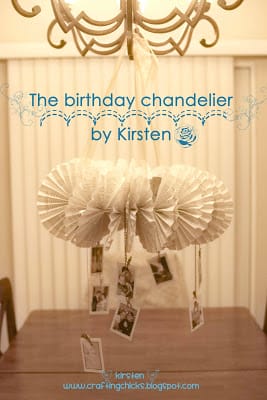
 So for Dave’s birthday I wanted to do something random and different.
I would tell you where I saw
it but I just saw the pic awhile back, and only saw it once. I ended up creating
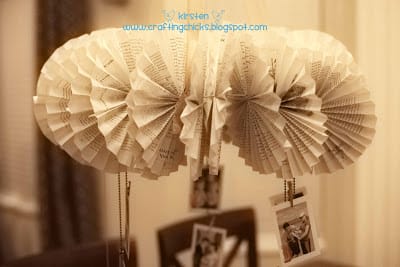
my interpretation of it: Vintage Birthday Paper Chandelier
(scallop brush created by the talented Katie Pertiet from Designer Digitals)
Assemble like so:
choose a book you can use for taking apart…I had an extra church manual.
You could look at that one of two ways…wow that’s harsh that
you would take apart your church manual…OR
you could think, wow, that chandelier has some real important
stuff in it. You can guess what I chose.
 This book’s pages were 6″x9″ with the
diameter of the finished paper circle about 8 1/2″, and
the diameter of the whole chandelier, 22″.
 You need three to make a tight circle, at least for this size.
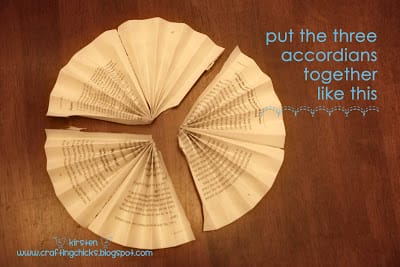 Then you do lots of taping. Take each joint near the center,
near the ends and on both sides. Then grab a snack…
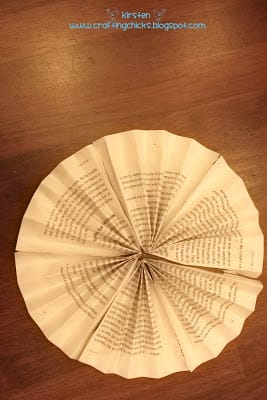 Then continue. The tape in the center should be close together so you
can put the wire hanger through it and it won’t flop around, although
I did have a few of those. I ended up making 25 circles and there were spaces
between each one. You could also do double that, and have no spaces.
At this point, you take a hanger and make it into a circle and tape
the two ends together.
Then string them all on your hanger.
 Then I used three 24″ ribbons and secured them
each 1/3 of the way around the hanger to balance it out.
Then tied them all together at the top.
On comes the really fun part. I chose pictures from our life
together, some of our favs. I attached them with
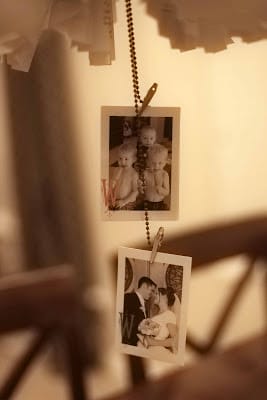
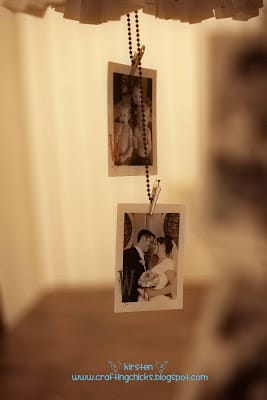
little claw clips. I added a Wedding Picture, and The Kids
with Popsicles.
 I added a silly picture of Dave listening to the baby in my tummy (my second
out of four)…we had no idea what we were getting ourselves
into for the next 3 years as 2 MORE kids came.
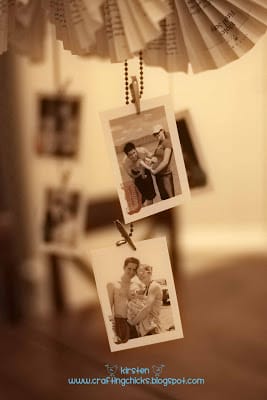 I just put 2 pics on each 4×6 and printed them at Costco, so each
one ended up at the 3×4 size, and put a picture on each side
with double-sided tape.
Then a picture of us at a UTAH STATE,
football game, when we had ONE child.
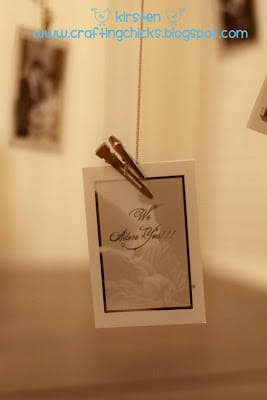
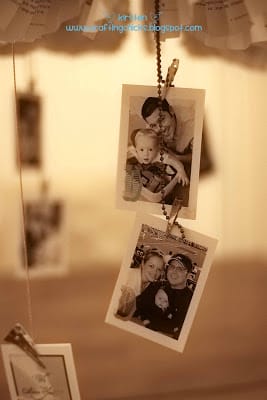 The little claw clips that you can find at any craft store clipped
right onto the antiqued brass ball chain and the copper necklace chain
I had laying around. Arrange the picture so they are at varying heights, and there you have it.
 One had a happy birthday greeting.
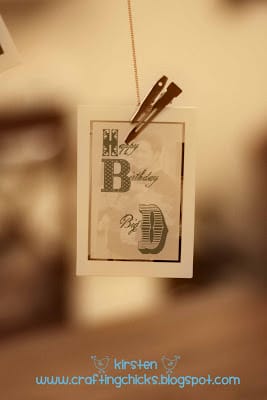 “We Adore You”
  I really liked how it turned out; it was a fun little surprise.
Now go get your craft on…Thanks all for stopping by.XOXO Kirsten

Awesome Kirsten! you clever cat!
This is way too cool for words. But I’ll still use words anyway. I love it! I’m excited to finally see it. You fancy pilgrim.
Love it! I’ve got to make one!
SO super cool! Love the photos!:)
Awesome Idea. Thanks for sharing!
That is so pretty! Thanks so much for this, I’ll be linking.
Im in awe!! My mom’s 60th birthday is coming up in Feb and this will be a beautiful piece to hang above her cake 🙂 Thankyou so much for posting this!! Now hopefully I will come across an ‘older’ book at a garage sale and get the pictures together in time!
Kirsten-
I so love this project, I think I might do it for my girls room! By the way I just saw you on Studio 5 and realized that I worked with you at Bear River Mental Health right before you left to have your first baby. So crazy! Love your blog!
Oh my heavens! I remember you 🙂 How are you? Where are you living now? It’s so great to connect with you again. Stick around here 🙂
I live in Farr West, by Ogden. We moved back a few years ago after living in VA. It was good to reconnect with you again:)
I was looking for Valentine ideas and came across the Crafting Chicks’ blog earlier this month. How lucky was I to find you Crafty Chicks! Kirsten, i just saw the video on Studio 5 and looks like it was from last year (sorry, I’m always running behind, LOL)… My 13 year old daughter and I made the chandelier with lots of love (and sweat!) for my younger daughter who is turning 10 tomorrow. Camille woke up this morning (her party is today) and walked sleepily into the dining room and LOVED LOVED LOVED it! She was so touched. I will send you an email with the photos. Thank you so much! Valerie Casparian