A minky baby blanket is a great gift for a new arrival, but the whole family will love it’s soft texture!
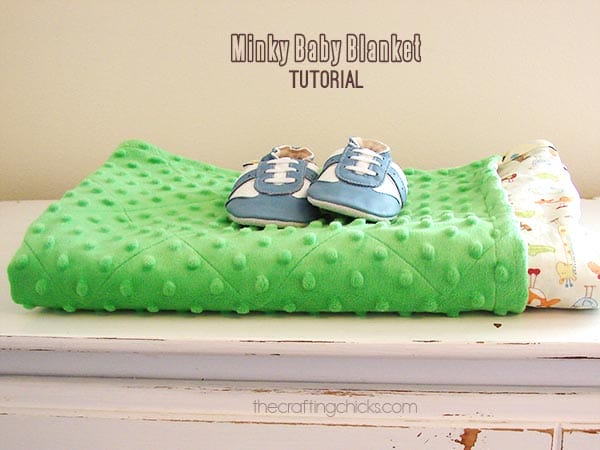
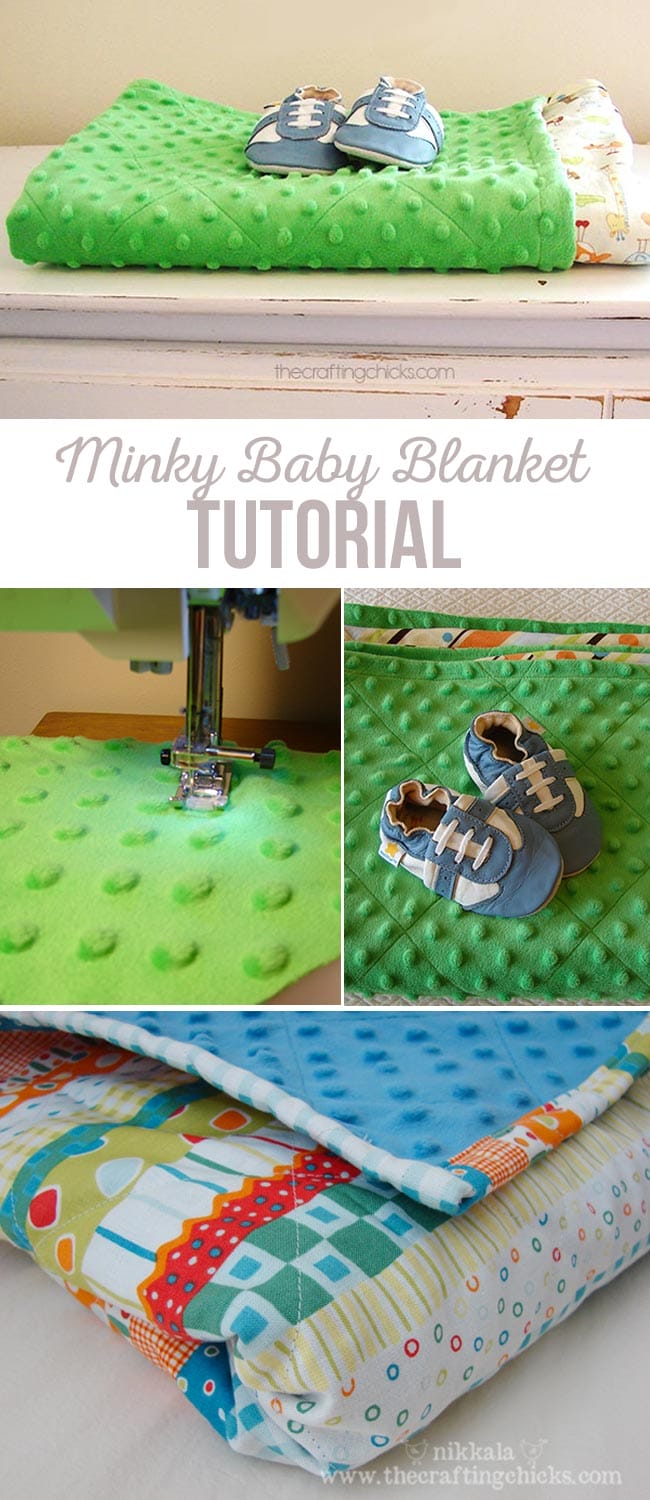
Minky Baby Blanket Tutorial
Months ago I watched a friend make one of these minky blankets and I couldn’t stop thinking about them! I found myself wishing I knew someone having a baby, just so I could make it. Everything about it is the perfect baby blanket. It is soft. It is just the right weight. Not too heavy and not too light. And best of all they are stinkin’ cute! Luckily, my brother and sister-in-law gave me a new little nephew to make one for.
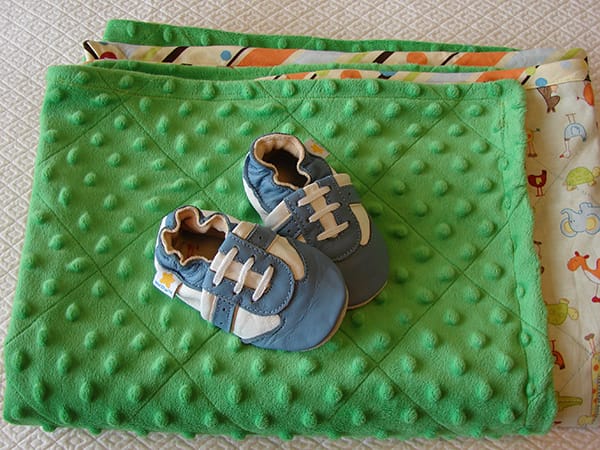
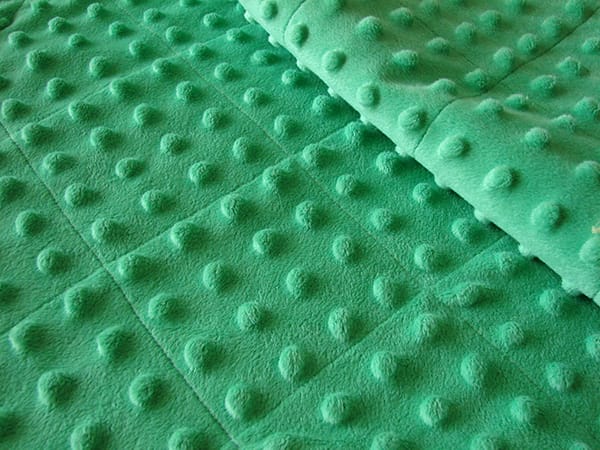
Oh yeah, and it is easy. There’s no piecing and no turning needed! The quilted look comes by sewing straight lines between the minky dots. Every 4 dots you sew a straight line down between the dots and then turn 90 degrees and do the same thing. Because of the dots there is no need to mark where to sew!
Instructions:
1. Cut fabric and minky to the same size. (I used 42″ squares)
2. Place fabric wrong sides together. There is no turning, so sew it like you will see it when finished.
3. Pin in a few spots to prevent fabrics from shifting or stretching.
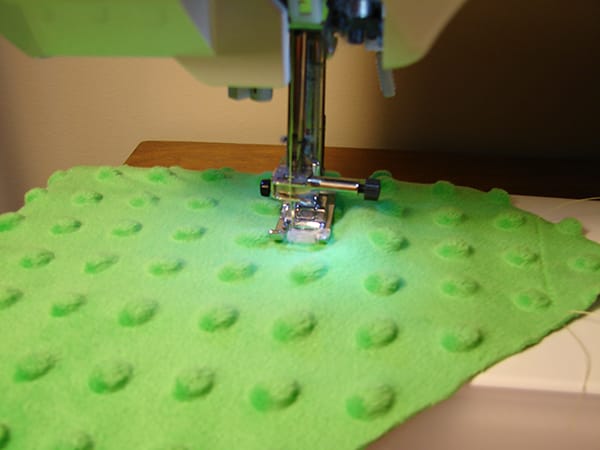
4. Sew straight lines between minky dots. I went every 4 minky.
5. Turn 90 degrees and repeat step 4.
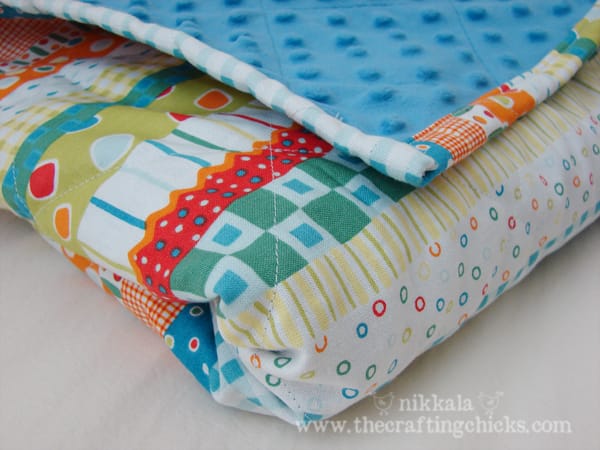
6. Once sewn, trim sides so they are square and bind with coordinating fabric!
Binding
If you are new to quilt binding, Heather Bailey has a fantastic tutorial. Or if binding intimidates you, check out Minky Baby Blanket Simplified for a much faster way to finish this blanket!
I’m seriously in love with it. And even though it is being shipped off to Hawaii I know it will be a blanket the little guy will love even when he is a bigger guy!
Heck–I’m a grown adult and I want one!
You might also like this muslin swaddle blanket and other baby projects.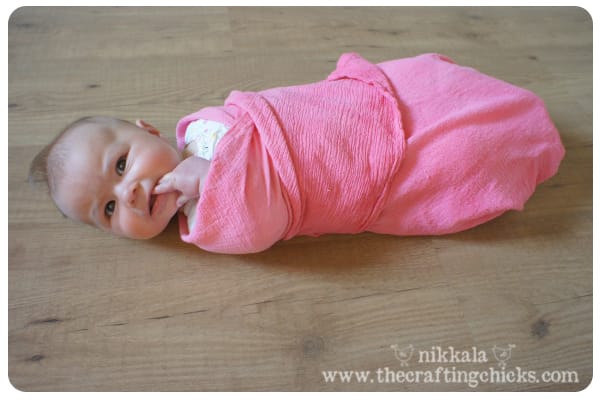

LOVE it!!! I might have to try and make one, I think I may be able to do it!
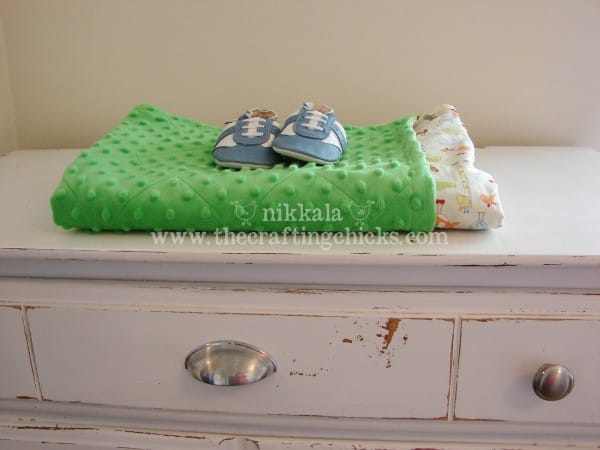
Love the photo on the white dresser, what a great dresser!:)
This is so cute and even seems like something I might be able to do! I can sort of sew in a straight line. 🙂 And I want one for me now. 🙂 What a great gift too.
I am making these! I love it! I could make mini ones for abby’s baby twins! Thanks Nik!
I have 2 yards of pink minky and coordinating fabric that have been sitting next to my sewing machine for 2 weeks now, but I’m so glad I waited for this! Thank you!
Do you know what setting the machine should be on to sew wi minky ?
When I sew on minki, I lengthen the stitch and always use a walking foot.
This blanket is so cute. If you sewed another line through each square (so its 2 dots by 4 dots) It would look just like lego blocks. That would be super cute too!
Theresa I love the idea of the Legos! My boys would totally dig a Lego blanket! We’re Lego fans.
It’s so pretty and soft looking! AND, by reading the instructions, it seems like something even I could make!
So cute and giftable. Thanks so much for this, I’ll be linking.
Very cute! I’m making a tag blanket right now with some minky squares and a warning to all…..don’t iron the minky fabric! The fabulous dots disappear!
I was on another website earlier and someone had ironed the dots as well. but was told that once washed the dots will Pop back up. 🙂 Goodluck
I learned that the hard way – I ironed a baby quilt that I spent a lot of time on and it DIDN’T pop back up. UGH!
I am in the same boat! I ironed the cotton side of the blanket because it got wrinkled. The wrinkles came out but so did the Minky dots!!! I don’t know how to get them back!! Does washing again really bring them out again??
I love this blanket. It is so sweet. I LOVE the colors.
This would make just about the sweetest present ever.
I would love for you to link this up to my Christmas in July linky party.
I am so excited I found your blog and now I am going to spend part of kiddos nap time looking around.
I hope to see your project on my blog soon!
Just Another Day in Paradise
ADORABLE!!! Anything you did to keep the minky from stretching? I’ve been trying to make a four square baby blanket with flannel and minky and a satin back and I’m having a heck of a time. Maybe I should just use the minky and flannel and save the satin for another project…
I pinned the two fabrics together every 18 inches to keep it from moving too much. But then just trimmed after I was done because it did stretch a little!
Ok, I am making one these this week! BUT, I am completely clueless when it comes to quilt binding–I’ve always turned. I’m going to be adventurous and try it though. I’ve read the tutorial you linked and it mostly makes sense. I’ve also watched some tutorials on YouTube. Any other little tips you have?? I see that you didn’t bind it to the back but instead turned the edges in and stitched? How did that work? Did you still do it by hand or with the machine? I appreciate your help!
It is machine bound. It is so much faster holds up better with a lot of washings (like a baby blanket gets). On the blanket I sewed the binding to the back, but then folded it all over because my binding tape ended up being too narrow. So if you do it right you’ll have half of the binding on the back and half on the front. Binding seems scarier than it really is. The corners are the trickiest part, but luckily there are only 4 of them! Good luck and let me know how it turns out!
What color thread did you use?
I think it was light blue.
did you do a different binding on each side? I thought you just took a strip folded it over the edge and sewed it down.
I did a follow up post for the binding you might find helpful. https://thecraftingchicks.com/2011/08/minky-baby-blanket-simplified.html
I’m curious about how the “quilt” stitching looks on the other side of the blanket…on the printed fabric. Can you just stitch the minky first, then put it together? Or do the squares also help hold the blanket “together”? Thx!
Stitching the whole blanket does keep it together. You can see a better view of the front in this post https://thecraftingchicks.com/2011/08/minky-baby-blanket-simplified.html
Looks great! I’d love to make these with NFL fabric for my sport’s friends with babies. Your minky fabric looks great! I’m curious where you buy from.
I was wondering if with these cute rag quilts can I add a thin layer of that quilt stuffing stuff between the two fabrics before I saw the quilt?
I have twin nephews and they are very tiny and get cold fast. My niece usually has them wrapped in a recieving blanket with their crib comforters ove them poor little boys. I think these rag quilts will be a very nice Easter present for them!
These are gorgeous and look like a fun project. I have hunted around for Minky dot fabric and cant find these bright colours, just white / baby blue / baby pink. Any tips on where I might be able to buy better and more vibrant colours. (want to make my daughter one with strawberry print cotton and red or bright pink 🙂
I bought fabric at Hobby Lobby yesterday, and they had several bright colors in the bumpy minky fabric! It was $12.99 per yard, but it was on sale for 30% off. Here’s the link to the online store: http://shop.hobbylobby.com/store/default.aspx?DepartmentId=7556.
It seems like there more colors in the store. Hope this helps!
Try using a spray adhesive instead of pins. With minky, it will change your life forever!
Well, I hope this is what my wife is looking for! She wants to start sewing again, and her first project is to sew baby minky blankets for her first coming child and her sister’s second child. We will have to see how they turn out. Thanks for the great tutorial!
Thanks for this tutorial! I started one this afternoon for my friend’s baby girl. But I hit a bump in the road when I started sewing the lines between the dots- when I finish a row, the minky fabric looks smooth but the other side is rippled. Any thoughts on how to stabilize it better so that doesn’t happen? I’ve found that if I sew with the minky side down it works better but that’s very time consuming since I have to measure to get the lines right without being able to see the dots.
I am making a jelly roll quilt in an hour this week. Would it work to use this Minky on the back? it’s a larger blanket for my older kiddos to snuggle under on the couch.
Great tutorial. Thanks!
I wanted to Thank you for the guide for this balnket. I made one following your steps and it was a big hit with my friend. I have pinned a picture here: http://pinterest.com/pin/515873332286803022/
I want to make a few of these but I ‘m wondering what type of fabric you’re using with the minky. Is it flannel, knit or cotton? It looks like a knit or heavy weight cotton but I cannot tell for sure. Also, did you pre-wash your fabric before sewing? If not, was there any shrinkage once it was washed? Thank you so much for sharing this tutorial. I’ve been looking for something quick and easy to make for 3 different babies. (mine included :D)
I use cotton, but you could use flannel if you want a warmer blanket. I’ve never pre-washed and haven’t had any problems. Good luck!
Thank you Mikkala! I’m going to buy my fabric tonight. Hobby Lobby has their Minky on sale for 30% off, sale ends tomorrow. (It’s only $9.09/yd!!) I’m stitching these together this weekend.
Fabulous tutorial! I having baby #3 and never made a baby blanket, so I hope to make matching ones for all of my boys and this looks simple enough to even me! How much fabric (yards) do you need for one blanket this size? I always way overestimate and have tons left over…
I’m going to try this this weekend, with the simplified version! Except instead of the dot minky I bought the chevron. Gotta figure out which way I should sew since I don’t have dots to guide me “/
Depending on the pattern on the front of the fabric, the zig zag on the chevron would be really cute to follow!
I’ve considered that but the fabric on the front is a circuit board. So there are many lines – I am considering following one of those even though it is not continuous it is repetitive.
I’ve been wanting to back a baby quilt with minky but I’m afraid the shrinkage won’t be compatable.
love the quilt…one question on the binding…it doesn’t look like it goes over onto the minky side. Please confirm it is only on the contrasting fabric side…I am new to quilting and binding, and have only done it when the binding is on both side…help!!!!
The binding is on both sides. I had some problems with it, so it isn’t very even and the one side has hardly any which is why it looks different.
I was wondering what settings should I have my machine on to sew with minky 🙂 thank you
I don’t change anything on my machine, just sew on the usual settings that I use for everything else.
Love your minky blanket. I struggled terribly with minky fabric to make a baby quilt. You make it look so easy. You can see mine here: http://flyawayhome-4am.blogspot.com/2013/01/braelynns-minky-blanket-done_14.html
I was soooooo happy when I was DONE! Great blog by the way.
I was wondering what settings should I have my machine on to sew with minky 🙂 thank you
Do you sandwich fabric in between like a flannel filling or is it just the two fabrics? Trying Minky for the first time YIKES!
It’s just the two fabrics. Have fun and good luck!
Hi. I have all my fabric cut out. But the fabric are hard to keep together. Could you use a spray adhesive to hold them together. And do the sew the outside edges together first. I love love love this idea.
You probably could use spray adhesive, I’ve always just used safety pins to hold it together. And haven’t had much trouble. And nope, you’ll sew the middle before sewing the edge.