Hi. My name is Elizabeth and I blog with my sister-in-law at Simple Simon & Co. We are two girls, who married brothers and ended up with the same names. Yes, it’s very confusing sometimes. But we joke about who is the “good” Liz and who is the “bad” Liz at any given family event. We both love to sew, make all things vintage modern again, and are both former school teachers. Come and see us sometime!

One thing you will notice about me on the blog is that I love to make skirts. They are one of the first things I learned to make as a teenager, and I love them because there are a million possiblities. And now that I have an 11 month old crawling EVERYWHERE, I love them even more because they are a one nap project. YES!
And circle skirts. Well, they are just up there on my skirt list. Probably because they are one of the first things that I started sewing when my daughter was born, after pillowcase dresses, and simple elastic waist skirts. They are fast, perfect for any age and very cute on. Another YES!
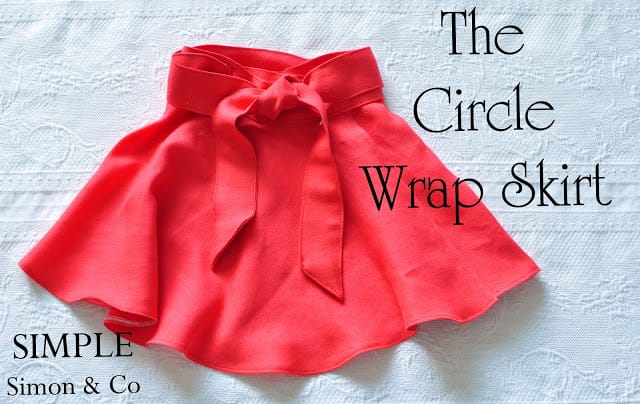
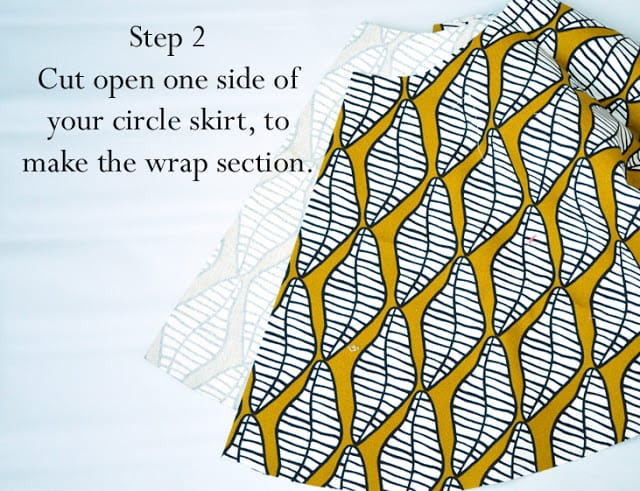
And today I am showing how to take this simple circle skirt pattern and turn it into a wrap skirt. Easy and fun….and perfect for any sewer.
Ok, first you have to make a circle skirt. If you do not know how to do that, click HERE or HERE. Just follow the tutorial for CUTTING out your skirt only. (Although I learned to do it with a tape measure and pins, more like this tutorial…so choose whichever one you like:)

Allright…let’s get started. (Ok, I am switching fabric on you….this fabric below is a darling skirt….it just didn’t photograph well. And I am secretly kind of glad because I then made the melon colored one that Iam in LOVE with. So summery and fun.)
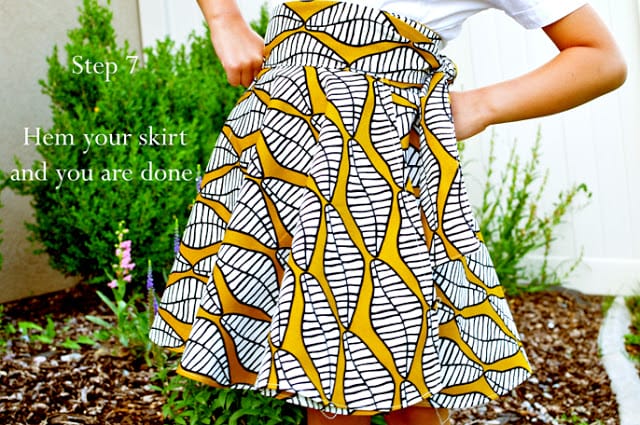
There you go! Enjoy your wrap skirts! (And now I am off to make a few for myself….)

Thanks for having me girls!!!!!
I LOVE this skirt and would love to make one…but I’m a little confused (being a beginner sewer and all 😉 You lost me with the button hole step. Could you be a little more specific about the wrap/button hole part of the process?
I made my first circle skirt a week ago–this is soo much cuter! Looks like I’ll need to make another :). And the starboard skirt on your site is awesome too! Now to find something to occupy my boys so I can get a little sewing in!
Cute! I’ve been wanting to make myself a circle skirt (or six), but wanted to dress it up a little bit. I think I’ll adapt this and make it with an elastic waist but make a tie to go around the waist so it looks a little bit dressier, but without having to hem any extra edges. Thanks for the inspiration.
Bethany,
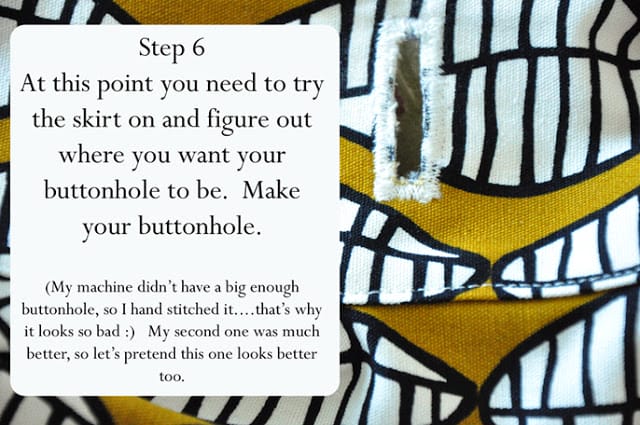
The button hole is for one side of tied end to go through the waistband and wrap around your body. This placement will be different for everyone. All you do is wrap the skirt around yourself (or your little one) and decide where you want the tie to go through the waist band. Then put the buttonhole in where you marked. You can then tie up your skirt.
Or, if you don’t want a buttonhole…..just wrap one of the ties higher on your waist than the first….and continue to tie the ties in the front. You don’t have the have it….that might be an easier beginner trick.
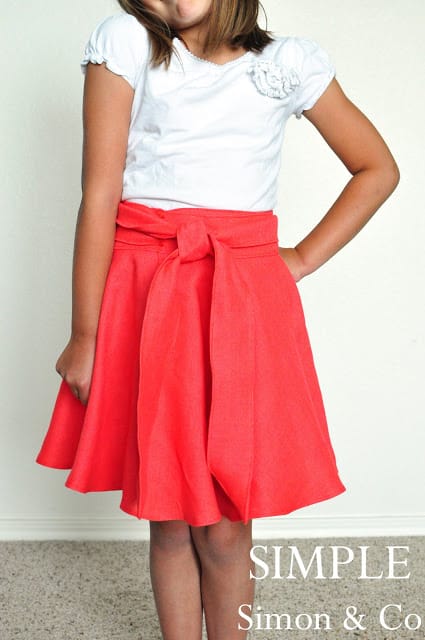
Ok I have probably confused you more, Bethany. Click on the picture of my little girl wearing the melon skirt and white tee. If you make it bigger you can see the buttonhole to the left of the ties in front.
See how the right side waistband tie is going through it, and then going around the back, and to the front again to tie the skirt? That’s what the buttonhole is for.
Does that make more sense?
Here is a video to put one on and tie it….you will see a buttonhole on her skirt.
http://soulflowerbuds.blogspot.com/2011/01/how-to-tie-wrap-skirt-tutorial-video.html
Now I REALLY am being annoying with all my comments….sorry.
Elizabeth, this is so cute! I am totally a newbie at sewing, but this makes me want to try! :0 Thanks for being a guest here.
I am confused on cutting the waistband pieces. Triple the length of the radius??? does that mean if my radius was 4.4 that I would only cut 13″? That doesn’t seem right since in the pic her ties are so long. And am I cutting one or 2 of them? Thanks!
Tanya,
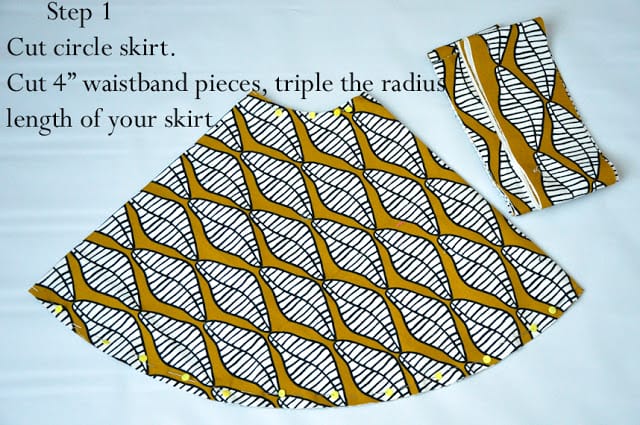
After you cut out your circle skirt…you need to triple the length measurement of the top (the radius part) of the skirt. Sorry I should have made that more clear in the tutorial.
I made a size 5/6 and the length of the top of my skirt (where I cut the radius) was 25 inches…so I made the waistband (pieced) 75 inches so it could wrap all the way around and then tie in the front into a cute bow or knot.
Hope that helps.
No, Elizabeth! Your comments are great! I totally get it now! 🙂 Now I just have to make one myself. 🙂
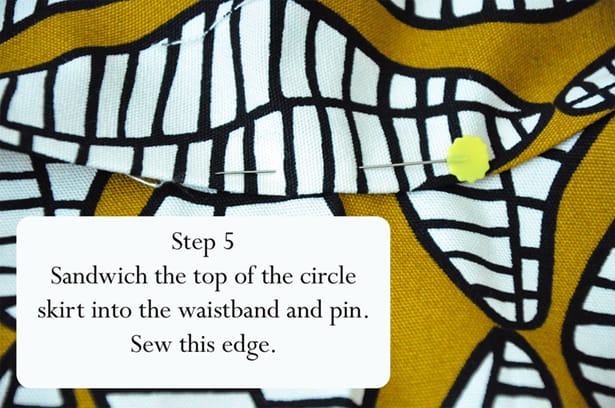
Quick question. When you sew the waistband onto the skirt, how do you place it? Is it centered exactly? Is it longer on one end? Just a matter of preference? It’s going to be my next project! (After the two I already have lined up, of course!)
This is gorgeous! Thanks for sharing!
I made this for my 7 year old for the first day of school. She looked ADORABLE and everyone asked where she got it. THANK you for such a wonderful tute!
The word you are looking for instead of ‘length of the radius’ is circumference. This might make it less confusing. I had NO idea which length was being spoken about until I read the comments but I am sure this would clear it up. LOVE the skirt by the way!
Oh my, thank you for confirming this for me. I was sure it meant circumference as well.
I love love love this skirt! I just made one in a beautiful red/orange, thanks for the tutorial! 🙂
what kind of fabric did you use for the melon-colored one?
i have just made a circle warp around for my little daughter and can’t tell u how happy she is wearing it …….love the way u have explained it and shown how to sew it ….i am just a beginner and this is the first piece of work that i have done ….great job..thanks
silly question… how do you determine how much fabric to get when making this for an adult?
and what type of fabric ?
I figured how much fabric i would need to get, after I looked through the circle skirt tutorials – one them explained it well.
The other questions: what type fabric worked for you? (since late have issues picking the right fabric for the project) In step 5, did you center the middle of the waist band to the middle of the circle skirt, couldn’t really tell on the photo? In step 6, where is the button hole, in the band or on the circle skirt.
by the way, beginner sewer
Can you tell me how to triple the radius? also how to I lay this out on the fabric?
Would you alter this at all for use with a fairly stretchy knit fabric?
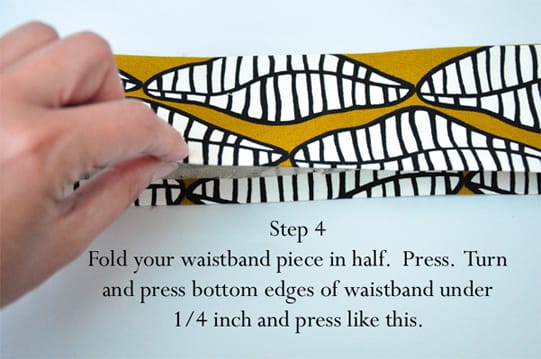
When I cut out the waistband 4 inches wide, it made it much smaller than the one in the pic when I folded it in half to sew to the top of the skirt…does that mean the cut should actually be 8 inches wide? Thanks~ this skirt is so cute!
I love this skirt but I’m sorry how do you know how big to cut your skirt ant at what angle
I love this skirt design and would love to make this for my grand daughter’s American Girl doll. Not sure what the measurements would be for that. Any ideas?
Thanks so much!
What is the leaf fabric you used, where did you buy it?
So pretty; I think it’s better to work with cotton fabric when to start with your initial projects.
This is my first circle skirt (let alone wrap around :-))…my first real sewing project using a machine actually…so please bear that in mind :-). I feel I’m doing pretty good so far…I’m on the sandwiching part where the raw waist edge gets sandwiched between the folded waistband. I had assumed I should kind of force the straight waistband section (the tie) to follow the curve of the raw waistband (not try to make the curved waist go straight), correct?
Awesome.. thank you
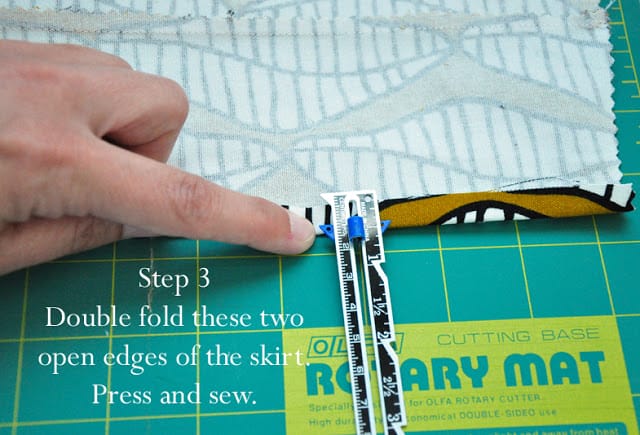
I wish the instructions were a little more detailed. I’ve looked at this several times and am still perplexed on how I attach the wrap belt? And when do I sew the sides back up? Where do I place the buttonhole? This leaves a lot to be questioned.