Family Lacing Cards::Bloggers Best 12 Days of Christmas

Hello, friends! I’m Kierste, the girl behind the blog Simply Kierste, and I’m delighted to be here! I adore the Crafting Chicks, and it’s so fun for me to be a part of the 12 Days of Christmas series, and share a really fun, easy, and inexpensive gift idea – Family Lacing Cards!
We live far away from all of our family–most of them live thousands of miles away, and my sister is the closest at twelve hours away. We don’t get to see them as often as we would like, but it’s important to me that we do things to keep connected, and to help my kids know their family. I thought it would be fun to make a set of family lacing cards for my kids for Christmas a couple of years ago, and they LOVE them. I made a card for each of our siblings, and their families, and it’s so fun to have their cute faces so often.
![]()
It’s a perfect gift for either your kids, or for other family members–with a card of your family, of course! I love to tuck them into our church bag, into my diaper bag for visits to the doctor and other times we have to wait, and into the car.
This is a very easy project, and can be put together in an afternoon! It’s also extremely budget-friendly–I made this whole set for less than $10, with the majority going to the lamination.
![]()
ITEMS YOU NEED:
-white cardstock
-coordinating cardstock
-paper trimmer & scissors
-hole punch
-printer
-pictures of choice
DIRECTIONS:
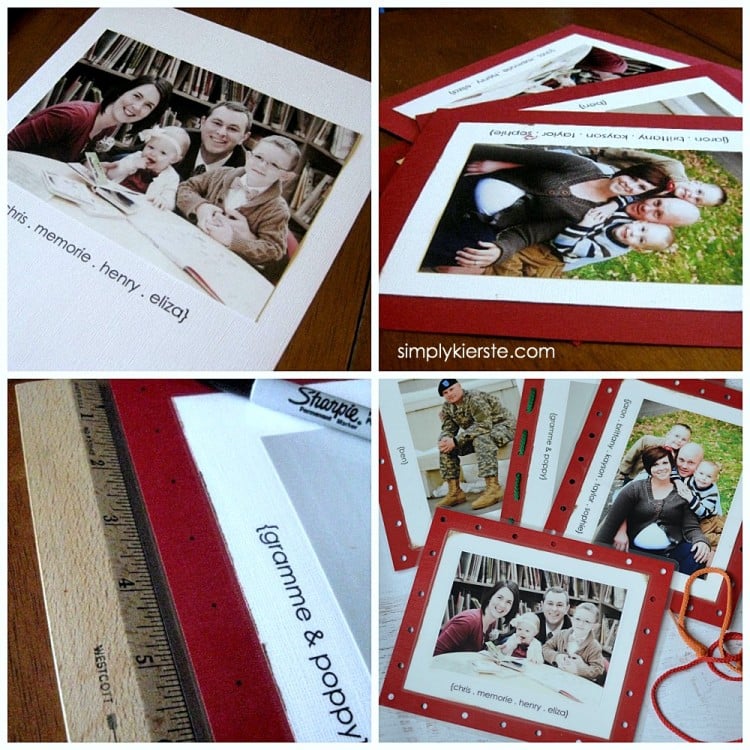
1. Develop 5×7 pictures of your family. On white cardstock, print the names or other text a little below the middle of the page, giving room for the picture to go above it. Once it’s printed, adhere the picture right above the text using double stick tape. (Font = century gothic)
2. Trim the white cardstock, leaving about a 3/4 inch border around the edges. Mat it onto a coordinating piece of cardstock–I decided on red. Trim all edges to be even.
3. You’re ready to laminate! I took mine to Office Max, and had them use a 7 mil laminate. I wanted it as thick as possible, and the 10 mil wouldn’t work with all of the cardstock. Trim the laminate, leaving a small border around the edges. ***Make sure you round the corners afterward–the edges are very sharp! If you have a laminator, you can do it yourself too! I also have a laminator, but I wanted it a little thicker than mine can do.
4. Using a ruler and a Sharpie, decide where you how far apart you want the holes, and make a small mark. Punch the holes over the mark you made with your hole punch.
That’s it, you’re done! You’ve got darling family lacing cards!