Photography: Editing Your iPhone Images
Hello again! Michelle here and today I’m talking about Photography and making the most of your iPhone photos. I know that you probably have thousands of photos that mean the world to you on your phone right now… I currently have 11,244 photos and 525 videos!!! omgoodness and I have to admit that those are all from this past year!
I use two cameras every single day. My Canon 5D Mark iii and my iPhone 6 (I’m holding out for whatever amazing phone comes out this fall). There are so many apps and filters and resources for photography on the iPhones of today, but I wanted to share with you my process for my iPhone images. There is a fine line between being obsessed and taking 40 shots for that one awesome image… or just taking a couple good images and still being present and involved in the activity that is happening around you. My goal is to never become so involved in getting an image that I’m not present with my family. There is of course a time for both instances of course. There are times that I become a little crazy and my family lets me know. So….. what do I do from taking a photo to posting it on my Instagram account?
First and most importantly, come follow me on Instagram
Camera
I use the built in camera of the iPhone to take my photos. I use the “photo” setting. I’m a wide angle kind of girl and I love to get as much into the frame as I can. I feel like the square setting limits a lot of what I can pull into the frame. There are camera functions within many of the photography apps, like VSCO, Instagram and countless others that you can use as well.
Taking Your Images
I look for light when I’m going to take my photo. The most beautiful photos include natural light, whether they are outside or inside my home. Turn your subject so that the light is most flattering on them. Avoid very harsh light and raccoon shadows in the eyes.
Editing Images
I try to be spontaneous with my picture taking on my phone and not focus too much on editing them. I also keep my edits simple and clean. I have three favorite apps that I use for editing.
My first go to app is Photoshop Fix. I use this for the most irritating issue… that angry 11 between my eyebrows or a pimple, scratch, or jelly goo on one of the kids’ faces. Use the healing brush, click and poof it’s gone! If you are a Lightroom user, there is also a Lightroom app.
Next I use an app to edit the look of my image; color, contrast, brightness and sharpness, etc. My favorite app to use is VSCO. I use some of the VSCO presets in Lightroom when editing my photos from big girl camera, so there is some consistency when using the app. VSCO gives you a wide variety of tools to use for your images, including the vertical and horizontal tilt of your photos… for those people who for some reason can’t always take a photo straight. That would be me! Here are two examples and my settings in VSCO.
This morning we ventured to the awesome donut shop in town and this little guy was overwhelmed with the cookie monster in front of him.

All of my color images were edited with the A7 preset and I used the X2 preset for my black and white edit. Once I choose my preset or the filter that will be on the image, I then make the fine adjustments that are found under the tools. For the above two images I made the follow adjustments. Clarity +1, Shadow Save +1, Sharpen +1, Fade +1, Highlight Save +3, Tint +1, and Skin Tone +1. Most of my adjustments were very minor. The only difference on the black and white version was a little added in grain of +2
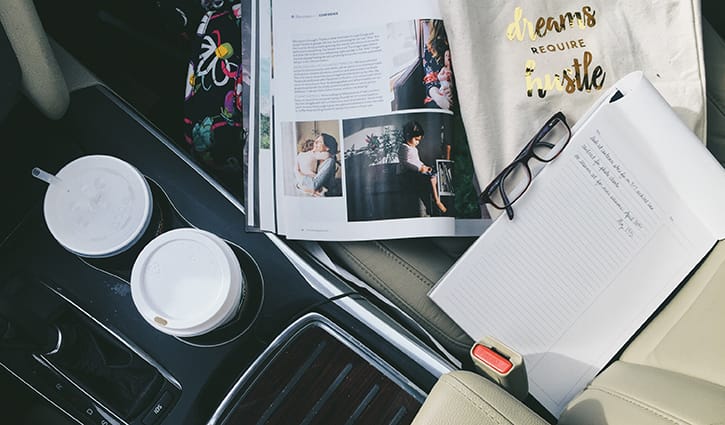
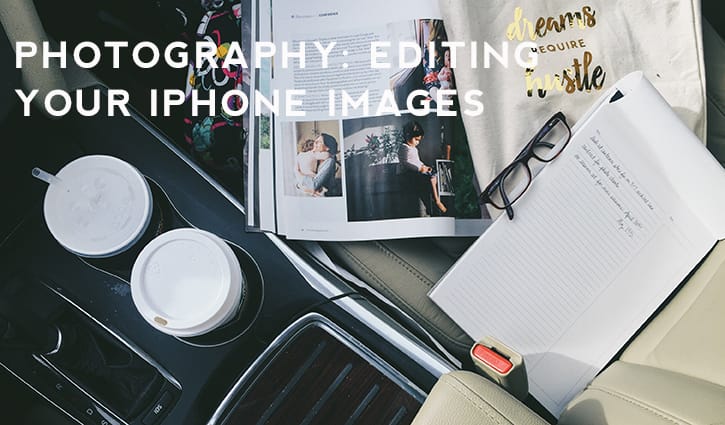
This image is one that I used on Instagram to show what my car office looks like when I’m waiting for the kids at rehearsals and practices. This image was also the A7 preset with the following adjustments: Contrast +1, Highlights Save +3, Saturation +1, Sharpen +2, Clarify +2.
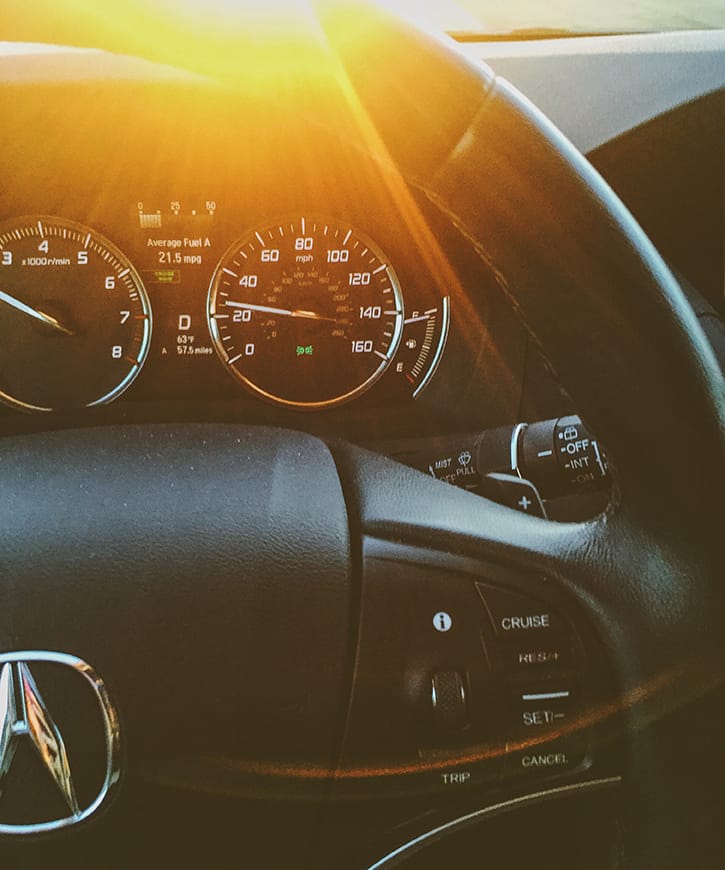
I’m a huge sucker for sun flare. Some avoid it like the plague, but I love love love a beautiful huge sun flare. This image was also done with the A7 preset. I went a little more drastic with my adjustments to bring out the sun flare more dramatically. Shadows Tint +7, Temperature +1, Highlights Save +6, Clarity +6 and Saturation +1.
I will also use Pic Tap Go for a quicker edit and also Instagram. In Instagram, I typically don’t use the filters at all but instead use the tools similar to VSCO to edit the images. In the end, the goal is to make your image look as close to real life colors as possible while adding a little extra oomph and interest. Avoid filters that make you look like an oompa loompa or an alien. Scroll through the multiple filters and find your favorites. Using consistent filters for editing will give your photography a consistent and clean look.
Backup
Since I have 11,244 images, backups are essential. Make sure that your iCloud is up to date and is backing up your images continuously. I’m terrified of a crash. I also use my external hard drives to periodically backup my images as well as an online backup system. I pay a small $3 fee each month with iCloud for an increased amount of storage.
I hope that you have fun doing quick and consistent edits of your iPhone images… and remember to be present and involved in the activities and get in those photos! Come visit me at Michelle Lea Creative.
-Michelle