Christmas Music Wood Slice Plaque

For this project, you’ll need the following supplies:

- Wood Slice (I got mine at Michael’s with a 40% off coupon- making it under $4)
- Printable Sheet Music or old sheet music from a book
- Mod Podge/Brush
- Merry and Bright Laser Wood Cutout (also from Michael’s)
- Gold Paint/Brush
- Gold Glitter
- Hot Glue/Glue Gun
Make a Wood Slice Christmas Carol Plaque
1. Cut your Christmas sheet music into strips and trim to fit on your wood slice. It took a little playing around with mine to get it how I would like it.
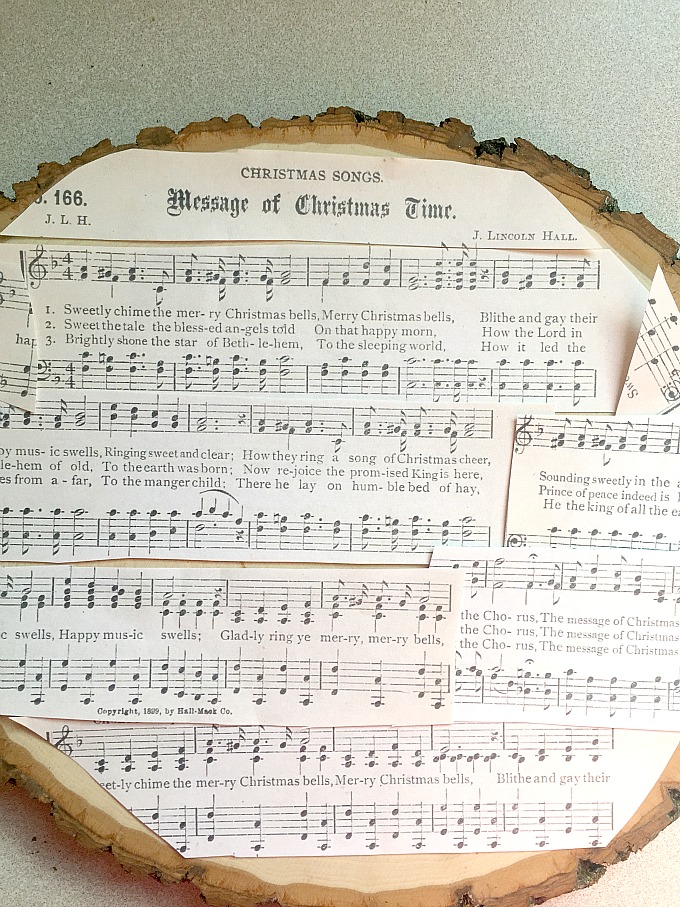
3. Apply another coat of Mod Podge on top of your sheet music. Since I printed mine with an inkjet printer, the Mod Podge kind of smeared some of the ink and made it look old and worn- which I loved!

4. Paint your wood cutout with gold paint. Mine took two coats. After painting your LAST coat, IMMEDIATELY apply glitter all over the design before the paint dries. I literally dumped and spread a whole tube of glitter on this! Make sure you do this on newspaper or something to catch the excess glitter to reuse. By doing it this way, most of the glitter will stay locked in as the paint dries.

5. Let dry, then shake to remove excess glitter. If desired, spray your cutout with a sealer to help keep the glitter in place even more.
6. Hot glue your wood cutout onto your wood slice.
7. Display your creation on a small easel or prop up on a shelf. This adds a fun sparkly touch to your Christmas decor!

I hope you loved this project as much as I do! Stop by my blog to see some of my other glittery Christmas projects, like my Glittered Reindeer Sled

and this Wooden “Just BeClaus” Sign!

Happy Holidays!