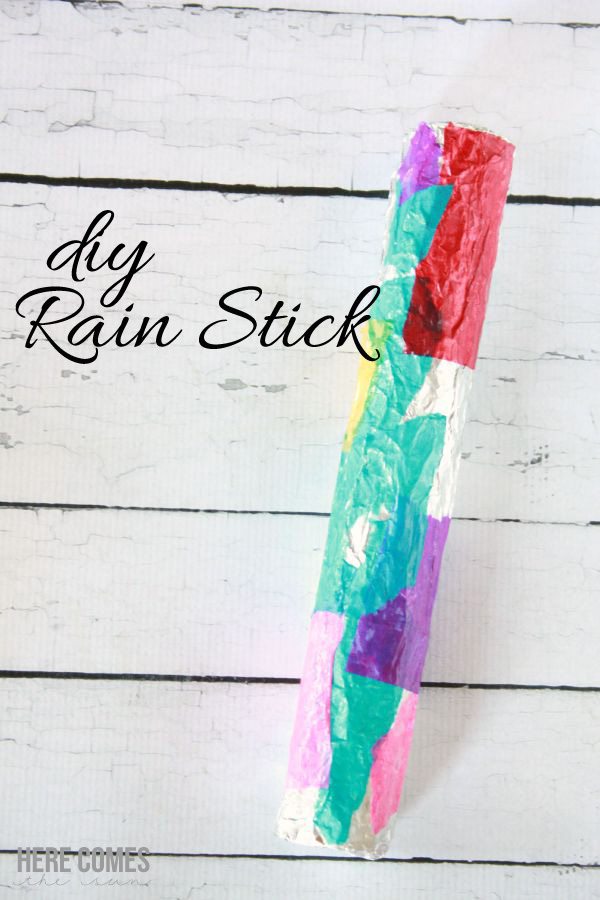
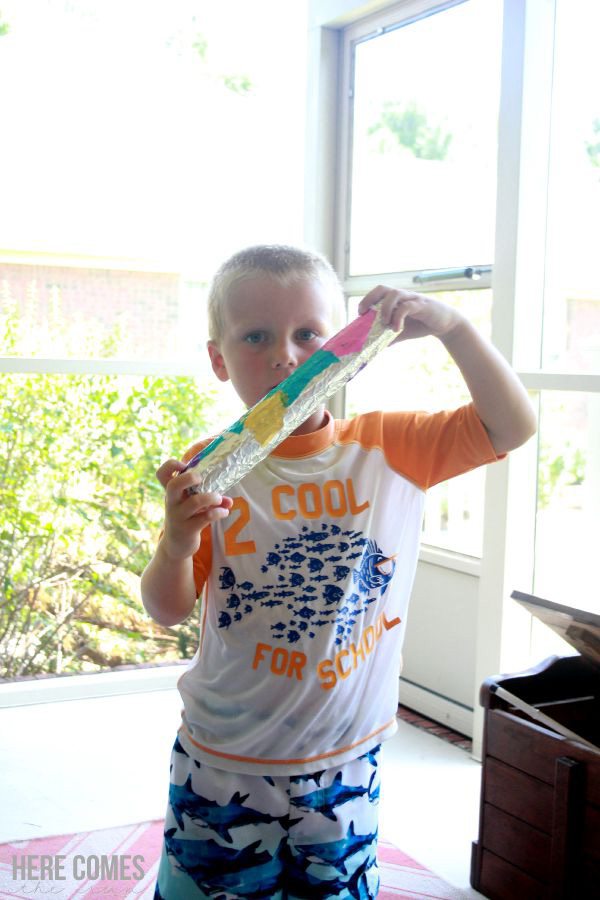
Hello Crafting Chicks readers! I’m Kelly and I blog at Here Comes the Sun. I’m so excited to be here today for the Summer Series. Summer is in full swing and about this time every summer is when “I’m bored” wails start to be heard much more frequently. Sometimes when the kids get antsy, I wish I could just sit outside during a summer rain and listen to it fall. That sound is very soothing to me. Dreaming of soothing sounds, my son and I made DIY Rain Stick together. This craft was so much fun and super easy to make.
Supplies (affiliate links included so you can purchase what you need):
Paper towel or wrapping paper roll
Nails
Aluminum Foil
Tissue paper
Sponge brush
Rice
Directions
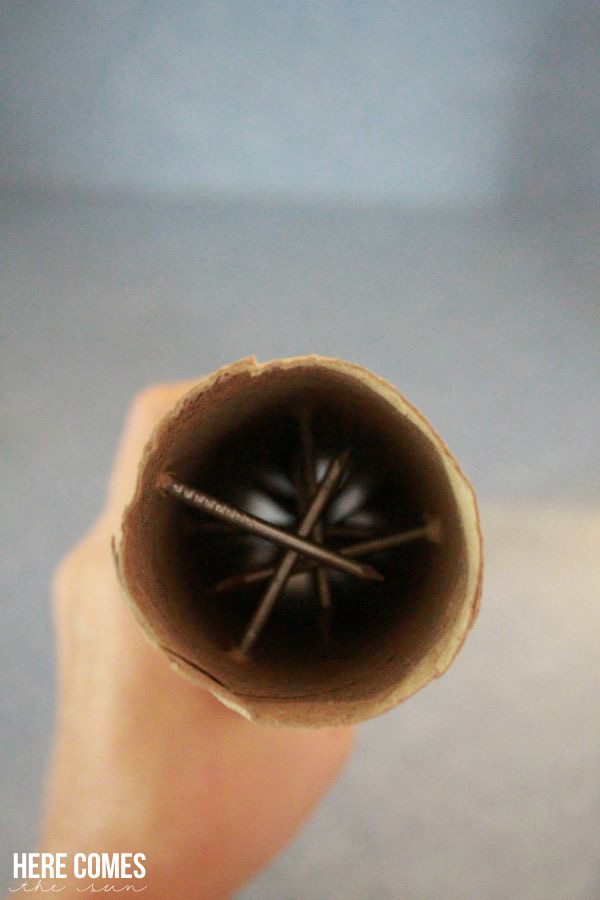
1. This is the adult step! Poke the nails into the cardboard tube in a circular pattern. Make sure the length of your nail is shorter than the diameter of the tube.
2. Roll the tube up in aluminum foil using Mod Podge on the edge to glue the foil down. Close up one end of the tube.
3. Pour the rice into the tube
4. Close up the other end of the foil
5. Decorate the tube using tissue paper and Mod Podge
6. Let the tube dry upright for a few hours.
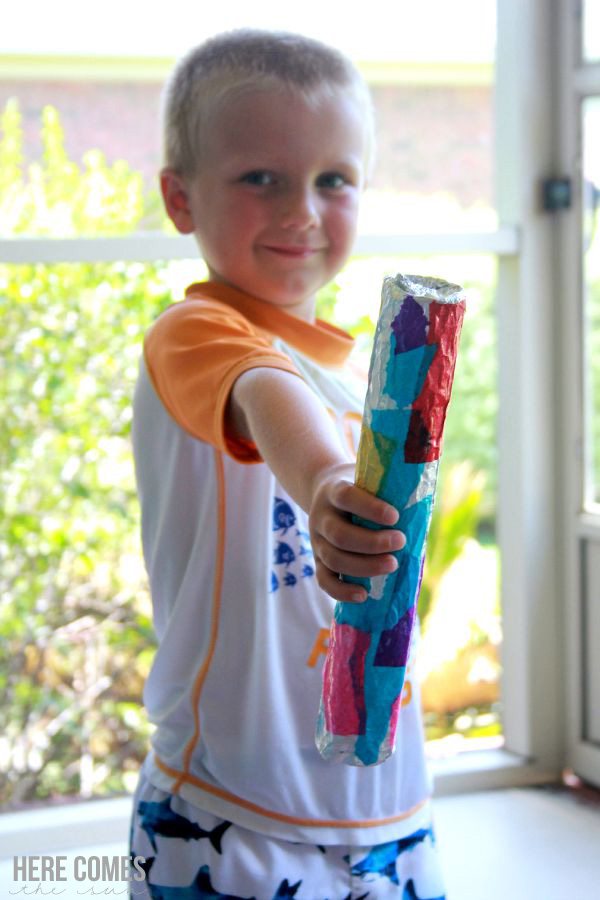
Now you have your very own Rain Stick! My son loves his and uses it as his new musical instrument.
Experiment with different types of fillers for different sounds. Also, experiment with different length of tubes. We used a paper towel roll but I would love to try this with a larger roll such as a wrapping paper tube.
Enjoy the rest of your summer!
Kelly is a mom of 2 and lives in coastal NC. She loves the beach, a tall glass of lemonade and any and all things chocolate. She shares creative crafts, recipes and DIY projects on her blog, Here Comes the Sun. She also owns a graphic design shop on Etsy where she sells party printables.
You can find the rest of the Weather Week Activities, books, and snack ideas here.
And you can find the full guide with all 12 themed weeks of our Summer Survival Guide 2015 here.





[…] DIY Rain Stick – 1 freebie(s)? […]