This post is sponsored by Michaels.
Donut worry, be happy! There will be no worries when you wear this shirt made with Cricut’s new Infusible Ink. We’ll show How to Layer Infusible Ink in this post.
I was really excited to try out the new Infusible Ink from Cricut. I’m a huge fan of iron-on vinyl so I wanted to see how they compared. I was surprised at just how different the two are to work with.
Supplies:
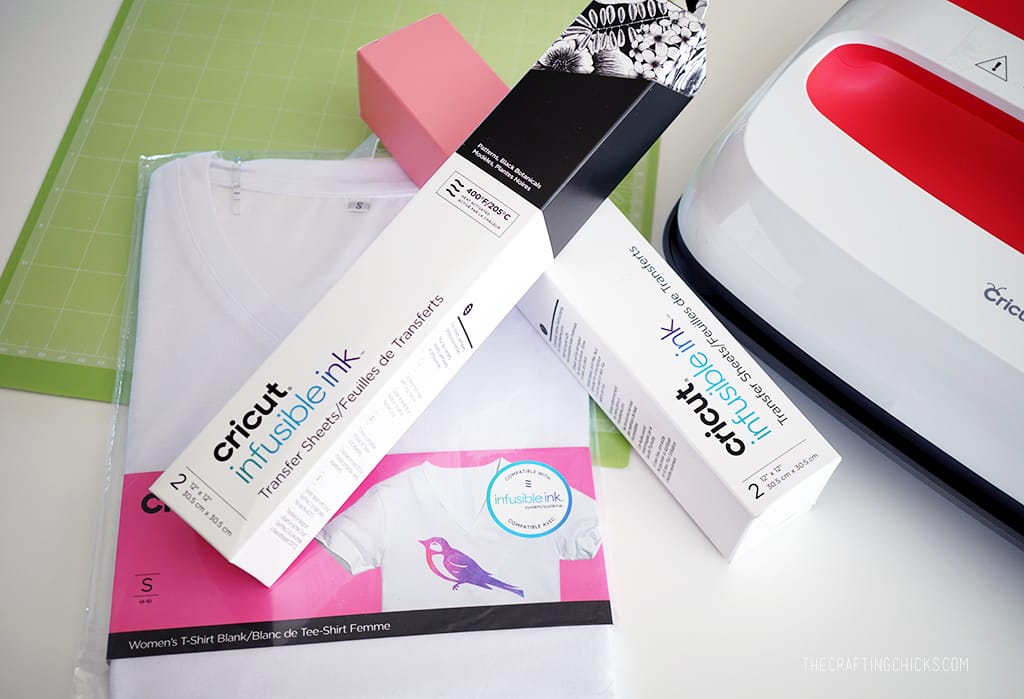
- Cricut T-Shirt Blank
- Infusible Ink in Black
- Infusible Ink in Pink
- Easy Press 2
- Easy Press Mat
- Cricut Explore Air 2
- Lint Roller
- Design
Step 1: Upload the design to Design Space.
Layering with Infusible Ink is different from layering with vinyl. I thought I’d be able to add the pink circle onto the donut shape and that would be it. Instead you need to make your colors fit together like a puzzle. I did this easily in the Design Space software when I uploaded my image. I used the same image for both the black and the pink, with the first I erased all pink from the image and the second time I erased all the black.
Step 2: Cut Infusible Ink
Load your sheets of Infusible Ink into your Cricut with the plastic carrier side down and the color up. Be careful when handling the ink to not touch it too much, or with wet hands. Remember to mirror your image before cutting. If you are using a Maker you’ll be able to select Infusible Ink from the drop down menu. If your machine is an Explore or Explore 2 you can set your dial to the Light Cardstock setting.
Step 3: Weed the Infusible Ink
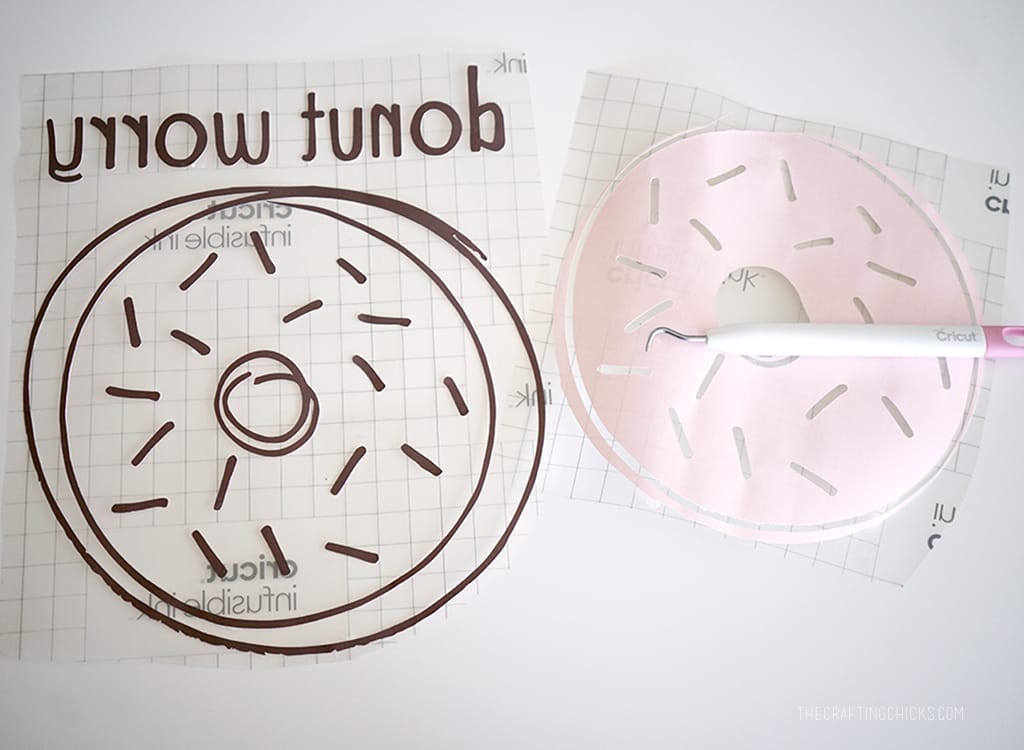
Use the hook tool to weed the images. When removing the paper it will make a tearing sound.
Before being ironed onto a blank, the colors of the Infusible Ink are very muted. You can see that the black actually looks brown and the bright pink is a light pink. Once the ink has been pressed onto the fabric (or coaster) it becomes a lot more vivid.
Step 4: Layer Infusible Ink
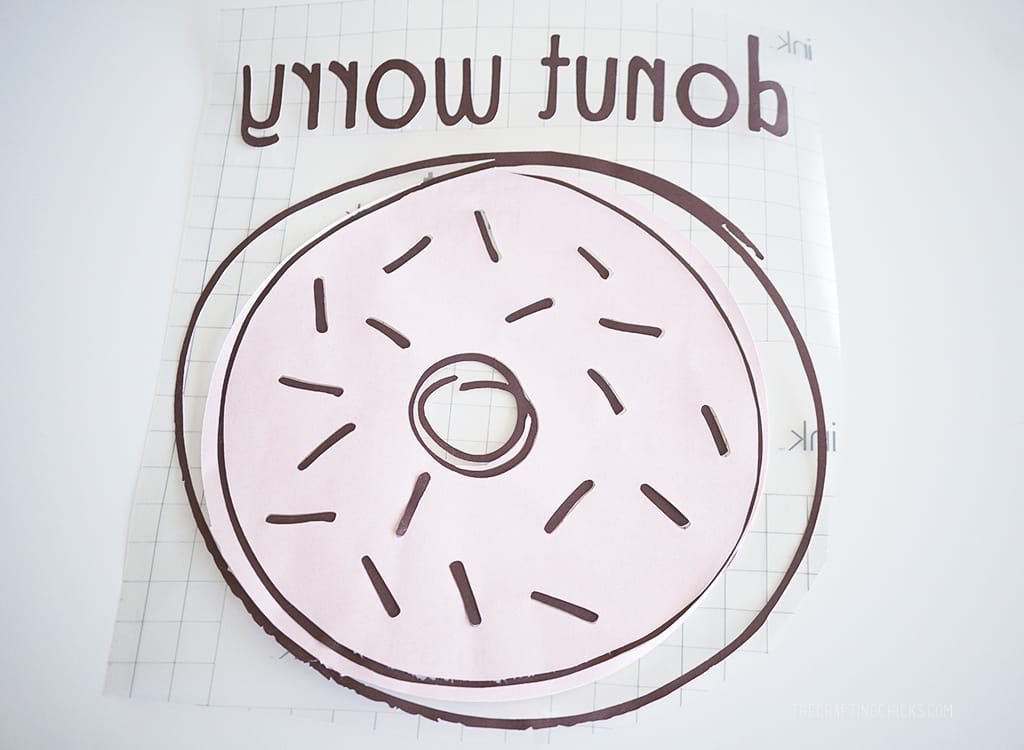
Layering with Infusible Ink is different from layering with vinyl. I thought I’d be able to add the pink circle onto the donut shape and that would be it. Instead you need to make your colors fit together like a puzzle. I did this easily in the Design Space software when I uploaded my image. I used the same image for both the black and the pink, with the first I erased all pink from the image and the second time I erased all the black.
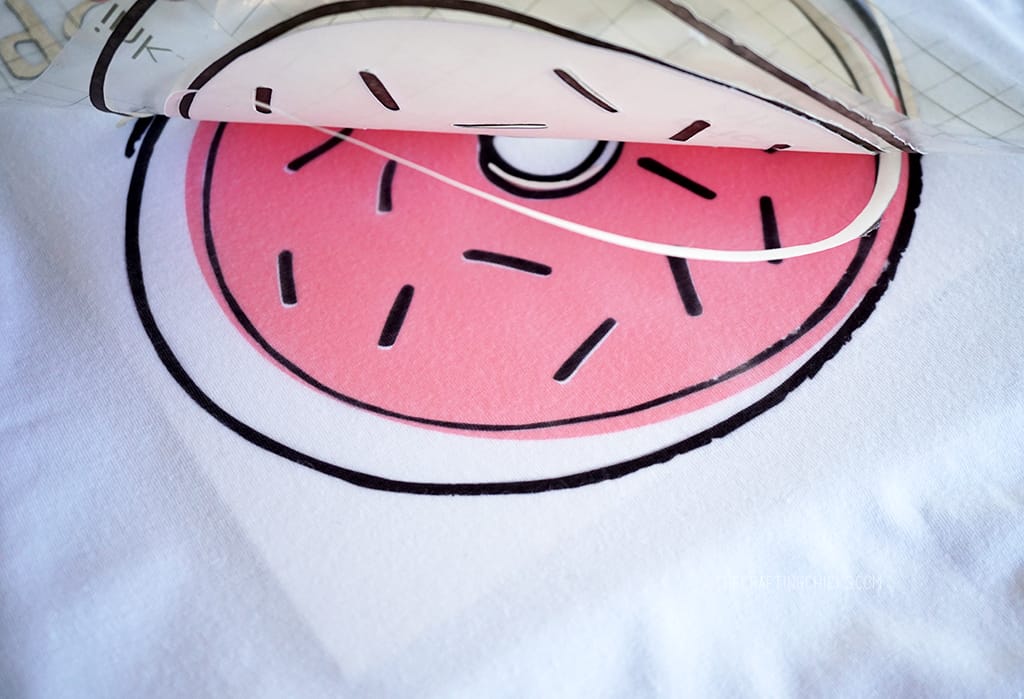
I peeled the pink off and lined it up with the black pieces.
Step 5: Easy Pressing Infusible Ink
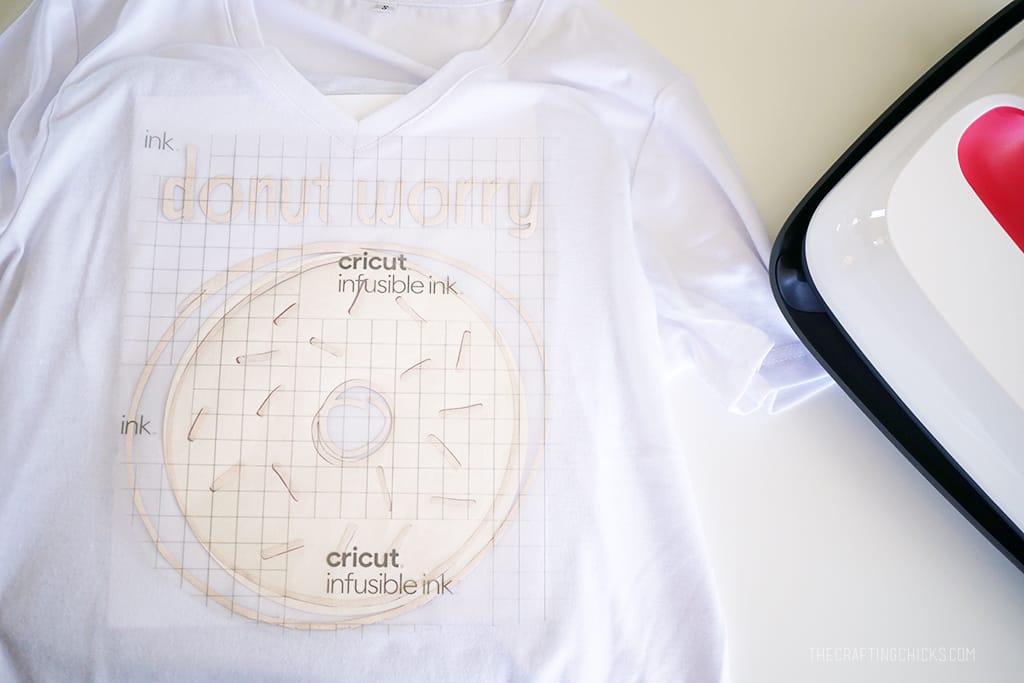
Before adhering the ink to the shirt there are a few precautionary steps. First, you want to put a piece of white card stock inside the shirt to prevent ink from bleeding through. Second, use a lint roller to remove any lint that may be on your shirt. Third, place your shirt on an Easy Press Heat Pad and set a sheet of butcher paper (it is included with your Infusible Ink) over the t-shirt. Set the Easy Press 2 set at 400˚ (Easy Press are not able to get this hot) onto the butcher paper for 15 seconds to remove any moisture that may be in the shirt.
After preparing my shirt blank, by lint rolling, and pressing to remove moisture, I sat my ink onto the shirt, covered with butcher paper and pressed at 400˚ for 30 seconds.
Once it cooled, it easily lifted off the shirt to reveal the vivid colors of my design.




Hi! I’m new to everything Cricut. Did you use a special “Infusible Ink” clear transfer sheet to layer, or did you just peel it from the transfer paper it was on and place it directly on the shirt? Thank you!