Iron-on Halloween Tote Bag Tutorial
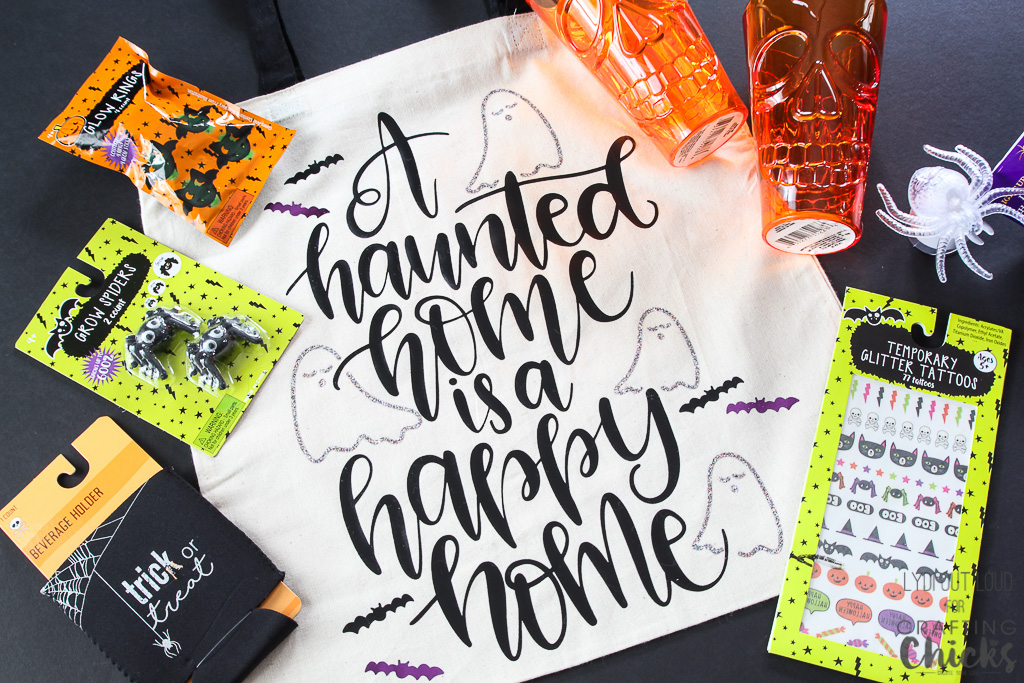
This fun DIY Halloween Tote Bag makes a great neighbor or teacher gift!
Hi there friends! It’s Lydi from Lydi Out Loud and I’m so excited to share a fun Halloween neighbor gift idea with you today. Do you do the You’ve Been Boo’d tradition in your neighborhood? I look forward to it every year and challenge myself to top my Boo baskets from year to year.
While looking through Cricut Design Space to make another Halloween project, I stumbled upon this adorable “A Haunted Home is a Happy Home” cut file and had the idea to iron it on to a plain canvas tote to make a fun Halloween tote bag to load up the Boo goodies for our 2 neighbor “victims” this year. 😉
Iron-on Halloween Tote Bag Tutorial

Supplies
- Canvas tote bag
- “A Haunted Home is a Happy Home” cut file
- Iron-on vinyl in colors of your choice (I used Iron-on Lite in Black, Glitter Iron-on in Multi-Glitter and Foil Iron-on in Violet
- 12″ x 24″ cutting mat
- Weeder tool
- EasyPress or iron
Directions
Open the cut file in Cricut Design Space.

Select the tote bag from the templates and choose custom size to enter the dimensions of your tote bag. Note: the size of the tote bag template is from the bottom of the tote to top of the handles so make sure that the surface of the actual tote (where iron-on will be applied) is accurate and don’t worry about the dimensions of the entire Halloween tote bag.

Size the cut file to the appropriate dimensions based on the size of the Halloween tote bag. Select which colors you’d like for the 3 layers of the design (the phrase + 3 of the bats, the ghosts and the remaining 3 bats).

Depending on the size of your Halloween tote bag, you may need to use a longer cut mat. Set your materials (either with the dial on a Cricut Explore or in Design Space on a Cricut Maker) and cut out the project (remember to mirror the mats for iron-on).

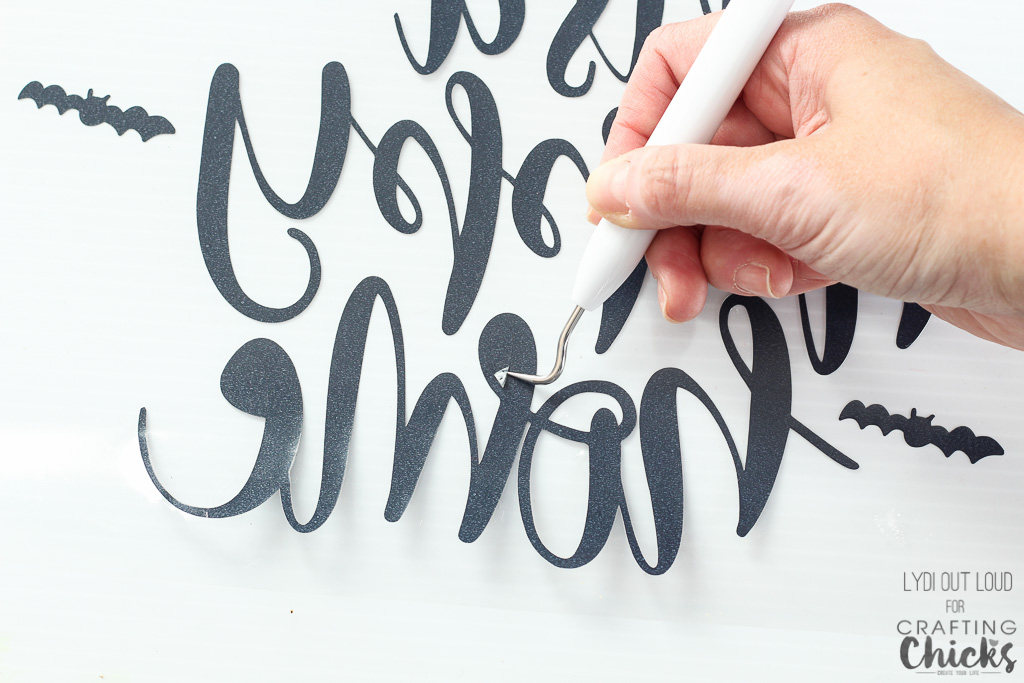
Weed out the negative space from the images.
Cut around the images so that they can all be positioned on the canvas tote bag to iron-on at the same time. Set iron to medium-high and press the bag to ensure it is free of wrinkles. Position the designs as you like, then preheat the front and back of the Halloween tote bag.

Place a press cloth or piece of parchment paper over the design to protect the canvas and press iron or EasyPress firmly over design for 25 – 35 seconds. If using the Cricut EasyPress, there is a guide to how long to press based on the material.

Allow to cool slightly and gently begin to lift a corner of the liner. If any of the iron-on material isn’t adhered, do not pull up the liner and press again for another 10 seconds or until the liner lifts easily away from the iron-on vinyl.

Load up your adorable Halloween Tote Bag with goodies for a neighbor or teacher gift or enjoy it yourself!


Have a wonderful Halloween and I’ll see you again next month!
SaveSave
SaveSave


I really like your beautiful tote bag!!! Thank you for a great tutorial. I’m sure my kids will be happy to make it together.