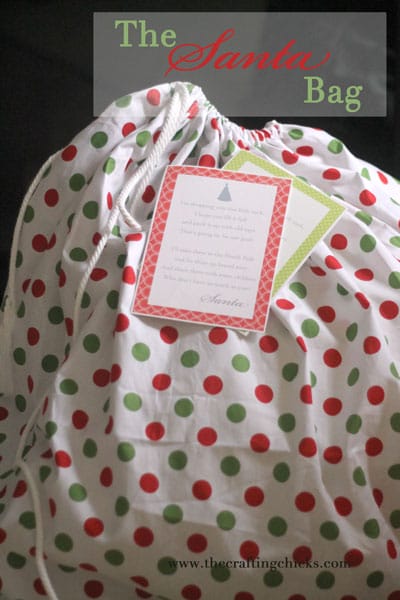
Today I wanted to share a new Christmas idea. Let’s call it the Santa Bag. The idea is that the bag comes to your home from Santa with a note that tells your kids to pack up all their broken or old toys and so Santa can fix them and clean them up for other boys and girls who don’t have as much to have. Genius huh!
I’ve been thinking this one over since last Christmas. Never seems to fail that more and more toys come to stay but not as many leave through out the year. I’m hoping this helps.
Santa Sack
What you’ll need:
- 1 1/2 to 2 yards of Christmas fabric
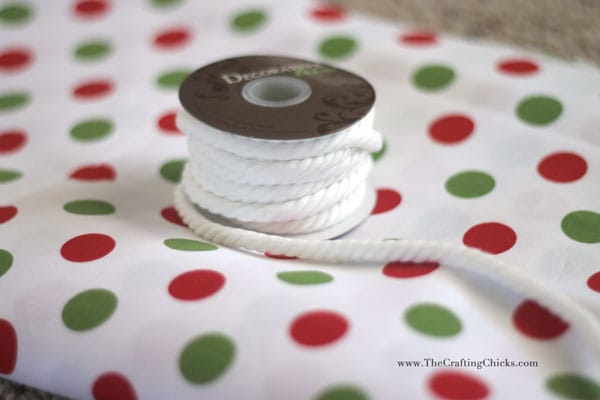
- about 9-10 yards of Cord or rope (depending on the size of bag you are making.)
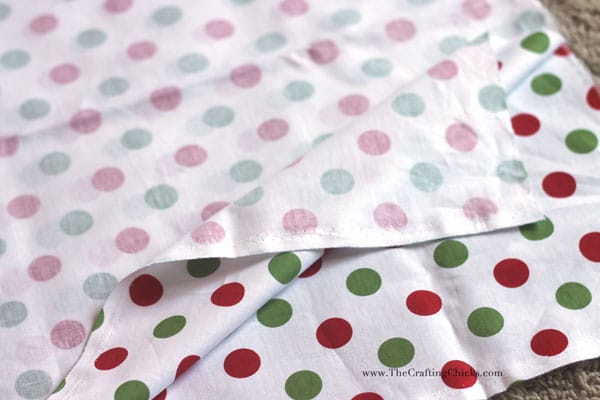
I used 2 yards of this great Medium Dots Christmas cotton fabric from Riley Blake Designs.
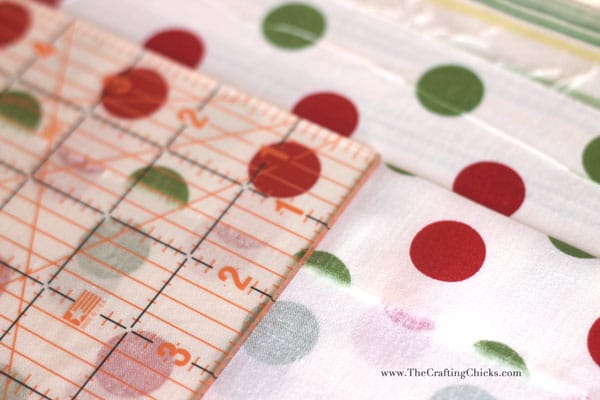
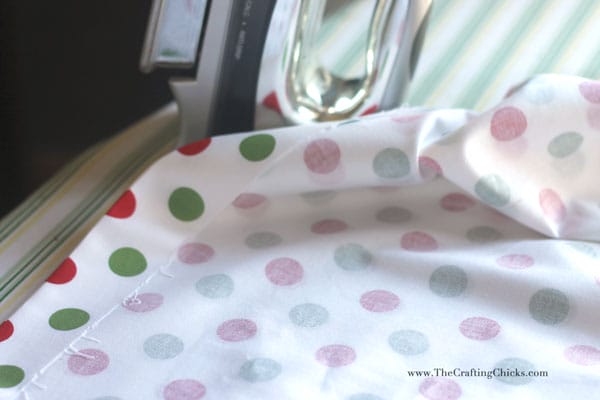
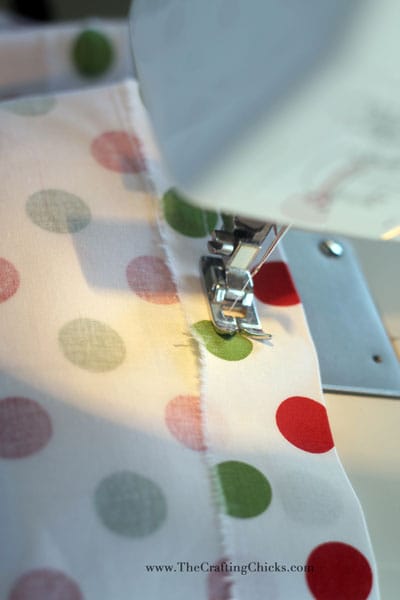
Measure in 1/2″ and iron the sides and tops in sides. Sew down each side about 1/4″ or so. This will give you a nice hem line around the bag.
Fold the fabric in half, right sides facing, so the closed end is at the bottom and the top and sides are open.
Pin the sides together and sew up each side leaving about an 1″ a the top open for the rope casing on one side.
Once each side is stitched up, it’s time to make the casing.
Pull your rope through the casing and you are done.
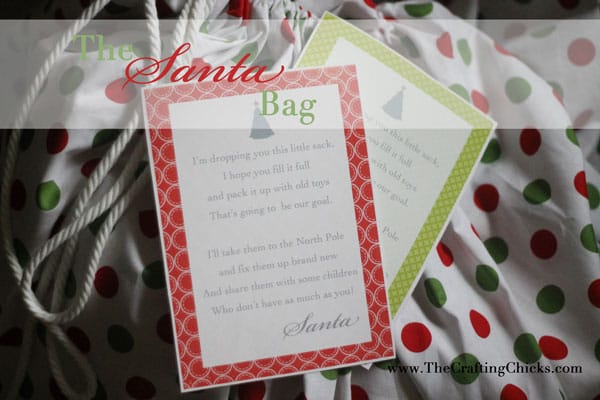
Now I’ve made up these cute printables poems that are a note from Santa telling your kids what they need to do with the bag.
You can download them from this other post and get your cute kids putting toys in here in no time.
Do you think this will work for your kiddos? I’m sure hoping it helps at our house. Make sure to leave me a comment if you try this!
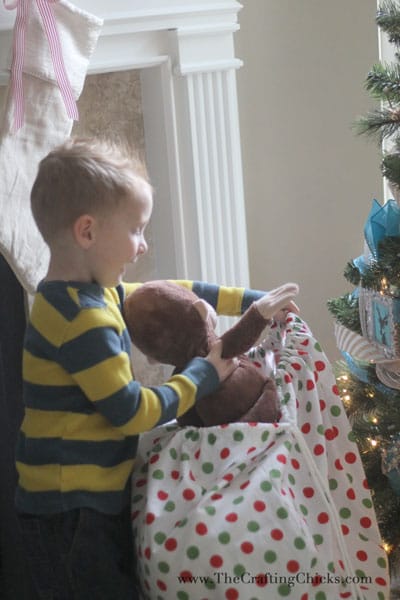

We are trying the Santa Sack this year. We are going to have our “Elf” drop it off sometime next week and hopefully get it filled up (or at least with a few toys… if not, Mommy and Daddy are going to add to the bag after little ones are in bed!).