Hey y’all! I’m Dena from Hearts & Sharts and I am super pumped to be a new contributor for The Crafting Chicks. Eeek!
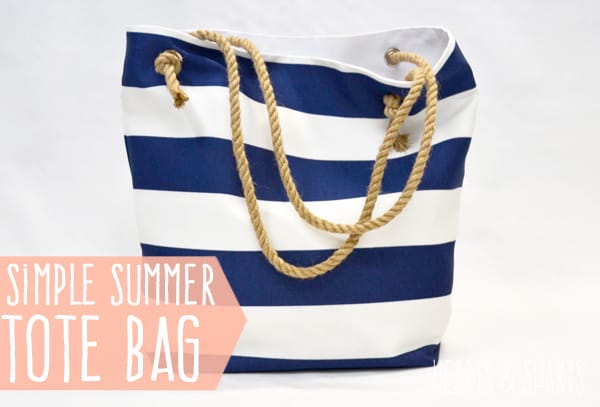
Summer is here! Time to throw all your junk in a tote bag and hit the beach! If you’re not a beach person (do those exist?), this tote is perfect for the grocery store and can also transition from your basic nautical, summery look to a simple patriotic look for those big summer holidays! Extra bonus: It’s super easy to make. Totes Muh-goats!
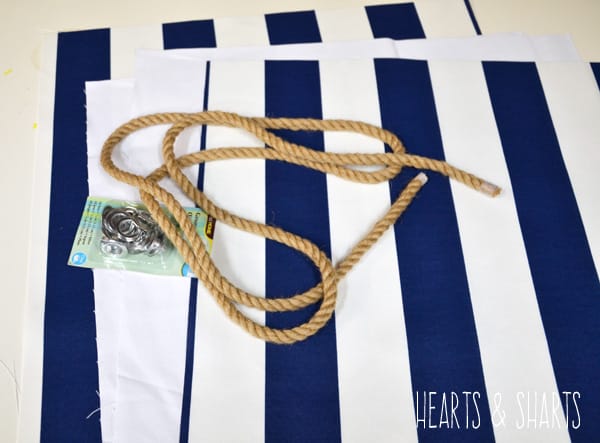
You will need two types of fabric, one for the lining (the inside) and one for the outside. I used a thick outdoor fabric (waterproof, score!) for the outside and a white cotton duck for the inside. Thicker fabric will help the tote keep its shape. While you’re hittin’ up the fabric store, grab two yards of rope and a set of grommets (grab the ones with the grommet tools in the package). Make sure that your rope will fit through the grommets you choose.
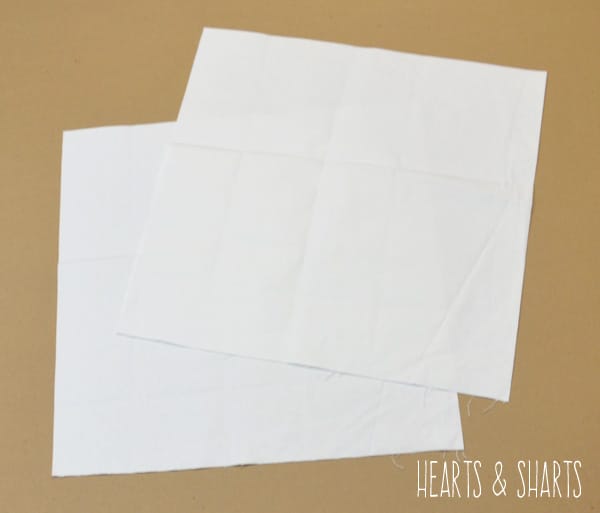
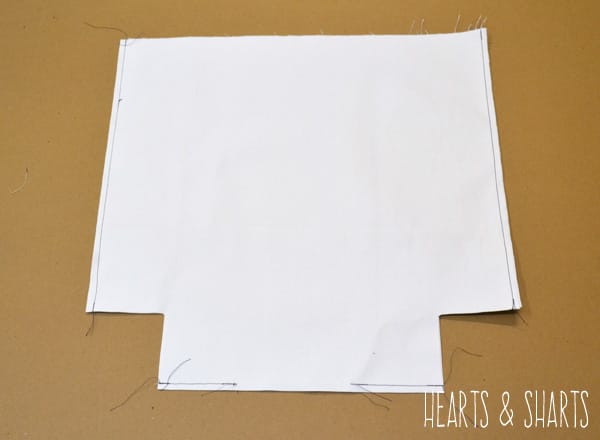
Cut the fabric for the exterior of the tote to 19″ x 19″.

Repeat for the lining.
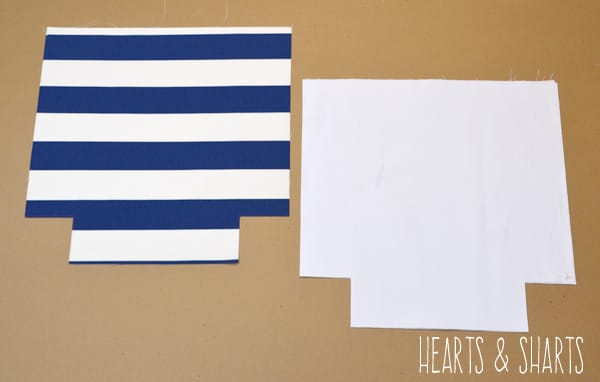
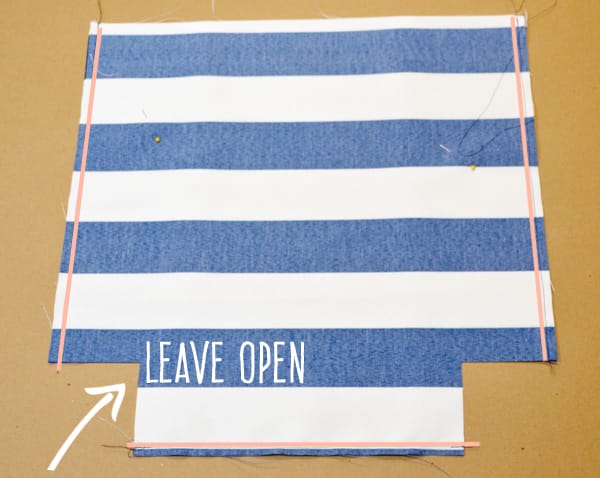
Then, on all four pieces, cut out a 3″ x 3″ square. These will create the tote bag bottom.
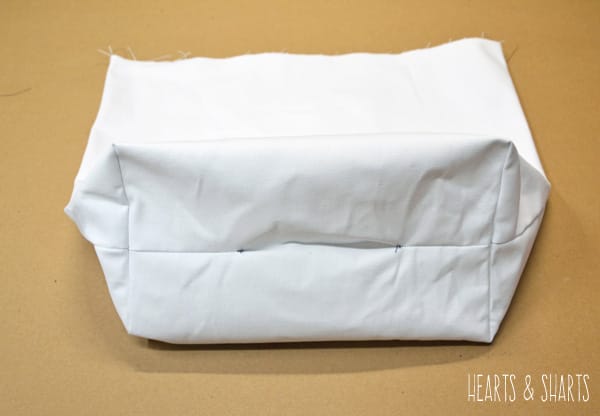
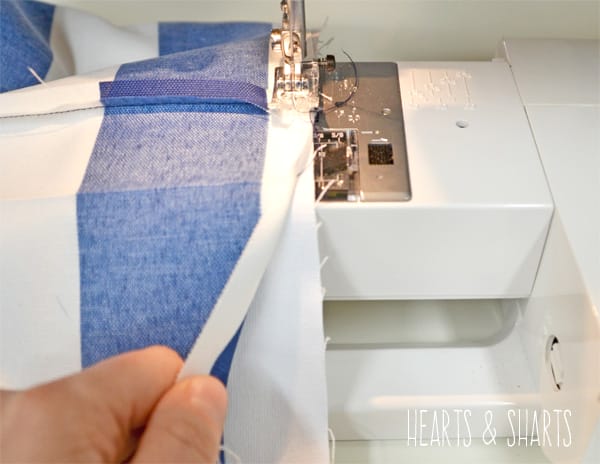
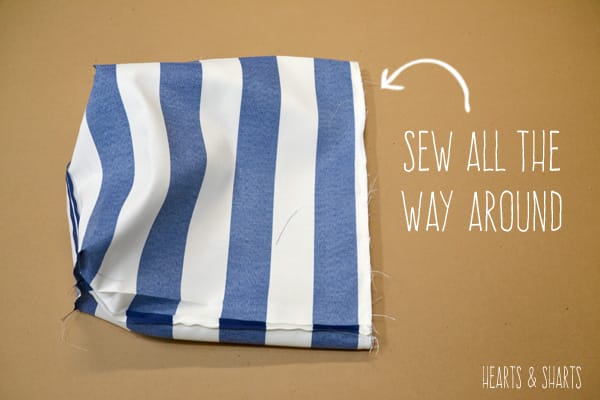
Next, with right sides together, sew the exterior fabric up both sides and across the bottom, leaving the two square cut-outs open. Use about a 1/4″ seam allowance.
Pull the fabric open/apart, matching the side and bottom seams…
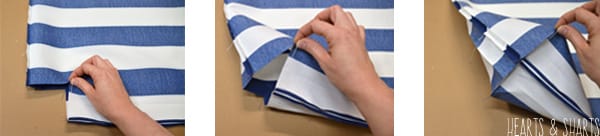
…and pin in place.
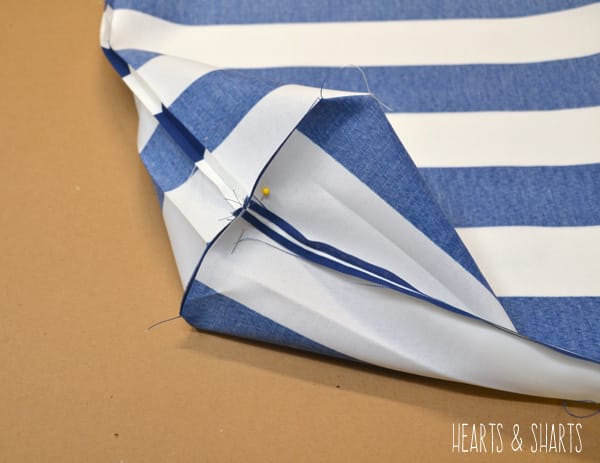
Sew the opening closed and repeat for the other side of the tote.
Boom. Leave this piece inside out and set aside.
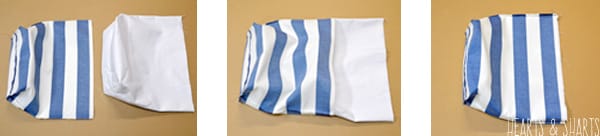
Now grab your lining fabric and repeat the same steps, with right sides together, except leave a small opening at the bottom. This will be where you “birth” the bag through when it’s all done. Gross, right? I think that’s the technical term for it.
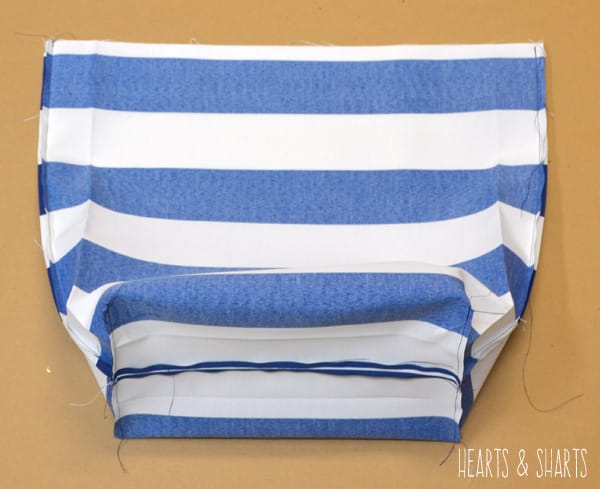
Keep going and sew up those little corner openings the same way you did the exterior fabric. Turn the lining right side out and this is what you will have.
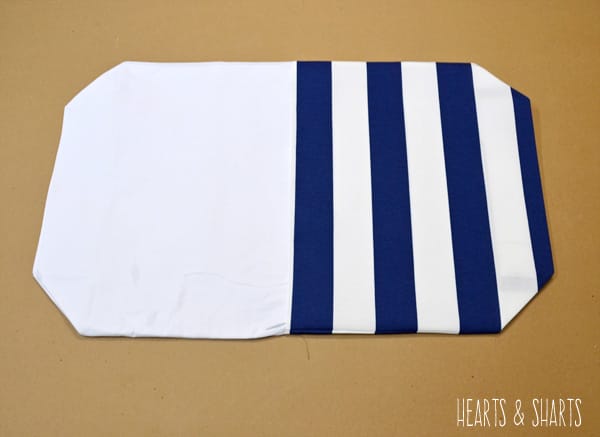
With the outside of your tote still inside out, slide the lining (right sides out) inside. That’s confusing to say, but the pic below will help. The right sides of both pieces should be facing each other.
Line up the side seams of both layers…
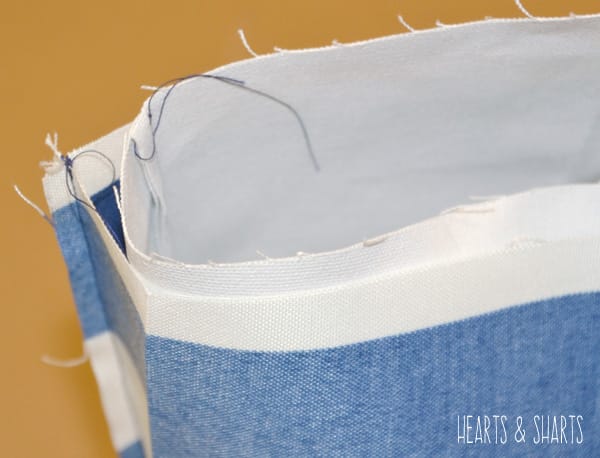
…and sew all the way around, joining the two layers.
Get ready for a pain-free birth. Pull the lining out of the bag, the stick your hand through the little hole you left in the lining and “birth” it, baby!

Iron the tote…
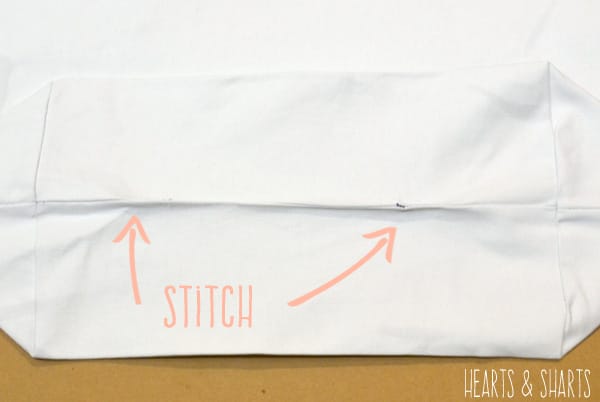
… and stitch up the birthing hole. Ew. You can do a hand stitch to keep it pretty, but since this is the inside of the bag, I just ran across it with my machine.
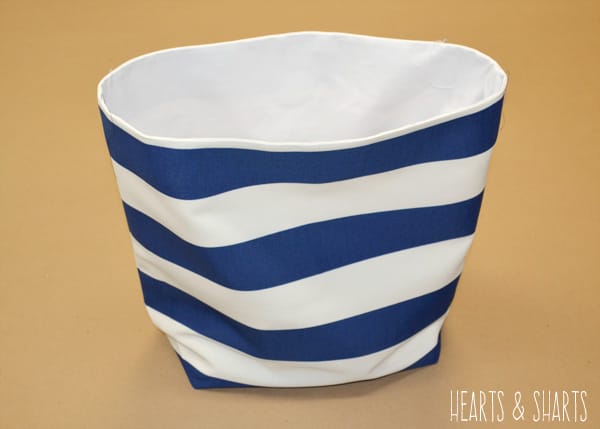
Put the lining back inside the tote and you’re almost done. Like I mentioned earlier, thicker fabrics, like canvas or outdoor fabrics, will help the tote keep it’s shape. If this same tote were made of cotton, it wouldn’t be able to stand on it’s own without the use of interfacing.
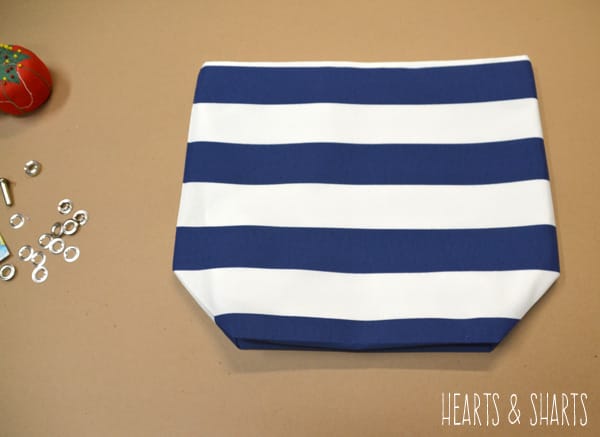
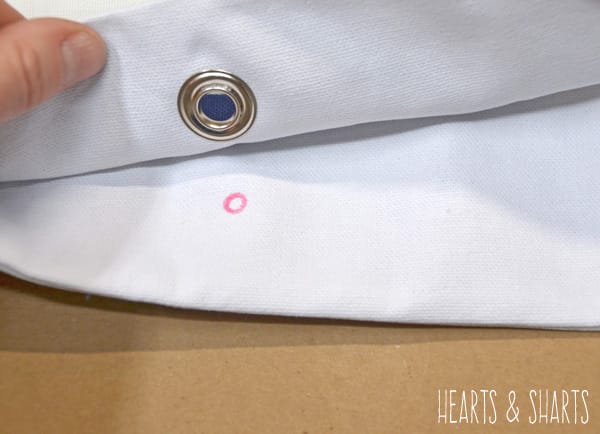
Time for grommets. If you’ve never used these before, don’t be scared, it’s so super easy. You only need four for this tote so you will have extras, it’s a good idea to do a test on a scrap piece of fabric. Figure out where you want your straps/grommets. On this tote they are 3″ from the side and 1″ from the top.
Mark the spot by tracing the inside of the tall grommet.
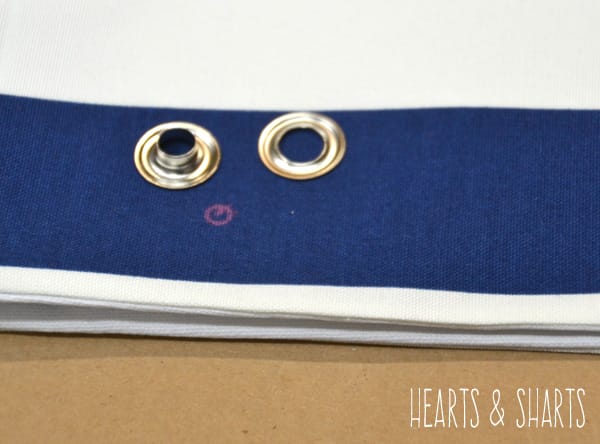
Then, carefully cut out that hole, going through both the exterior fabric as well as the lining.
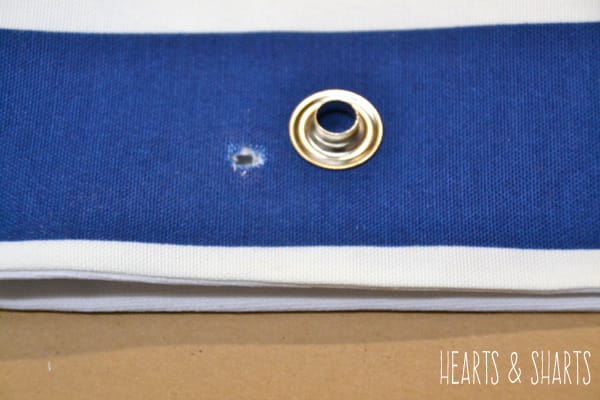
Push the raised part of the grommet through the hole. Flip the tote over so you can get to the other side of the grommet. Follow the simple instructions on the grommet package. You will need a hammer for this step and it is best to do this on a concrete floor.

Once your grommets are in on one side of the tote, you can use those holes to mark your grommet spots on the other side of the tote.
Cut the two yards of rope exactly in half so that you have two 1 yard pieces. Guide the rope from the inside of the tote to the outside and tie a knot. Tie it semi-loosely to start and once you have all four tied, make sure your straps are even and then tighten each knot.
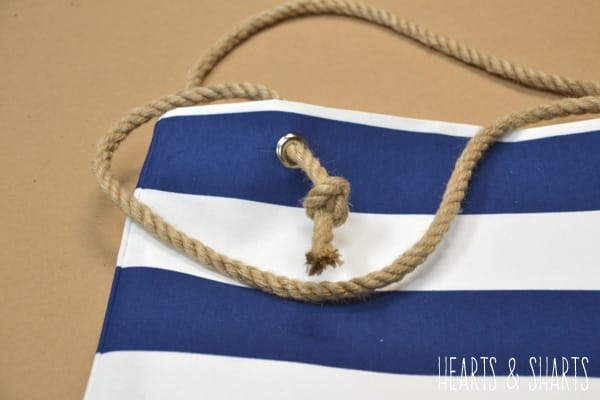
Done!
Total time spent on this project : 1 hour
Now that you know how to make this tote, you can get crazy and mix it up! The rope is also available in white, the grommets are available in gold and fabric choices are endless. Get busy, girl! Make something!


I love this. SO easy to understand. And you know when you’re a DIY dork when your mind is blown by thinks like the cut out corner= tote bag bottom detail. Like I need another tote bag…. ugh. Thanks, Dena!
Thank YOU, Charlotte!
Awesome….. This is exactly what is been looking for! Can’t wait to start making my bag!
*I’ve
I’d love to see pics when you’re done!! 🙂
Cute bag!! The stripes are perfect for summer!! I’ve got a Craft Gossip post scheduled for this morning that links to your tutorial:
http://sewing.craftgossip.com/tutorial-rope-handle-summertime-tote-bag/2014/06/17/
–Anne
Awesome! Thanks, Anne!
I haven’t sewn in years, but thanks to your tutorial, I’m off to make a tote for myself. Thanks so much.
Whoo-hoo!! Happy sewing, Maureen!
This is a great tutorial! I am anxious to make a few! (you can never have too many totes… can you?? 🙂 Thanks so much for posting!
Thank you, Sandy! As long as there are shoes, we will always need matching totes. 🙂
Very cute, Dena! Those corner cutouts are genius! I’ve made bags before without them and I’ll say your method is Da Bomb!!! Might just whip me up one tomorrow… I have all the ingredients in my inventory. 🙂
Yay! Thanks, Nancy!
This is fantastic! I can’t wait to make one. Thanks for sharing!
Thanks, Kelly!
Love your bag and tutorial!! I was curious, did you pre-wash the fabrics?
Thanks, Jessica! I did not pre-wash the fabrics.
Easy and cheap enough to make a bunch for friends’ birthday gifts! Thanks 🙂
Oh, yea! Handmade gifts are the very best! Thanks, Brynna!
What a great tutorial! I know how to sew, although I really don’t enjoy it. But this tutorial looks easy enough that you are actually tempting me to try making my own bag! Pinning it to find later….
I’m officially addicted to making these. Just finished up my fourth one and added a pocket to it. Love! I blame Joann’s having the fabric on sale!! Thanks so much for sharing. Wish I could submit a photo 🙂
Heather–Email your pics to us! We’d love to see what you’ve been sewing up!
I have a sewing machine that has been in my closet un-open for 3 yrs, I had every intention to learn how to use it, but when I look at sewing patterns I get scared. This looks like something I can try without getting too intimidated! My only question is how much fabric will I need?
I saw this idea somewhere and have been all over pinterest/internet reading patterns and directions – YOURS are the simplest and clearest! I know have a very clear understanding of what I’m doing – thank you so very much!
Thanks for letting us know! I’m so glad the directions are the best you’ve found!
Thank you so much. Thanks to your great directions and pattern, I just completed 30 beach bags for my daughters destination wedding. She had sixty guests coming and every room will have a bag with goodies when they arrive.
I really enjoyed doing this craft.
Wow. You are amazing. What a fun idea! Good luck on the wedding!
This pattern was so well laid out and simple to follow. I made 32 beach bags as welcome gifts to my daughters destination wedding. They were a huge success. I can’t thank you enough for putting this well detailed pattern on Pinterest.
Theresa
Love the tutorial.
our town area is trying to go plastic bag free.
I have saved old jeans to make shopping bags with, and just needed sizes
to get me on my way. will allow a bit more on the top for hemming and attach straps to that.
Our Youth Centre has been donated materials, sewing machines and they are selling them on for $2NZ each to try and keep our landfills free of bags. I must say it has taken off like a rocket 🙂 They call them Boomerang Bags. Even people who have a few hours to spare go in with their machines and help sew them, like a chain gang.
I am a beginner and this is one of the best written instructions/visuals. I made a bag yesterday and it turned out lovely. I additionally top stitched the bag and I am so proud of myself. Thanks again for these perfect instructions.
Best tutorial EVER! I’m a newbie and I appreciated this so much. Love my tote. Thank you
We are so glad it worked well for you!