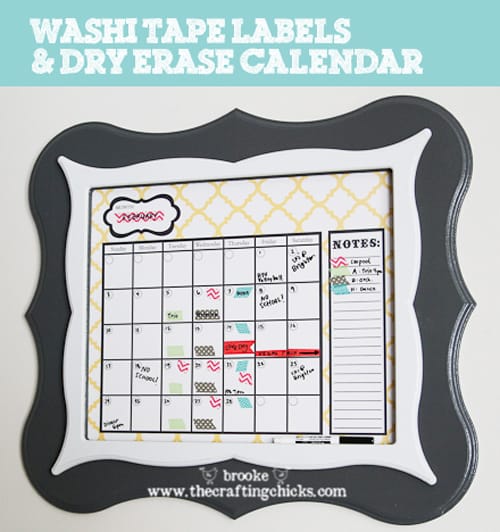
Today I’m sharing a really easy way to customize your calendars with one of my favorite craft supplies—washi tape!
For this project you need:
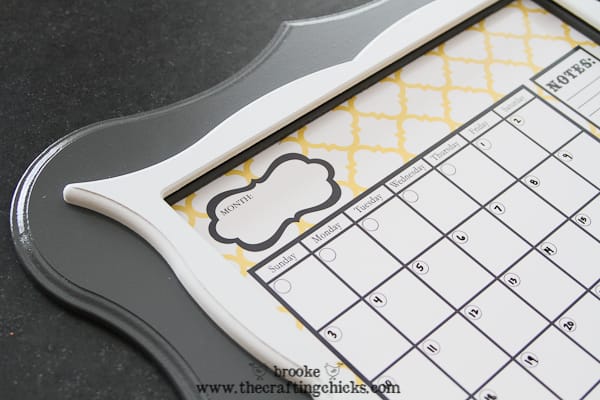
- Any kind of calendar–I really love my dry erase calendar from Poppy Seed Projects (I used the Lemon Quatrefoil calendar with the Eleanor frame, Brooklyn trim, & I also got the magnetic backing)
- Sand paper
- Paint (I used spray paint)
- Dry erase marker
- Black Sharpie permanent marker
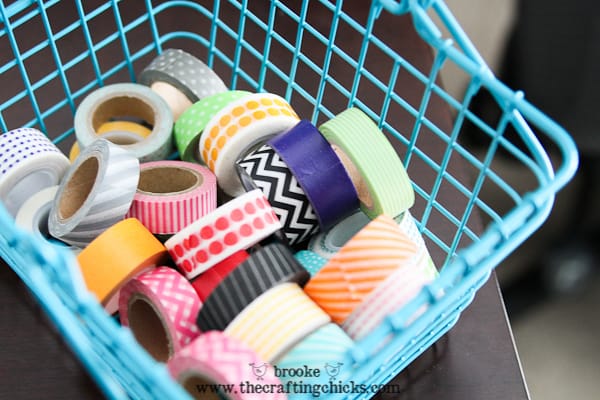
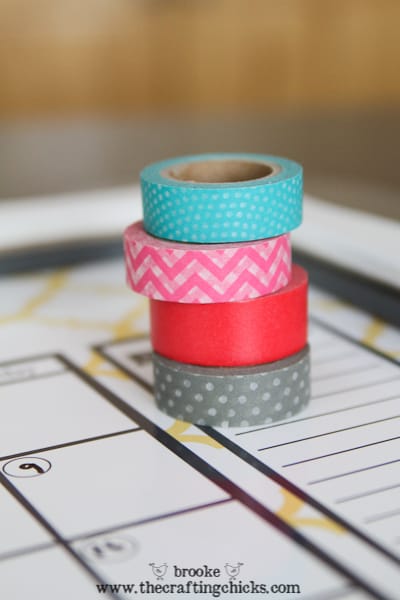
- variety of Washi Tape–it’s a thin, sort of papery non-permanent crafting tape that comes in a ton of different colors and patterns
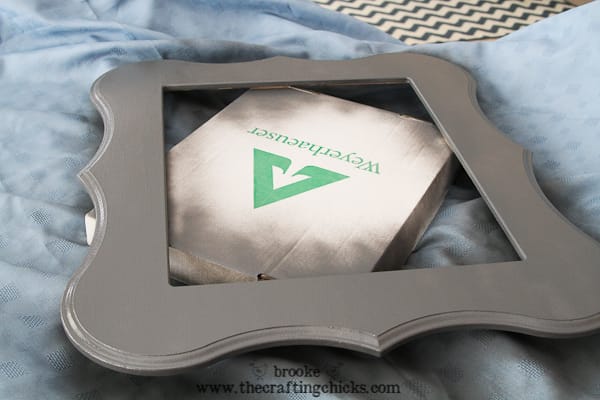
First, grab your calendar–it can be a paper one, a dry erase one, a planner–whatever you are using. For mine, I got a dry erase calendar kit from Poppy Seed Projects as I mentioned above—they are so cute, and did you know that our Crafting Chick Jamie designed the calendars? They are darling! 🙂 I sanded the unfinished frame and trim, making sure to wipe off any dust, and then I spray painted it. I chose a glossy spray paint for the frame (Rustoleum Glossy Dark Gray) and I painted the trim with a satin white spray paint also from Rustoleum.
I used wood glue to attach the white trim piece to the gray frame and let it sit for 24 hours. Next I inserted the dry erase calendar print and wrote in the dates with a dry erase marker.
Now for the fun part! 🙂 I have a growing collection of washi tape in happy colors and patterns that make perfect little customizable labels for your calendar! I’ve gotten my stash at lots of different places, like Pick Your Plum, Target and Michaels. I love it because it’s easy to stick on, easy to peel off, and it doesn’t leave a sticky residue.
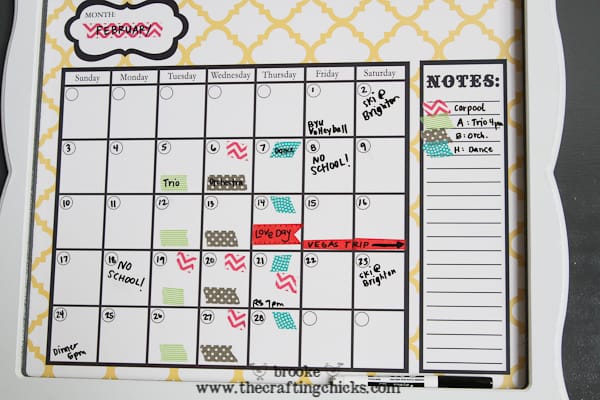
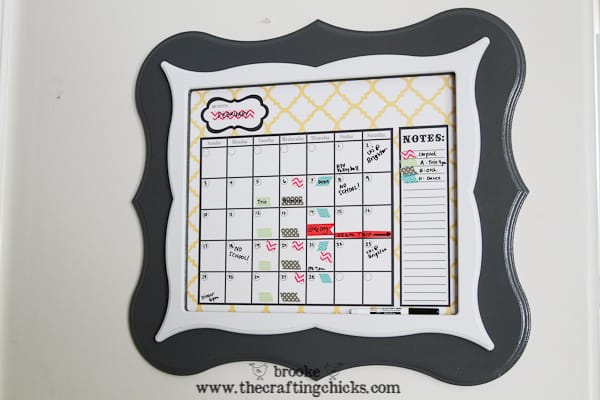
You can either tear or cut the washi tape with scissors, depending on what look you want. For this Valentine’s Day label I added a little bit of flair with the notch cut out of one side of the tape to make it like a little flag. Then you can write with a Sharpie on top of the tape label and decorate it however you want. It makes certain days (like holidays or birthdays or events) really stand out on your calendar. And it is easily removable. (Make sure you don’t write on the calendar itself with Sharpie!!!) I double checked to make sure the Sharpie wasn’t bleeding through the washi tape and ruining my dry erase calendar. It worked just fine.
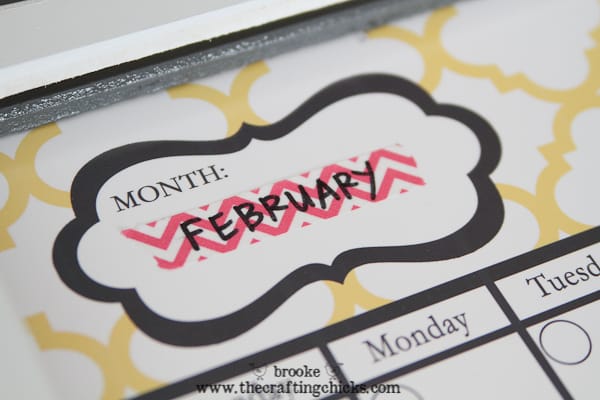
It’s a fun way to make the different months pop!
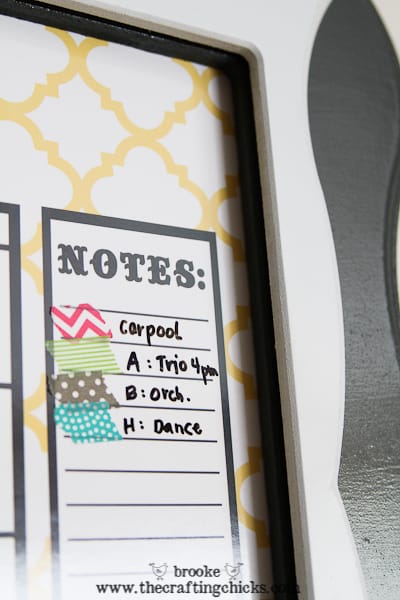
You can organize and use the labels however you want. For our calendar, I used different colors/patterns for different events we have happening this month, such as dance, orchestra, etc. I even made a little “code” in the notes section to remind us what the labels stand for. For the repeating weekly events it was nice to just stick that particular piece of tape on that day instead of rewriting it each week. It works for me!
Once you have your dates and labels on the calendar, hang that cute thing on the wall! It’s so colorful and customized, and I can use completely different colors next month. I love it! 🙂
Disclosure: I was provided with products from Poppy Seed Projects to use in this post. All opinions, photography and text are my own.


Oh, that’s cute! It makes the calendar so colorful! Maybe I should invest in some washi tape!
Super cute. Went on their website and was HIGHLY disappointed that you could not purchase the kits online. I have never heard of them here in Oregon, so I guess I will miss out 🙁
I think they changed it so you CAN order them and have them shipped. If you click in my post under Supplies where I linked the words “Lemon Quatrefoil calendar” it should take you to the place where you can add a calendar kit to your cart. Check it out, hopefully that will work! 🙂
This is such a great idea! I love my dry erase calendar, and the tape will just help to make it customizable for each member of our family. Thanks for the tip!
I have a very industrial looking dry erase calendar in my craft room & this is just the thing I need to do to spruce it up! Thanks for the great tutorial, plus I am so glad to know about writing on washi with a sharpie – two of my favorite things!
I love washi tape, but I have never thought to use it to customize my calendar. I love this idea! Thank you.