Post may contain affiliate links.
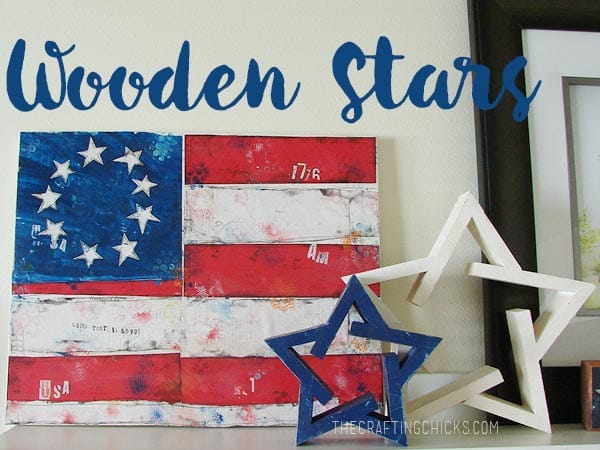
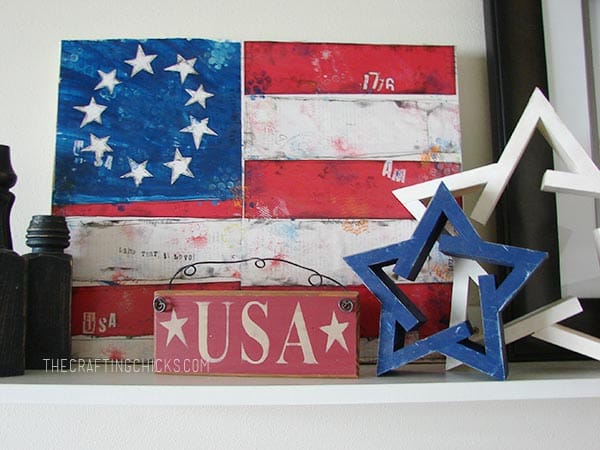
A few years ago these wooden stars appeared in my Old Glory post and many people asked where they came from. Inspired by the upcoming 4th of July holiday and my latest read, Blueprints, about a mother-daughter carpenter pair, I decided to share a tutorial for them. My mom had made them for me many years ago and I didn’t have a pattern for them. But with the help of my math genius husband, it took a while to figure all of the angles out, we have the instructions for you today!
Wooden Stars
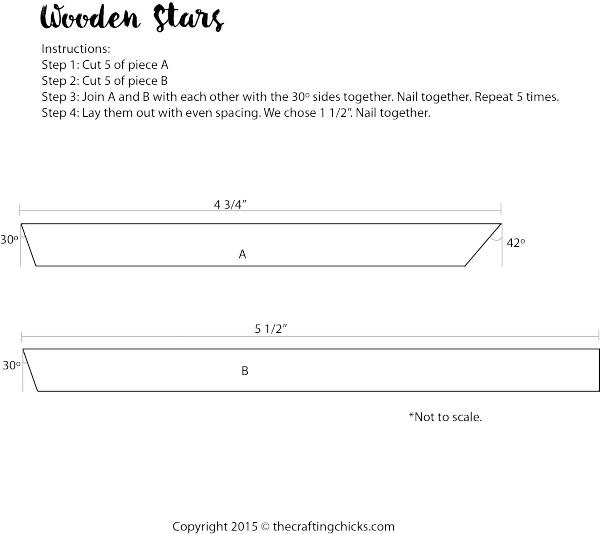
You’ll need a length of 1×3″ pine to begin with. Using a compound miter saw cut them to the lengths and angles below. I drew a picture because I knew there was no way I could explain the lengths and angles just by using words.
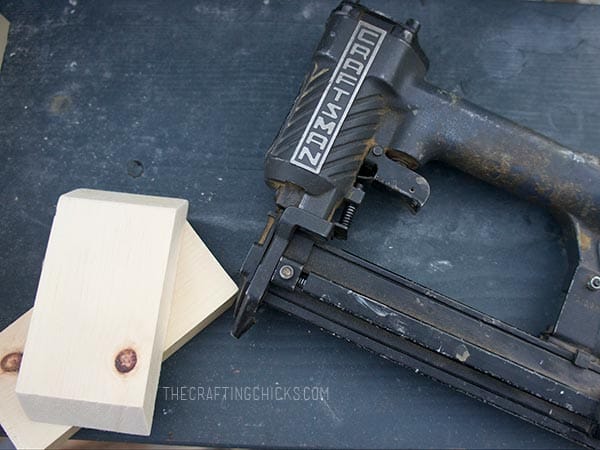
Use a brad nailer to nail them together.
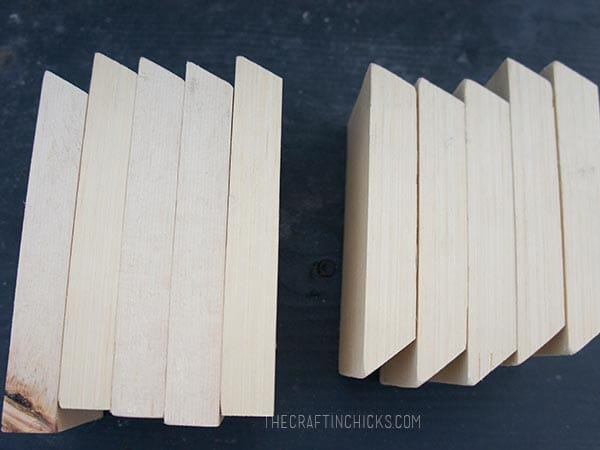
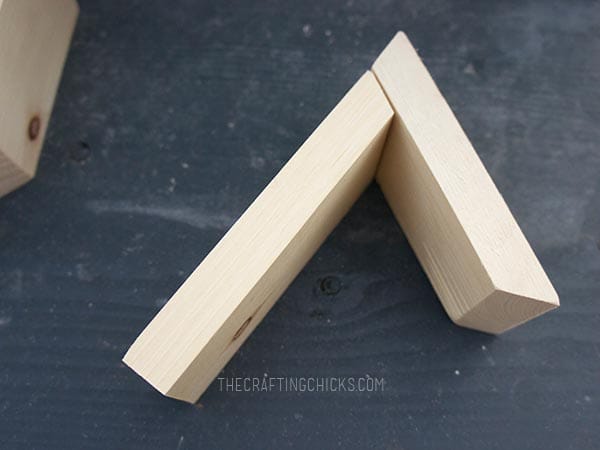
Here’s a tricky angle. Make sure you have the 30º ends together, with the long pieces under the short piece.
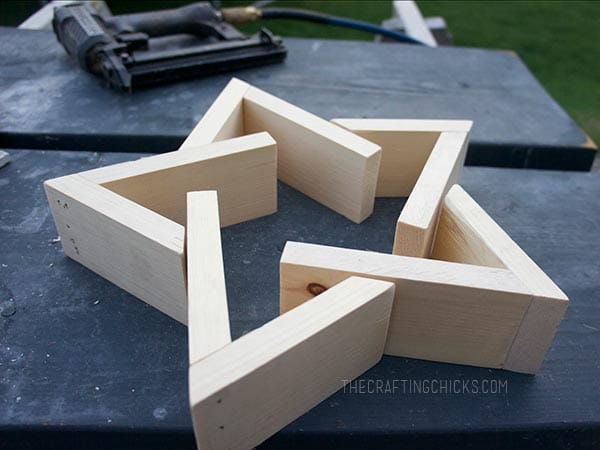
Once you have all 5 points together, lay them out like so. We brought each leg in 1.5″ and then nailed them together.

I love the DIY Wooden Star and have made the one that you gave the dimensions for here. I want to make other sizes so my question is, do I simply add the same amount of inches (example: 3 inches) to the existing dimensions for both pieces?
The short piece measurement seems out of sync . Should The 4 3/4 measurement be on the lower section? These stars are amazing by the way
I am in love with this star. I think my hubby and l are going to give it a try. Thanks for the directions
We are so glad to hear that. Let us know how it goes!