Halloween Crafting with EKSuccess Tools!
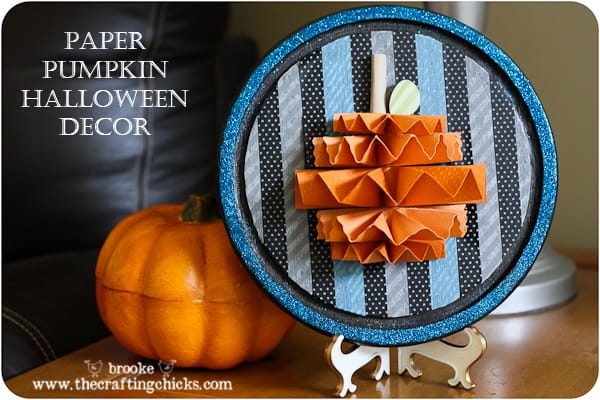
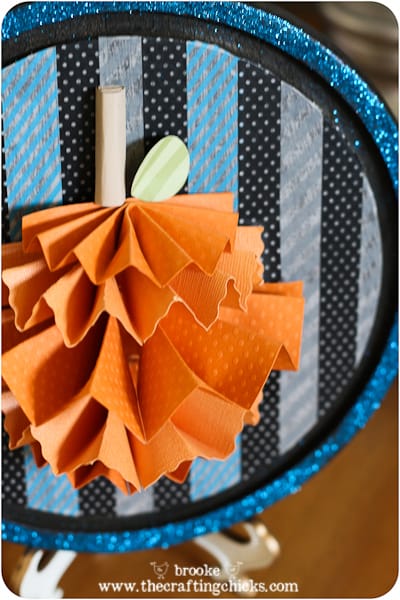
With Halloween coming up next month it’s the perfect time to craft up some fun Halloween decorations! Using a variety of tools sent to me from EKSuccess I created this cute paper pumpkin art that adds some sparkle to my spooky stash.
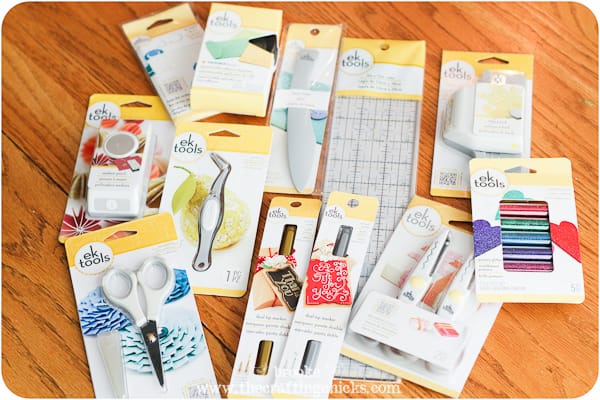
It was fun to open up the box and see all of these great products spill out onto my table! These EKSuccess Tools are new and can be found at Walmart now! They are a must-have for any crafter’s closet and can be used in so many different ways. I didn’t use them all for my project but I’m already thinking of ways to use more of them for future creating!
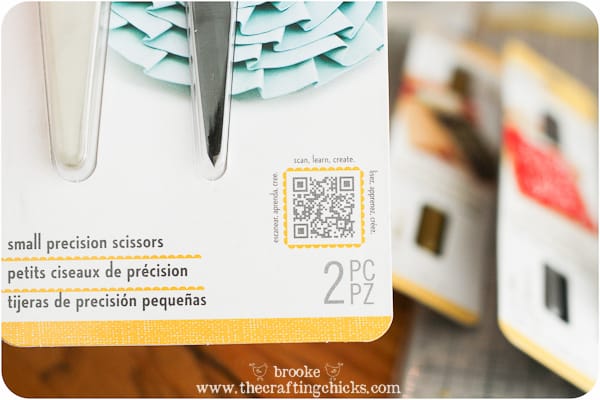
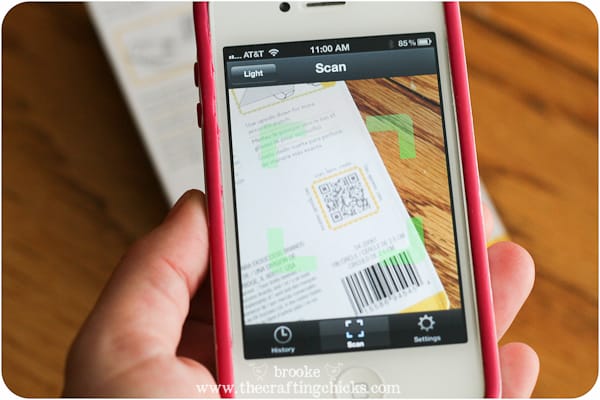
I love the bright and colorful packaging and I really like how many of the products include QR codes that you can scan with your smartphone and watch a video with creative ideas.
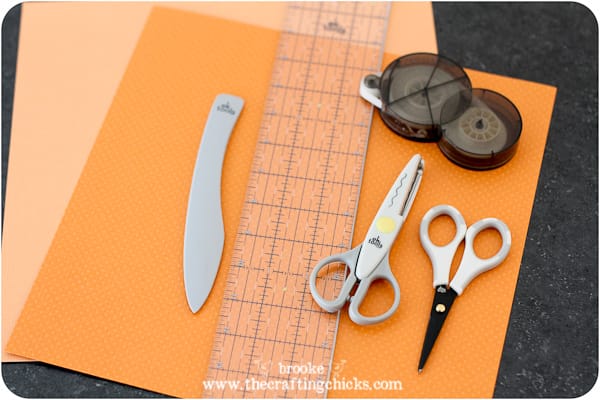
Now, to make my paper pumpkins I used several of the EKSuccess Tools including:
- clear ruler
- bone folder
- small precision scissors
- decorative scissors
- adhesive roller
I also used coordinating orange scrapbook paper, a small piece of brown and green cardstock for the stem and leaf, and clear tape.
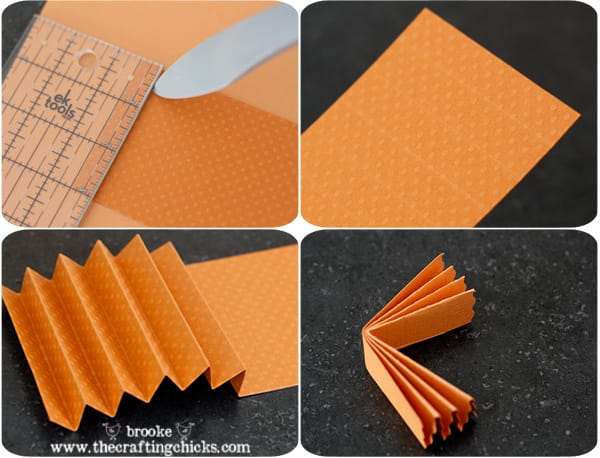
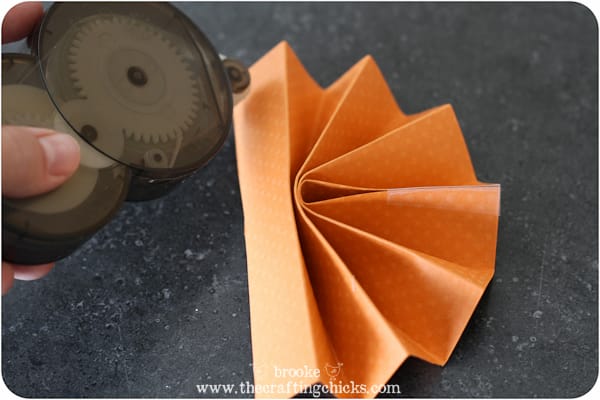
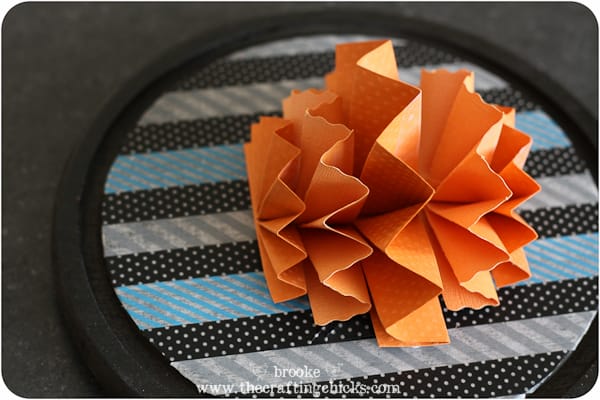
My paper pumpkins are made with the same technique for making paper “lollies” or “rosettes” except instead of making a circle, we only need a half circle of the accordian folds since the “pumpkin” is mounted on a flat surface. The finished project has 5 layers of “pumpkin”, stacked in the order small, medium, large, medium, small. I cut the papers with the precision scissors into these sizes, just to give you an idea:
2 pieces: 3 x 4 inch paper (small)
2 pieces: 4.5 x 5 inch paper (medium)
1 piece: 5 x 7.5 inch paper (large)
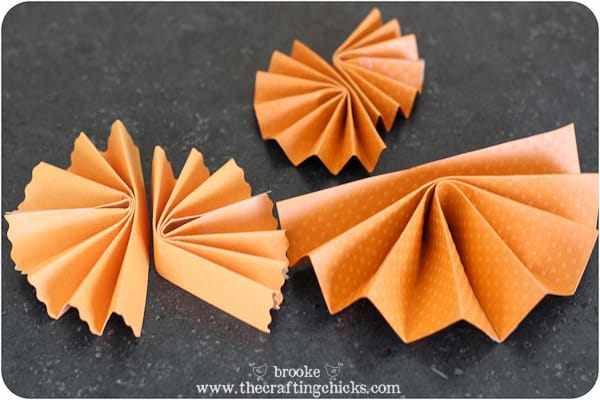
I used the clear ruler and the bone folder to score the papers. This made the accordian folds super easy to do and they were uniform. I scored every 1/2 inch on the smaller pieces and every 3/4 inch on the bigger pieces to have some variety. Once you fold the paper accordian style, fold it in half and tape the middle together with a small piece of clear tape.
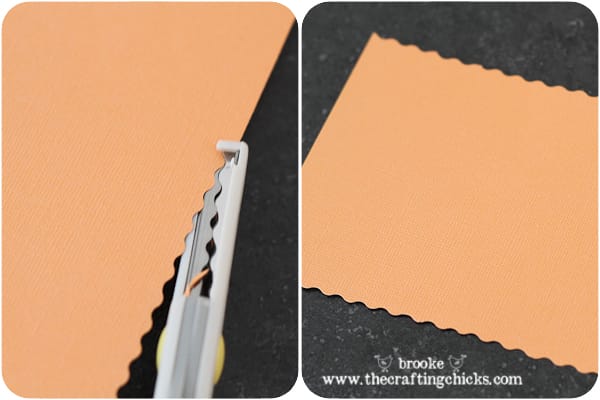
I used the decorative scissors on 2 of the pieces of paper to jazz it up a bit more, they cut like butter!
Here are my “pumpkin pieces” ready to go.
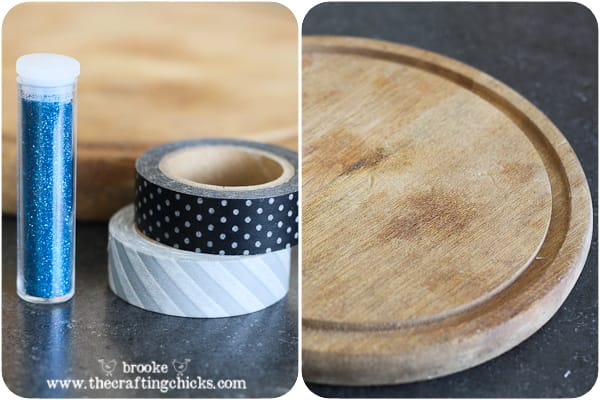
For the background that I mounted the pumpkin art on, I had a thrifted cheese plate that I dressed up using black spray paint, washi tape, and EKSuccess Tools precision scissors and blue glitter.
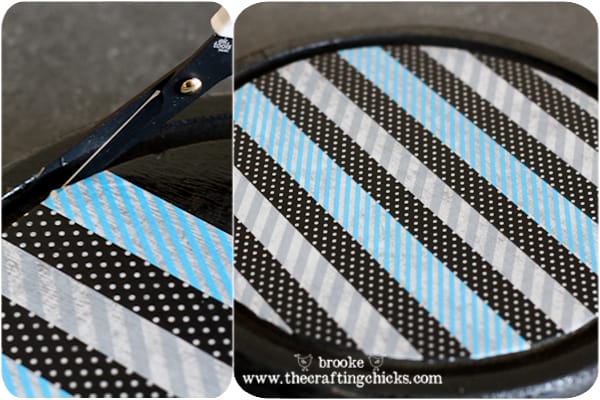
I used the washi tape to make stripes onto the platter, and used the precision scissors to cut off the excess. Those scissors made it super easy to maneuver around the circle and are razor sharp! It’d be a good idea to seal this with Mod Podge or a spray sealant to protect it and keep the tape from peeling off.
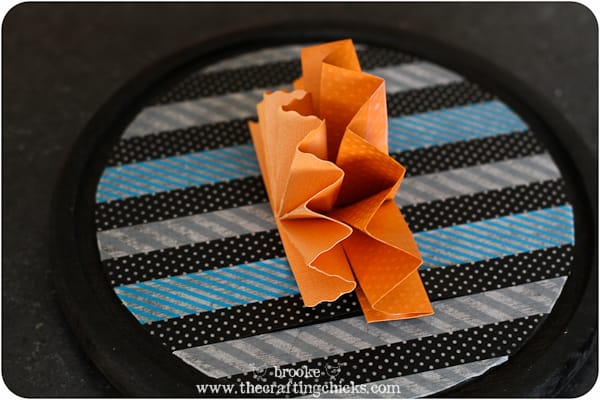
I attached the paper pumpkin layers to the platter using the adhesive roller, placing the pieces in the right order to build a pumpkin shape.
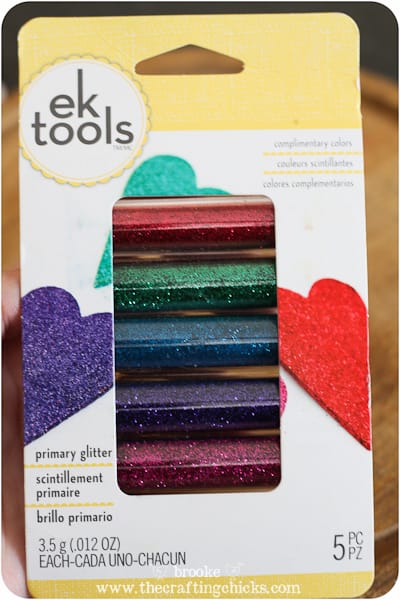
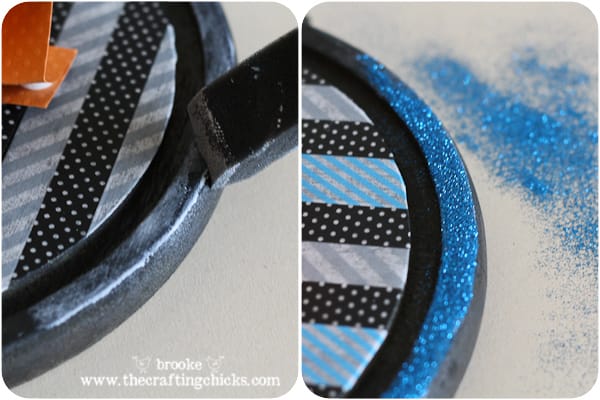
To add the glitter I used a foam craft brush to brush on a thin layer of glue and then sprinkled the fine glitter on top. Shake off the excess and let it dry for several hours. I LOVE how the glitter adds sparkle to the project, and I love the pretty jewel tone colors the EKSuccess Tools glitter comes in!
Last I added a small rolled up brown cardstock stem and a little green leaf to complete the paper pumpkin. I think it turned out cute! Halloween, here we come! Thanks to EKSuccess Tools this project was easy and fun to do.
Check out more projects by fellow bloggers using EKSuccess Tools! EKSuccess products are available at select Walmarts now.Follow them on Facebook for even more ideas! Facebook: http://www.facebook.com/EKSuccessBrands

Such a cute pumpkin! I love EK Success tools!
Aw, thanks!! 🙂
So cute!! And what an innovative idea for the pumpkin. I love it! Great use of the decorative scissors!
Too cute, Brooke! We did a similar style last year, great minds think alike! Love yours!! XO
super cute!! pinning!!!