
Homemade Photo Ornaments: A Sweet DIY Christmas Craft for Your Tree
Creating a photo ornament is one of my favorite ways to personalize our Christmas tree. These DIY photo ornamentshighlight family memories, showcase each child’s personality, and add a sweet touch to your holiday decor. Kids love seeing their photos displayed, and grandparents adore receiving these sentimental keepsakes as holiday gifts. This craft adds a charming personal touch to your tree and also makes great gifts during the busy holiday season.
Today, I’m sharing an updated version of our Homemade Photo Ornaments. These ornaments use cardstock, a simple template, and your favorite photos. They are easy to create, fun for kids, and perfect for crafting together as a family. You can use old family photos, new holiday pictures, or even school portraits to make each ornament special. The process is simple, yet the finished Christmas photo ornaments look meaningful and handmade.
Why Make DIY Photo Ornaments?
These ornaments capture sweet memories. They also become treasured keepsakes that you pull out year after year. They make great gifts for grandparents, aunts, uncles, neighbors, and teachers. Kids love seeing themselves as part of the decorations, and it brings everyone joy during the holiday season.
Plus, this craft is budget-friendly and quick. You only need a few supplies, a photo, and a little time. It’s an easy DIY photo ornament project anyone can make, even toddlers with a bit of help.
SUPPLIES YOU NEED
This post contains affiliate links.
- Your favorite photos or old family photos printed as 4×6
- 4×4 Wooden Blocks
- Cardstock
- Scissors
- Ribbon
- Mod Podge
- Kyrlon’s Silver Foil Metallic
- Chipboard letters

Step-by-Step Instructions for Making a Photo Ornament
These simple instructions help you make beautiful ornaments you can hang on your Christmas tree or give as holiday gifts. Each step uses basic supplies you likely have at home.
STEP 1: Prepare the Photo
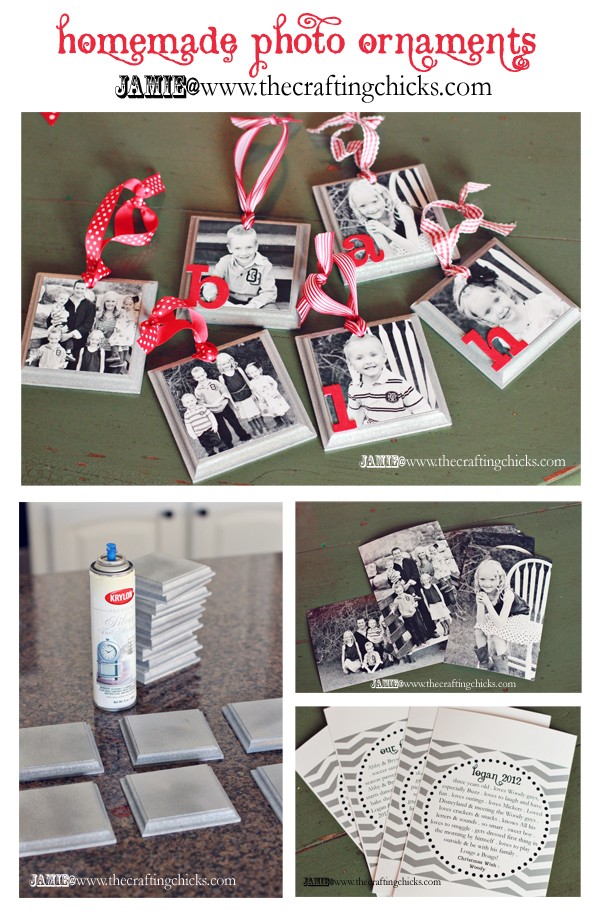
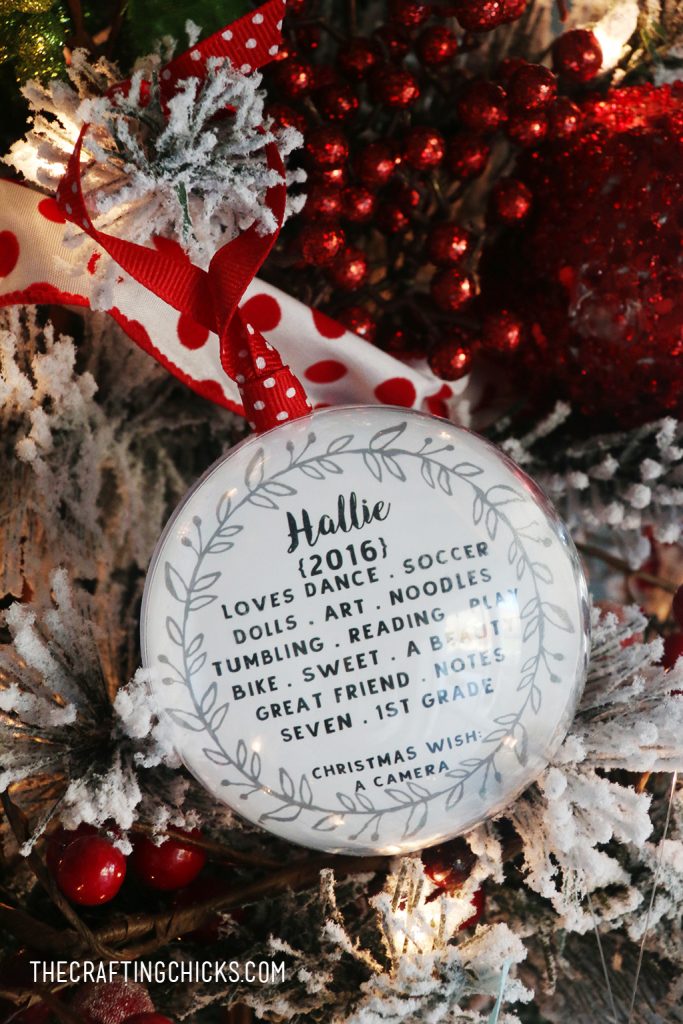
I ordered 4×6 photos in black and white of each of my children and our family. I also made a little digital design for the back sharing our highlights of our year and milestones of each kid. You could easily make this in Canva. I printed these out on cardstock.
STEP 2: Cut Out the Ornament Shape
Use scissors to cut down to size and used the square as a template. Kids can help here, especially older children learning coordination and fine motor skills. Let them cut slowly for clean edges.
STEP 3: Prepare the Wooden Square
I spray painted each plaque with Kyrlon’s Silver Foil Metallic.
After letting the squares dry, I drilled a hole at the top to string ribbon through.
STEP 4: Attach the Photo to the Ornament
Place your trimmed photo on the back of the cutout space. Secure it using Mod Podge. Put the Mod Podge on the wood and push the picture, then brush a coat of Mod Podge over top to seal it.
This step is where the ornament becomes meaningful. Kids love seeing themselves featured on the final piece.
STEP 5: Add The Back Info
Cut a second ornament shape from cardstock. Attach it to the back of the ornament wood the same way you did the photo on front. You’ll love having this information for years to come.
STEP 6: Add Ribbon
Push a hold through the photo with a sharp pencil or any other item that fits. I added 1/2 inch festive red ribbon to secure the ornament to the Christmas tree.
STEP 7: Add Decorations (Optional)
I added red painted chipboard letter for monograms to give it more color.
If your family loves Christmas crafts, add glitter, stickers, or small embellishments. Even a tiny bow or mini bell adds charm. These finishing touches make each ornament unique.

More Fun Ways to Personalize Photo Christmas Ornaments
- Use wood slices for a rustic look.
- Turn this into a yearly tradition using updated photos.
- Let kids sign the back with markers for a personal touch.
Why These Ornaments Are Perfect Gift Ideas
These photo Christmas ornaments make heartfelt gift ideas for anyone who loves your kids. Grandparents adore receiving a child’s photo as a keepsake. Teachers appreciate meaningful handmade gifts. Families love hanging them on their tree year after year.
They also store well, and each ornament becomes part of your family’s Christmas history. These ornaments are simple to make, full of meaning, and always a lot of fun.
Check out past Photo Ornaments on the Crafting Chicks:
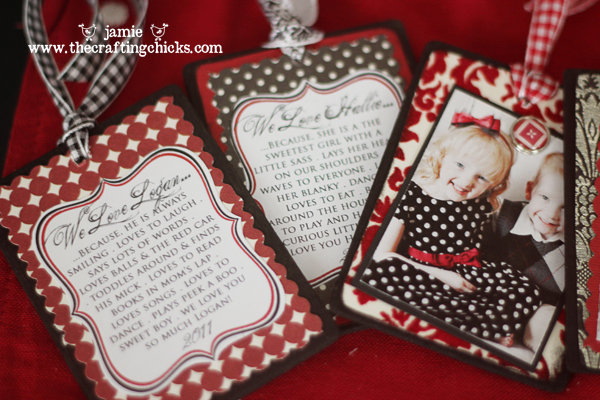
Homemade Block Photo Ornaments


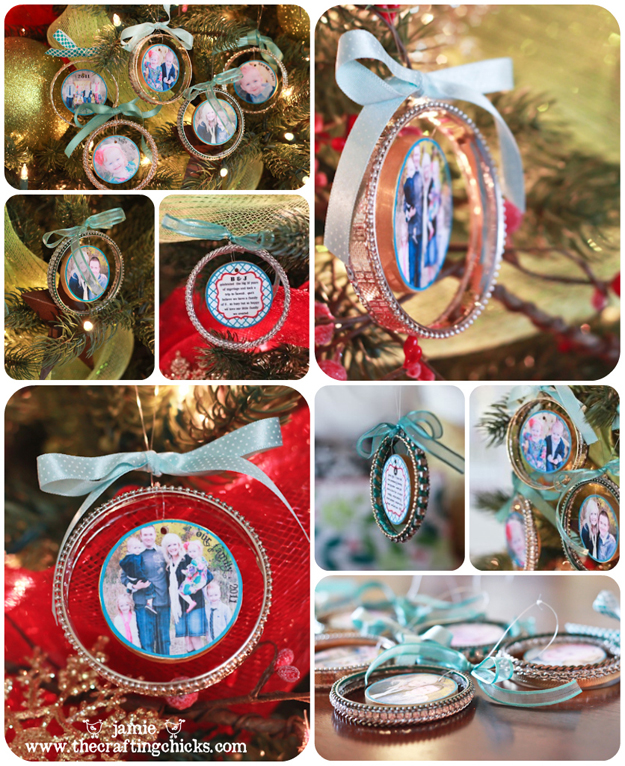
Bangle Bracelet Photo Ornaments
This post contains affiliate links.
We love using our photos in fun ways!
Check out this FAMILY PHOTO MEMORY GAME.
Play this match game with pictures of your family. This makes such a clever gift idea too.





where did you buy the mini wooden plaques? I looked on the site you linked but couldn’t find them to buy —- these are adorable!!!
I love the ornament and would love to make some for our family. Would you be willing to share the template you used for the individual year in review you included on the back?
Thanks.
Paige
@kris – Here is the link: http://www.poppyseedprojects.com/Kit/photo-plaques/photo-ornament. Glad I found them 🙂 So cute! Silly question because I’ve never used it, but do you use the Mod Podge underneath and on top of the picture to get it to stay?
Yep Jenny, you do a thin layer on the plaque, and set the photo on top of it. Then brush another thin layer on top of the photo to seal it. Thanks for finding that link, too! 🙂
I love these ornaments. Would you be willing to share your template for the back. Thank you, Kallie
I gathered all of the supplies to make these today. I am also wondering about the template on the back. Did you use Photoshop? I’d love to have a little guidance in how to make something similar. Thanks!
Hi thanks so much for sharing the little wooden ornaments. I am super excited to make for christmas. Would you mond sharing the format for the back? I just love it souch.
Can’t wait to try to make these. Love them! Please can you share the template for the back? Thank you!
Jamie didn’t make a template and she can’t find her file. So sorry.
Which modge podge did you use?
Super cute! I’d love the template for te back too if you could share, I’d appreciate it. 🙂
Jamie didn’t make a template and she can’t find her file. So sorry.
I love this ornament, I make ornaments each year for my nieces, nephews and grandchildren and was actually able to find the wooden plaque at Michaels and Joanne’s. I have the photos and am now wondering how to make such an adorable design for the back. What program do you use or do you sell your template? Thanks so much!!
Terri
She used PhotoShop to make the designs. Jamie didn’t make a template and she can’t find her file. So sorry.
WOW! All of your ornaments are beautiful & unique. Can’t wait to get started on my own!
And I would also love and appreciate the template as well! 🙂
Jamie didn’t make a template and she can’t find her file. So sorry.
Love the DIY ornaments, but I too would LOVE the template! Please share 🙂
Jamie didn’t make a template and she can’t find her file. So sorry.
Love your ornaments!! Thanks for sharing
I also would love to know the template you used pls
Jamie didn’t make a template and she can’t find her file. So sorry.
These are gorgeous!! Could I get the template too? You are amazingly talented!!!
Jamie didn’t make a template and she can’t find her file. So sorry.
Hello, I understand there is no template but can you share what was written on the back of some of them to give me an idea of what to put? Thank you!!
Did you use photo paper or are they on normal copy paper? Thank you
Super cute idea! Love them! I’m also wondering what paper you used for the photos… seem pretty easy to make.
Where did you find the small metal square frames?
I’ve tried putting photos on wood before and had the photo white out. I printed the photos from Walmart at their instant prints place. What type of printing paper did you use?
Beautiful ornaments! You are a wonderful mother!
I love these! I want to make them for my PreK children! Can you share the template that you use on the back? Ha….just kidding about that. Seriously, they are perfect!
Do you take orders? I am wanting to make some ornaments for my boyfriends aunt and grandmother, my boyfriends mother passed away (their daughter and sister) and think this would be a great idea to hang photos of them on the tree. I, however, am not so talented at arts and crafts and have no time either (I’m a nurse). Would love to hear from you, I’d definitely love to share my idea and see what you think, thank you in advance,
Madison
Madison, we don’t take orders sorry!
Are those wooden or metal plaques you used?
I love this idea! i had a question though. what type of tile did you use? Also where did you find it?
Thank you!!!
I love your ideas!! Looks very cute and absolutely easy and fun to make !!
Thank you for sharing anyway 🙂
Just fyi, I found a 4 pack of the wood at Hobby Lobby for $2.99!
I love this idea for Grandparents or a Christmas present. I am wondering what kind of paper you used for the facts about your family on the back.
Jamie designed the backs in Photoshop and printed them out on photo paper.