DIY Photo Ornaments
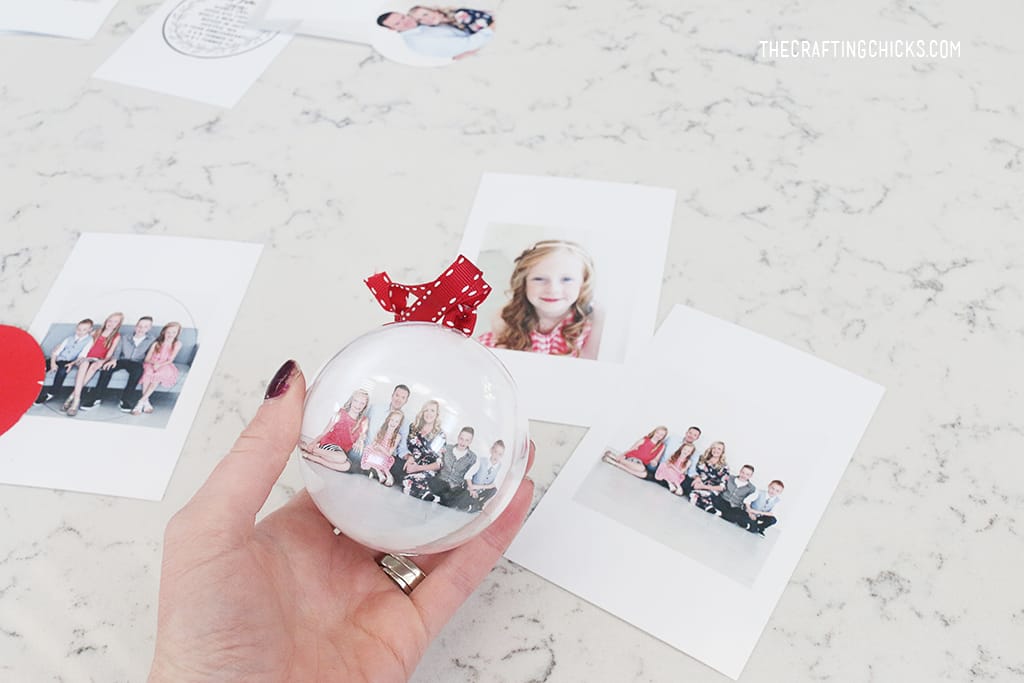
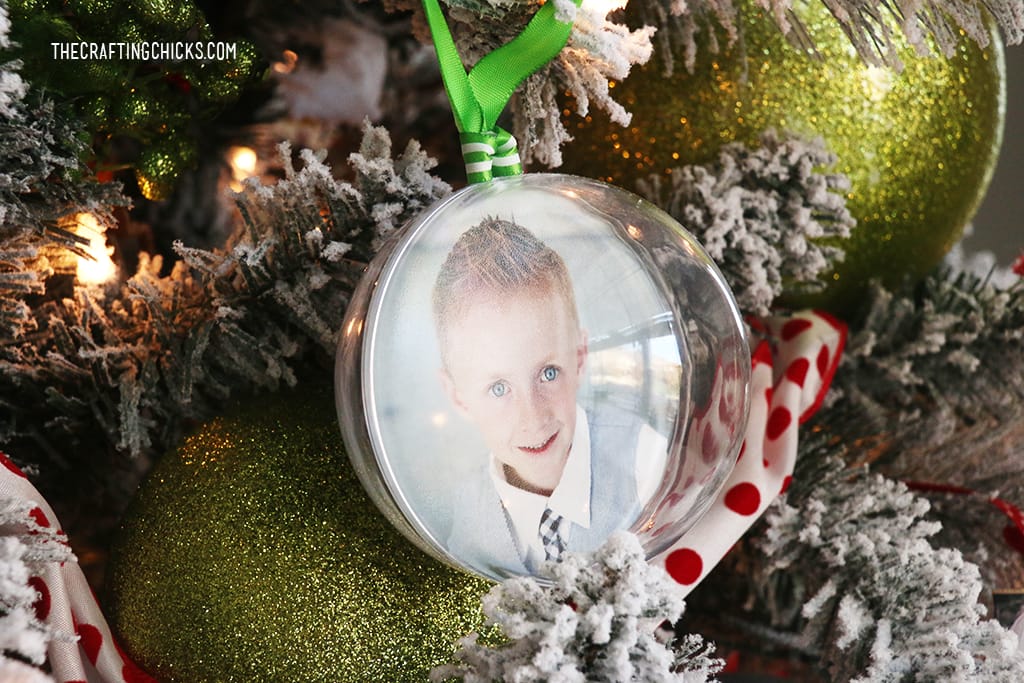
Homemade Photo Ornaments are a favorite tradition at our home. We have made photo ornaments each year.
I love to see how my kids change from year to year. It’s magical to stand by a bright Christmas tree and look at all of the sweet photos and memories from each year.
I begin by making these photo ornaments in Photoshop Elements 15.
I’m thrilled to share how easy and fun it is to make these Christmas Photo Ornaments today.

- Adobe Photoshop Elements 15
- Round Fillable Ornaments 80mm
- Festive Ribbon
- Free Wreath Circle Template
In Photoshop Elements 15, create a 4×6 document. To do this, click on File in the upper left corner, then click new, then blank file. Choose document type “photo,” then below choose the portrait 6×4″ size.
Step 2:
Open your photos using File, and choose Open. After selecting the images from your computer, select Open. Using the Crop tool, drag and crop your photos to a square shape. You can select the size you will crop at the bottom left. You can choose a preset size, or create a custom size.
Step 3:
Using the arrow tool, drag the square shape onto the 4×6 document. Resize your photo square, so that the square photo fits on the 4×6 document, leaving about 1/2 inch on each side.
Step 4:
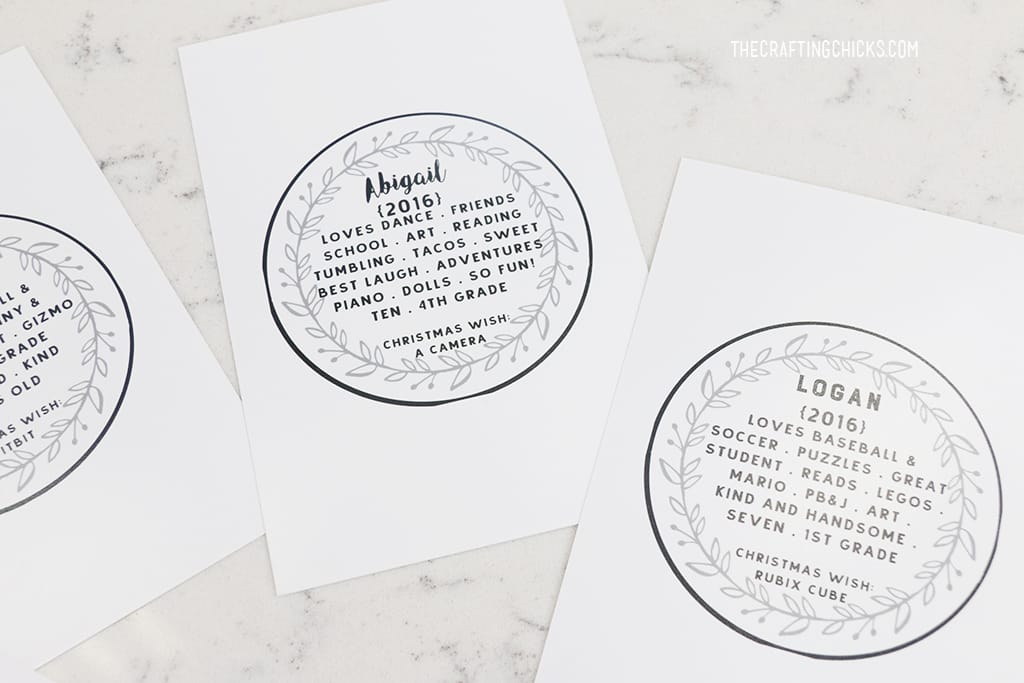
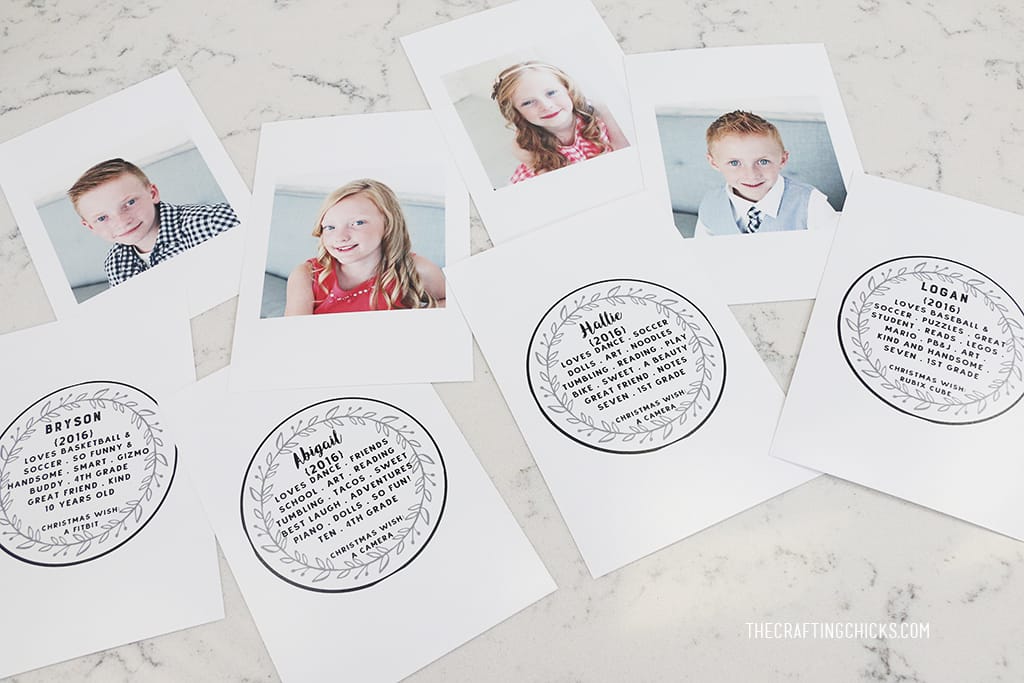
Download the Photo Ornament Wreath Template to add behind the picture in the ornament. After downloading the file, you can open it in Elements 15 using the File and Open option just like you added the photos. Add words to the wreath using the type too. I love to switch out the fonts and sizes. Try using a couple of different fonts inside the wreath template. You can type a name, date, and things about loved ones, or memories from the year 2016.
Using a cardstock template 3.15″ circle, trace each photo. Cut out using scissors.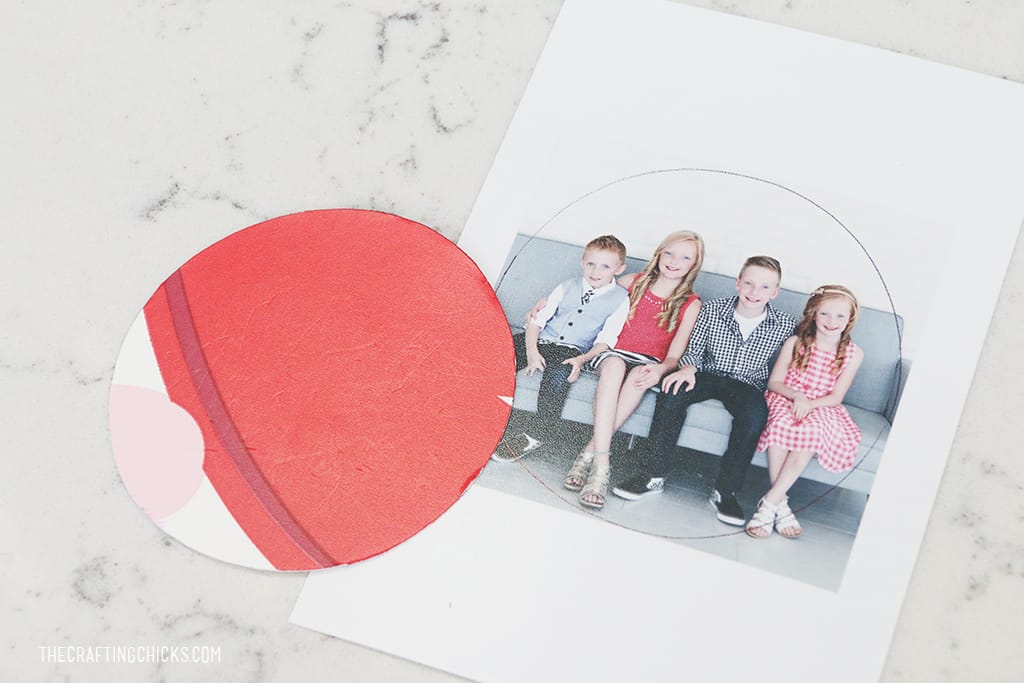
Cut out each wreath circle with wording. It should be the same size 3.15″.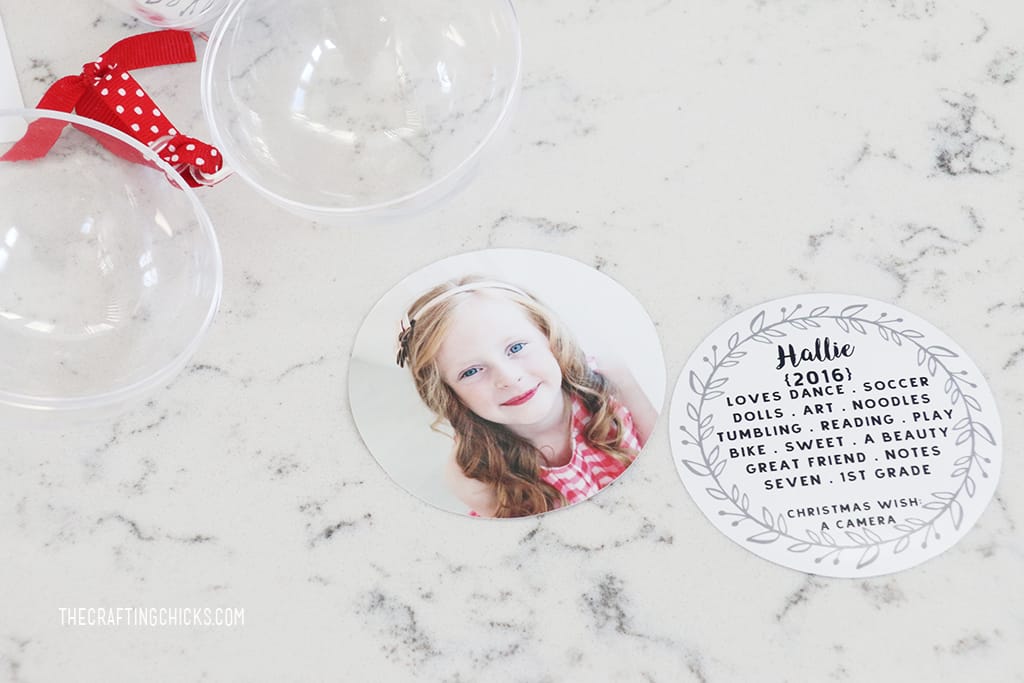
Place the wreath printable place down on one side of the plastic round ornament. Add the photo facing up on the other side. You can add a little glue between the wreath image and photo if you would like:)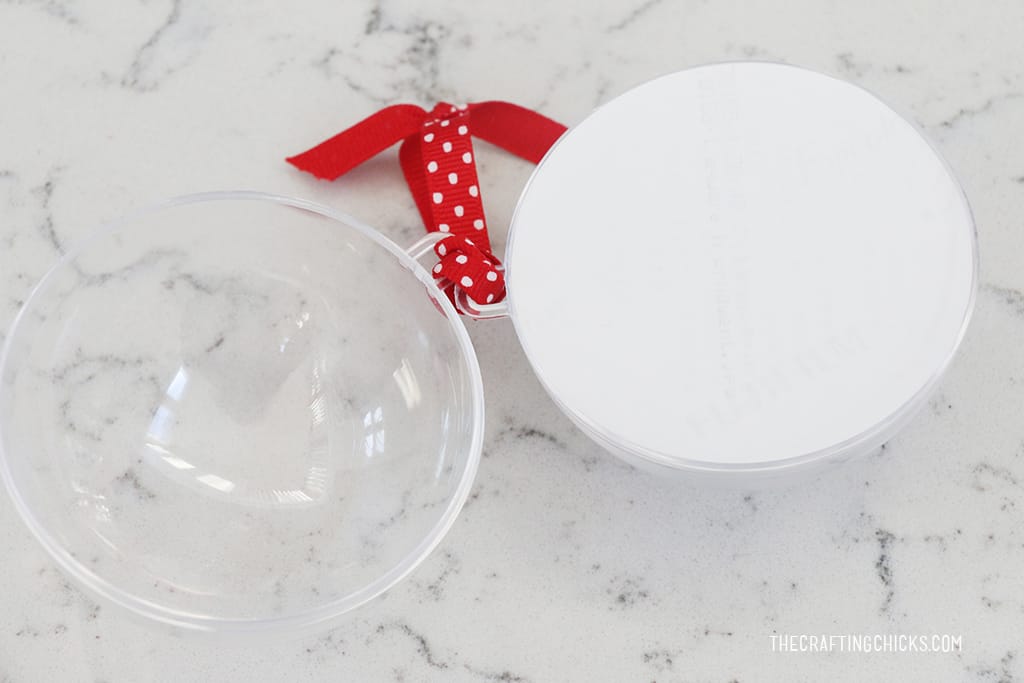
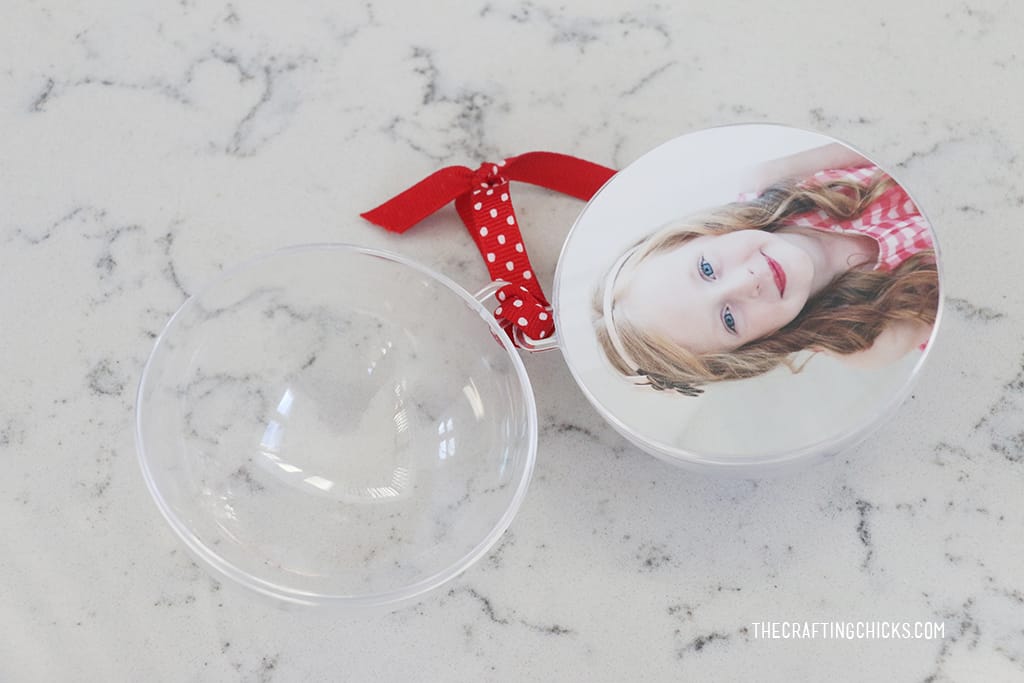
Close the plastic ornament tightly and add a ribbon to the top of the ornament through the loop.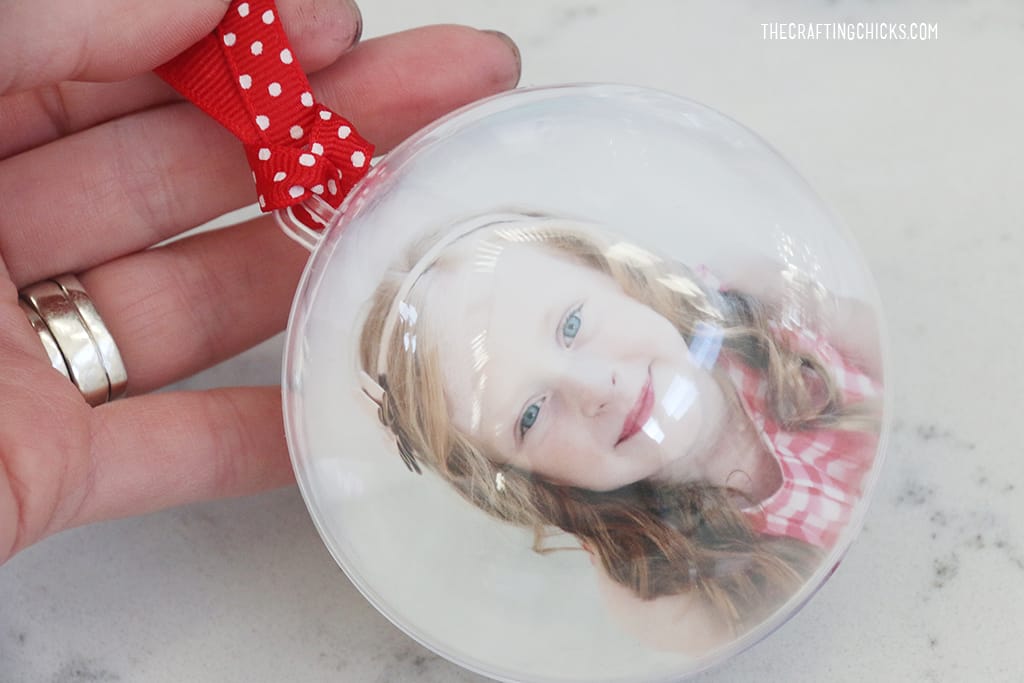
Family and friends will love to look at the sweet photos hanging on your tree.

Perfect way to add some meaningful ornaments to our tree decor.
We love Photoshop Elements and have used it for years! I was so excited to try out the new version. I love how it has all of the great features, as well as some new features and tools.
For more information you can follow Adobe Photoshop Elements on Facebook / Twitter / Pinterest / YouTube


Where do you find the fillable ornaments. I have looked everywhere and can’t seem to find them.
Where can we purchase the actual plastic ornament holders ?
many thanks
jeff
Hi Jeff. I just added the link. You can find them on Amazon, http://amzn.to/2ibzQYu