
This project was originally posted as a member of their project design team on the Riley Blake Design blog.
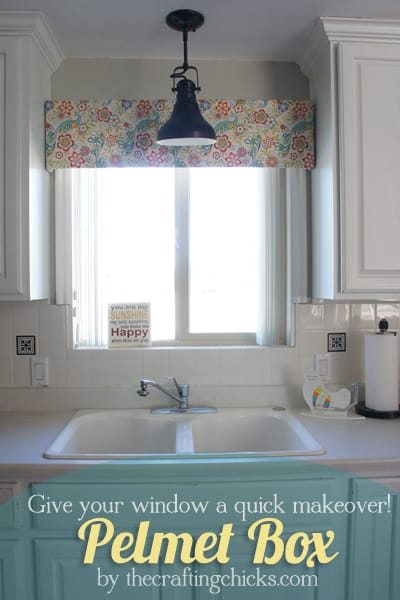
I’m so excited to show how I gave my kitchen window a make over in 20 minutes and for $5!
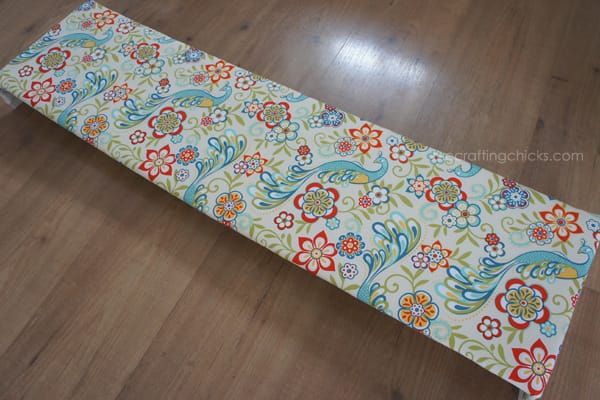
We’ve painted our kitchen cabinets, the walls, and replaced the light above the sink but something was still missing in here. That something happens to be the Serenata peacock fabric from Riley Blake Designs. I love the entire line, but this particular fabric makes my heart sing. In fact I had a hard time deciding which room to use it in, and have restrained myself to only using it in 2 rooms! (Maybe you remember it as the pillows in my front room in this chalk paint post.)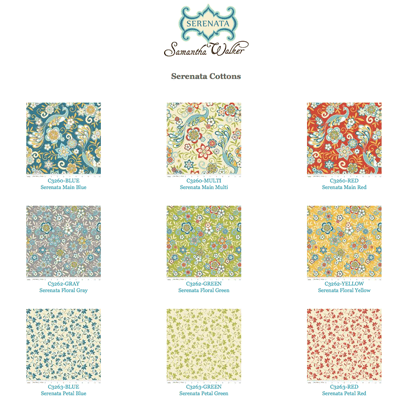
I made a pelmet (or valance bow or cornice box or whatever you want to call it) adapted from these instructions by Little Green Notebook.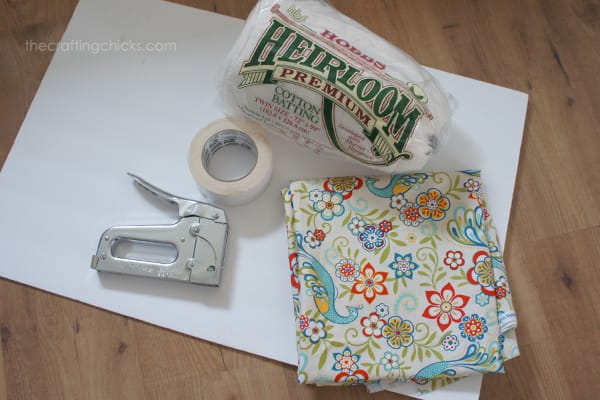
The supplies: batting, duct tape, stapler, foam board, and fabric. I had everything on hand except for the fabric-score! 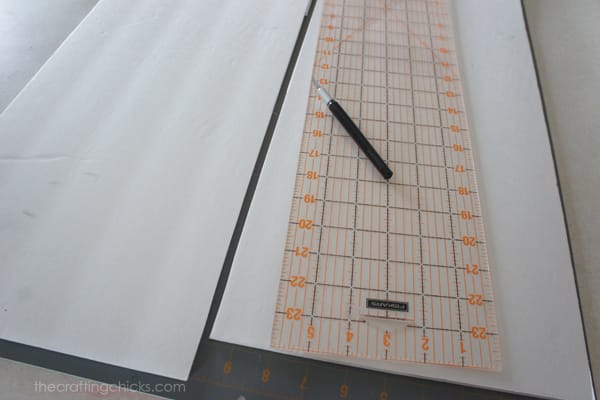 Using an X-atco knife, my ruler and cutting mat I cut the foam board in to the width I wanted. I went with 10 inches and then cut each piece to be 20 inches long, since I figured I needed a 40 inch long piece. In hind site, I think 12 or 13 inches wide may have been better. You’ll have to decide the size that will work best for your window.
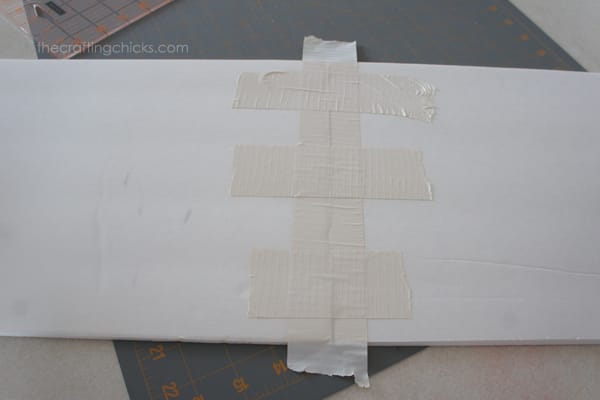
Then duct tape the two pieces together. I’ll be honest, my husband is totally cringing at this point. First foam board, and then duct tape?!? He would have been much happier if I would have broke out the plywood and saw. But there was a reason for the madness, as you’ll see.
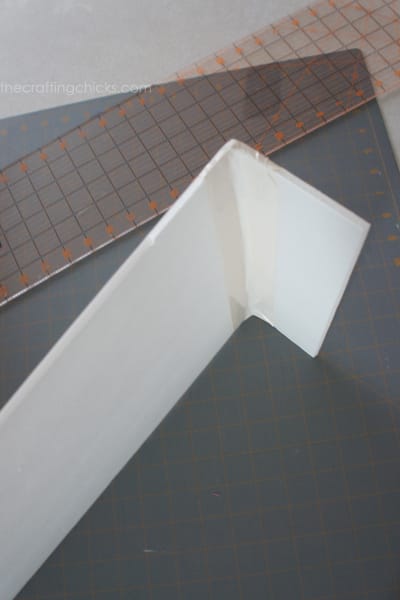 Then tape the side pieces on. Mine are 3 inches wide, and 10 inches long. Figure out how far you want it to stick out to determine your width.
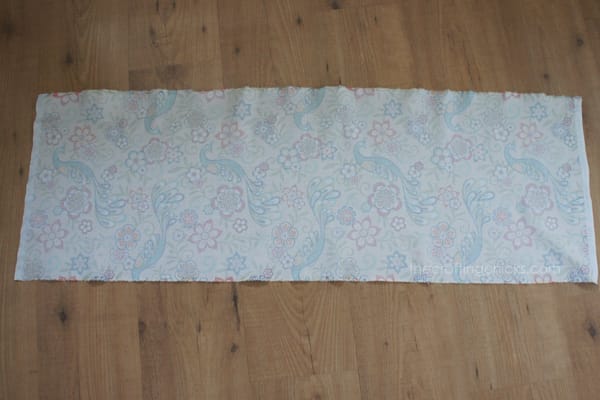
After your box is together, cut the fabric to size. I figured in an extra 5 inches to wrap around the board and staple. Iron it well and place right side down.
 Lay the batting on top of the fabric. Thicker batting will obviously give you a puffier pelmet, but this is what I had stashed in my closet.
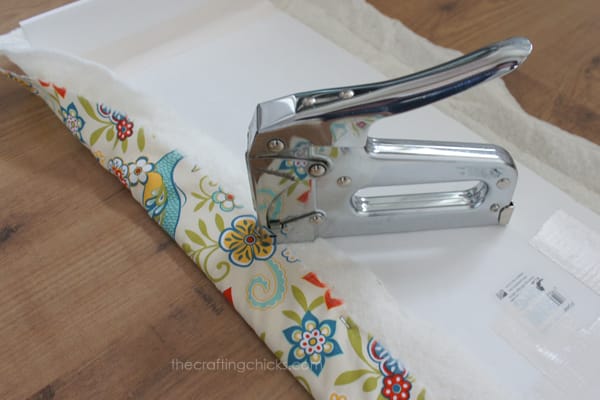 Lay the pelmet on top of the batting and using a staple gun, and 1/4″ staples, pull the fabric and batting around to the back and staple. Keep stapling until you have it tight and secured.
 Like this!
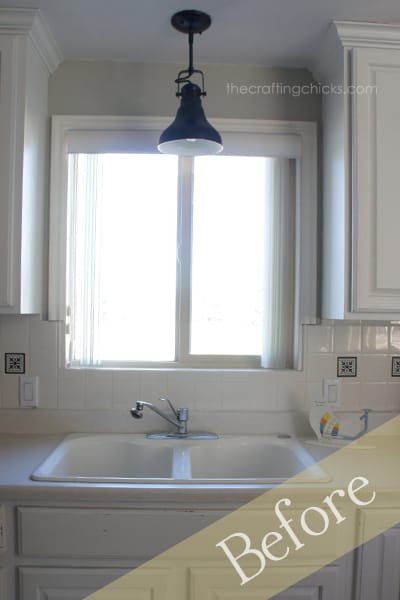
Here’s the before shot, as you can see it is in need of a little color. And the cabinets are really close to the window trim. Which is why I chose the foam board method, because I didn’t want to drill the cabinets or the trim to hang this. 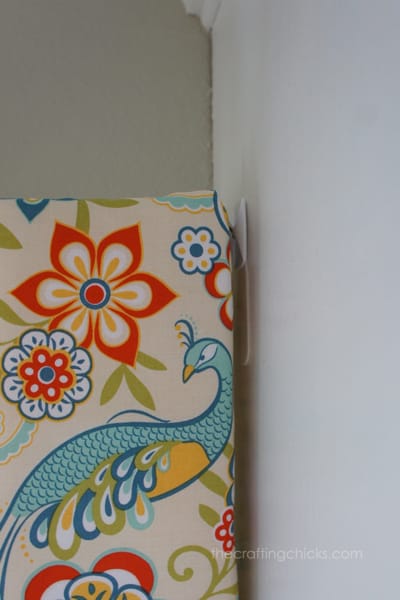
Since the foam board is so light, I used the help of 3M Command Strip hooks to hang it. I used one on each side on the bottom for it to sit in. And then one more on each side flipped over the top. Can you see it there holding on? It worked like a charm!
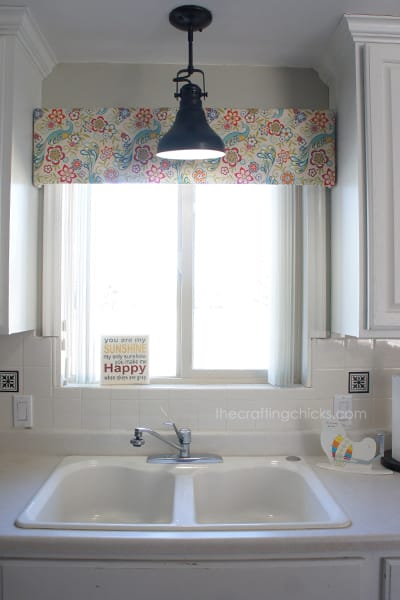 Ahh, just what we needed! And I love that it only took 20 minutes and cost about $5!

Love this idea! I’m going out to buy foam board now…and some fabric…and some duct tape and a staple gun. Okay, I may end up spending more than $5 here. 😉
Andrew has got to have a staple gun and duct tape, doesn’t he?
Actually, forget the staple gun. You can totally use the duct tape to hold the fabric in place.
I love the way that turned out and I LOVE the fabric. Riley Blake is one of my favorites right now!
This is so awesome! I have been trying to decide what to do for the window above our sink….it just needs something like this! Thanks again for posting!
What a great idea I have been at lost of what to place over my windows to give them some character.
Do you just have the pelmet box sitting inside of the command hooks?
Yes! Two hooks on each side–I love those things!
LOVE LOVE LOVE the idea of using A) foamboard and B) an inverted Command hook to hang your cornice. So easy and quick. Thanks for sharing!
Awesome idea NIk, and so easy to! Way to go!
That is a great idea, Love the sink I plan to get one like that in my remodling of my kitchen must put this in the idea box.
You make me wish I had a window over my sink! I love that fabric!
Very cute fabric! I LOVE your light! Where did it come from?
LOVE this idea! I do not have a saw so I always say I can’t do these kind of jobs but hello! Foam board and scissors-that I can handle. Wonder if the command hooks will still work if you aren’t putting them in between cabients?
Just curious as to what the back side looks like? My window will be seen from back deck and want it to look some what decent. Any ideas??
I love the light as well! Can you share where it is from?
Found the light on clearance at Lowe’s. I painted it and had it shortened to the right length.
How did you do wrap the ends of your fabric on the foam board without it being bunched up?
LOVE this project and tutorial! Included it in a round up post on cornice boards I posted today! Thanks for such informative info 🙂 Here’s the post link if you wanna check it out!! http://bit.ly/1BbCEYG
Thank you Heather!
What a lovely tutorial! The fabric choice is devine too!!