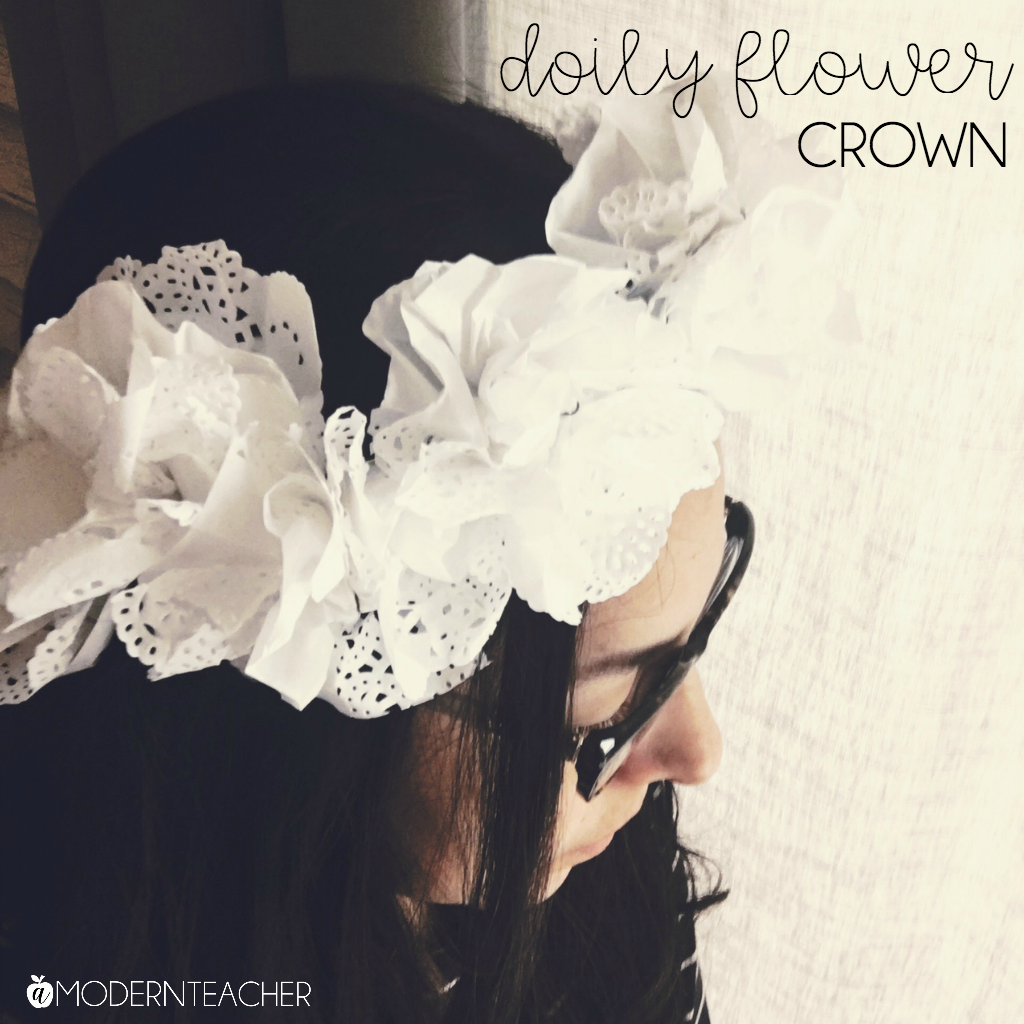
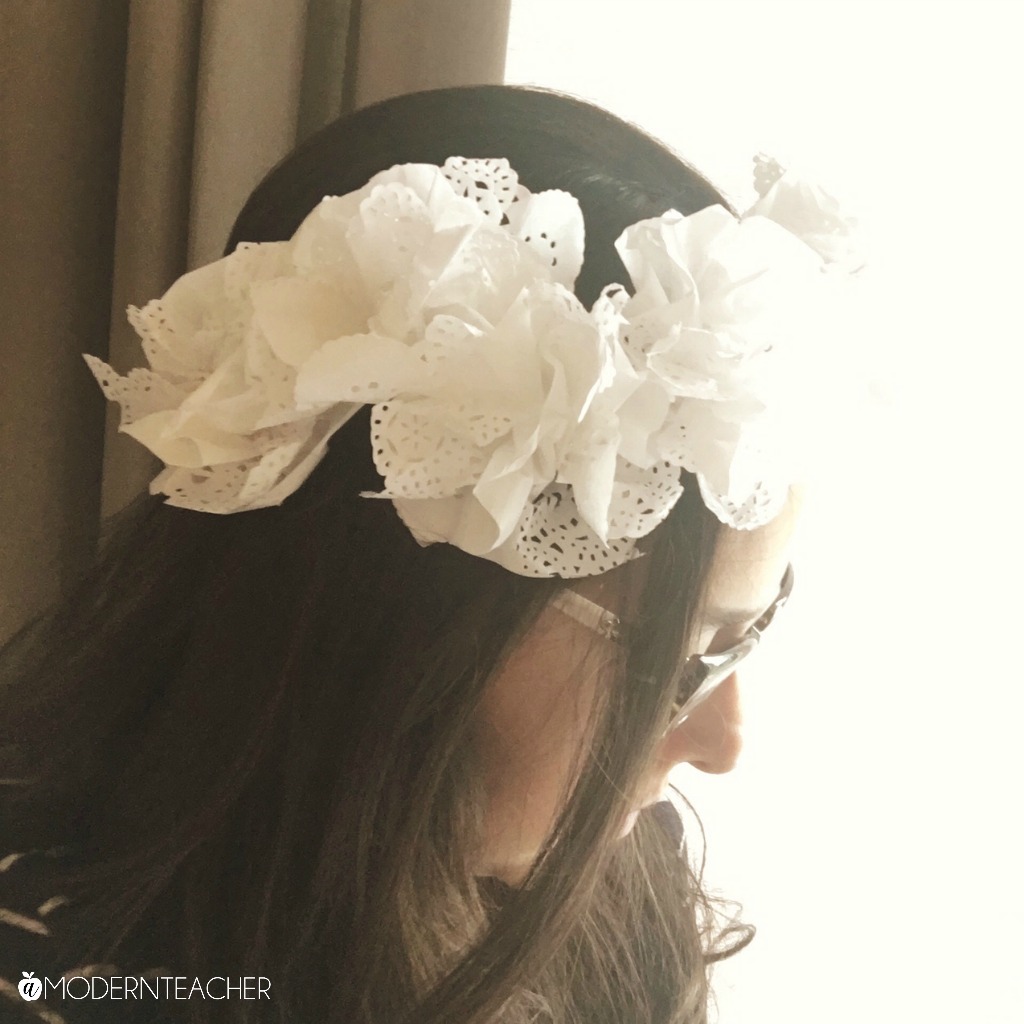
Spring is here which means flowers are blooming! YAY!! Having a name like April and it being my birthday month, I just love Spring…and the flowers! Right now, I am obsessed with paper flowers. I love all kinds of flowers but paper flowers are really making my heart pitter patter right now. There are some really cool books out there to show you how to make different flowers and flower arrangements. This one and this one have caught my eye. Today, I am sharing a DIY paper flower crown you can make to celebrate Spring or Mother’s Day or May Day, or any occasion really! The fun supply we are going to use are doilies! I just love doilies, don’t you? In addition to keeping them white, you could water paint these doilies to add color.
Let’s get started!
(affiliate links are included in this post)
DIY Doily Flower Crown
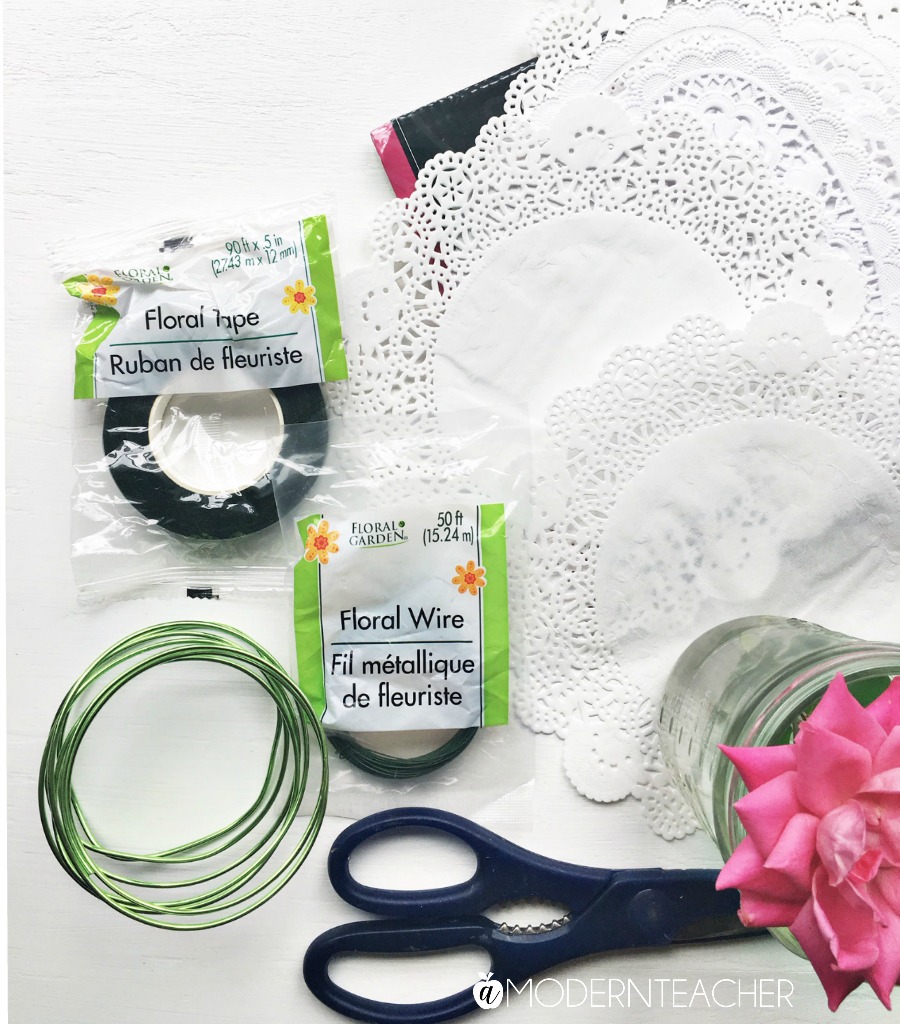
Materials:
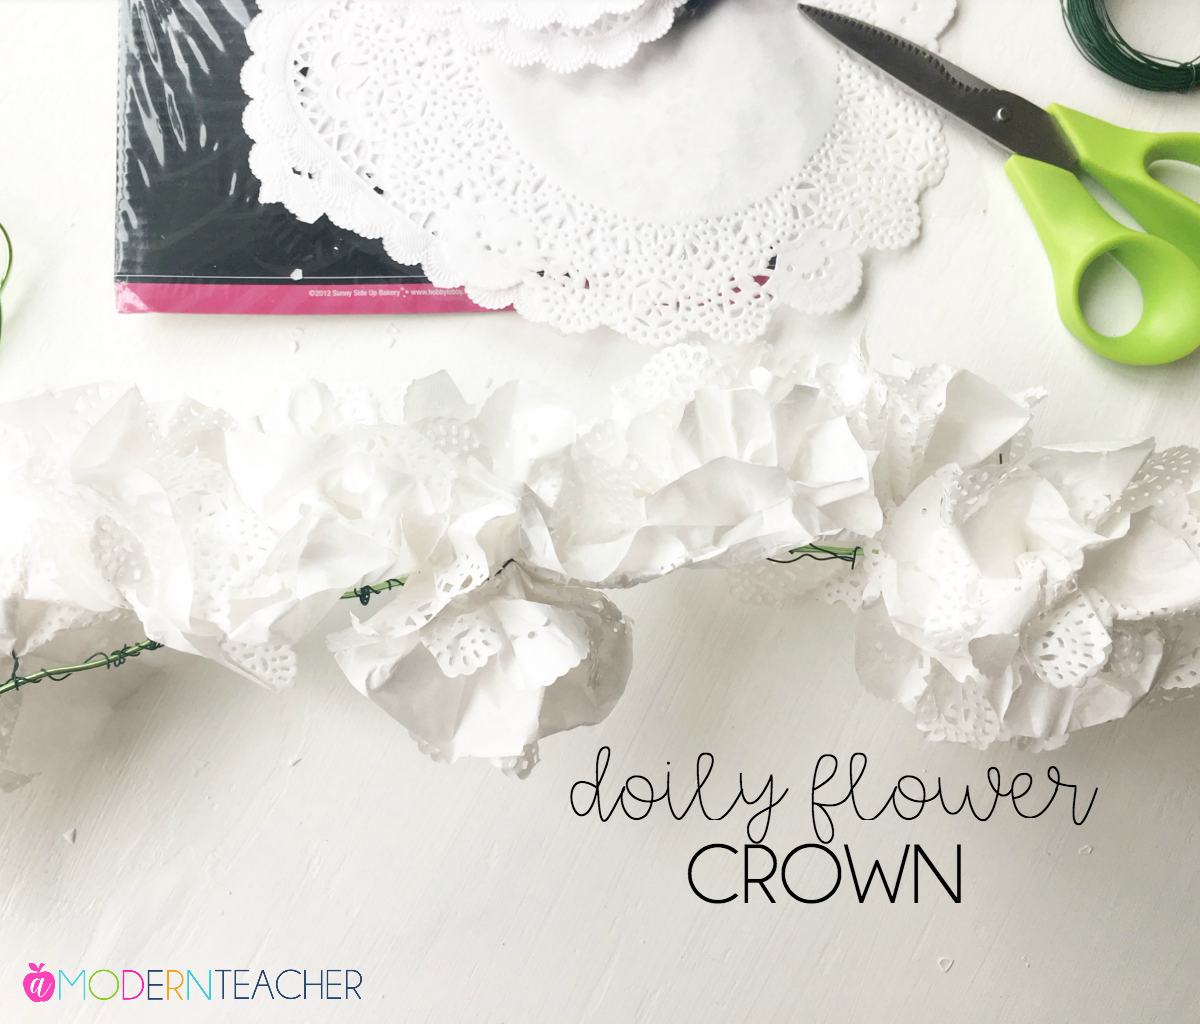
Doilies (small or medium in size), about 16 per head piece
Floral Tape (one roll is more than enough)
Floral Aluminum Wire (this comes in a variety of colors; I found mine at the Dollar Store and it came in green but you can find it on Amazon in a variety of colors)
Basic Supplies:
scissors
Steps:
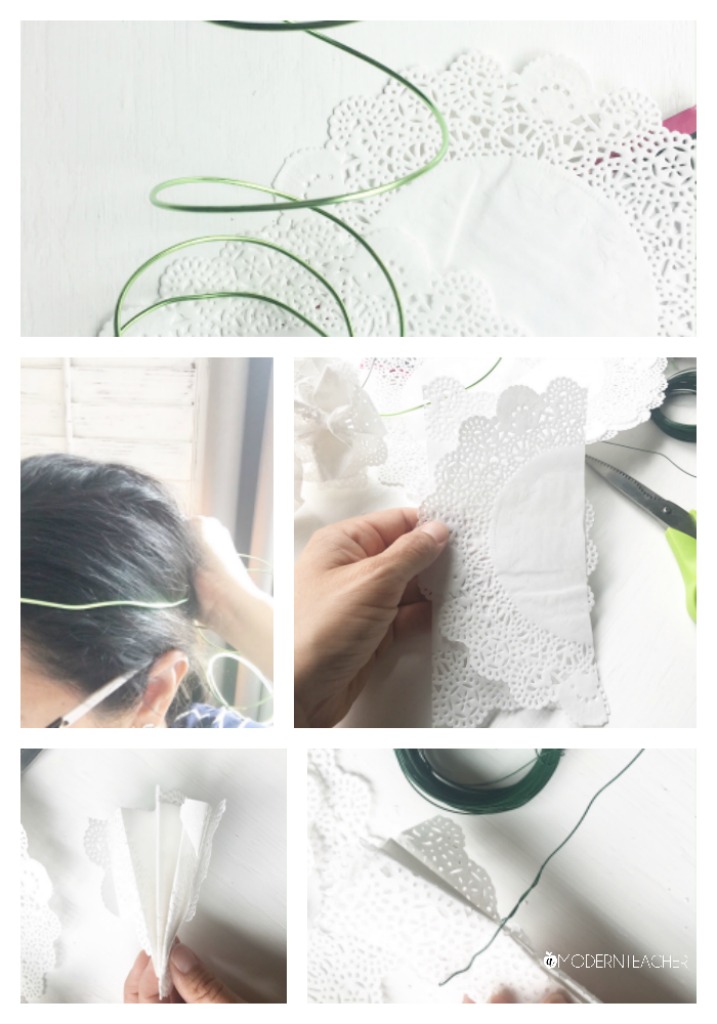
- Measure the thicker, bendable, aluminum wire around your head to get an idea of how long the crown should be. Using scissors, cut the wire. Set aside.
- Gather 3 doilies together and cut them in half.
- Layer the doilies opposite on top of each other. The best way to describe this is the bottom doily will have the circle edge on the left side, then the middle doily will have the circle edge on the right side, and then the top doily will have the circle edge on the left side. I do this because I don’t want the pretty design of the doily to be only on one side.
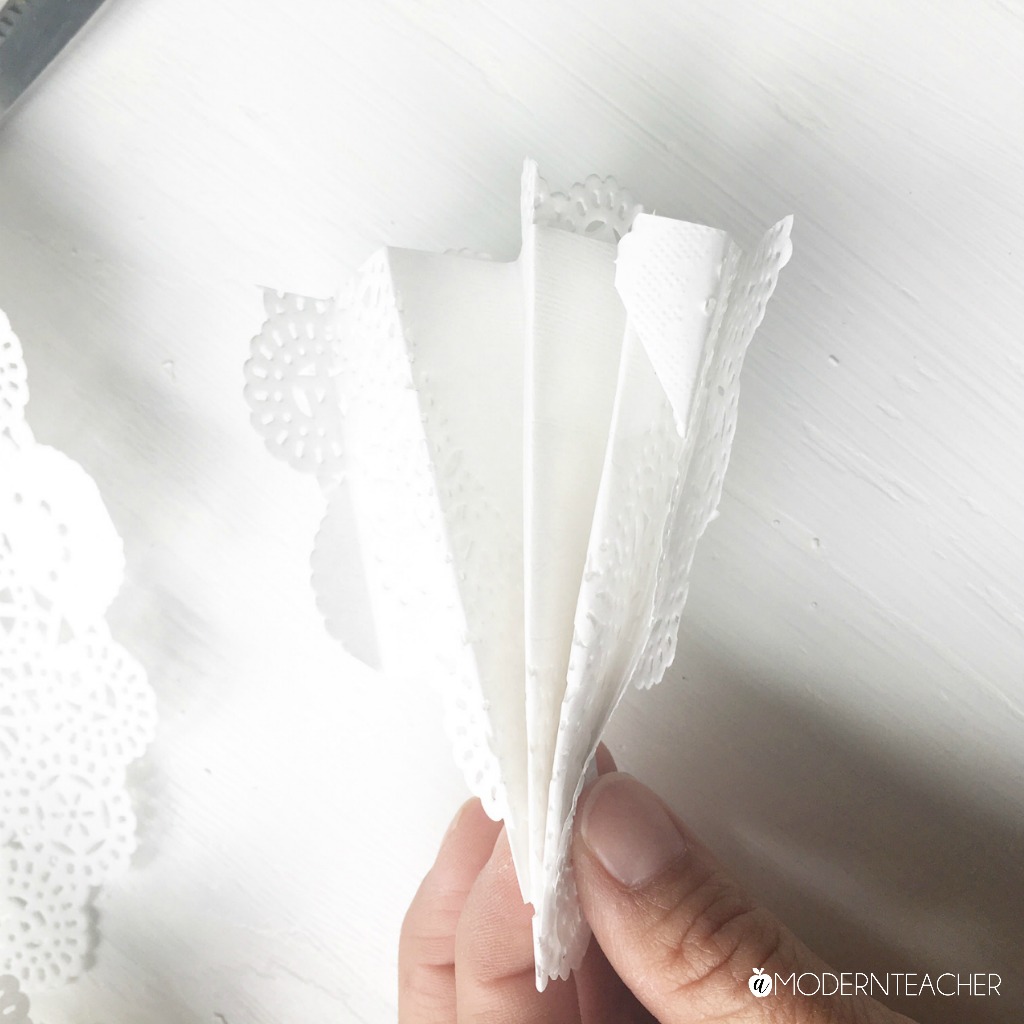
- Fold the doilies in an accordion style. Starting at the bottom edge, fold in over about one half of an inch. Then flip it over and fold it back on the other side. Continue folding your way up the doily one half inch at a time, making an accordion.
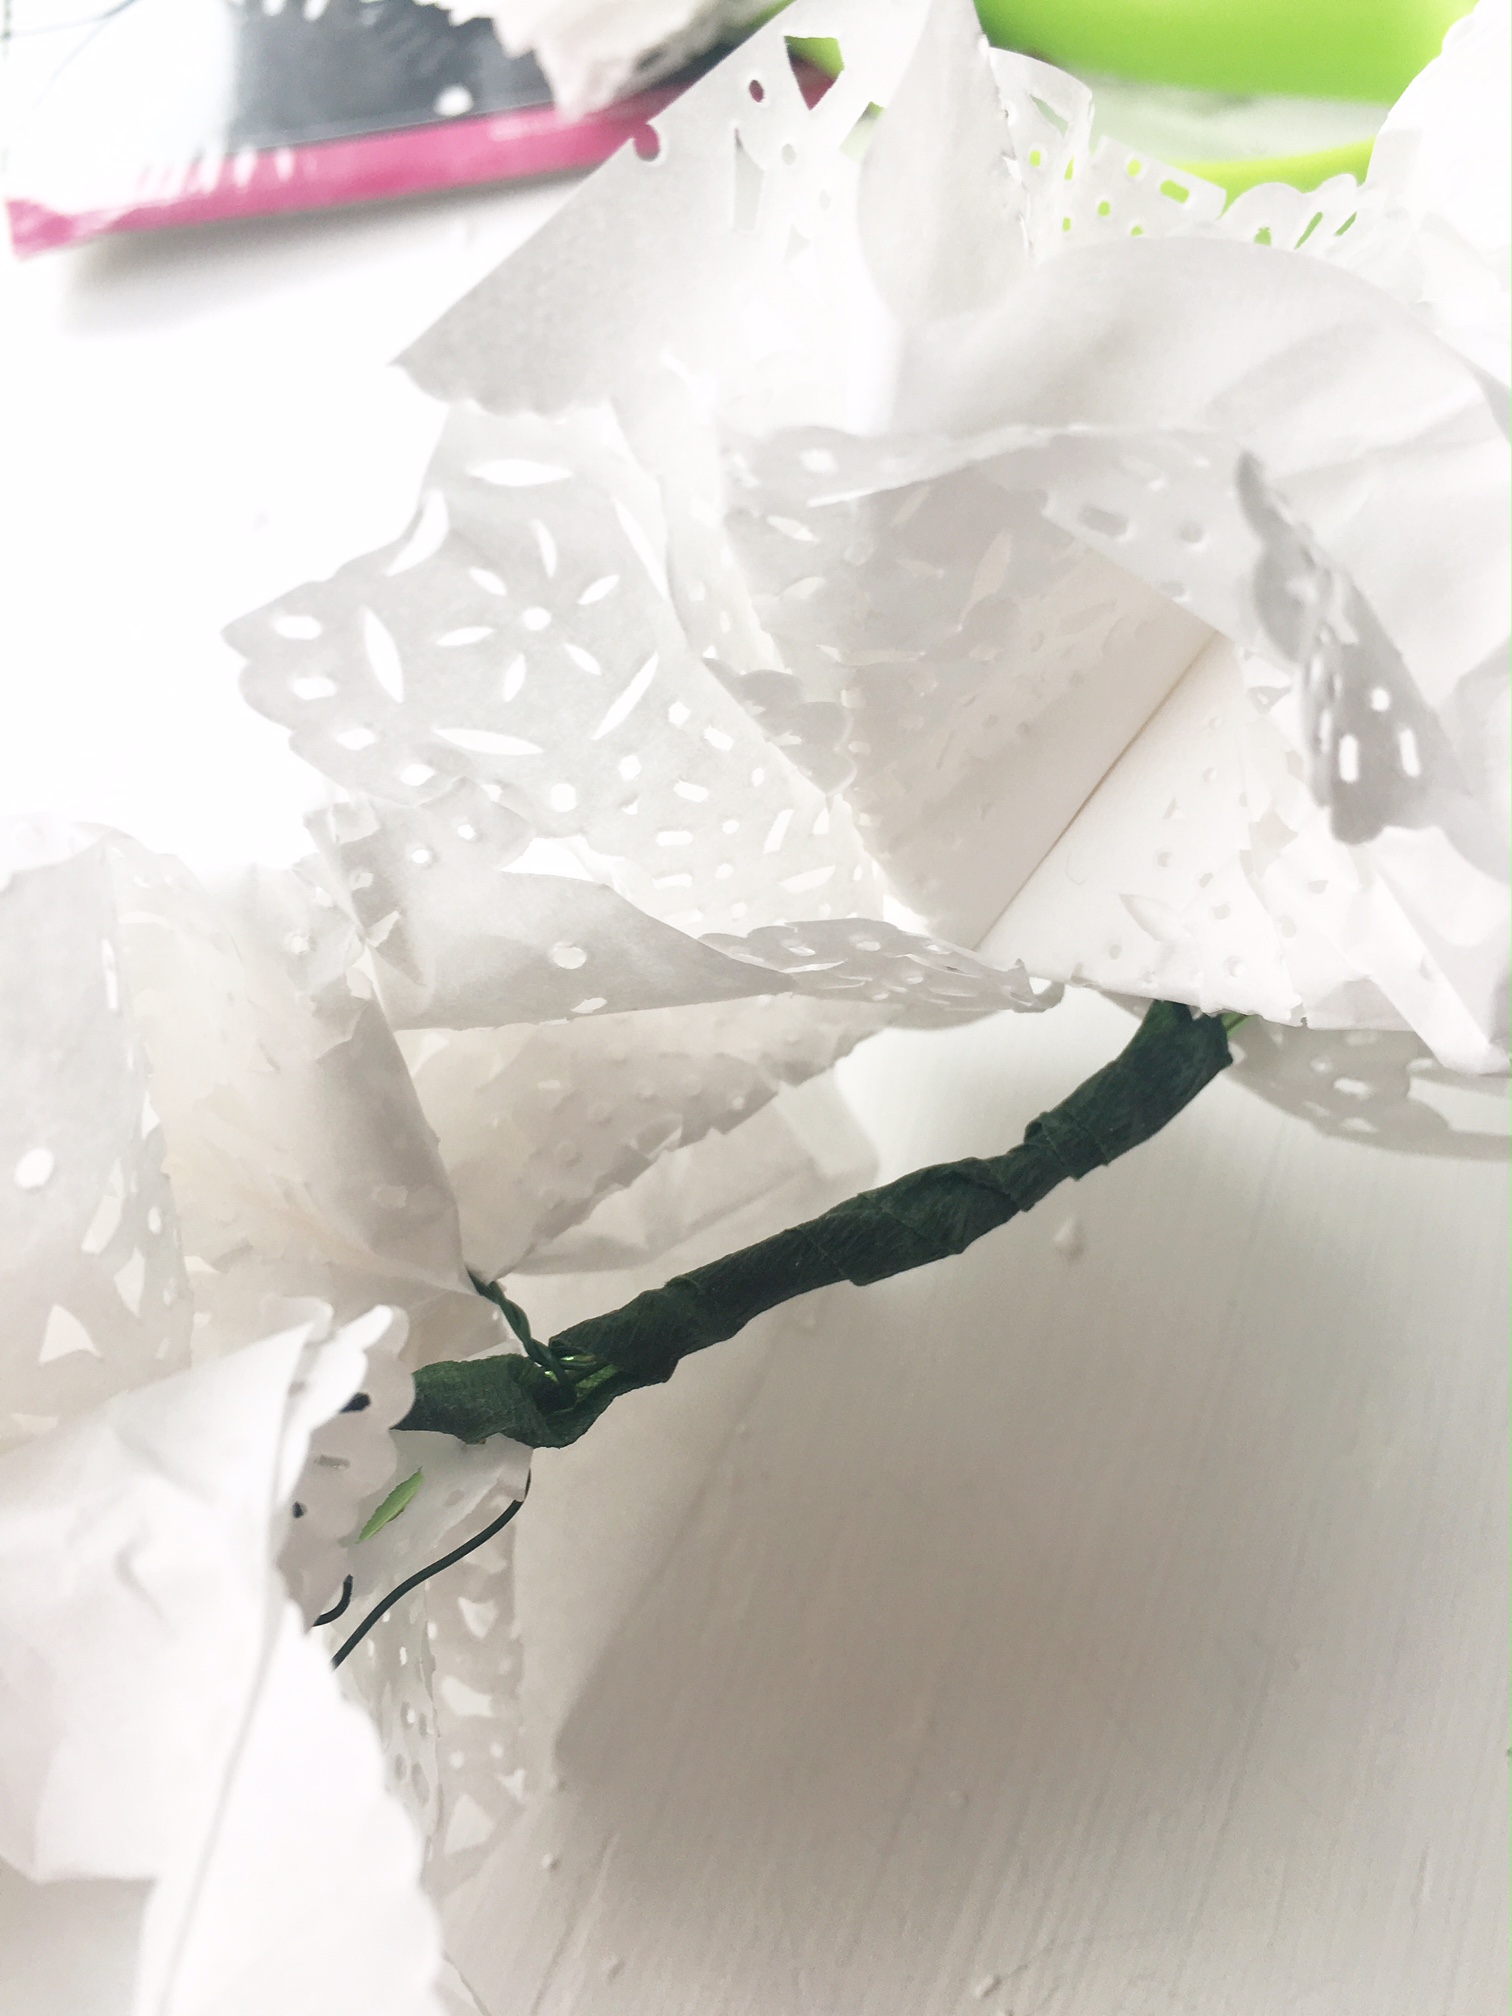
- Take the floral wire and wrap it around the middle of the doily. Leave about 4 inches of the wire to wrap around the aluminum wire.
- Continue making about 8-12 flowers
- After the flowers are made, wrap each one around the thicker, aluminum wire. This bendable wire is what you use as the crown. I also threaded the wire through some of the doily holes to keep the flower laying down.
- Go back through any parts of the floral wire that are sticking out with the floral tape for safety and security.
- Continue wrapping the wire with the floral tape, if desired. I liked doing this for consistency around the crown.
And there you have it!
Wrap it around your head and secure the ends together. I hope you enjoy making these and even more, I hope you enjoy wearing them!!
Happy Spring and Mother’s Day!

[…] knows that I love flowers. In fact, you might have gathered that from my post on Crafting Chicks HERE. I just don’t think I have enough flowers in my life, so I decided to make a printable, bring […]