This post is sponsored by Stampin’ Up! All opinions are my own.
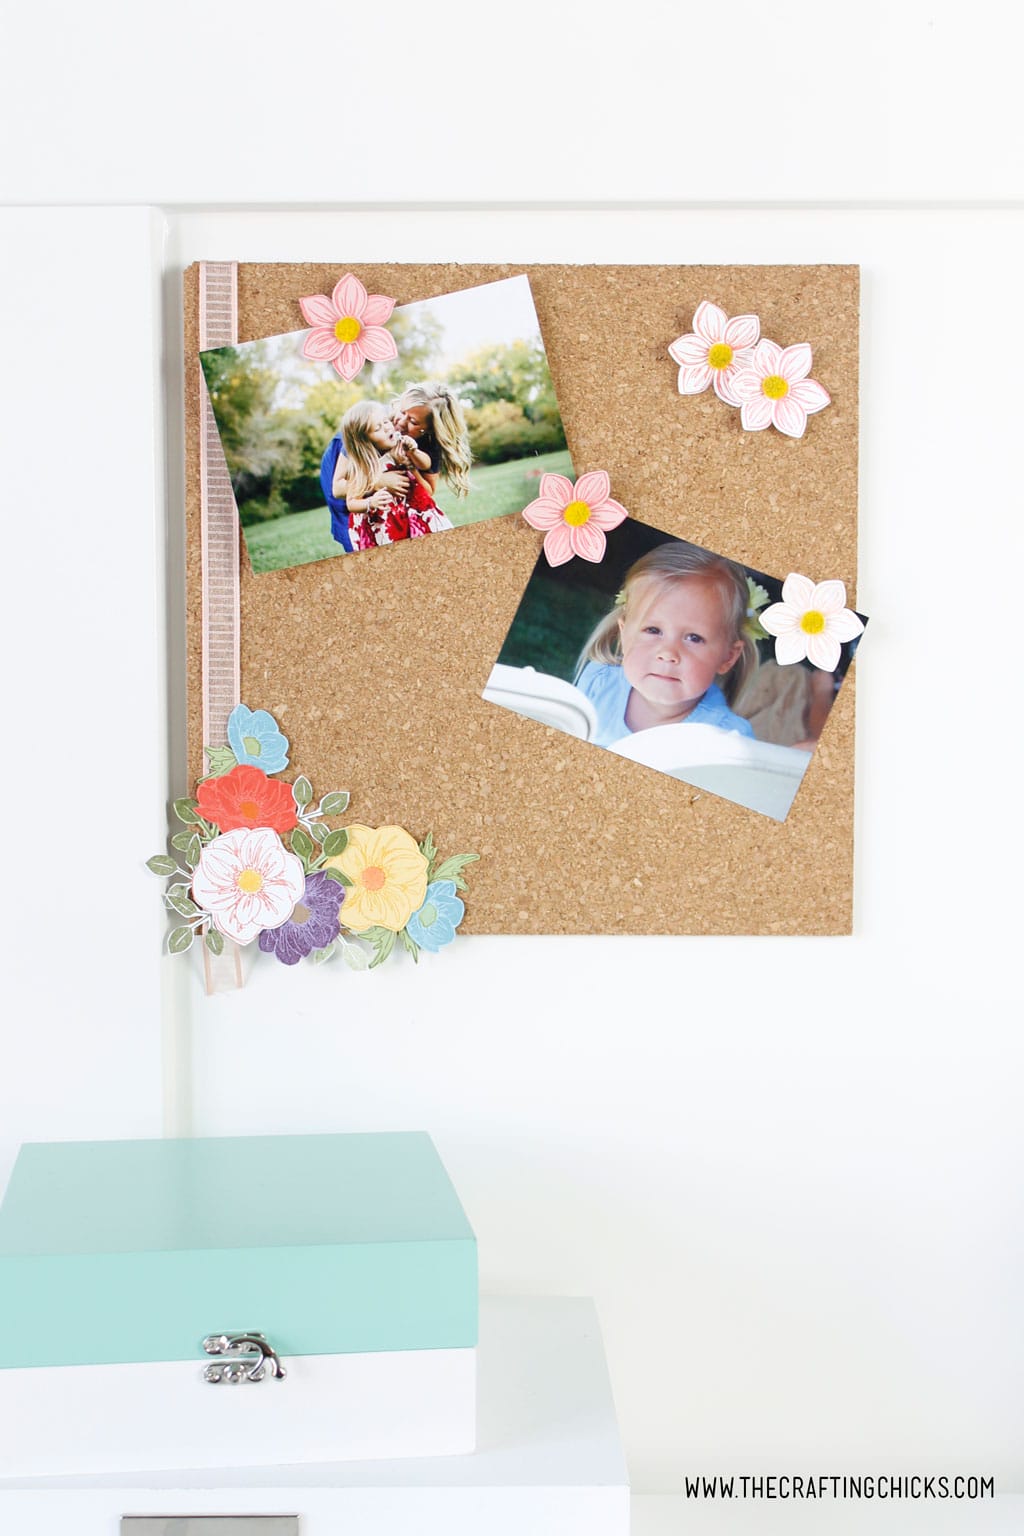
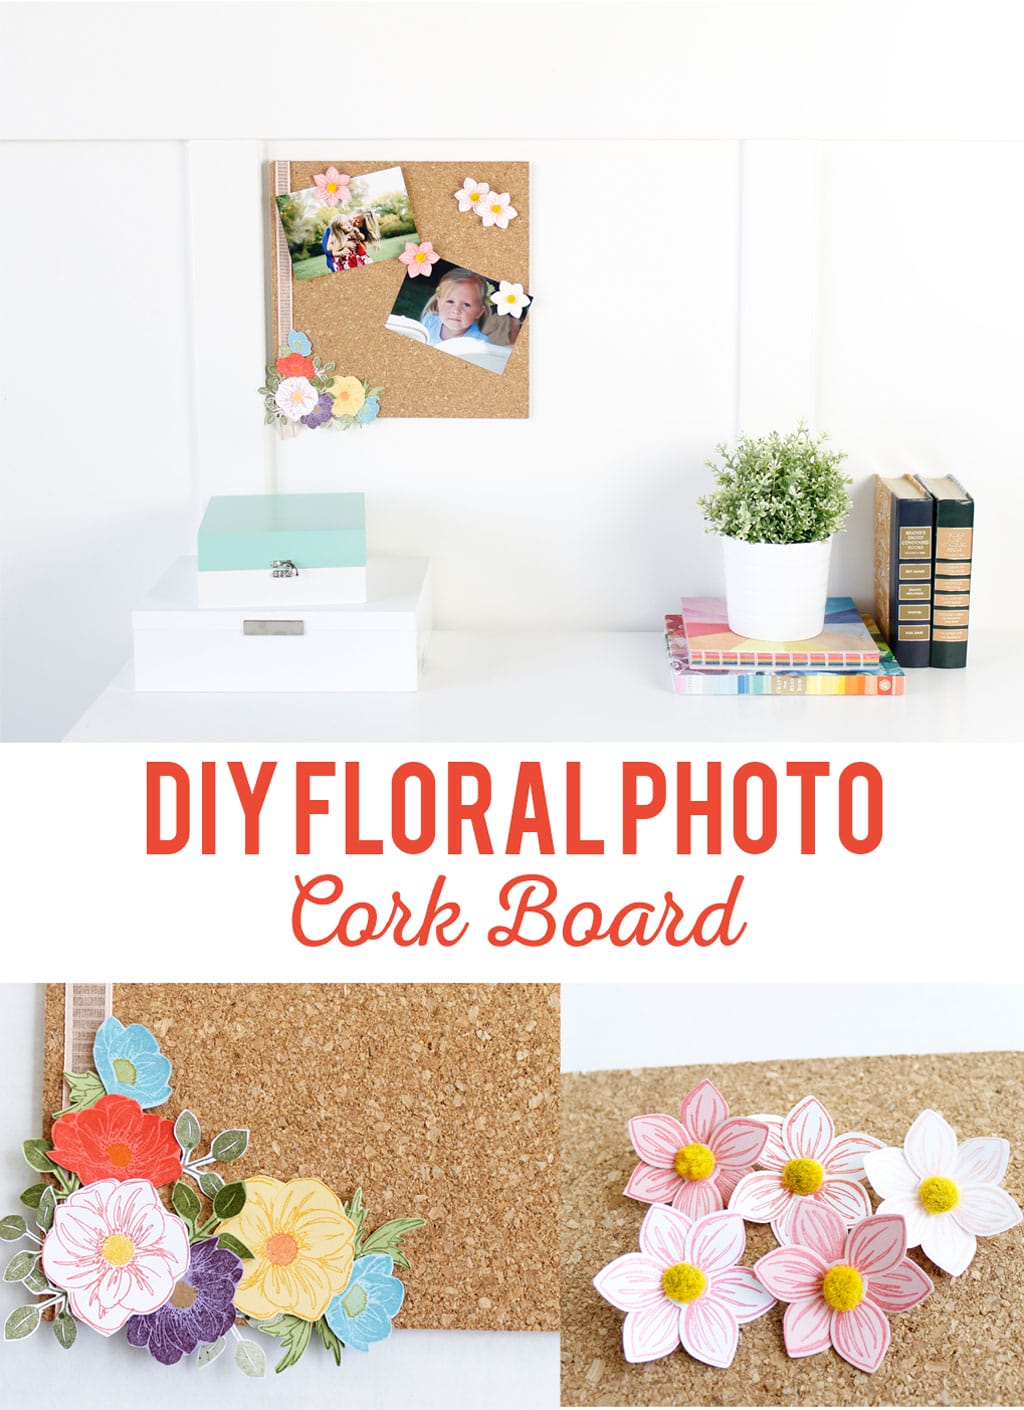
Looking for a fun DIY to display your photos? Try making this DIY Floral Photo Cork Board using stamps and some paper.
My oldest just started junior high. Where did the time go?
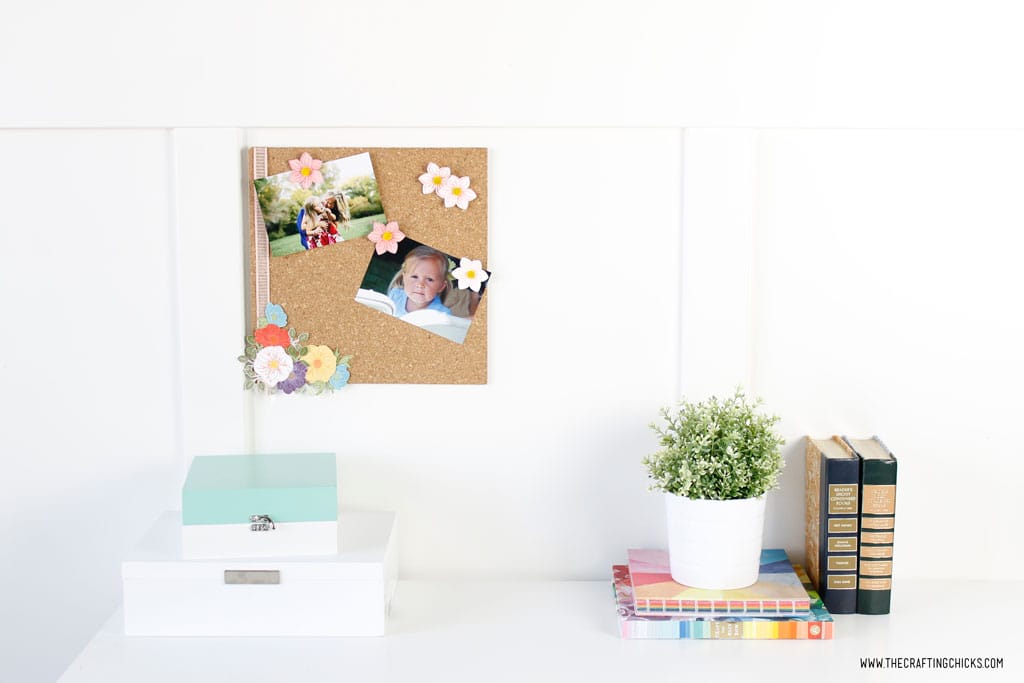
We decided to set up a new desk area in her room so she can easily do homework.
As a teen, she loves taking pictures and displaying them in her room. I thought a DIY Floral Photo Cork Board would make the perfect place for her to hang them.
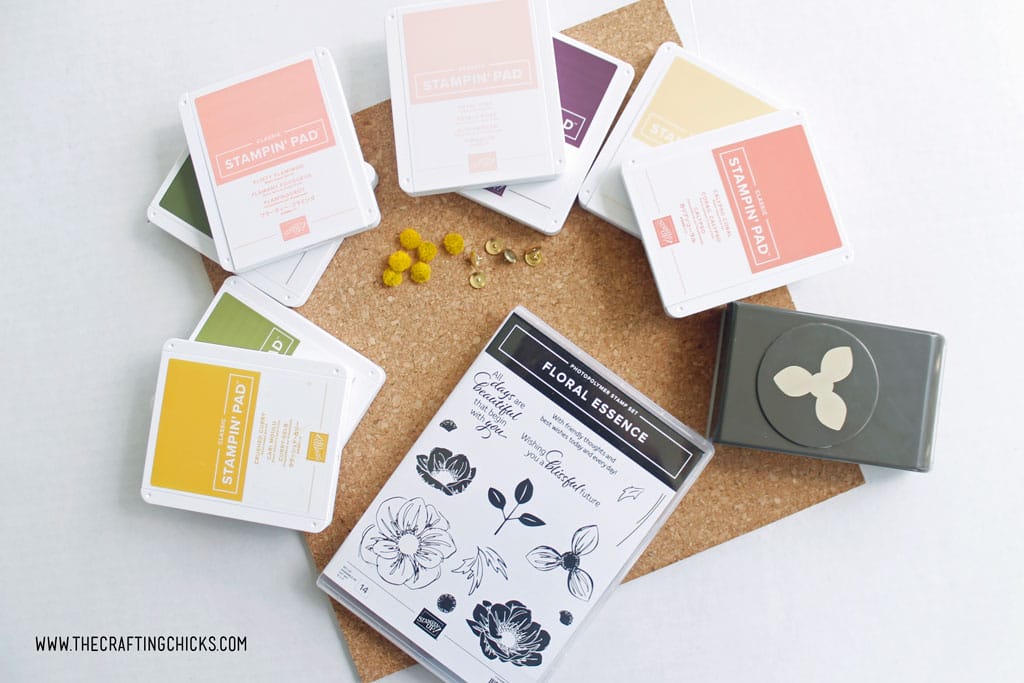
Here’s a list of what you’ll need to make you’re own DIY Floral Photo Cork Board:
- Cork board tile
- Petal Pink Organdy Ribbon from Stampin’ Up
- Perennial Floral Centers from Stampin’ Up
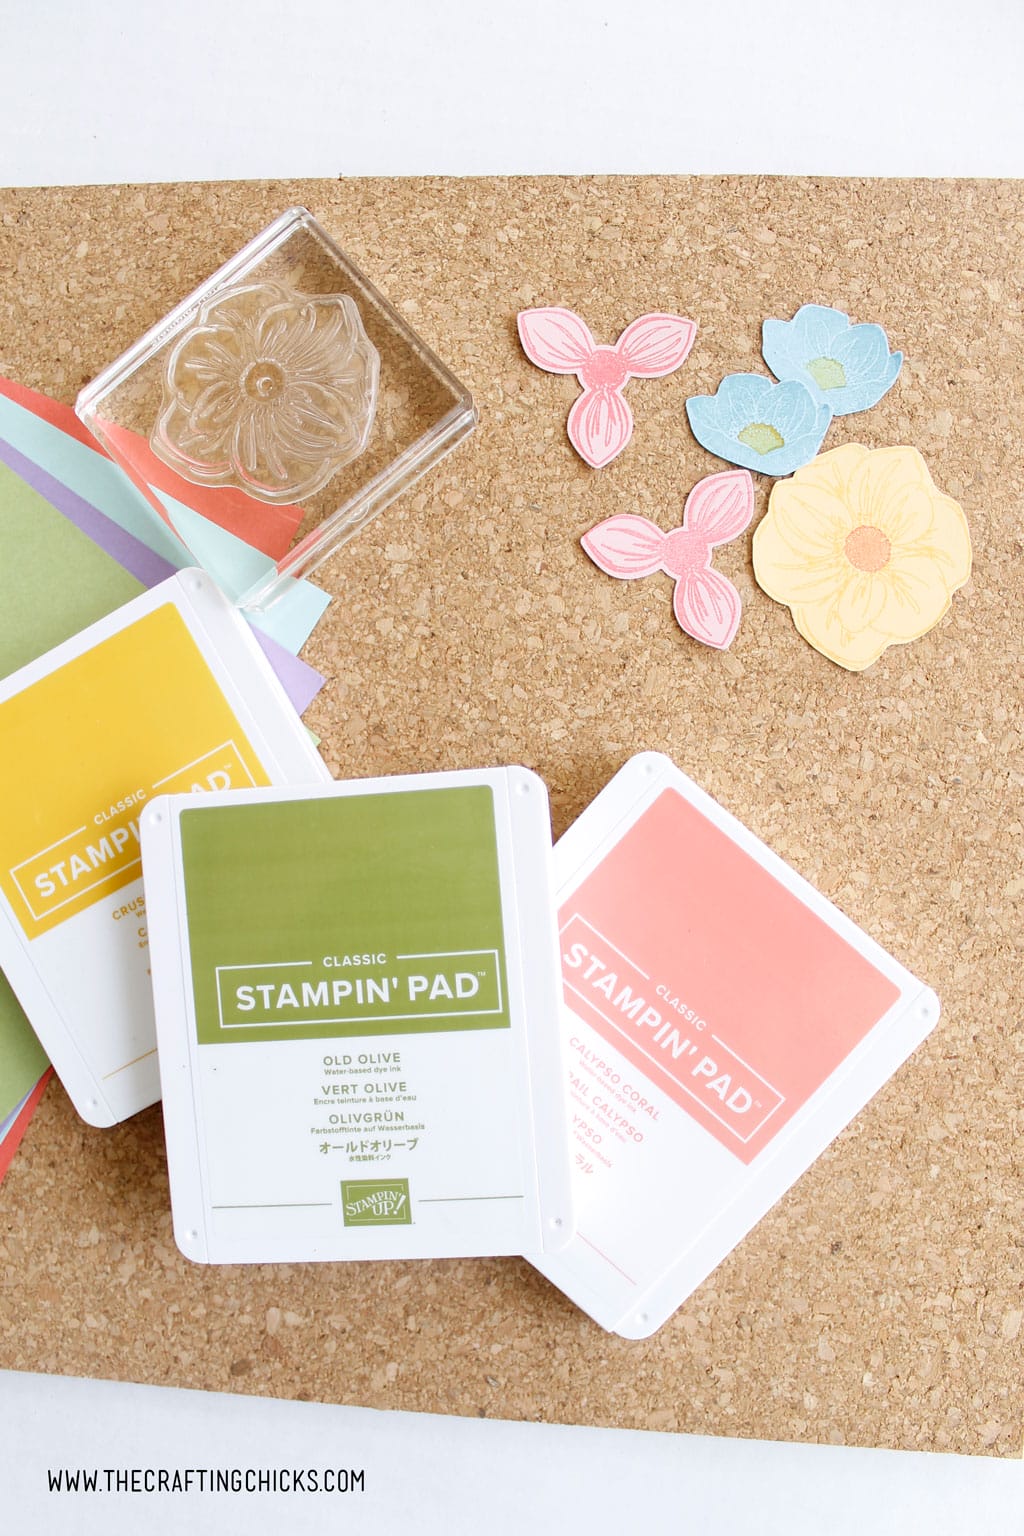
- Stampin’ Up Stamp Ink Pads in, Petal Pink, Mossy Meadow, So Saffron, Balmy Blue, Calypso Coral, Flirty Flamingo, Crushed Cury, Old Olive, and Blackberry Bliss.
- Stampin’ Up Cardstock
- Floral Essence Stamp Set from Stampin’ Up, and Clear blocks for the stamps. (I used Blocks D & C)
- Perennial Flower Punch
- Thumbtacks
- Mini Glue Dots
- Stampin’ Up Dimensionals
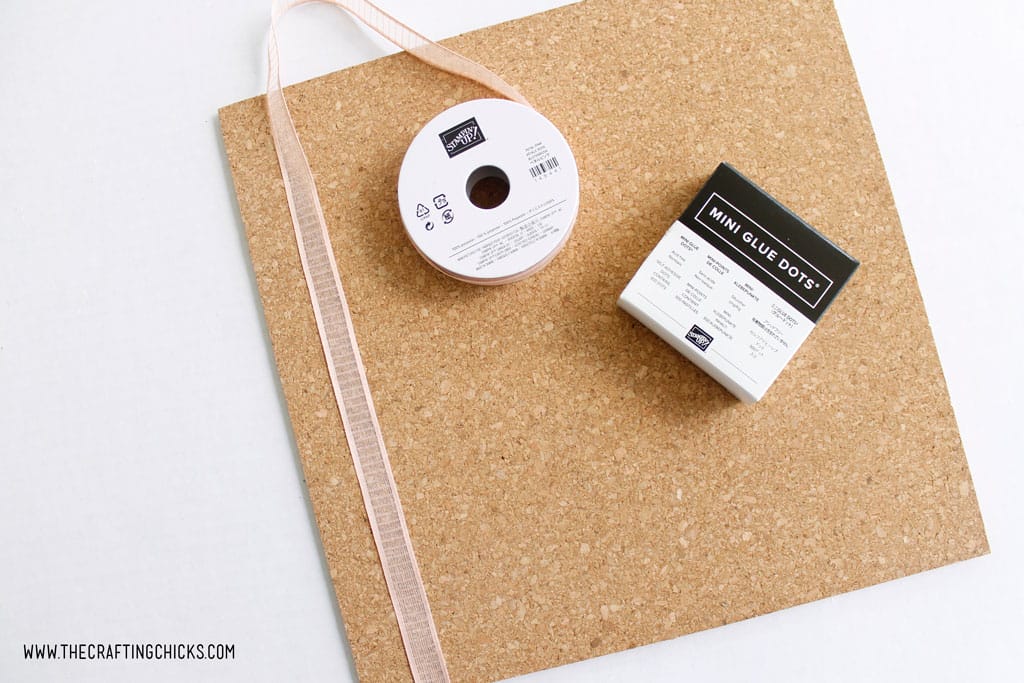
Step 1:
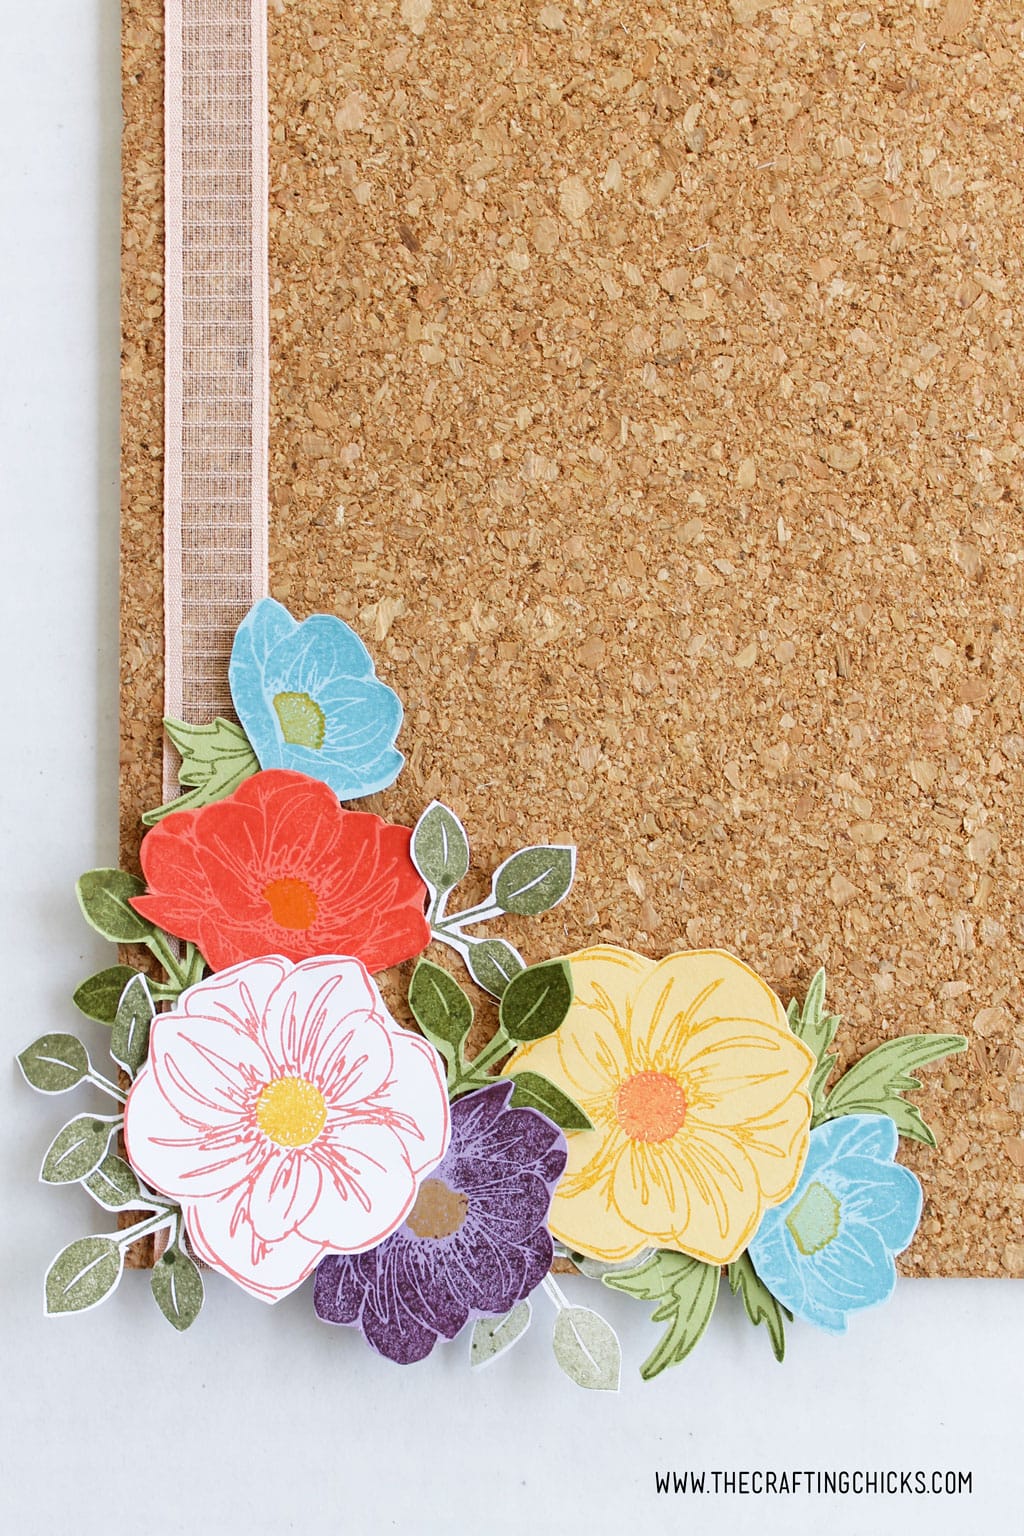
Start with the Petal Pink Organdy Ribbon and run it down one side of the Cork board tile. Secure into place with a Glue Dot on each end behind the board.
Step 2:
Next, begin stamping flowers on to the Cardstock. I liked to use a variety of flowers, colors and stamp pads to give our cork board some variety.
Once you are done stamping, cut out each flower and all the leave.
Step 3:
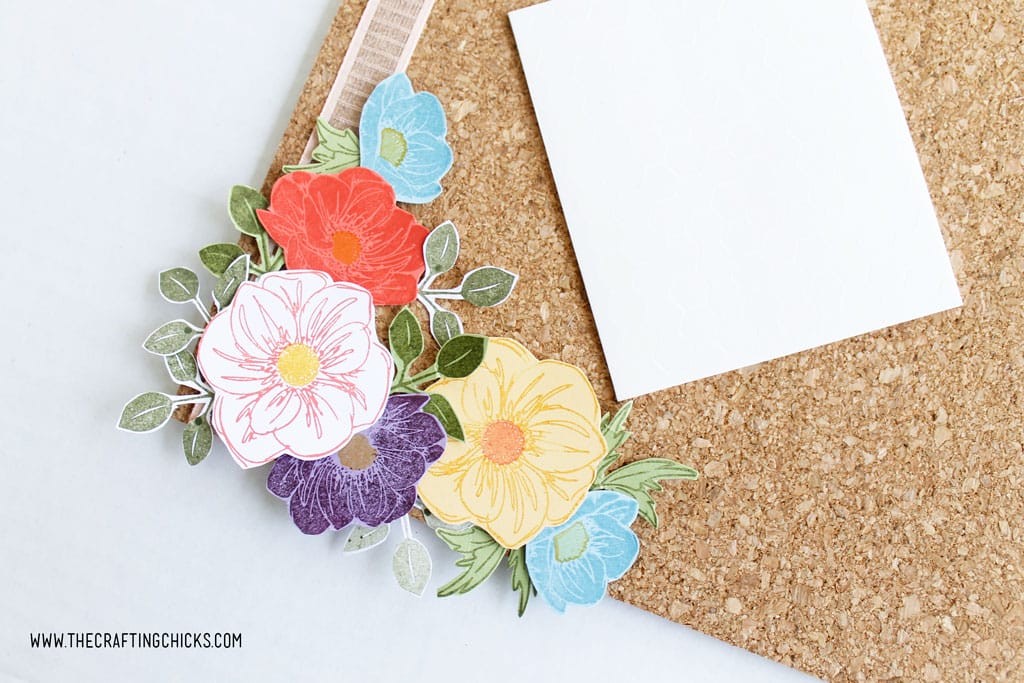
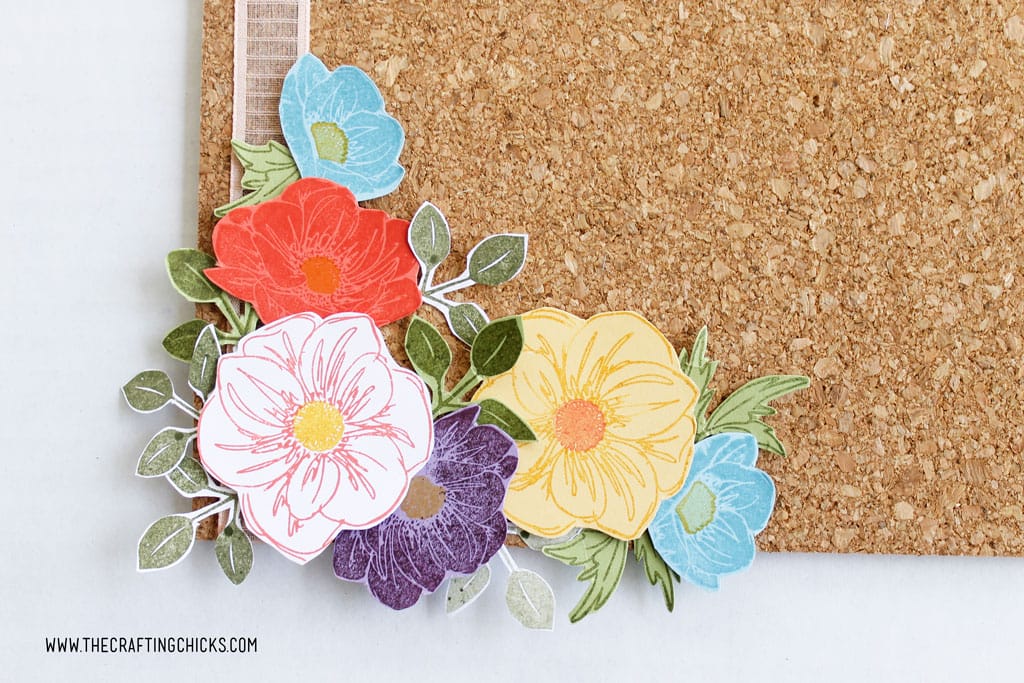
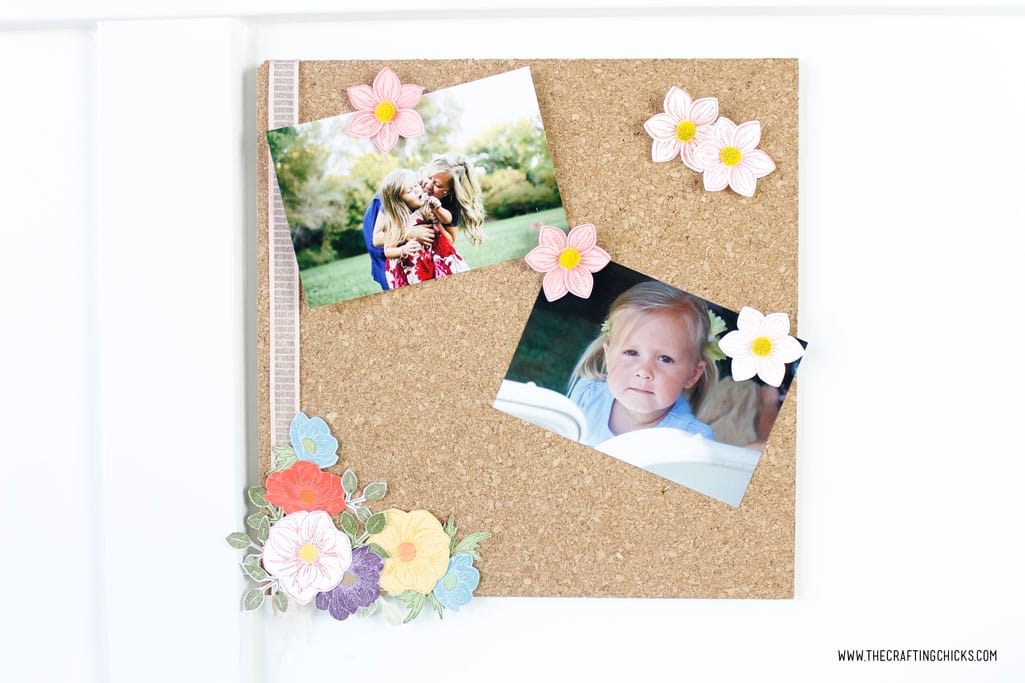
Using the Stampin’ Up Dimensionals, start layering the flowers and leaves on the cork board. Make the cork board as full as you want. You can make the flowers go all the way around the board or just in the corner like I did.
I really had a lot of fun with this part!
Step 4:
At this point the board has been decorated.
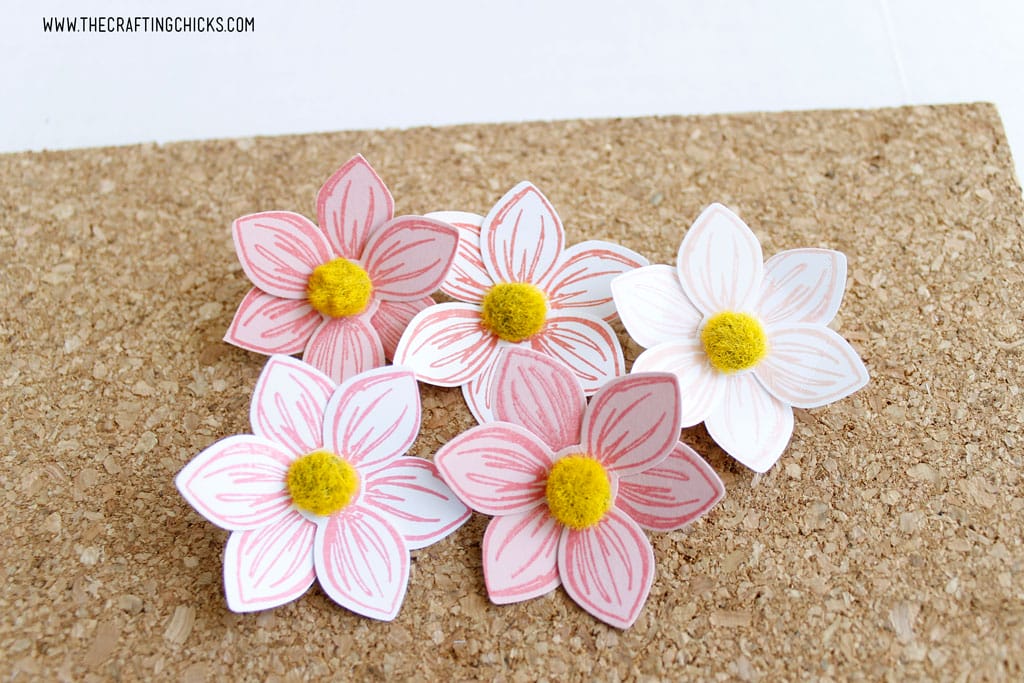
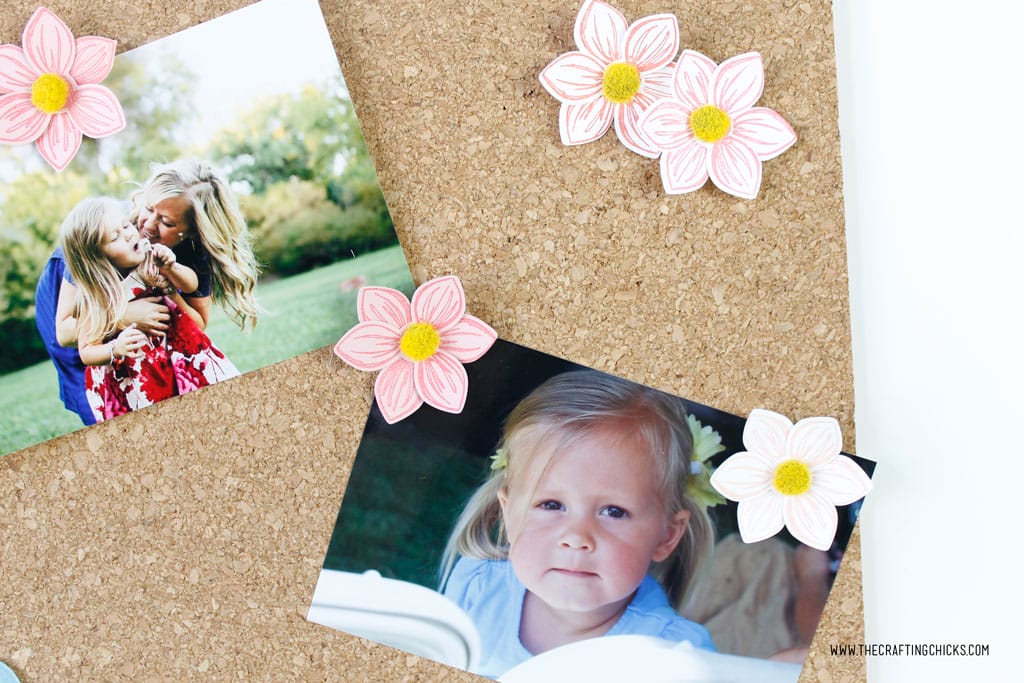
But we wanted to kick it up a notch by making our own floral push pins!
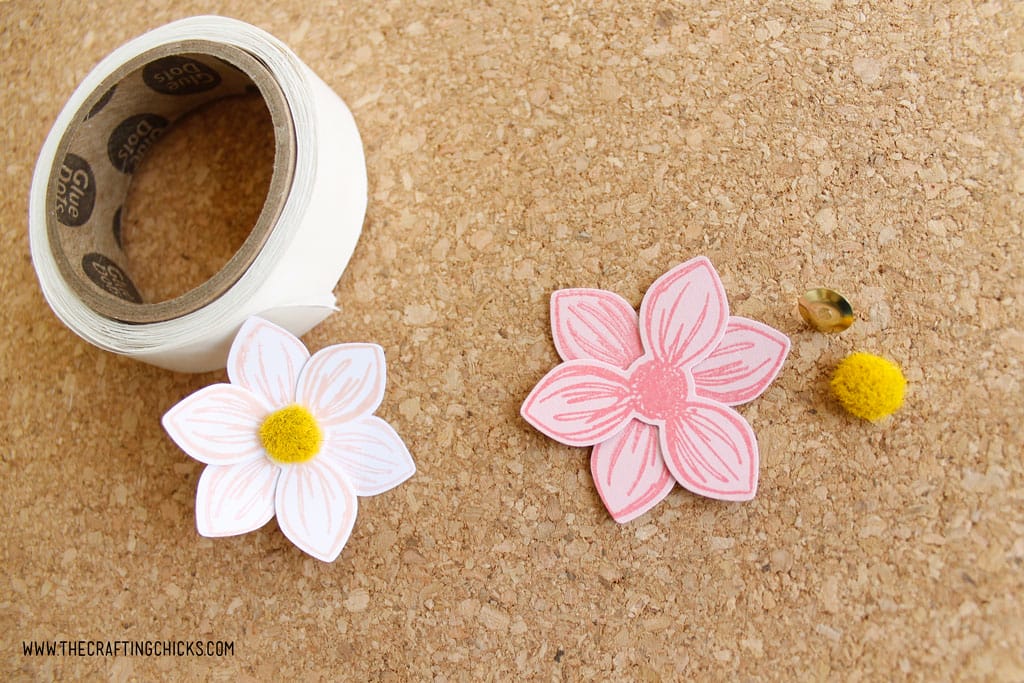
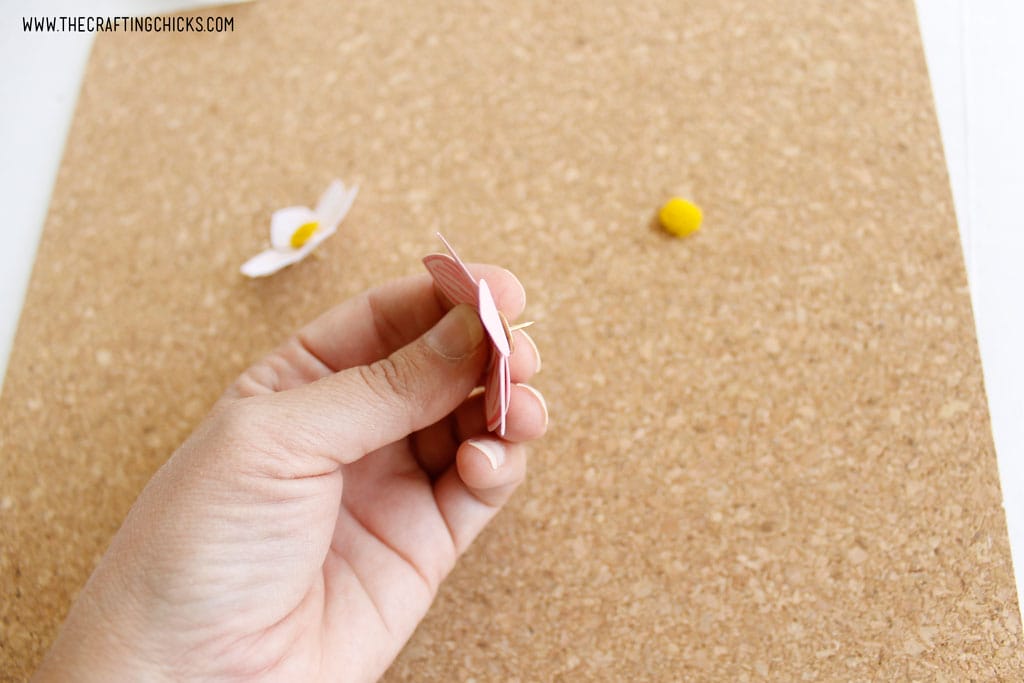
Once you have the flowers stamped and cut out, (we used the Perennial Flower Punch for these flowers), place a Glue Dot between the paper flowers to keep them together. Then place another Glue Dot to secure the flower to the thumbtack.
To add some more dimension, you can add these Perennial Floral Centers onto the flowers.
Now you’re ready to display your pictures!
If you want to learn more about these products, contact a Stampin’ Up! demonstrator. You can easily find one near you by visiting www.stampinup.com and clicking on the “Find a Demonstrator” button.
Let us know if you make one of these. We had so much fun making it!
For more Stamping fun, check out these posts:
15 Handmade Cards in 15 Minutes

Leave a Reply