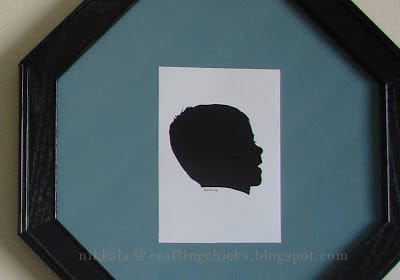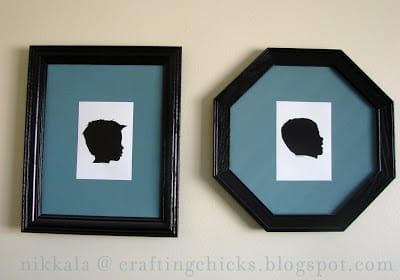
I knew I wanted the silhouettes of our boys hanging in our bedroom, but didn’t want life size prints of their heads nor did I want the 5×7″ oval frames we gave the grandmas. A big impact with smaller photos is what I was after. I decided to throw together some DIY Framed Silhouettes.
To get this, I found frames at the thrift store and painted them black. I really love the octagon frame and hope to some day have a few more interestingly shaped frames to add to the mix.
Then I cut foam core (you know the stuff they mount posters on) to fit the frames. You can pick foam core up at office supply stores, art supply stores, and my favorite–Dollar Tree. If your frames have glass you can trace it as your pattern-but the foam core doesn’t leave room in the frame for the glass so it isn’t necessary.
I then painted the foam core. I chose a fun color to add some color to our white walls. Let dry and put it in the frames.

The final step is to add the silhouettes with double sided tape. This gives a matted look with much less cost. And the best part is, to trade out photos you don’t even have to take the frame down! Just peel one photo off and stick the new one on!

I loved the original post for these silhouettes, but I really love what you did here with them! TFS!
So fun and very clever!
Thanks Nikkala,
I’m actually working on these right now, for our new house. I thought they would look great above my girls’ beds.