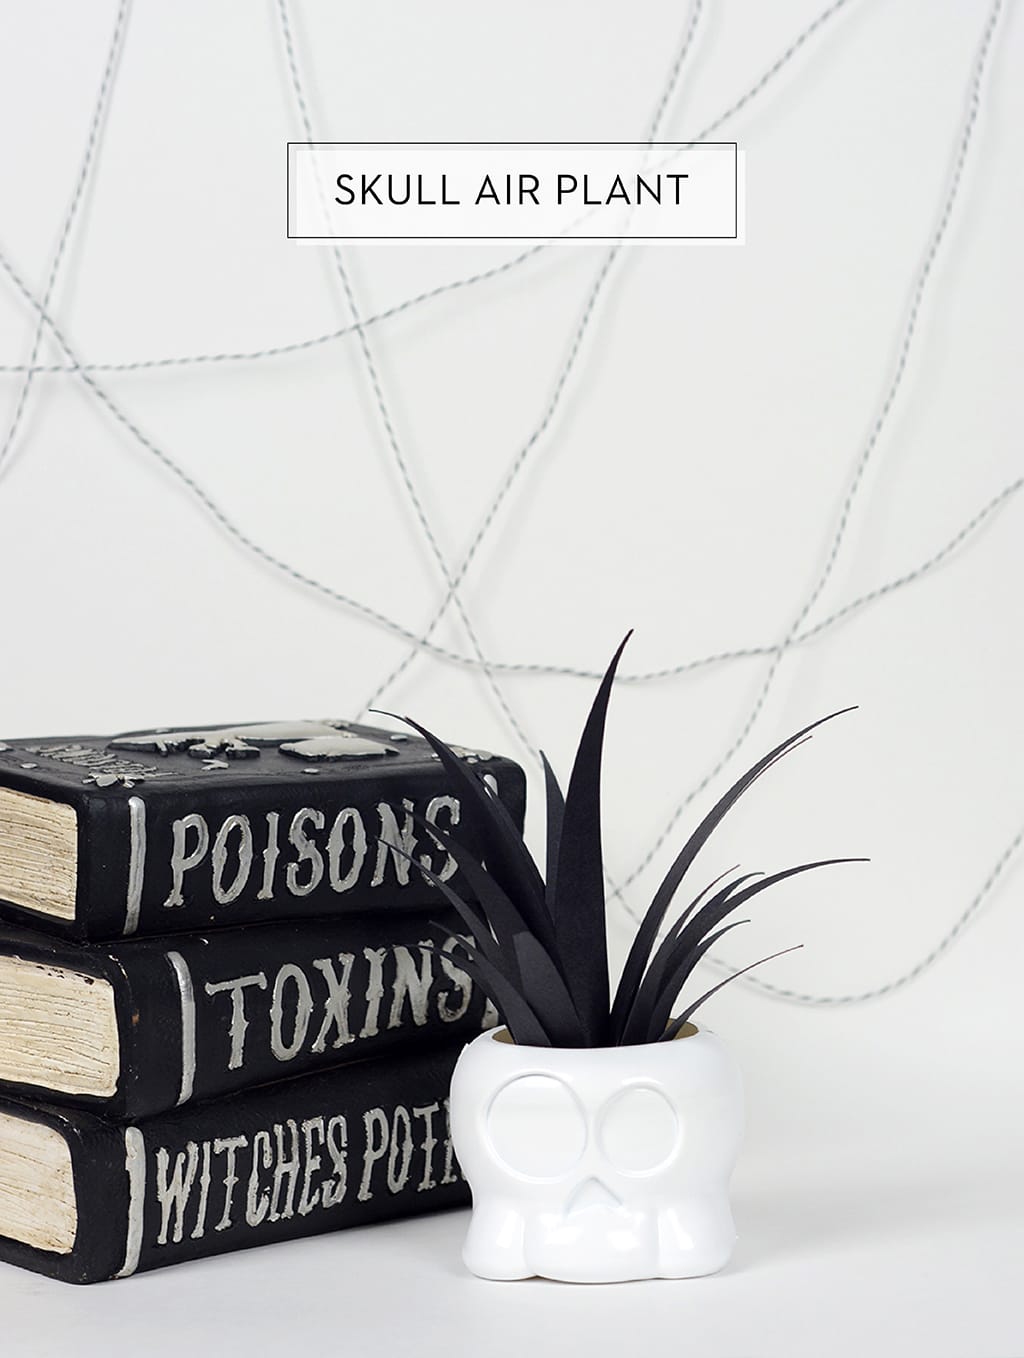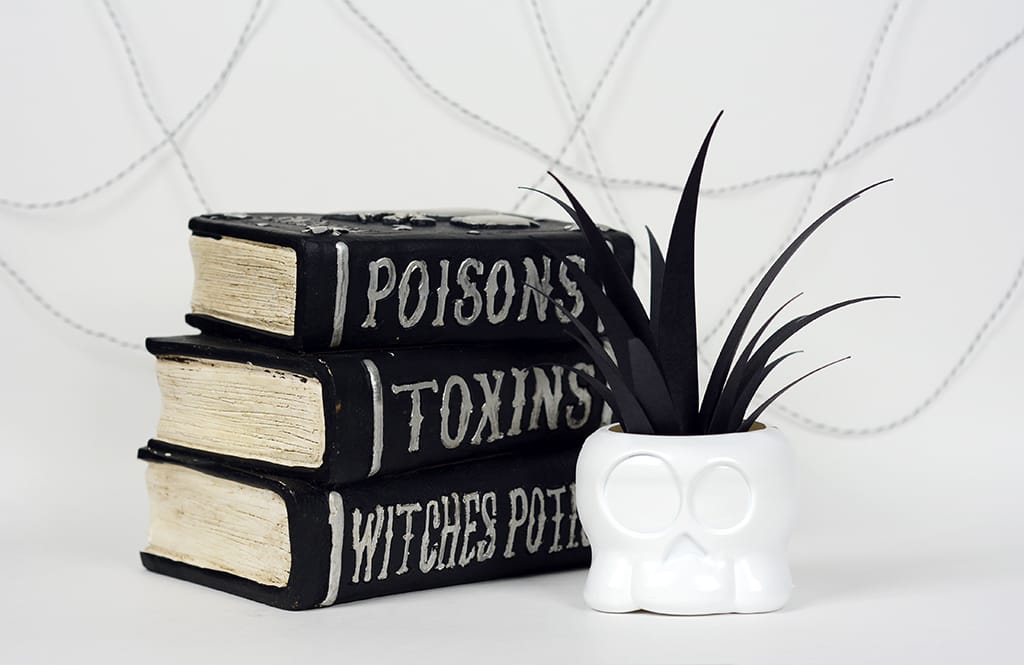
I am excited to share with you the easiest Halloween craft that requires zero skill, and looks amazing on your mantle or shelf. This skull planter is the perfect mix of creepy and pretty. Should those even be a mix? At halloween, I definitely think so. The best part about it is you don’t have to worry about trying to keep a plant alive, so it will look great all season.
How to Make a Skull Air Plant
Supplies Needed:
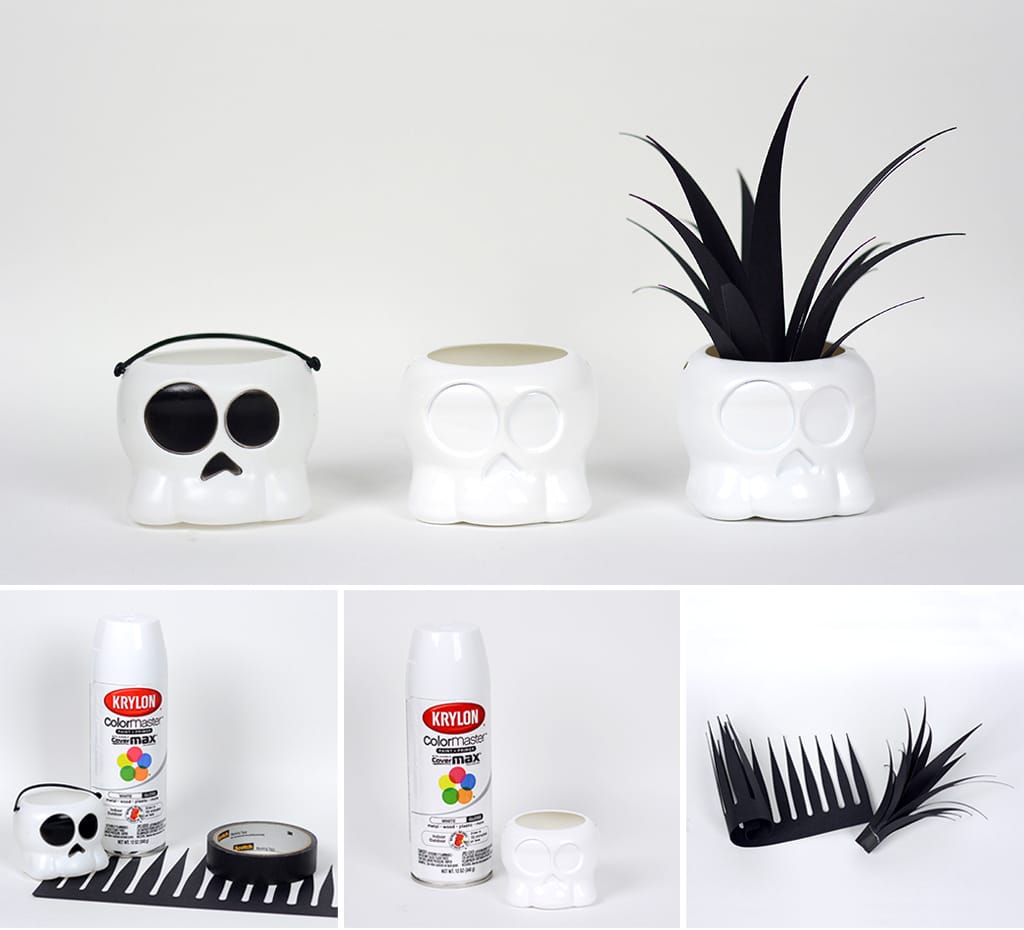
- skull treat bucket (I found a bag of 6 for $1 at Target)
- air plant pattern
- glossy, white spray paint
- tape
Instructions:
- Remove the handle, and spray paint the bucket white. I used glossy paint to make it look like a glazed ceramic skull.
- Cut out the air plant pattern on black paper. The pattern comes as a .pdf and also an .svg for those who have digital cutting machines like a Cricut or Silhouette. Once the pattern is cut out, roll the leaves up starting from the largest end. Tape or glue the end to hold its form. Using your finger or pencil, slightly roll the ends of the leaves outward.
- Place the plant in the skull bucket.
These skull air plants would also look great on each place setting at a dinner party, and then could double as a party favor. With each completed planter totally under $1, you can’t go wrong.


Leave a Reply