How to Ombre
Here’s a short tutorial on how to dye fabric with the popular ombre effect. I took these pictures for a tutorial back in May and just realized I never posted it while I was ombre-ing a baby gift this weekend. So here’s how to ombre and I’ll be back to share my ombre project with you soon!
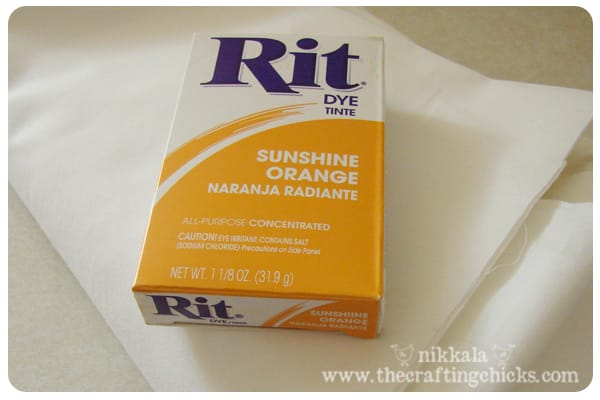
I used 100% cotton and a box of Rit dye to achieve the ombre.
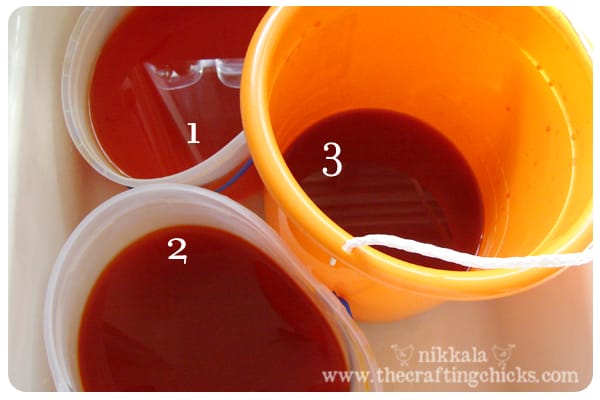
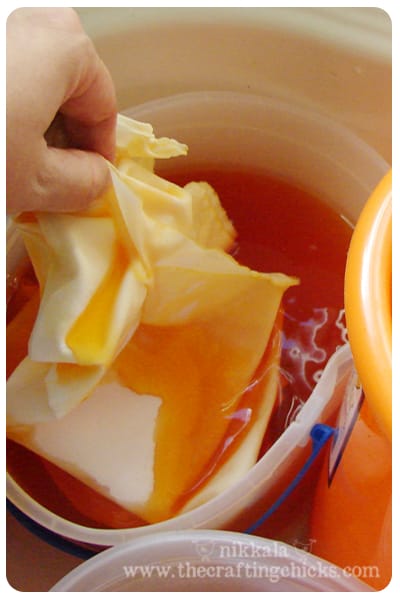
Then add different amounts of water to create 3 different shades of the color. In bucket #1 I added 8 cups of water, #2 I added 5 cups of water, and bucket #3 I added 2 cups of water.
Starting with bucket #1 (the lighest) I dunked the entire piece of fabric and let it sit until it had reached the desired color. Squeeze out the extra dye and more to the next bucket. If you don’t want your hands to change colors I strongly recommend wearing latex gloves while dyeing. 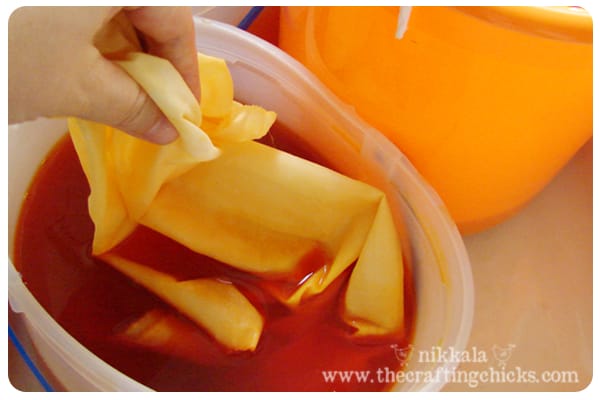
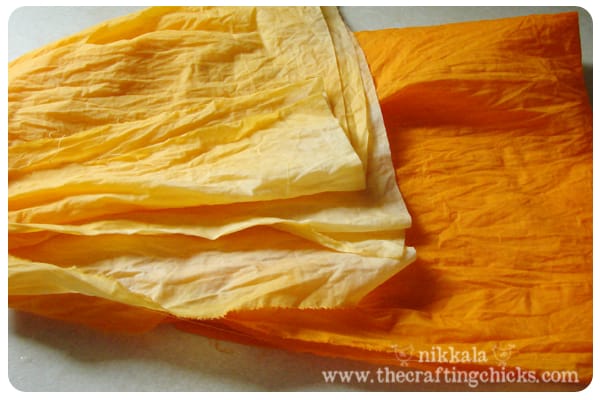
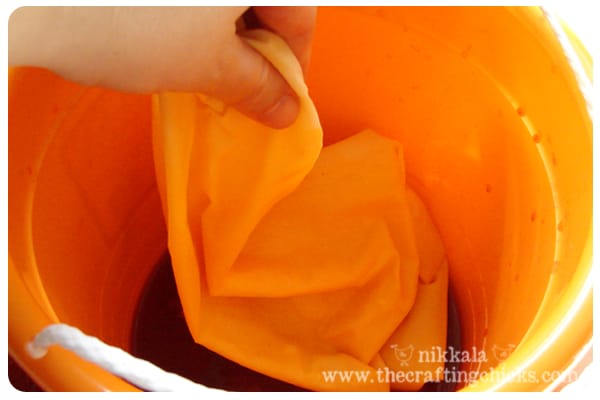
And then moved it to the final bucket to dye the last 1/3rd of the fabric to get the darkest color. Squeeze it out and then rinse with cold water.
Continue rinsing and squeezing until the water runs clear.




Thank you SO much for sharing – this is a great idea for the perfect baby gift to make! I love making/giving gifts that are actually used and useful to the new mom:-) What I love most is that you can make any color to suit girl or boy (or if you don’t know)!