Hello! I am Katie Adams and I blog over at The Crafty Blog Stalker.
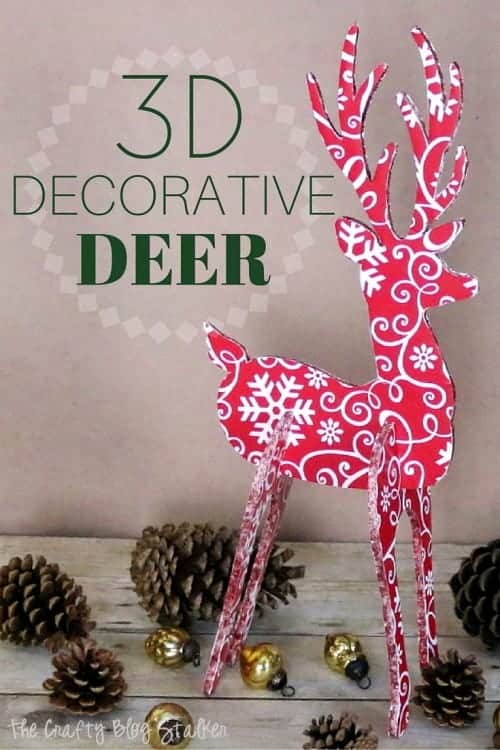
I am super excited to be a guest blogger on The Crafting Chicks. Today I am going to be sharing a tutorial for this super cute 3D Decorative Deer that is perfect for your holiday decor.
Rudolph, the Red Nose Reindeer. Had a very shiny nose…
I couldn’t stop singing this song the entire time I was making this fun 3D Decorative Deer. I love Christmas and quite honestly I’ve been listening to Christmas music since September. I know this reindeer doesn’t have a shiny nose, so instead, I think this reindeer’s name is Prancer.
I love to make my own decorations for Christmas because it gives me time to think of memories from past Christmases. When I was really little we had a 3D reindeer that was made of wood, I think my oldest sister painted it. It was one of my very favorite decorations and I would put it together and take it apart over and over again.
Now I have my own. It isn’t as sturdy as the wood one I played with as a little girl, but it still evokes the same memories.
Supplies Used:
- Cricut Explore
- Foam Board
- Holiday Wrapping Paper
- Craft Knife
- Multi-Purpose Spray Adhesive
- Red Glitter Glue
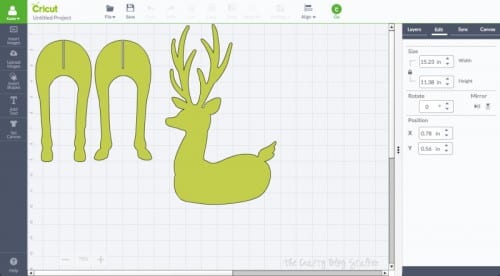
This project started when I was browsing Cricut Design Space for some holiday inspiration. I came across this file called Deer Standup Icon. Isn’t it cute?

I wanted my reindeer as big as I could get it while still using my 12×12 cutting mat. I ended up stretching it to where the file would have to be cut out on two sheets of 12×12 cardstock. The body on one and the front and hind legs on the other.
Here are my pieces once cut out. These became my pattern pieces.
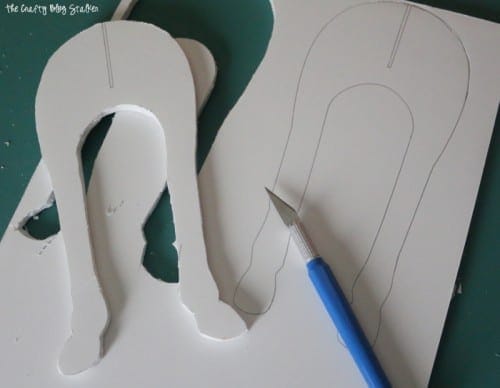
I used my pattern pieces and traced around them onto my foam core board.
With a craft knife, I went around each line and cut the piece out. This was the most time-consuming part.
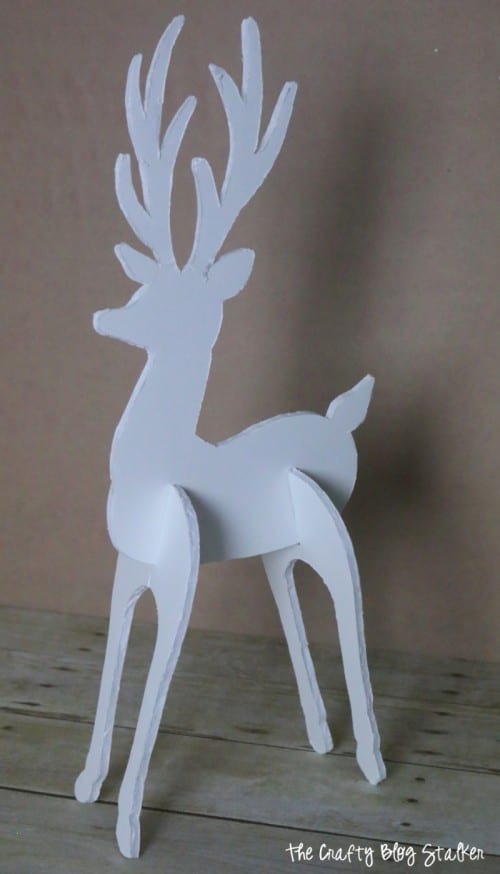
I did have to cut the slit on both of the leg pieces a little bit wider than marked, and when assembled my cute little reindeer already looks awesome!
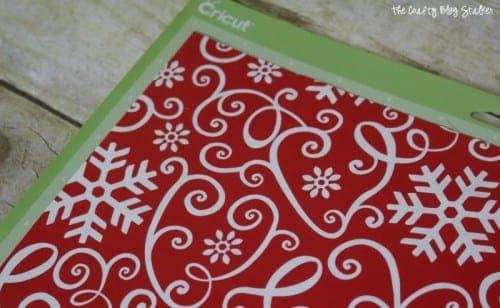
I decided to cover my reindeer with wrapping paper because I would need 4 sheets of matching scrapbook paper, and I wasn’t sure I had that. But I knew I had enough wrapping paper.
Did you know that you can run wrapping paper through your Cricut? You totally can, but I would recommend using a mat that doesn’t have a lot of stickiness left to it. Wrapping paper is much thinner than regular paper and if you have a new or super sticky mat, it will be difficult to remove the wrapping paper without tearing it.
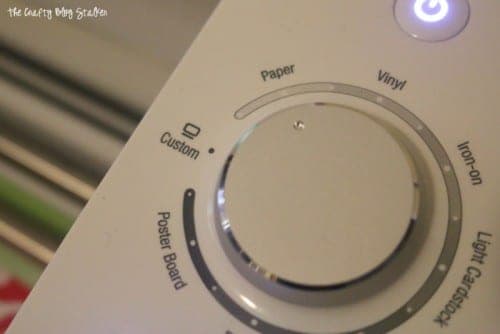
Put your Cricut on the paper setting, and cut.
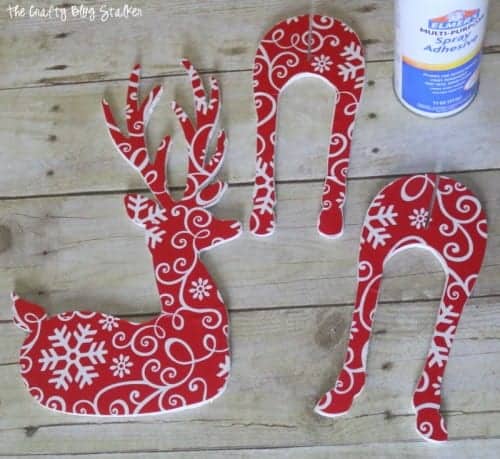
I kept my file the same size as my pattern pieces and just cut them out of the wrapping paper. Then I went back in and mirrored the file and cut out another set so I could cover both sides of the reindeer.
To adhere the wrapping paper pieces to the foam board, I used Multi-Purpose Spray adhesive. I thought of using liquid glue, but I didn’t want my paper to bubble because it was wet. The spray adhesive worked perfectly.
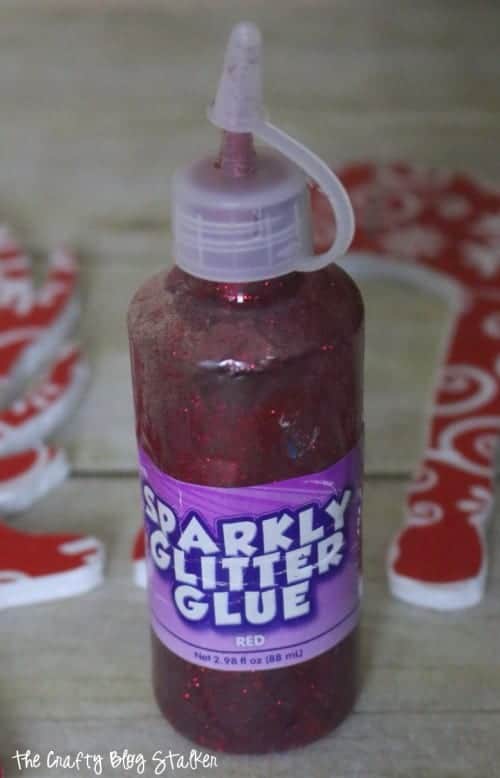
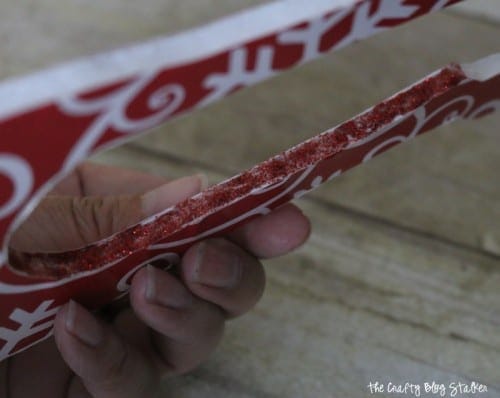
To hide the stark white edges I applied some Red Glitter Glue all the way around each piece.
I put a bead along all of the edges and spread it out using a thin paint brush, only focuing on one small area at a time.
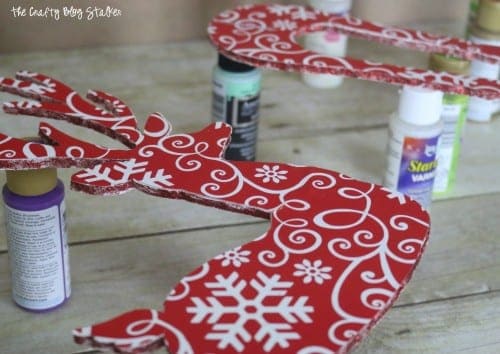
To dry, I balanced each piece on top of a couple acrylic paint jars. I did this so the glitter glue wouldn’t drip and dry the pieces to my table.
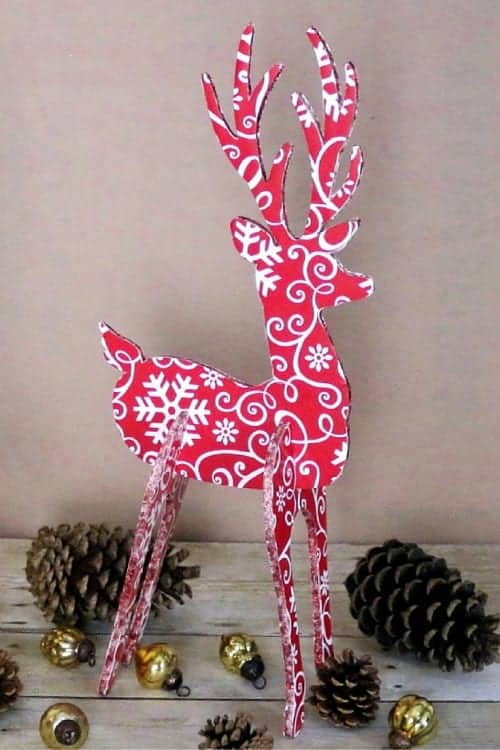
I let the glitter glue dry overnight. The next morning I assembled my majestic reindeer, Prancer. I couldn’t be more pleased with how my 3D Decorative Deer turned out.
What was your favorite Christmas decoration you played with growing up?





Hi there,
This is absolutely adorable! I’m having trouble finding the file on the cricut design space? Have any tips on finding it?
Thanks,
Sara
PLEASE HELP!!! I have searched every way possible and can’t find this cut file!!! I want to make it! Thanks so much for your assistance!