Vintage-Inspired Photo Transfer Wood Slice Ornament
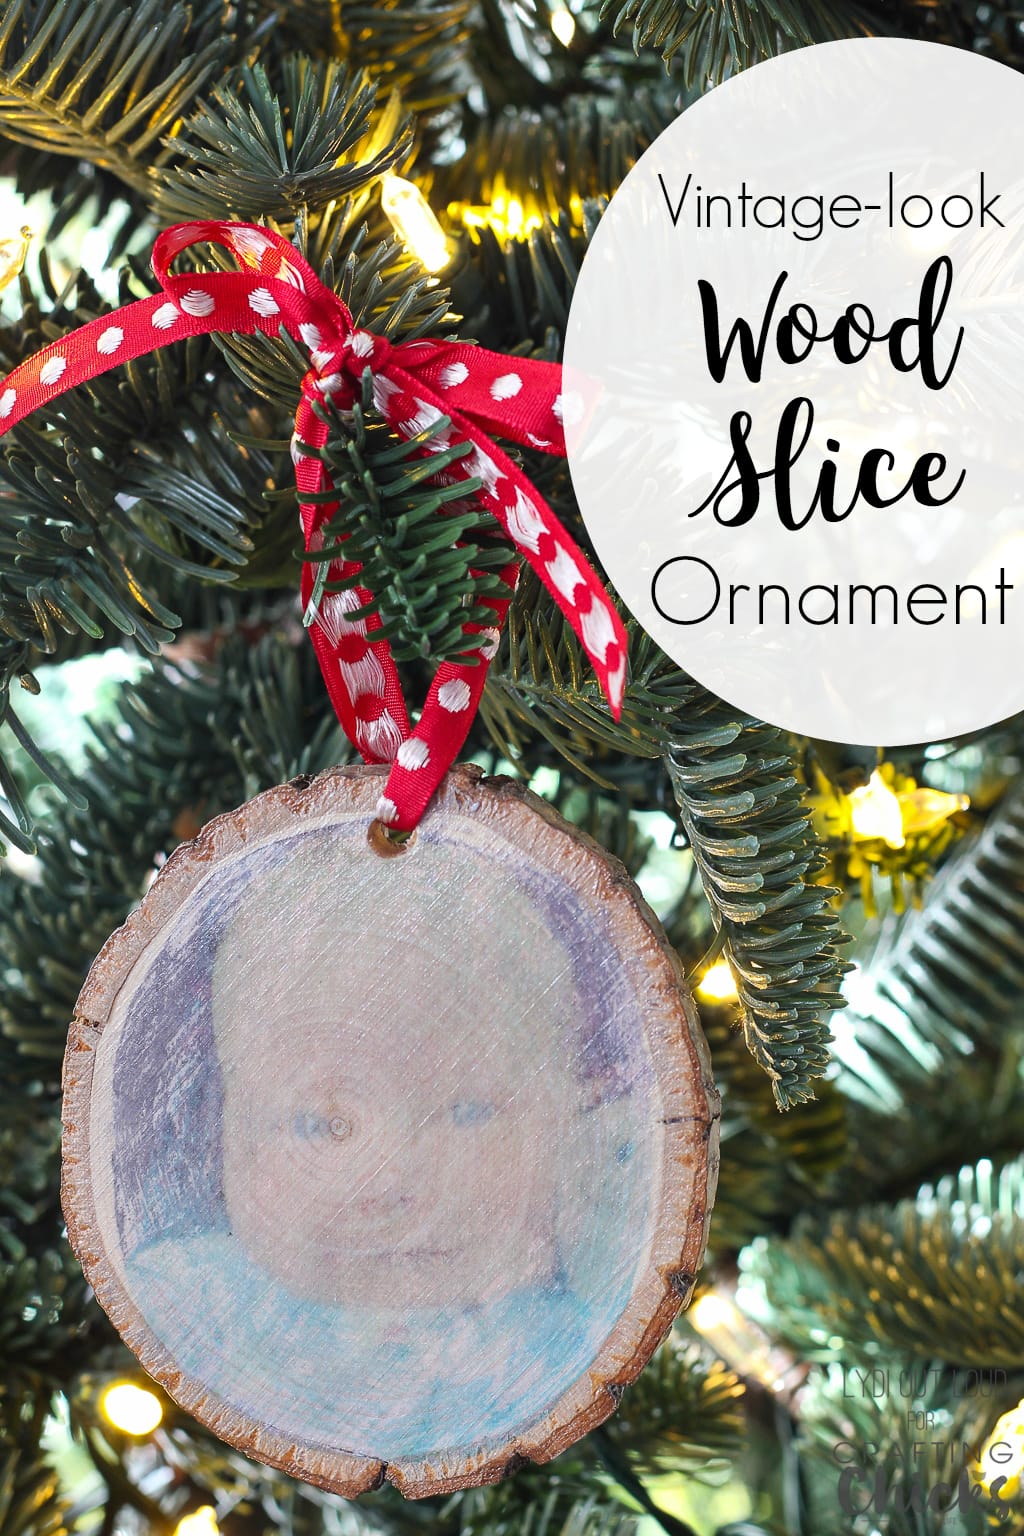
Hello! I hope you’re enjoying the most wonderful time of the year! I’ve been so excited for Christmas this year to create gifts for my little Godson. I can hardly wait to see him in the Baby’s First Ho Ho Ho onesie I made for him! I’ve been loving wood slice coasters for crafting lately so I decided to make my best friend (Godson’s mama) an ornament with his precious face transferred onto it. I only wish they lived closer so I could see her face when she they open these gifts to make baby’s first Christmas!
This photo wood slice ornament was easy to make, it just takes some time to allow it to dry. Follow along here to make a wood slice ornament for the cute babes in your life! 😉
Photo Transfer Wood Slice Ornament
Supplies
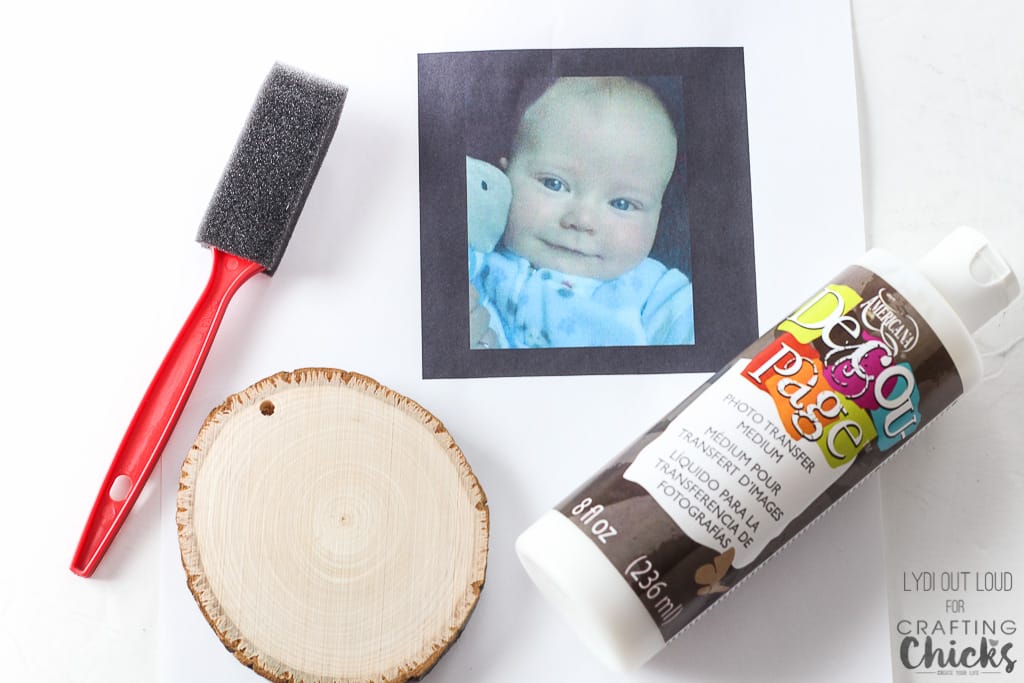
- Live edge wood slice ornament or coaster
- Decoupage Photo Transfer Medium
- Foam brush
- Picture printed on copy paper
- Gloss Finish Decoupage
Directions
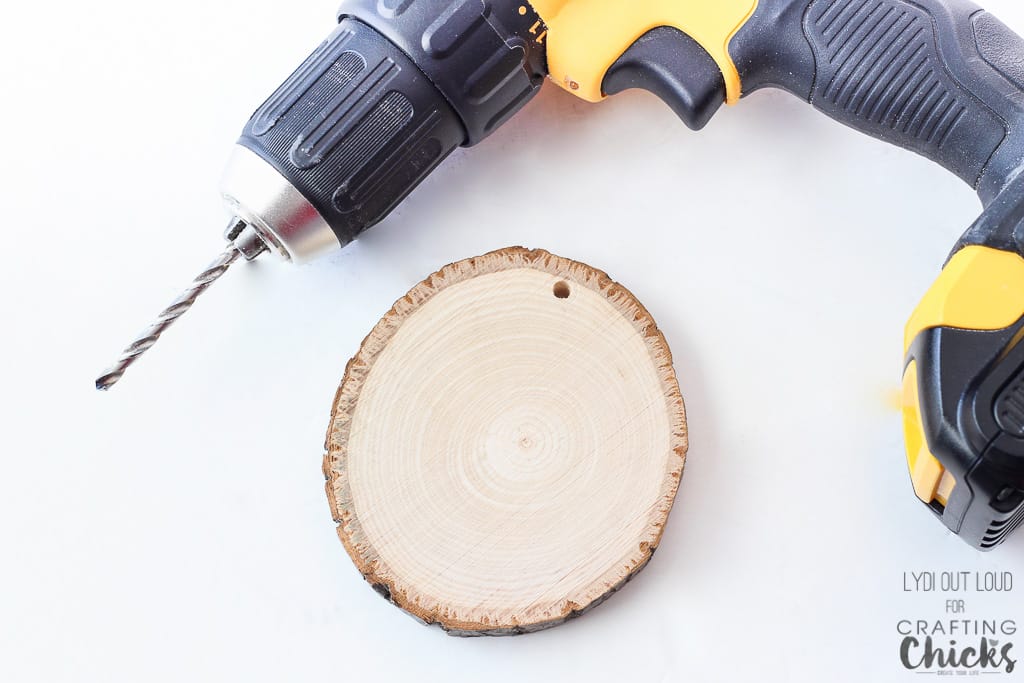
If you have a wood slice that isn’t an ornament, you will need to drill a small hole in the top to hang the ornament.
Print out the picture you would like to use for the wood slice ornament with an ink-jet printer onto copy paper. In order for the transfer to work the paper should be thin. If there is any print or if you just prefer that the picture be oriented in the way that it was taken, flip the image before printing. Trim the image to the size of the surface of the wood coaster.
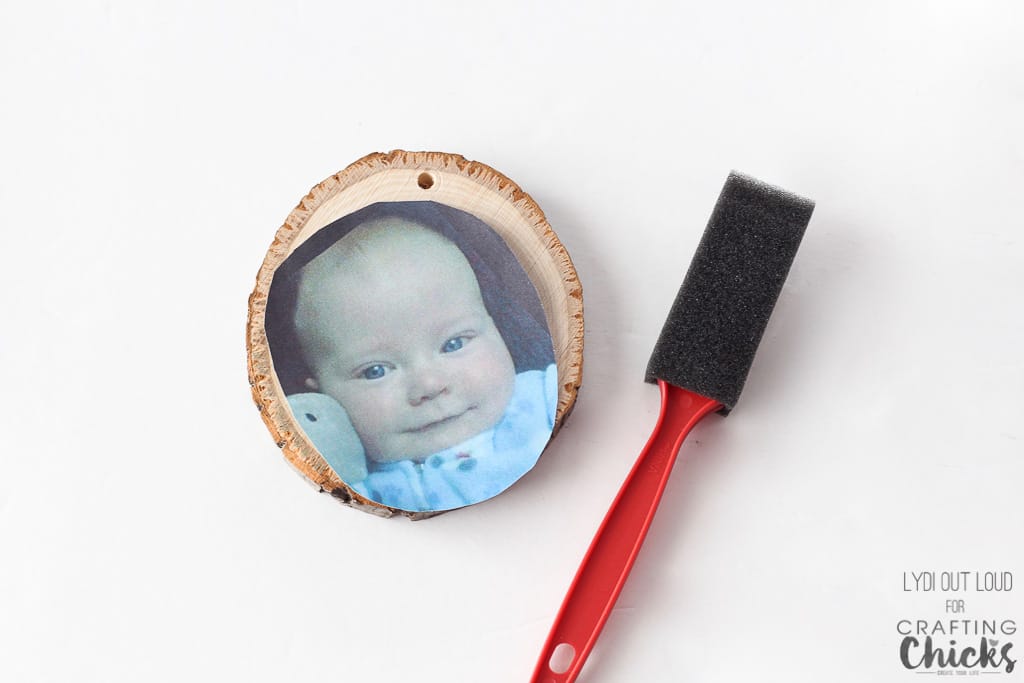
Generously apply photo transfer medium onto the wood slice surface and onto the front (printed side) of the photo.
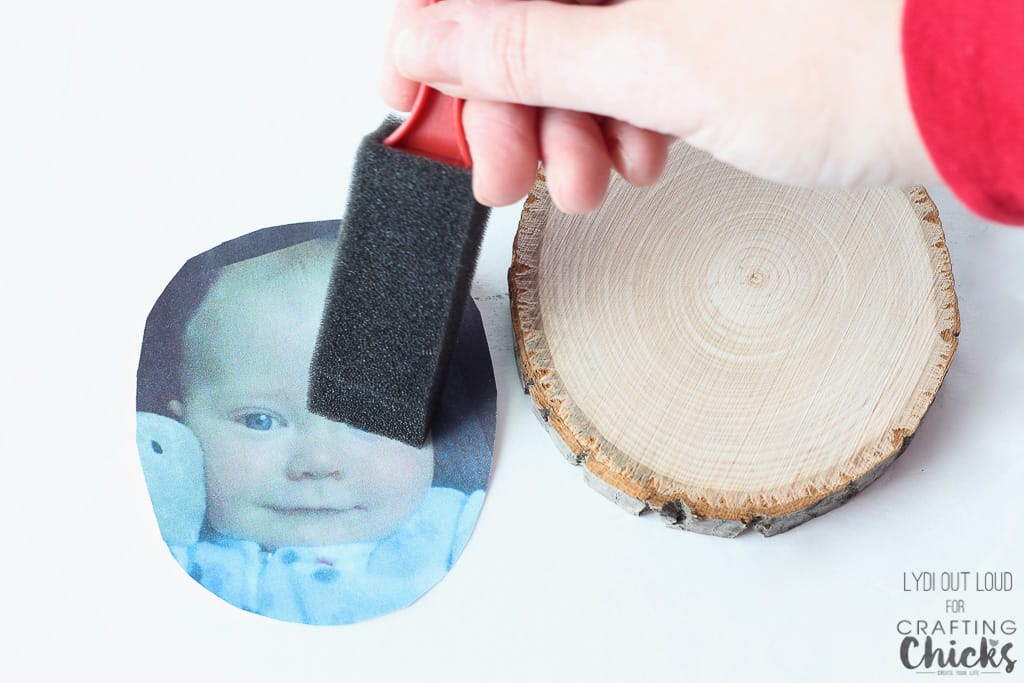
Place the image with printed side down onto the wood slice ornament. Smooth out any creases or air bubbles carefully with your finger and remove any excess transfer medium with a damp cloth.
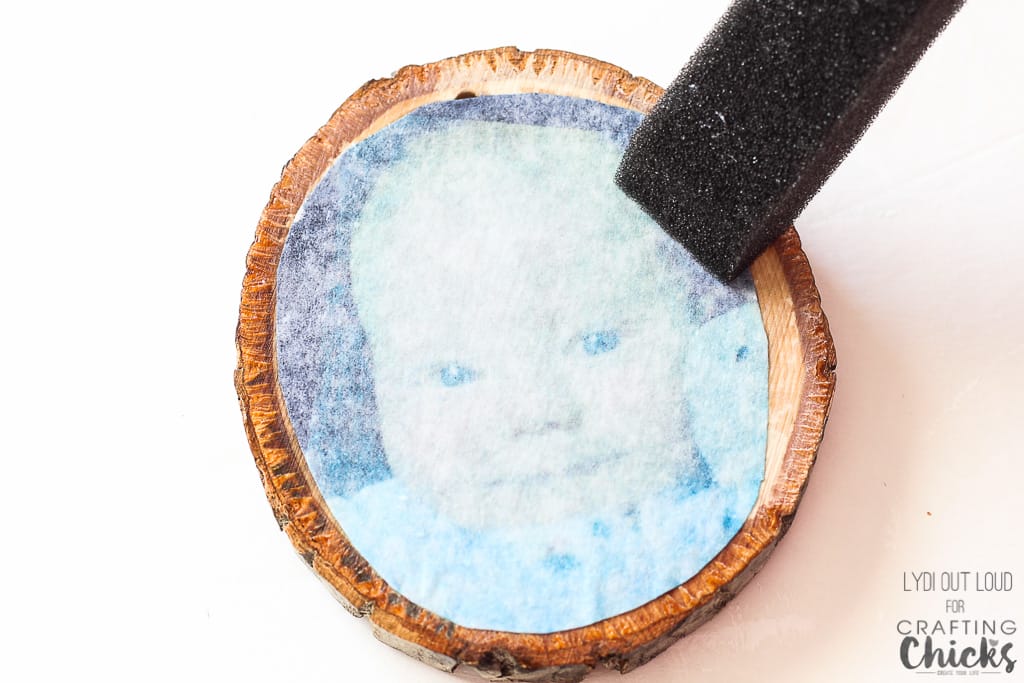
Allow to dry for 8 hours.
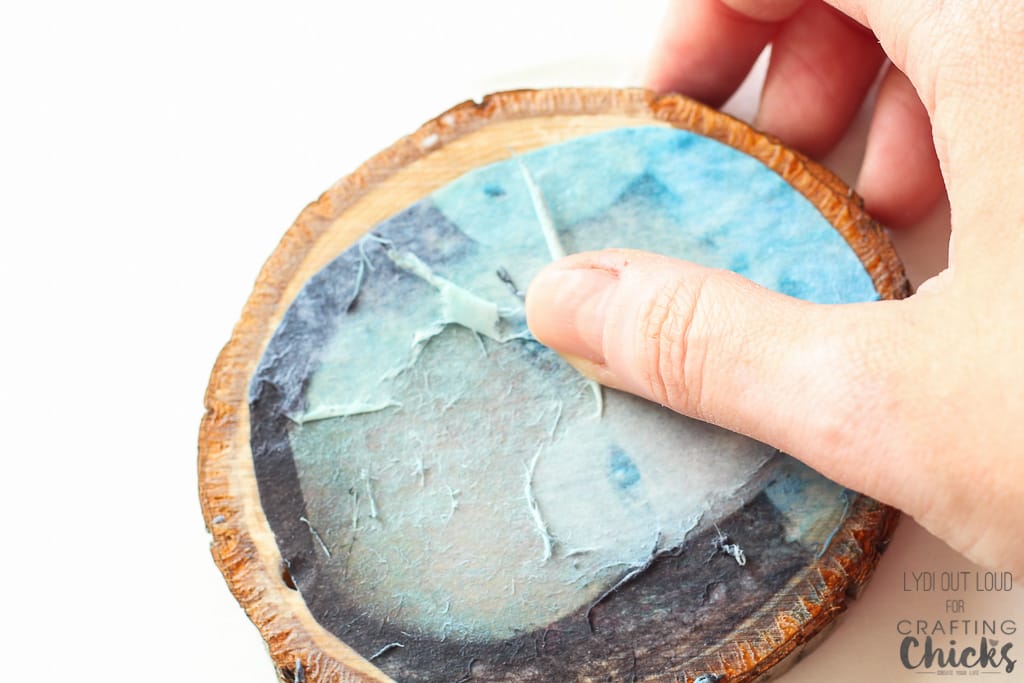
Sponge water onto back of image. Let sit for about 3 minutes and then use a soft sponge or fingers to gently rub away paper layers. Let dry and repeat the wetting process until all paper has been removed. I wanted a vintage-y look for the wood slice ornament so I pressed harder in some areas when rubbing away the paper (especially around the edges).
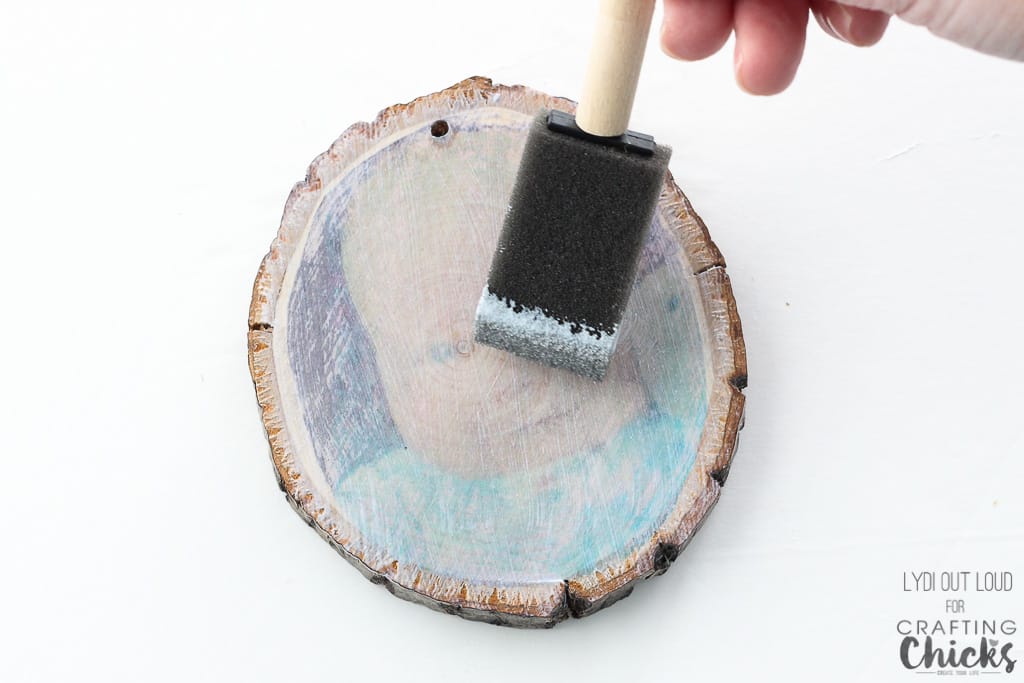
Allow to fully dry. Apply a coat or 2 of gloss finish Decoupage over the picture. Apply in horizontal hash-strokes to create a more vintage appearance.
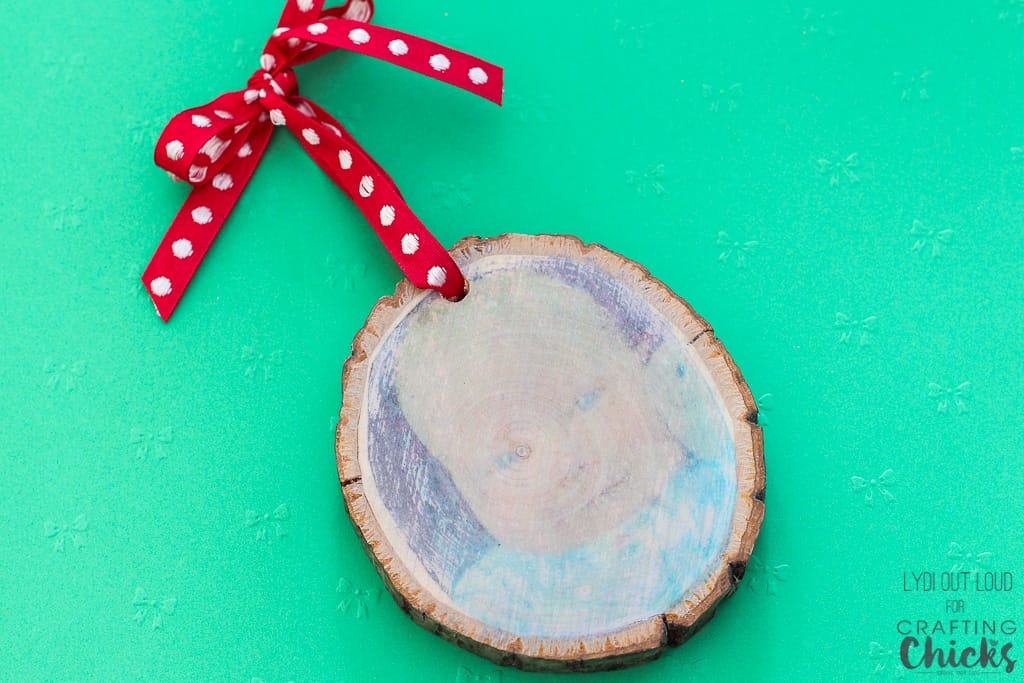
Tie ribbon through hole and tie a bow.
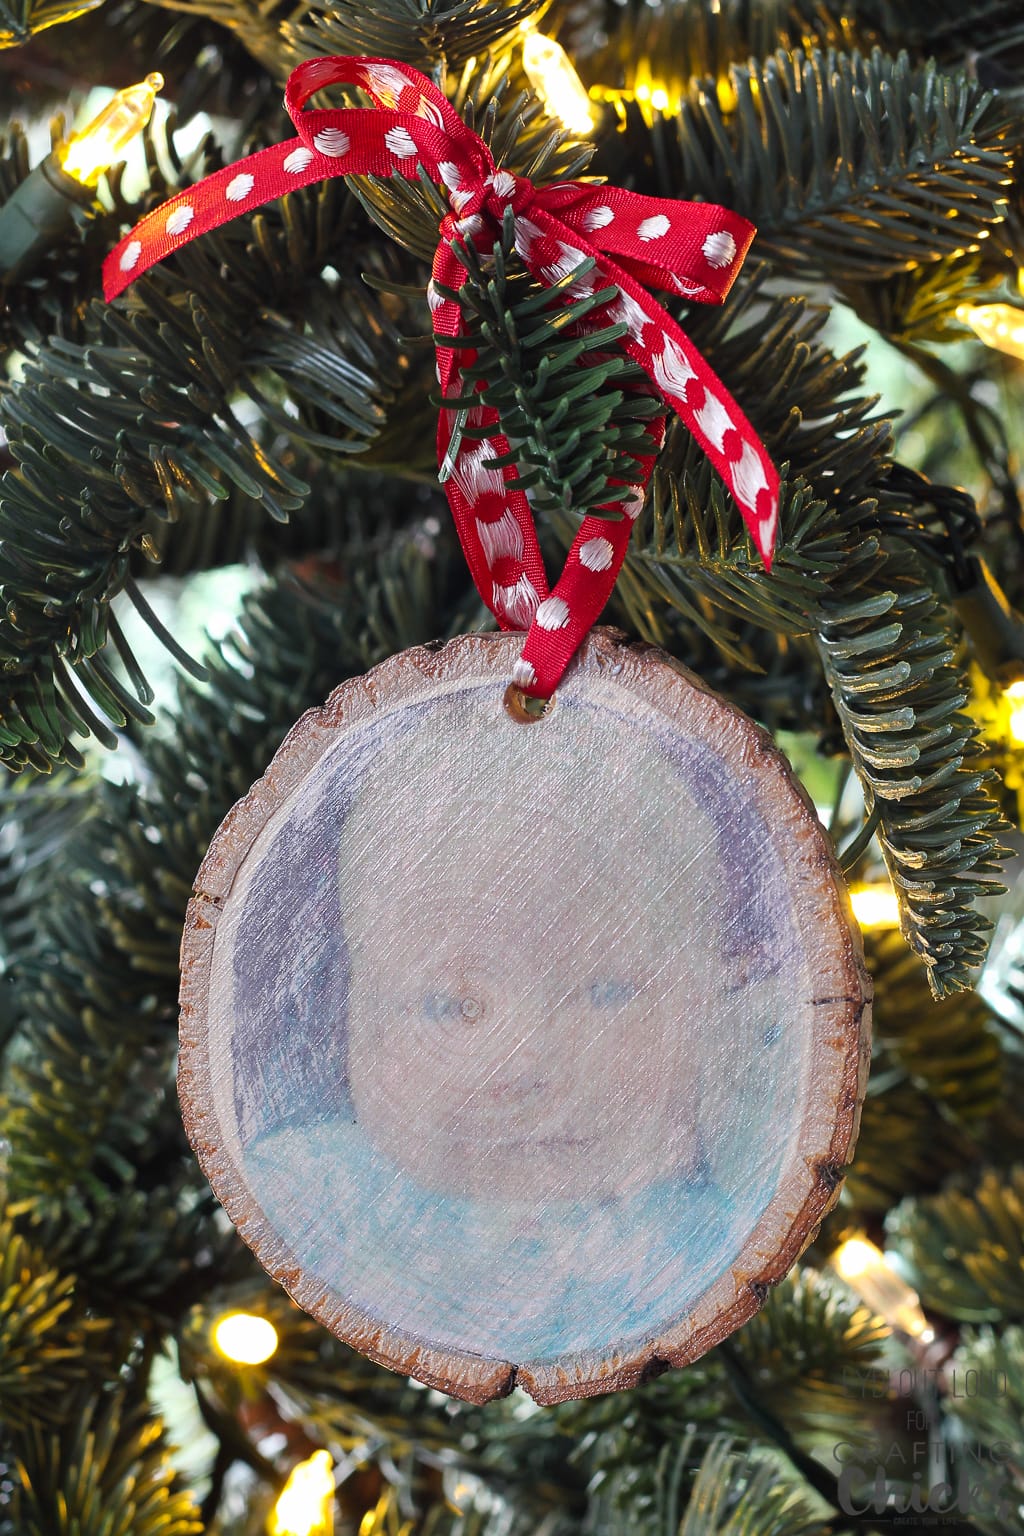
What cute little baby faces are you envisioning on a wood slice ornament this year?
I hope that all of you have a blessed Christmas and a Happy New Year!