DIY Sunburst Mirror
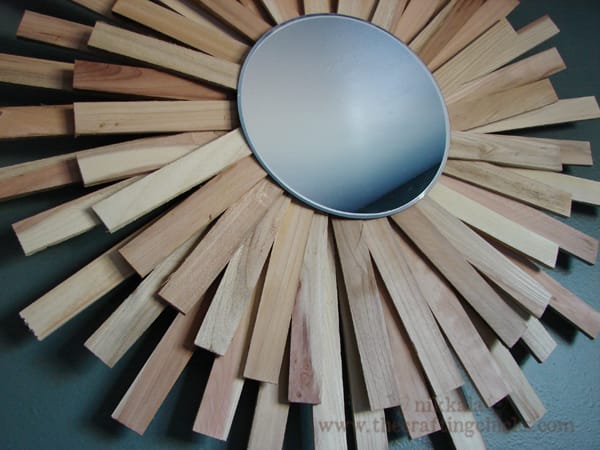
A little over a month ago we closed on our first house! We’ve been busy painting and the other day I realized we haven’t hung anything on our beautiful walls. On one of the many trips to the home improvement stores I saw an end cap of wood shims and remembered a sunburst mirror I had seen on Pinterest using them. So I threw them in the cart and brought them home with the rest of the supplies I had gone for.
Then a few days later I noticed my husband had been using them on various projects! Oh no he didn’t!
That was all the motivation I needed to pull the glue gun out during naptime and use the shims for their intended purpose before he used them all up.
I used:
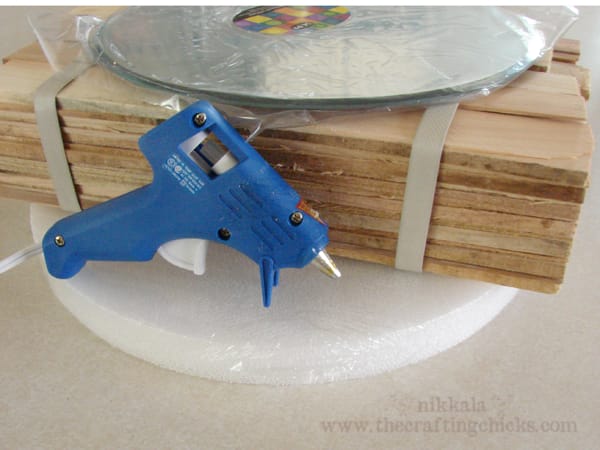
2 packs of wood shims ($5 ea)
10″ mirror (on sale for $2.50)
foam circle (but a cardboard circle would work too) ($7)
glue gun
Gorilla Glue
The total cost was under $20.
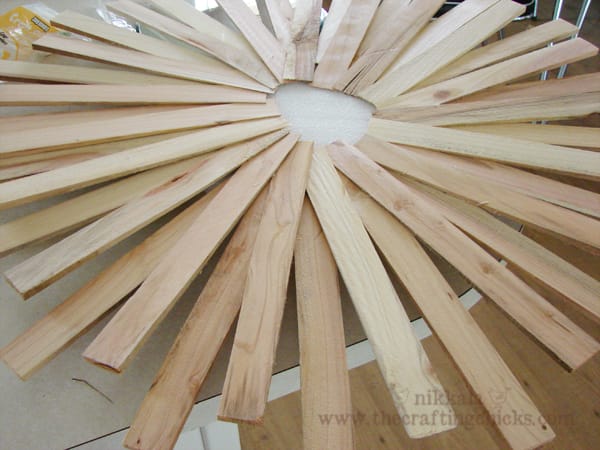
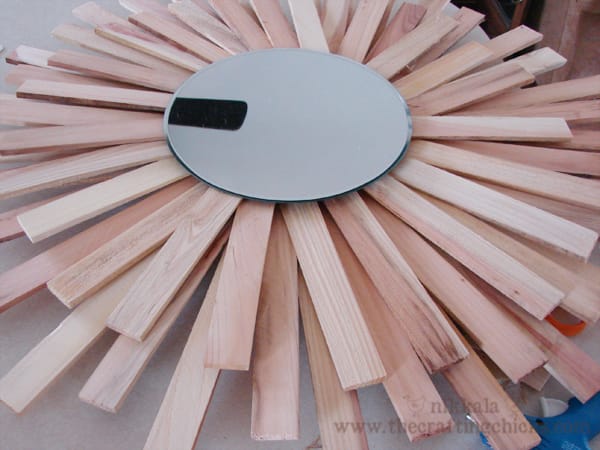
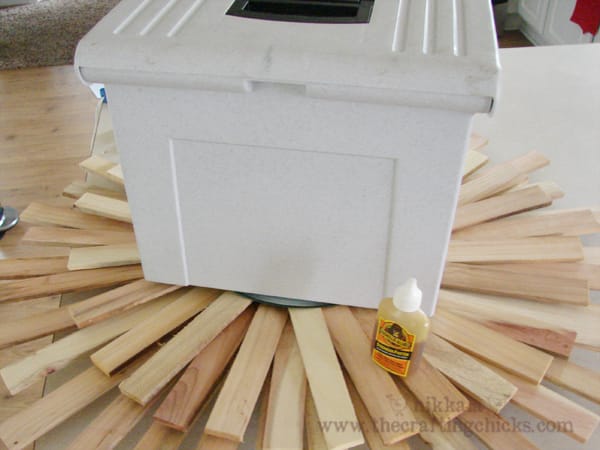
It was a fast project that took about 30 minutes to glue together, but makes a big statement. The hardest part was deciding where to hang it. I went back and forth between the bedroom and the entry way.
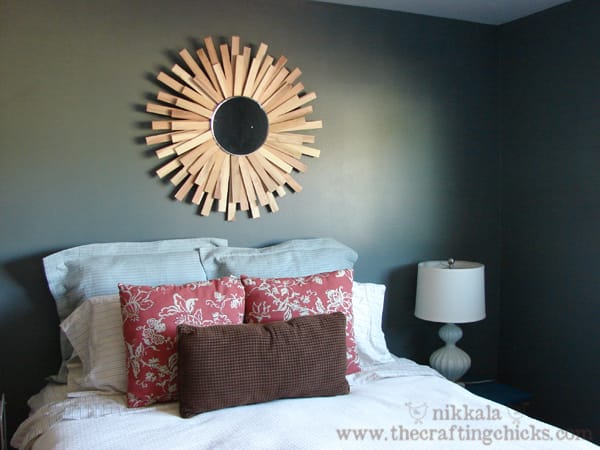
Have you DIY’d an expensive item for much less? Do share!



Love it!! It looks fantastic above your bed…I’m heading to Home Depot today, I may need to buy me some shims! 🙂
That is gorgeous! I love the natural wood look with the mirror. I think you should hang one above your bed AND in the entryway! Thanks for sharing!
I love the three layers you have going on there, wow, it’s so dramatic. I made one of shims too. I love it so much I might make another!
http://www.decoradventures.com/2011/05/sunburst-mirror.html
WOW i am so impressed…awesome!! Love this idea!
thanks SO much for sharing!!
Melissa from Naches WA, now heading to the store and then the garage to make me one!!!
I just want to let you know that I absolutely LOVED this idea, and I just finished making my own! I’m going to let it dry overnight and put it up on my wall tomorrow!
I found a 10″ wooden circle at hobby lobby to use as the backing and before I started, I mounted some hardware on the back in order to hang it on the wall.
I did the 3 different sized layers as well but the long and short layers I painted black and the middle layer I painted gold.
I just wanted to say THANK YOU SOO SO MUCH because this was exactly what I needed for my living room!
Sounds gorgeous!
Great idea thanks for sharing it!! I love this!!
How did you get the shims to lay so flat when they are overlapping? I’m trying to make this and when I am done laying out all the shims the mirror does not lay flat against the shims and is raised in the middle. Any suggestions would be helpful:-)
Oh it’s not flat! On the 3rd layer I broke some of the ends off to help fit them all in. But they were still built up. Amazingly, the hot glue holds the shims on really well so if you can make contact with the mirror on the outside edge it holds! Good luck
Thank you for the additional tips!
I LOVE the double layers! I jumped on that band wagon too and made one back in May but the movers broke it and I had to redo it:-) Still loving it…just found your site…I’m off to stalk:-)
Did you poly it? Poly will bring out the natural beauty of the wood, but it will help with dusting. I made that mistake 1 time only. 🙂 Beautiful mirror- I think I might try it. Sounds easy enough. Thanks for sharing.
Thanks to pinterest I found this site and this amazing mirror. I wanted to know how did you hang it? I am scared to attach anything to the shims because they are held by hot glue.
Nice job! I love the different wood colors. 😉
//justynn