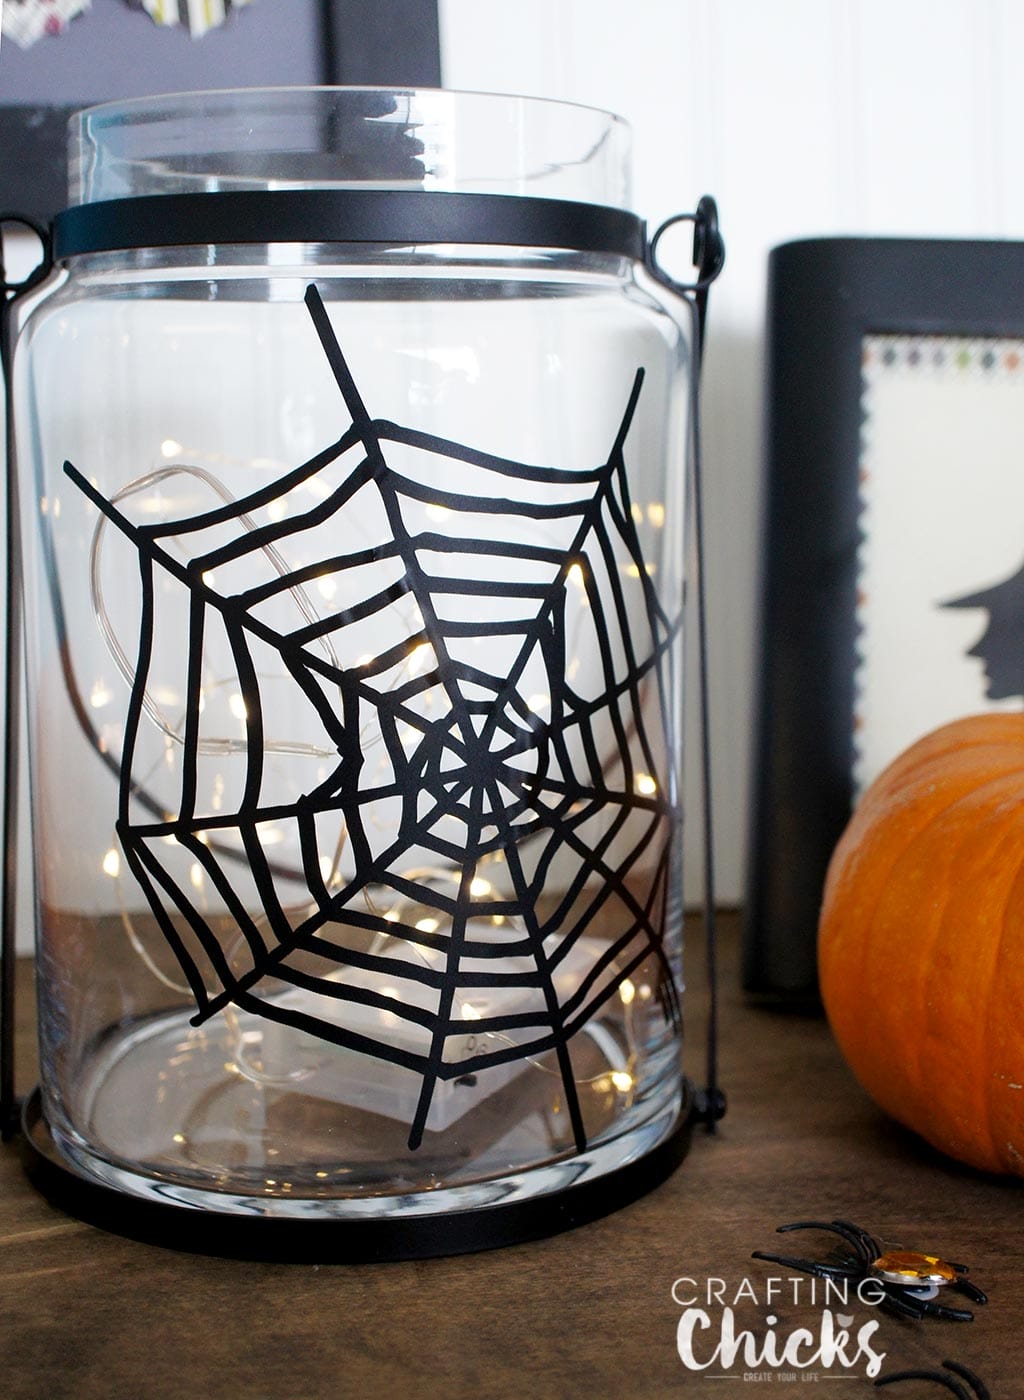
This may just be the easiest project I’ve done in a long time! It also cost me zero dollars because I already had everything. I picked up the beautiful glass lanterns a month or so ago at Michaels for a project I was working on, and they never even made it in the house. I bought two, and they have been riding around in the back of my car for an entire month. It had been so long that when I saw them in the trunk I couldn’t remember why I had them and decided to put them to use before they ended up broken!
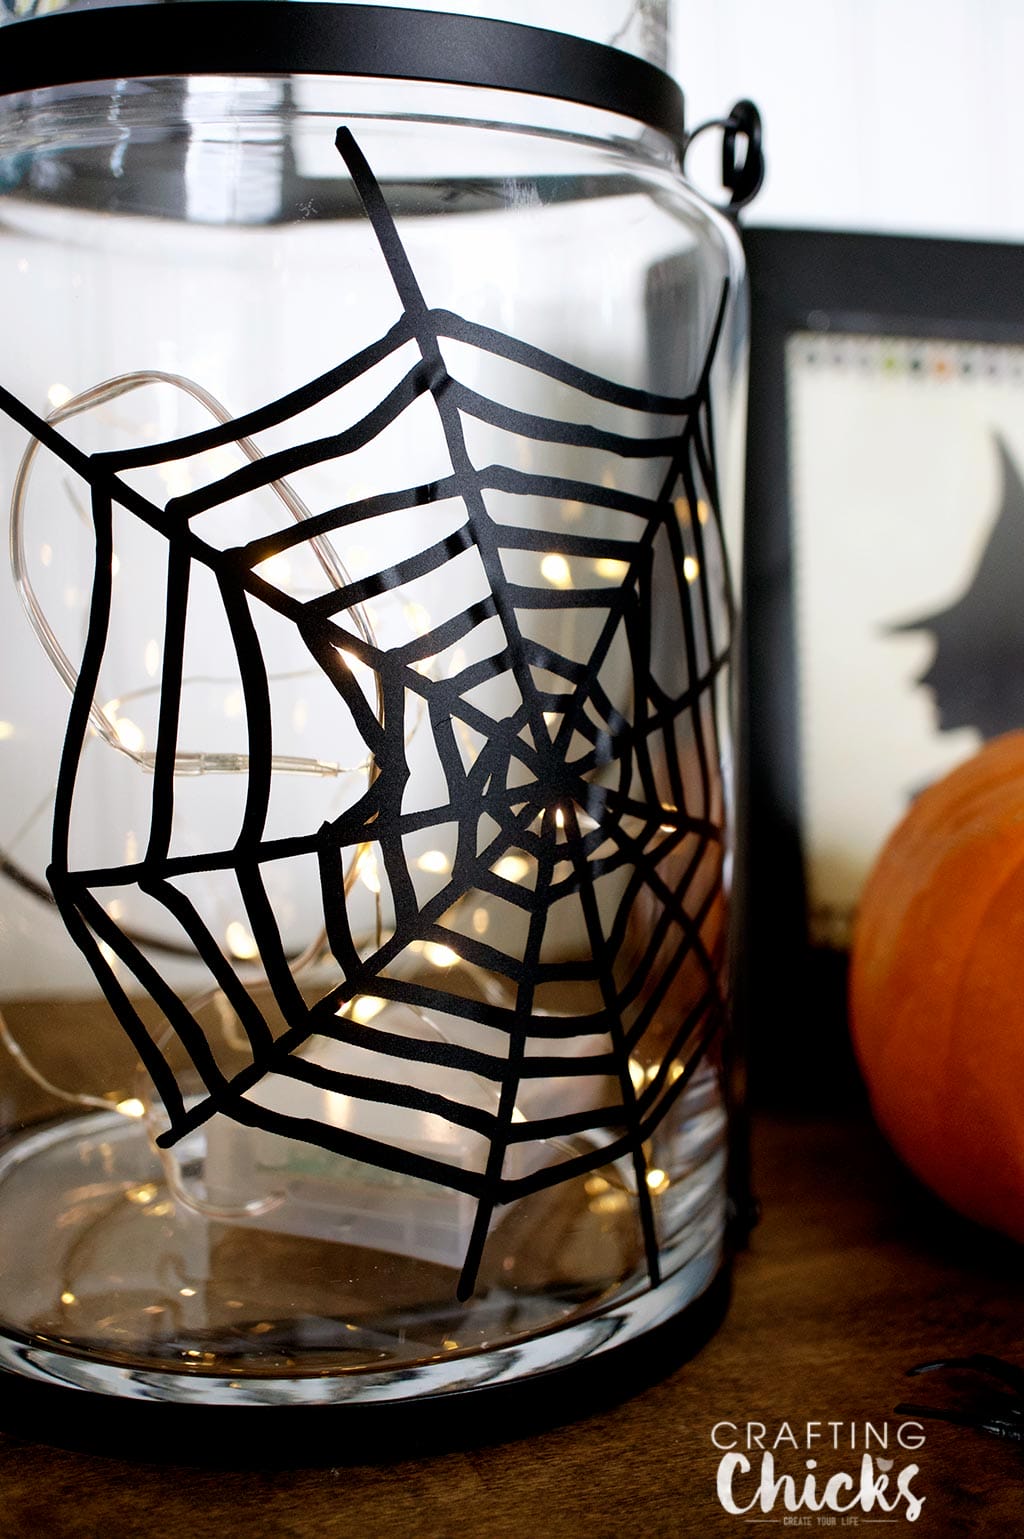
Halloween Spiderweb Lantern
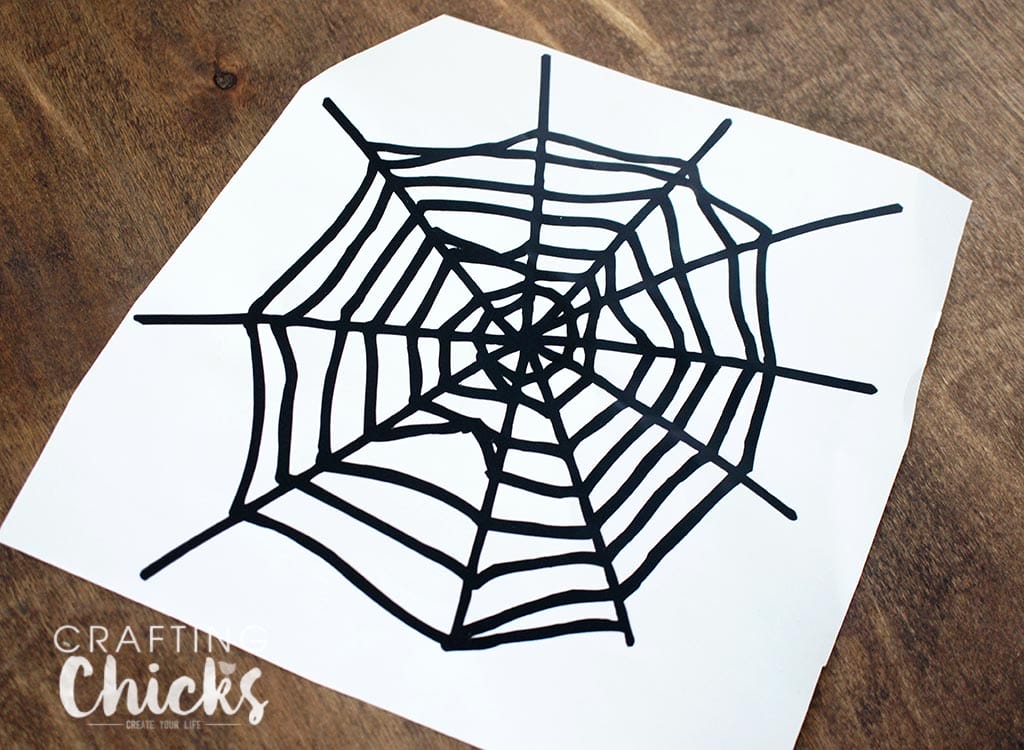
This project is so easy because there are only two steps. First, you’ll want to choose and cut a design to go on your lantern.
I found this spiderweb image in Cricut Design Space and sized it to the size I wanted.
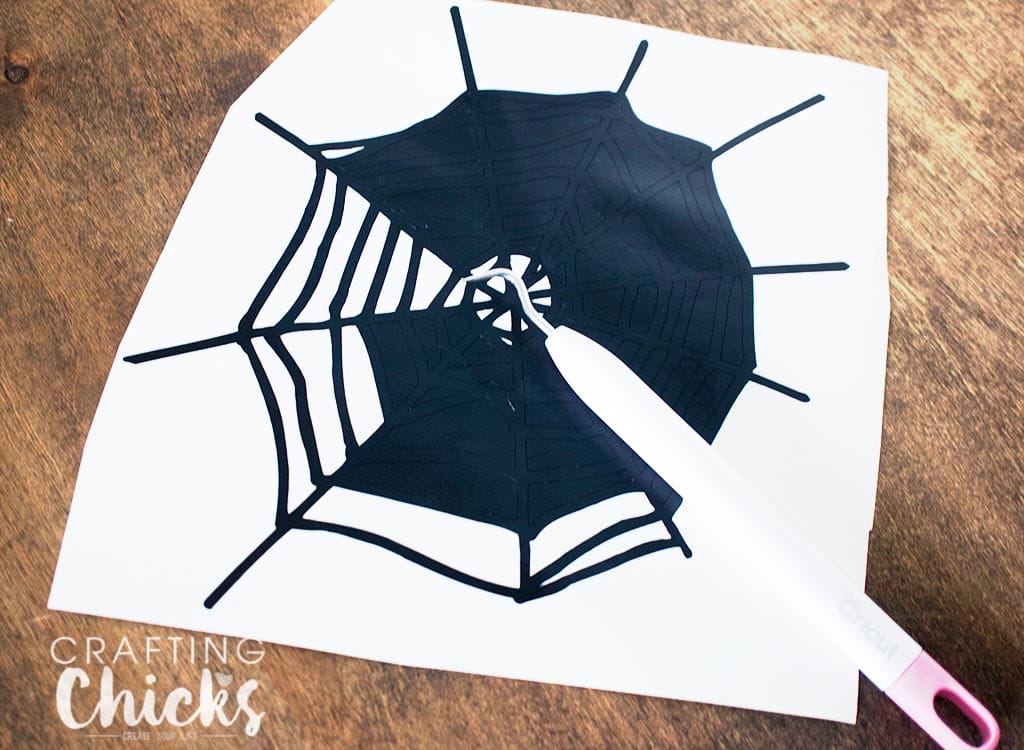
Weeding is normally my least favorite part of working with vinyl, but this image was really easy to clear out.
I’m always amazed at how well my Cricut cuts, I’ve had a cutter for a lot of years and I’m always giddy over the clean lines and ease of using them!
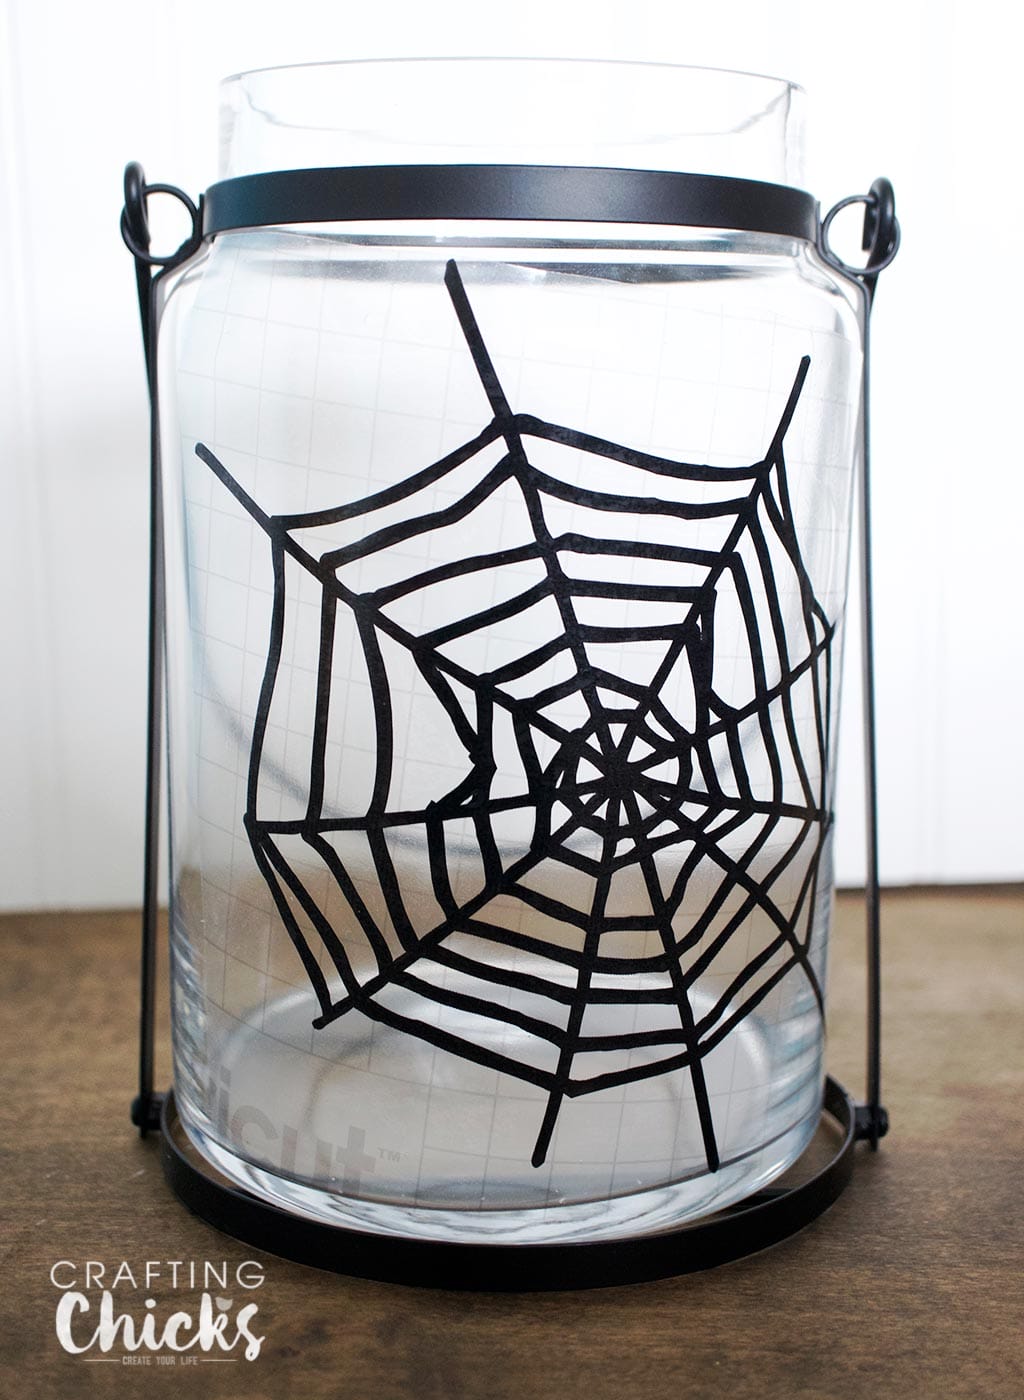
Second, transfer the design onto the glass lantern.
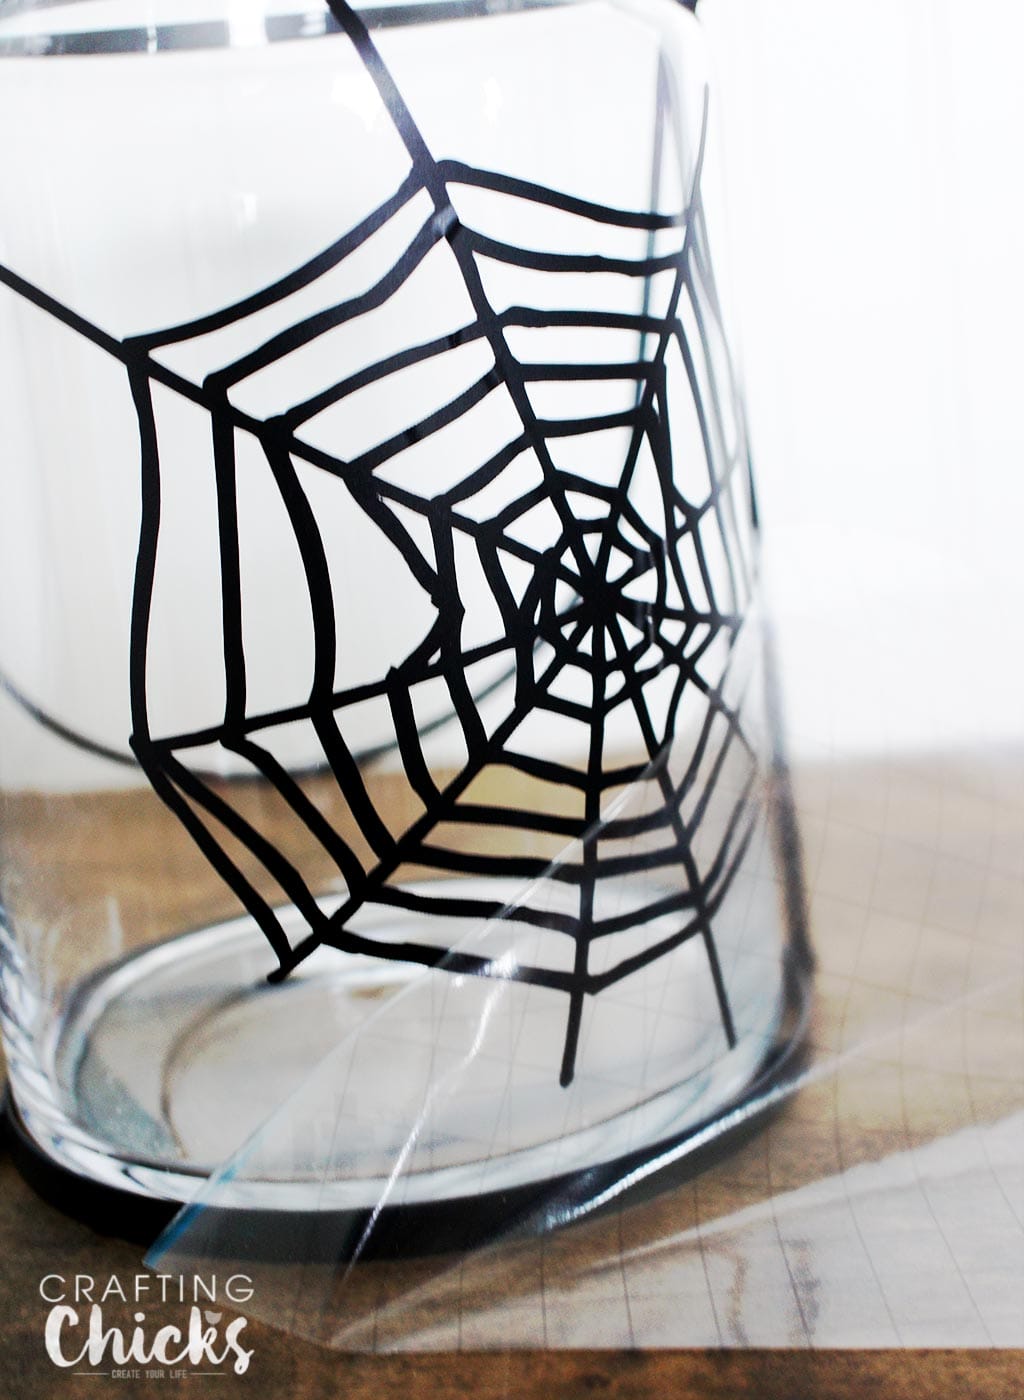
When working with vinyl, make sure you have transfer tape on hand. It is a big sticker you use to move the delicate vinyl design to where you want it to go. You can see a faint grid on the glass and that is the transfer tape moving the web onto the glass.
Here you can see the transfer tape as I’m peeling it away.
*TIP* Transfer tape can be reused. If you are working with more than one piece of vinyl, you can use the same piece of transfer tape to move the multiple designs. This will save you $$.

What a cute Lantern! I am always buying things for a project then it gets set aside and forgotten.