Handmade Photo Ornaments-Fancy Bangle Style
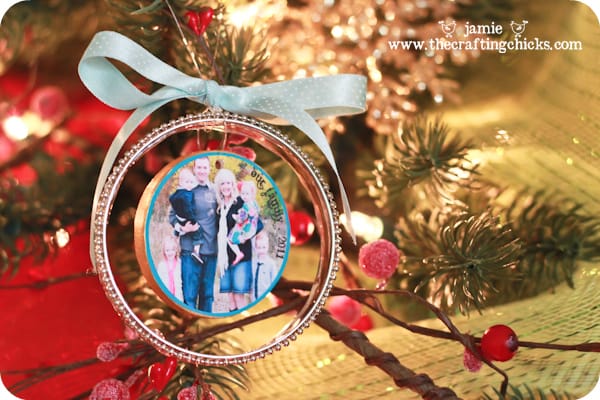
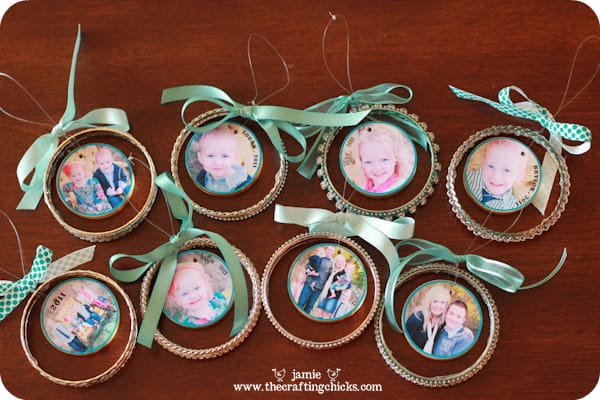
It’s time to share my annual photo ornaments. I have been making these for the past few years…with photos of my little ones and family. My kids love seeing their photos on our tree…my little 2 year old walks by and points to her ornament with excitement! They have been a huge hit!
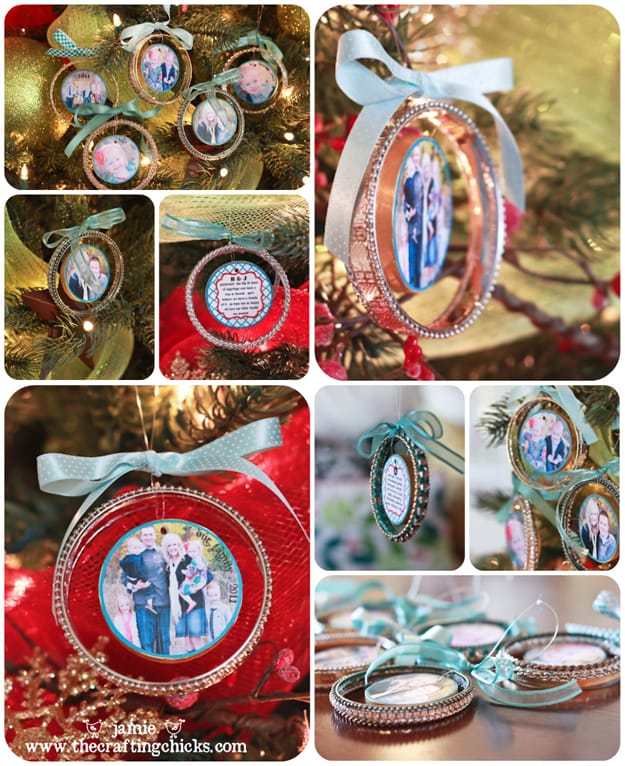
I think this year’s might be my favorite…I love that they turned out so pretty….
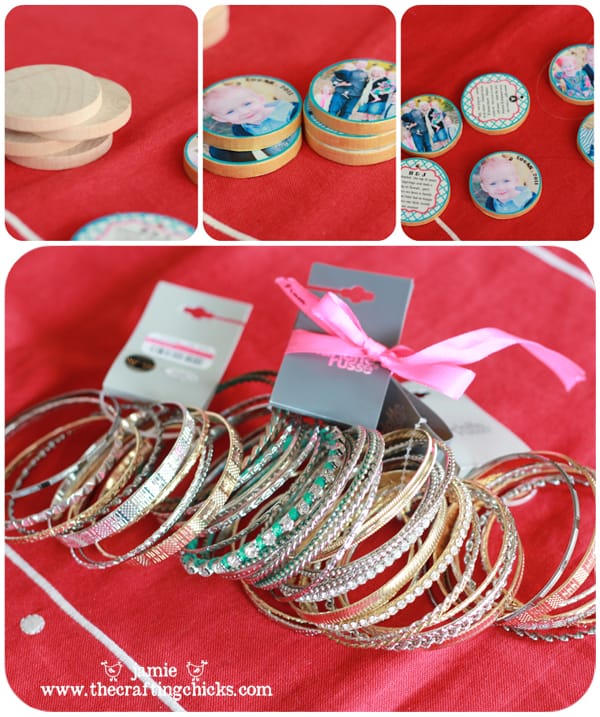
I purchased shiny bangle bracelets from the store (you can find them anywhere…forever 21, charolette russe, etc.) I chose gold, silver, simple, fancy, and even ones with a bluish finish.
I also used little wooden circles (you can find at most craft stores in their unfinished wood section).
The wood circles are 2″ x 3/16″ (I found mine at Hobby Lobby)
Here are the steps to make these:
Drill a hole in the wood circles. (I had my husband help with this part…) My holes were pretty small (like the size of a mini hole punch). But you could do any size, especially if your circle is larger or you want to lace ribbon instead of fishing wire.
Print off circle photos….many of you asked how I get the exact size…well I print these at home and in Photoshop use the option Print Multiple Photos. This allows you to choose custom sizes for your photos and print a bunch at once. I sized all the circle photos to 2.1 inches. You may have to try a couple of times to get the right size. You can also take a regular photo and trace the circle, cut it out and use that.
Then…punch a mini hole in your photo (Hold it against the wooden circle and hole to find the right place to punch the hole in your picture).
I painted the edge of the circles metallic gold and then mod podged on the photo. I used the modpodge to glue on the photo and to create a seal/finish on top.
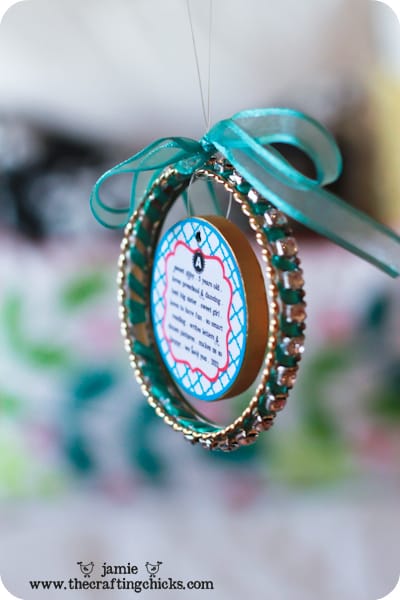
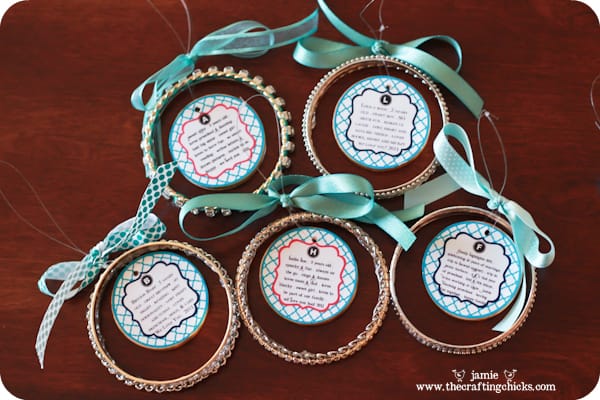
Next…I added some words on the back of mine. Using a circle shape and fun quatrefoil paper, I added a little something to the back of each ornament. I listed kids milestones, family highlights, etc. I love looking back at past ornaments and reading about our family’s highlights each year.
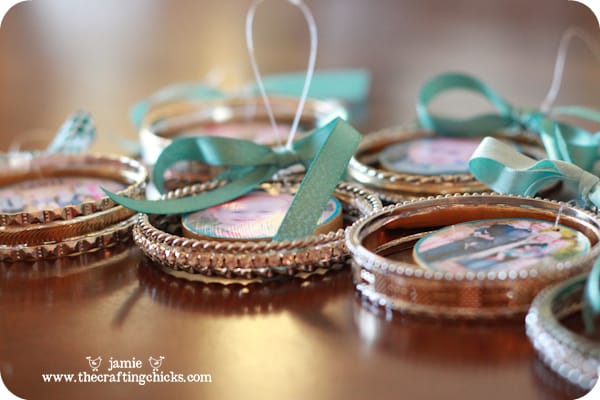
While the ModPodge was drying, I assembled my bangle bracelets. I just played with different ones until I had 3 that looked great together. (mixing silver and gold, fancy and plain) I just used my glue gun to glue the bangles together. (and I’m assuming that worked great because they haven’t fallen apart yet:)
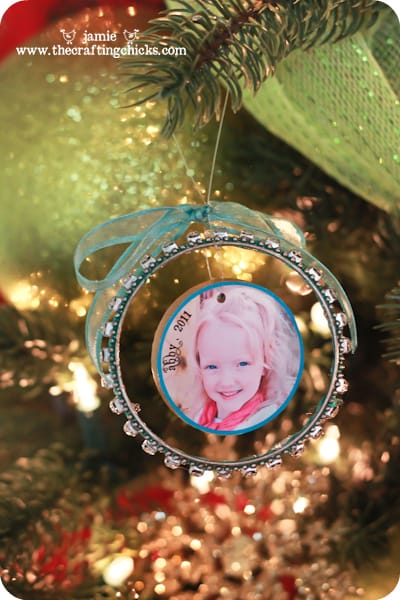
Now for the tricky part…assembling the ornaments and tying the ribbon. I first laced fishing wire (or you can use the stretchy clear wire for necklaces) through the wood hole and then tied it around my bangles so that the circle is hanging in the center of the bangles. I then laced another fishing wire around the top of the bangle and tied a knot at the top (for the ornament to hang on the tree). I like the simpleness of the wire…that you can’t see it. I then added different ribbons to each ornament at the top of the bangle (around the fishing wire).
These were a little more work and more time consuming than I had originally planned when I first came up with the idea…but in the end Worth it! I love how they look on my tree…they make me happy!
If you make these, I would love to see your version! Send us an email or leave a message with a link!
Jamie’s 2010 ornament–Sassy Juice Top Photo Ornaments.
and the Love Tree and Ornaments


these are adorable! What a great idea. Wonderful.
What a great idea! I love these. Good job.
Love this idea! Thanks for sharing!
Oh my, I love this!! Such a beautiful {and creative} idea.
Jamie, these are stinkin’ cute! I am doing your block one from a couple of years ago. I was going to put what they want for Christmas on one side.
I love the little summary you did for the back of this one. I will pin these and save them for next year. Merry Christmas!!!
Kristie…
I love the “what I want for Christmas” idea…
thanks so much!
love, love these. what a neat idea!! I want to make some. What is the saying on the back of them?
I added Family Highlights, and kid milestones to the back of the ornaments…thanks so much….we would love to see your finished product!
Very cute!!!
What a great idea to use bangles! They add variety and bling to each photo ornament. 🙂
Jamie, these are adorable! I love the idea of using a bracelet to go around them. Fun sparkles for the tree.
I love putting photos on our Christmas tree and this is something I will definitely be making for next Christmas!! Thank you for the wonderful tutorial. Now to check out your other ornaments from previous years…. 🙂 Ann
these are wonderful. I am going to make them as gifts! Thank you so much!
These are so perfect. I did the block ornaments last year and these are a terrific ornament for this year. Thanks for sharing!
How did you get the date and names on the front of the ornaments? I love them!!
Love these ornaments! I love home made ornaments w/pictures and have quite a few on my tree fromyears past. You lost me when you mentioned gluing the bangles together with a hot glue gun ….. what am I missing? Hope you can clear this up for me. Thanks. Happy Crafting!
I see you haven’t addressed my previous question as to “gluing the bangles together with a hot glue gun”…..would like to know what I missed in your tutorial.
Too, I purchased the bangle braclets over the weekend and beat the clock to JoAnn’s as it was about time for them to close…..to purchase the wood circles. Now, in re-reading your tutorial, guess I didn’t get the right kind of wood circles – mine are “paper thin” and are going to be the same size as the bangle bracklets, so there want be any dangling……I TAKE IT THE ONES YOU PURCHASED ARE IN THE PLASTIC BAGS HANGING UP IN THE CRAFT SECTION?…as yours look much thicker and smaller than what I purchased.
PLEASE, PLEASE ADVISE…..or if someone else has posted a comment and made these, PLEASE ADVISE as I so want to try this.
I am making these bangle ornaments for all my siblings with a picture of our Mom and Dad who have passed away and still thinking about what I will write on the back and making one for each son with a picture of their Dad who also passed away
I love ALL of your wonderful ornaments!!! I wish I had done this all the years my kids were growing! I have a suggestion – make 2 of each child’s ornament, and enough extra of the family ornament for each child to get one. Don’t put the extra ornaments out, but tuck them away in a safe spot. When the child leaves home – this will be their first gift for their first Christmas away from home. (One of each of their individual ornaments and one of each of the family ornaments they are in.) Whether they are at college, or more likely on a mission or newly married, they will LOVE having all their own special ornaments to hang!
Yes! This is such a great idea!