Weathered Wood Sign
Hello, there! It’s Ginger from GingerSnapCrafts.com. I’m back to share another cute & easy project with you! Today I am excited to share how you can get that nice, soft weathered wood look with just a few simple steps & supplies. I used it to make this cute fall sign for our home.
Let’s get started. 🙂

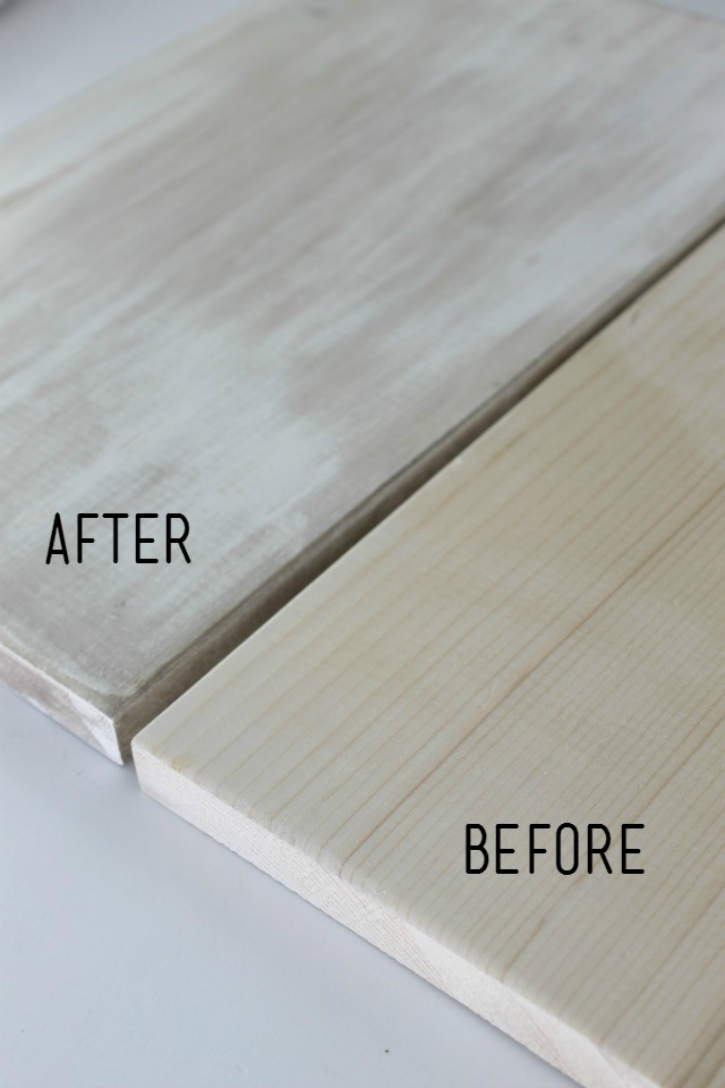
Just check out this before & after.
To make a sign like mine, you’ll need a few supplies:
- wood board (I cut a 1×8 down to size.)
- chalk paint
- paint brush
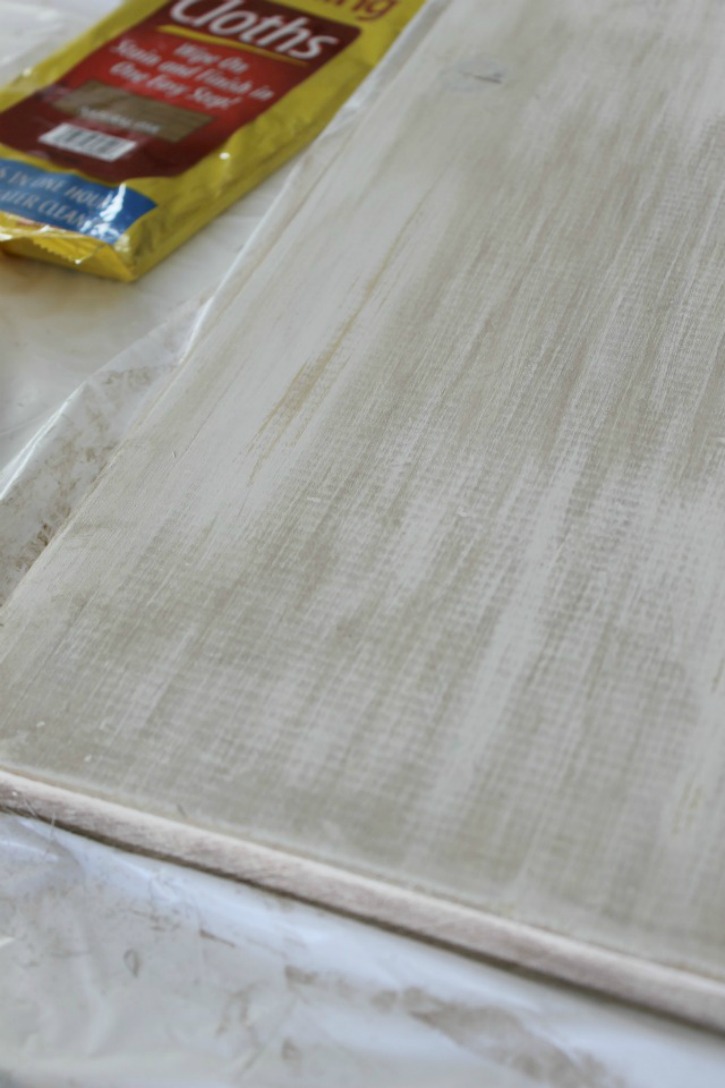
- wood finishing cloths in natural oak
- rubber gloves
- sandpaper
- old rag
- vinyl lettering (I used this design from Silhouette.)
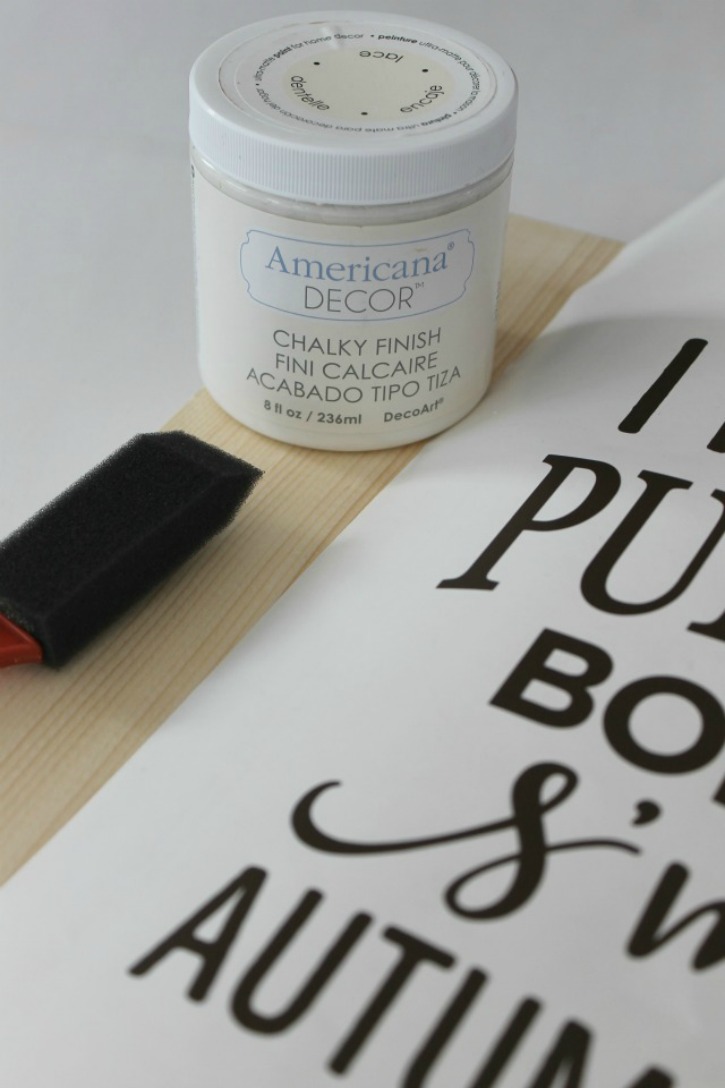
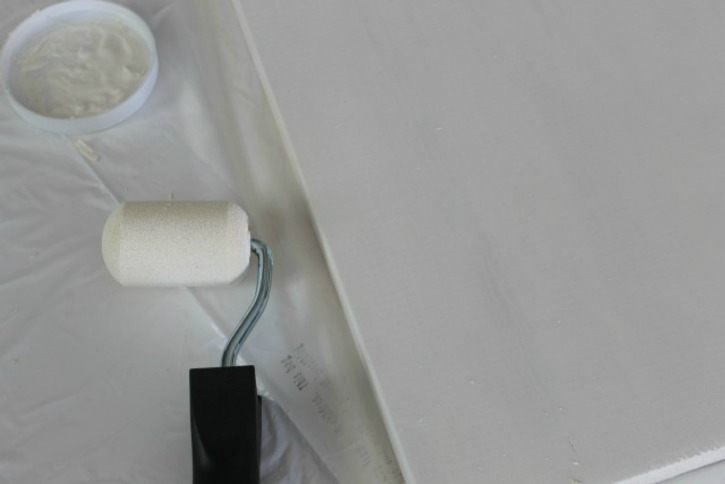
First, I painted my board with two coats of chalk paint. Letting it dry between coats.
After the paint had dried completely I sanded the edges with sandpaper.

Next I got out these amazing wood finishing cloths. These guys are awesome!
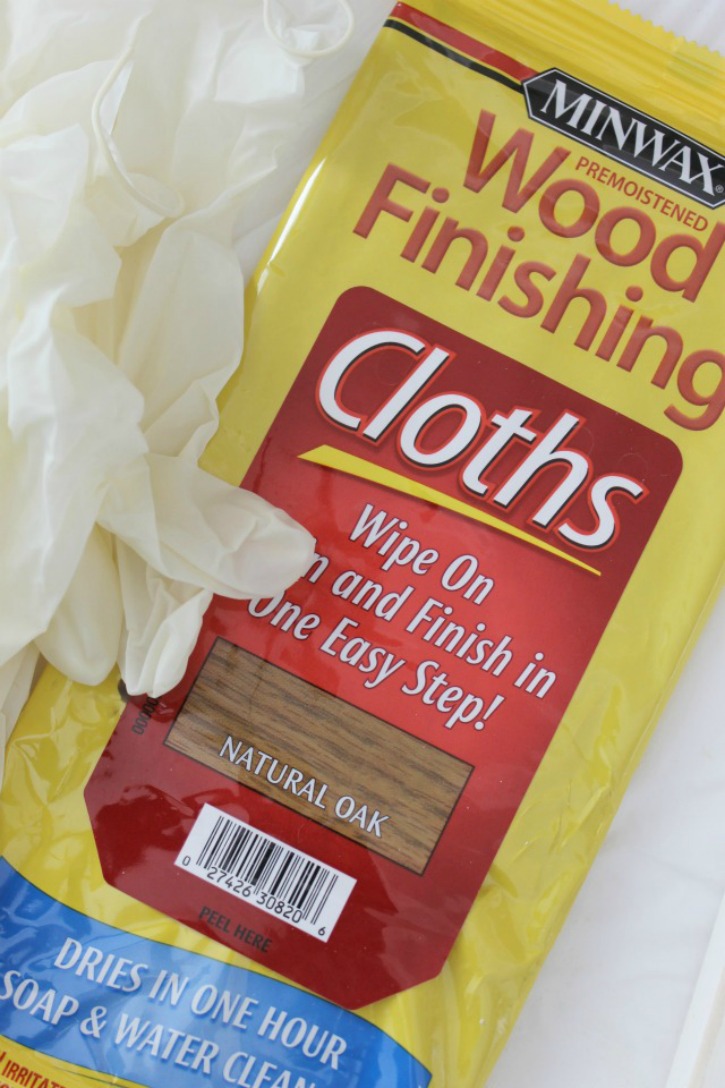
While wearing protective gloves I rubbed the stain over the board.

Wipe off the excess with an old rag. Let dry. Sand again slightly.
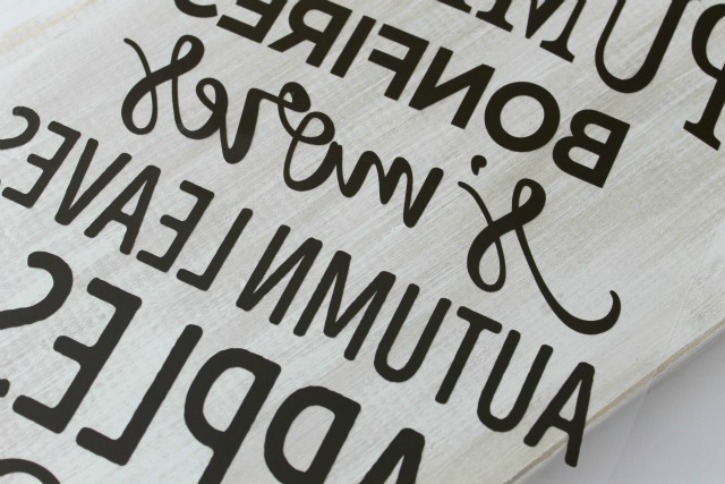
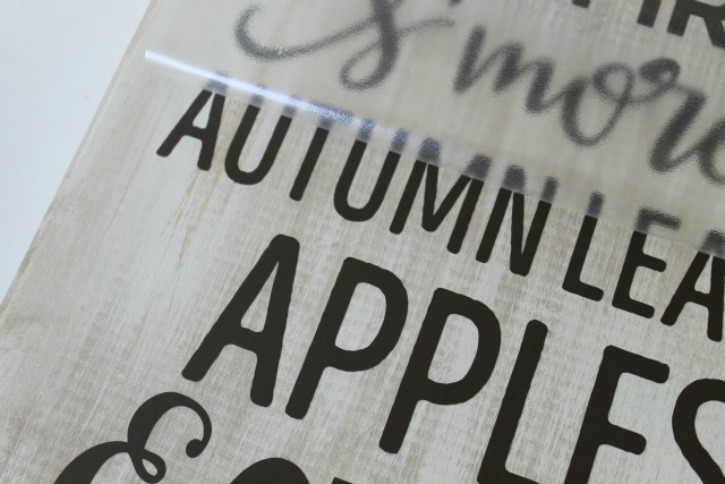
To finish this fall sign I just applied the vinyl lettering.
I can’t wait to try this distressing technique on some more projects!

Do you love the distressed look?
What do you love about fall?
I’d love to hear! 🙂


How do you join the boards together?
There aren’t any boards joined together. She is just showing the difference in color between two boards.
How big is this board?
It’s a 1×8 that she cut to the size she wanted. You can make it the size that would work best for your space. 🙂
I love love the font you used for PUMPKINS. What font is that. This is gorgeous by the way.
The image is all put together by a designer and is in the Silhouette Store. So this design all comes together.I’m not sure what the font is. Sorry.
The silhouette design is only a download..what do I do after I download it?
I was wondering the same thing- I would love to make signs like this!
Once you download you are able to use your Silhouette machine to cut the design out. You could cut it out on vinyl, paper, or many other mediums. Just follow the steps above for more info. Thanks!
Fun sign to make for my front porch. Thanks for sharing.
People have asked questions but there are no replies…What size is the board?
You can make it whatever size you’d like once you download the design. The one in the post is about 2 ft x 3 ft
What are the dimensions of the piece of wood? Your materials list says you cut down a 1×8 piece. Does this mean you cut down a 1 inch thick by 8 inch wide board? Your comments later says 2×3. I’m just confused on the size of board I should be looking for? Thanks!
I’m confused on the size as well
Very cute! Where do you get vinyl lettering?
She has the links in the post. The format is in the Silhouette Design Studio and you just need to cut it and add it to your board.
Do you know how I could buy the stencil as I don’t have a silhouette machine?
We are all for decorative signs, which is why we absolutely love your tutorial! We liked it so much we have featured it on our blog. Check out the article here: https://savedbythecents.com/budget-friendly-diy-thanksgiving-decor/
Thanks for sharing!