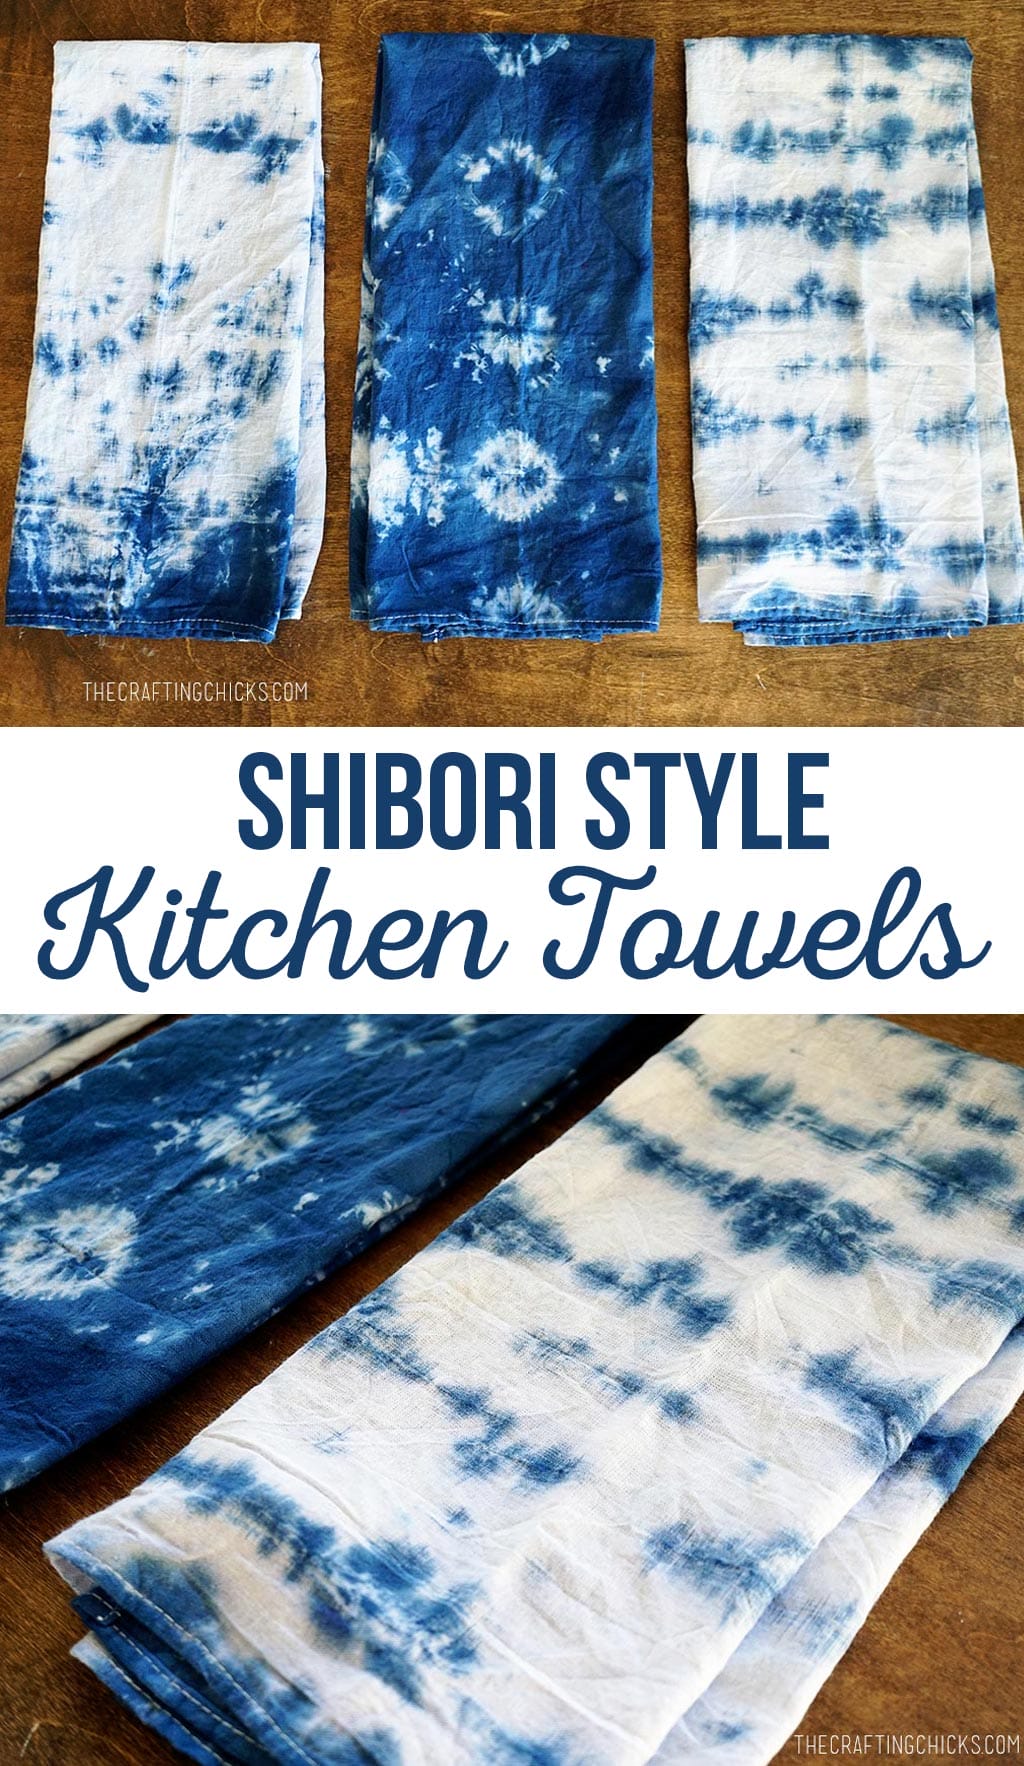
Shibori Dyeing Kitchen Towels

At the Michael’s Makers Summit last summer there was a class on Shibori Dyeing taught by Nicole from Darby Smart. As she was explaining the process of Shibori my hand shot up and I asked, “So basically it’s just like tie-dying?”. We tie-dyed in high school chemistry and I liked it then, turns out shibori is very similar to tie-dyeing just without the psychedelic colors! It’s much, much classier. Shibori is the Japanese technique of resistance dyeing. The way you fold the fabric and the supplies you use to hold it that way create the “resist” and create the patterns.
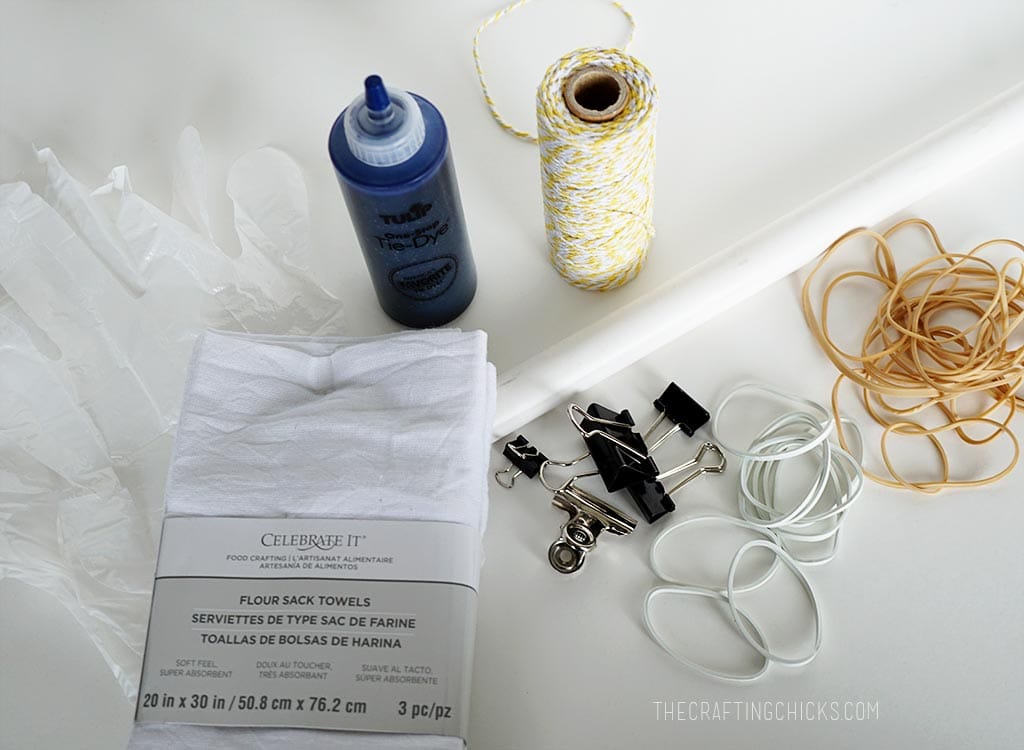
Shibori Supplies
You’ll need:
White fabric from natural fibers (cotton). Today I’m dyeing this 3 pack of flour sack towel.
Office supplies. Seriously, grab your binder clips, rubber bands, and string. I also grabbed this piece of PVC pipe to use.
Dye. I opted for the squeeze bottle by Tulip in blue.
Plastic gloves. These came in the kit with the dye.
Before you get started dyeing, you may want to wet your fabric. Just run it under water until it starts to absorb and then squeeze dry. If you don’t the fabric could have a hard time taking the dye when it is time for that.
3 Shibori Styles
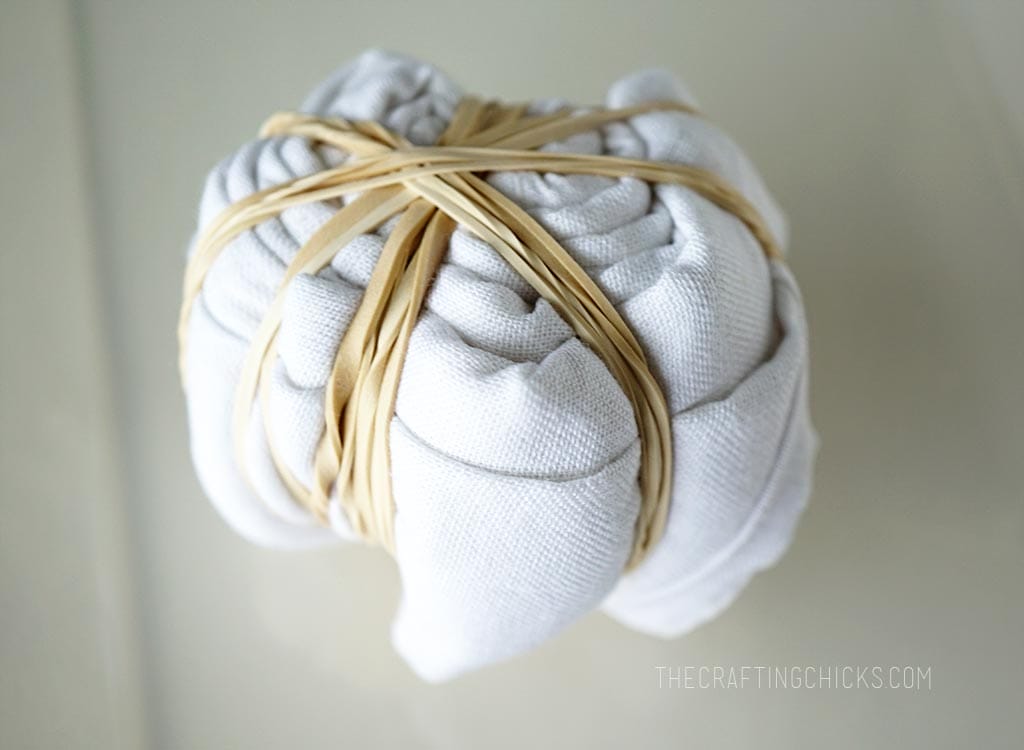
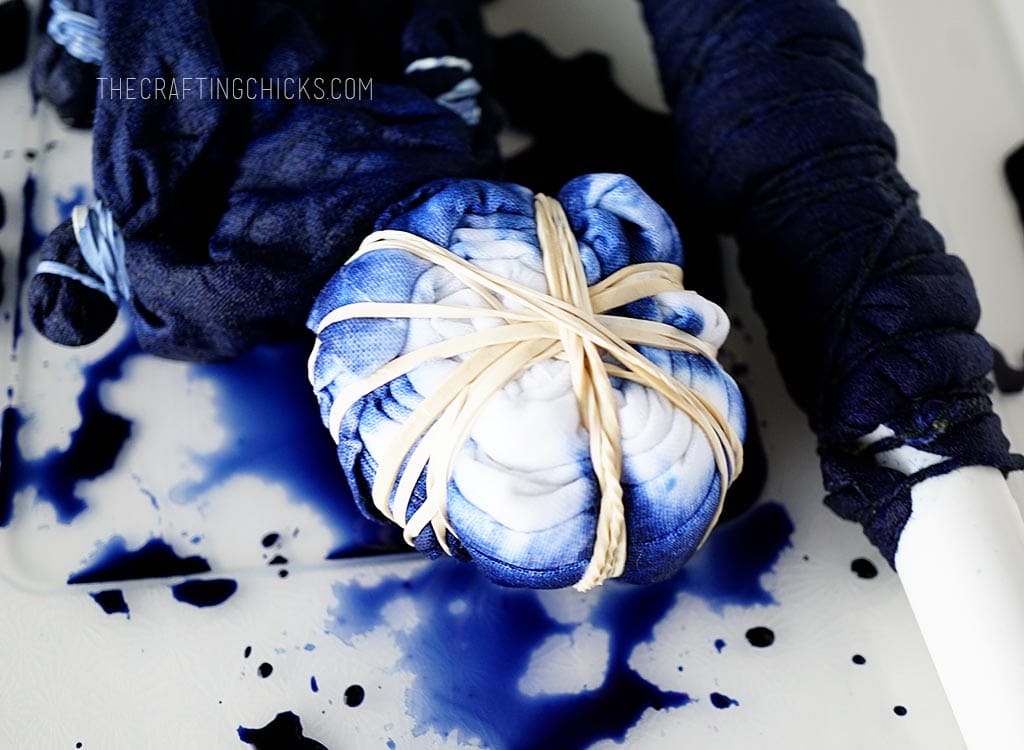
The roll was made by accordion folding the fabric the short way and then rolling and securing with rubber bands.
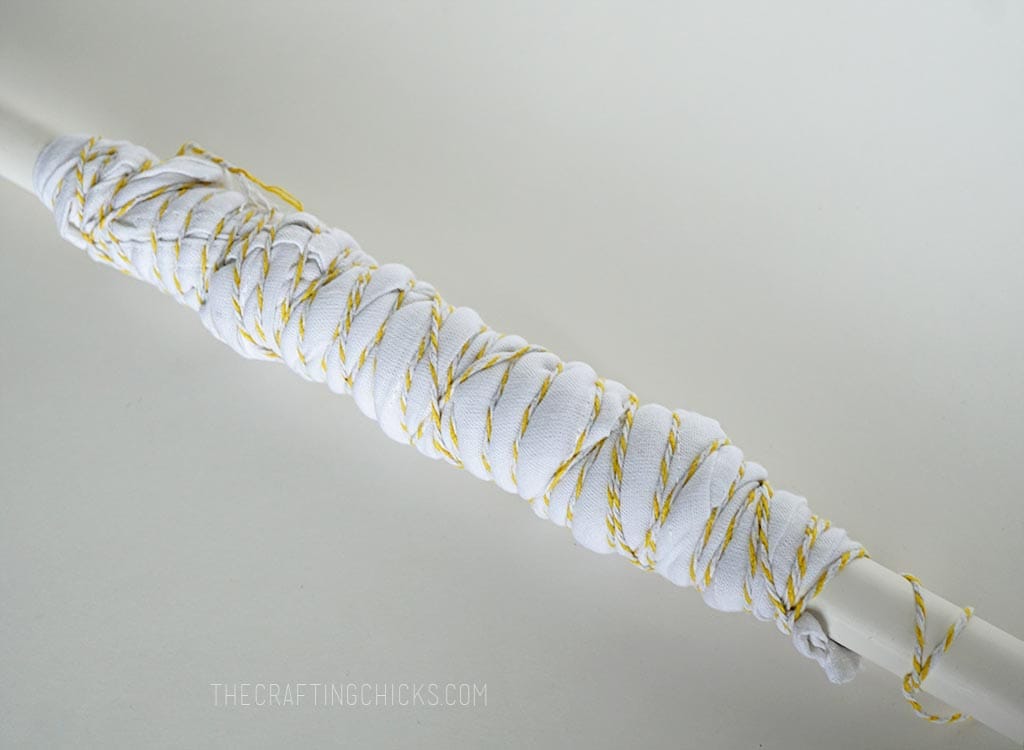
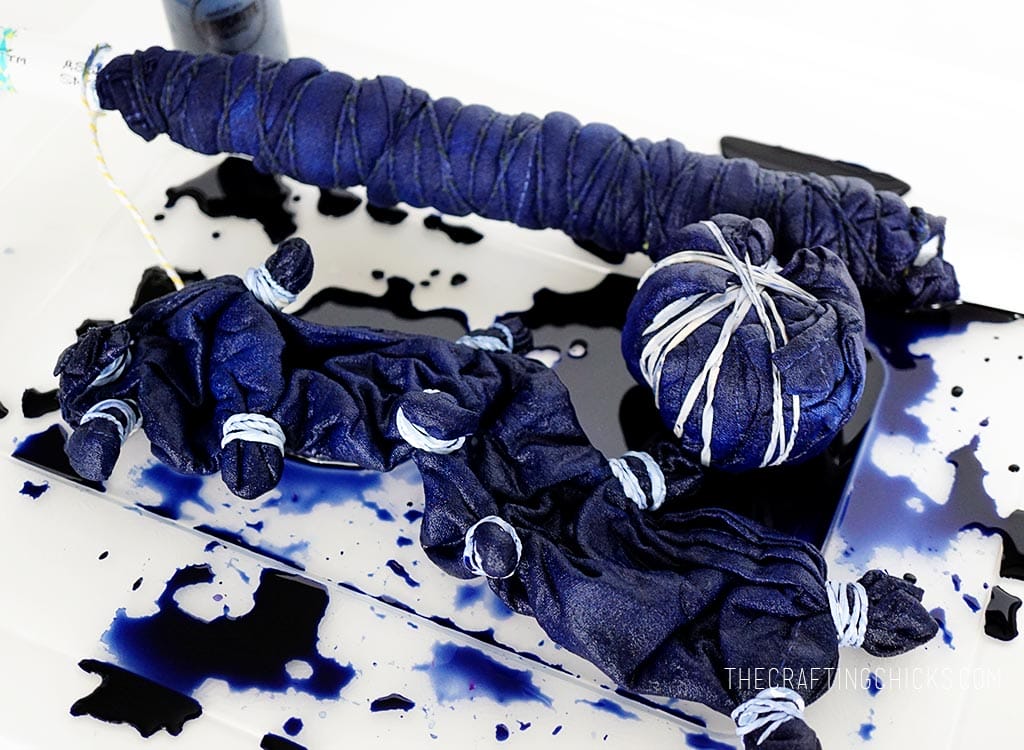
Pattern number two was made folding the towel on the bias, wrapping around the pipe and securing with twine.
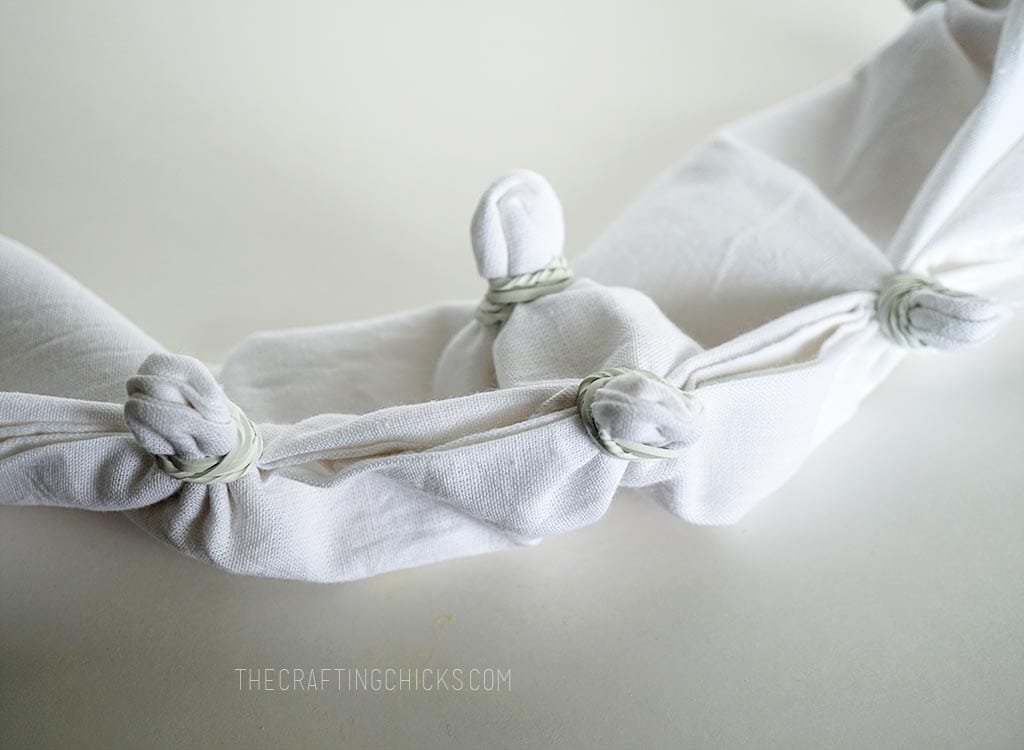
The final pattern was created by folding the towel vertically and placing rubber bands along the edges, evenly spaced.
Shibori Dyeing
Once your items are folded and secured it’s time to dye! Place them in a container big enough to hold them and that you don’t care about getting dye on. Squeeze the dye onto the items until they are covered. For these 3 towels, I used just over 1 bottle of dye.
Let sit for 6-8 hours or overnight before rinsing. I moved mine into a large bag to make them a little less tempting for my kids to play with. Rinse, use scissor to snip the rubber bands and twine, continue rinsing until the water runs clear. You can hang to dry, or I tossed mine in the dryer. Be sure to follow the instruction on your dye to make sure you get the color set.
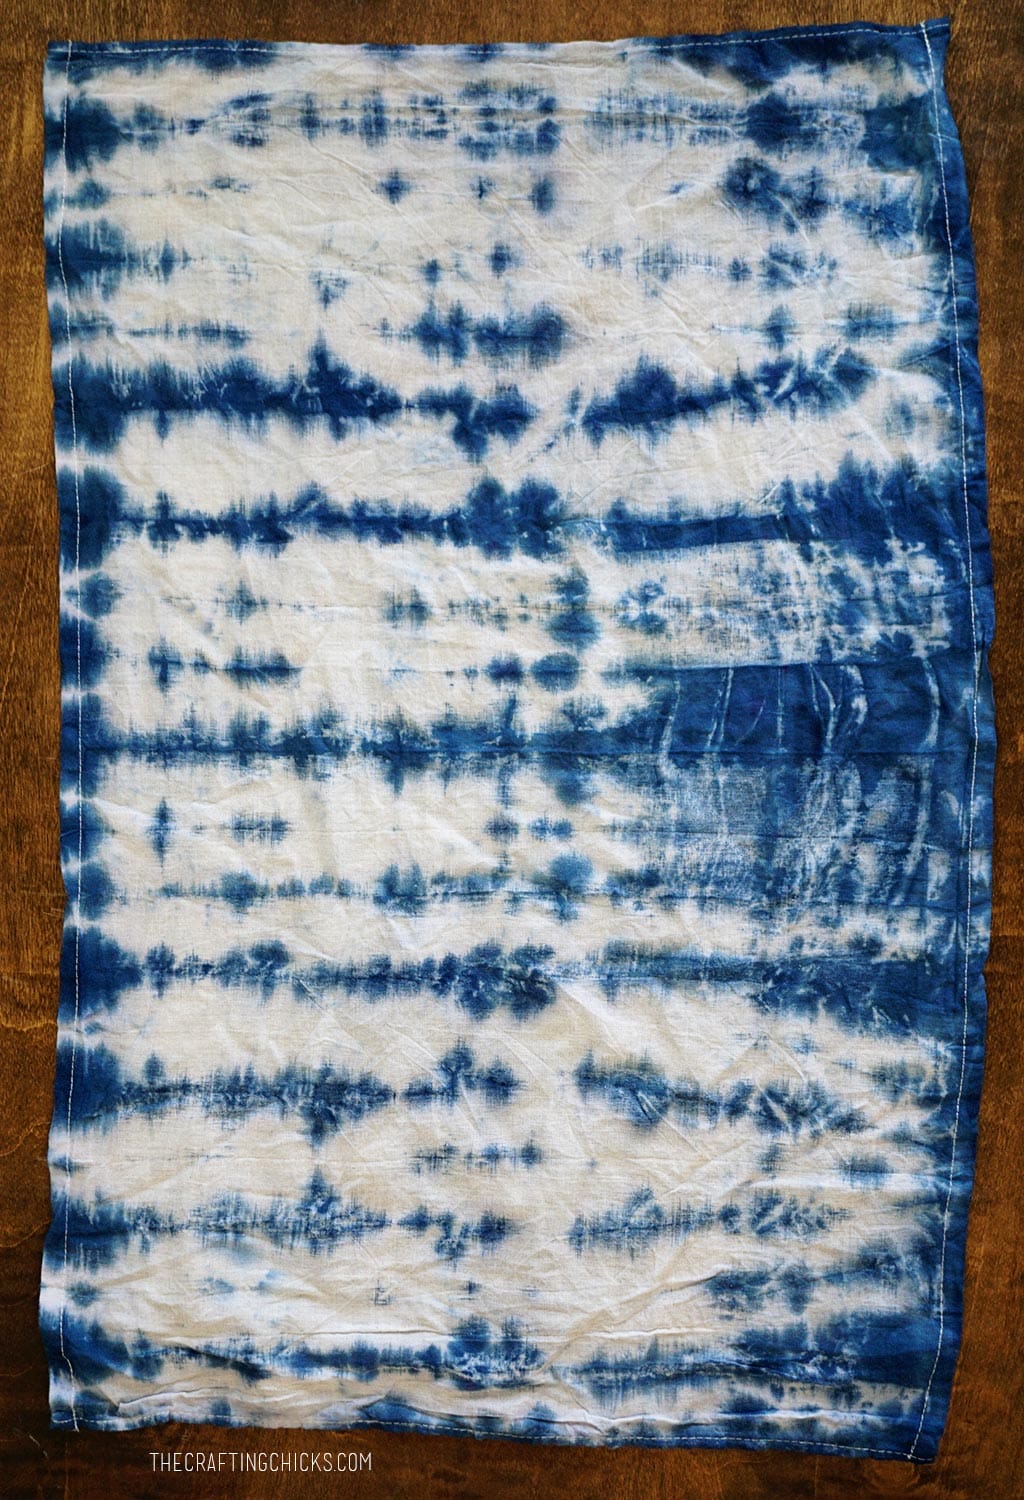
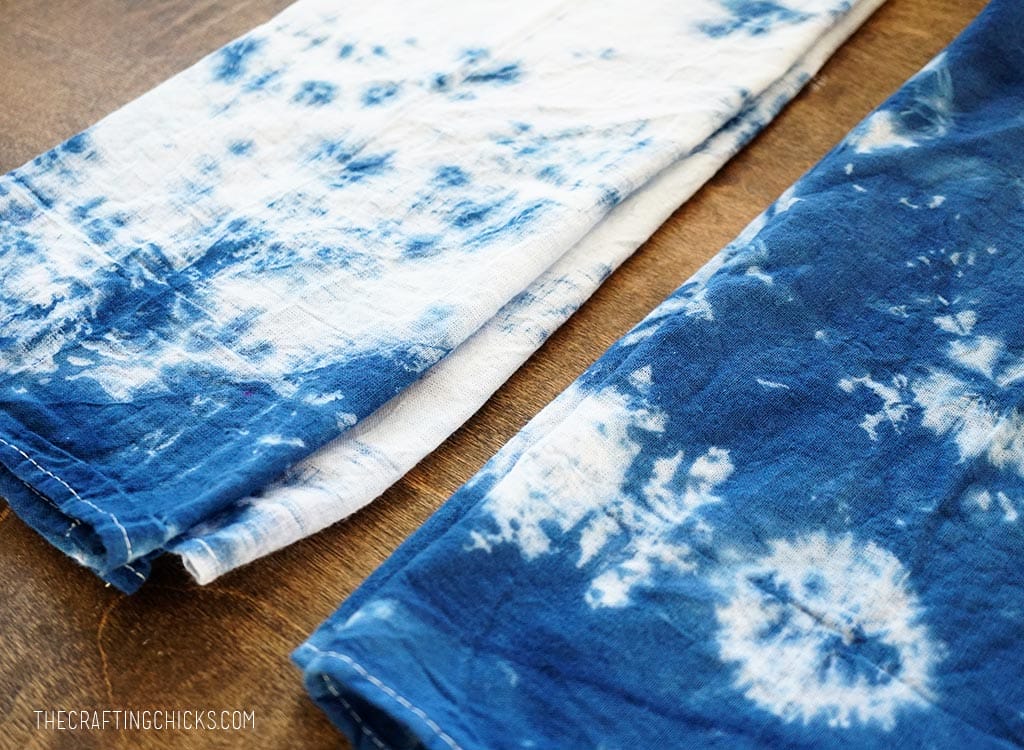
Pattern 1. The accordion fold rolled into a ball and secured with rubber bands.

Pattern 2. Folded on the bias and tied onto the pipe with twine.

Pattern 3. The rubber bands.
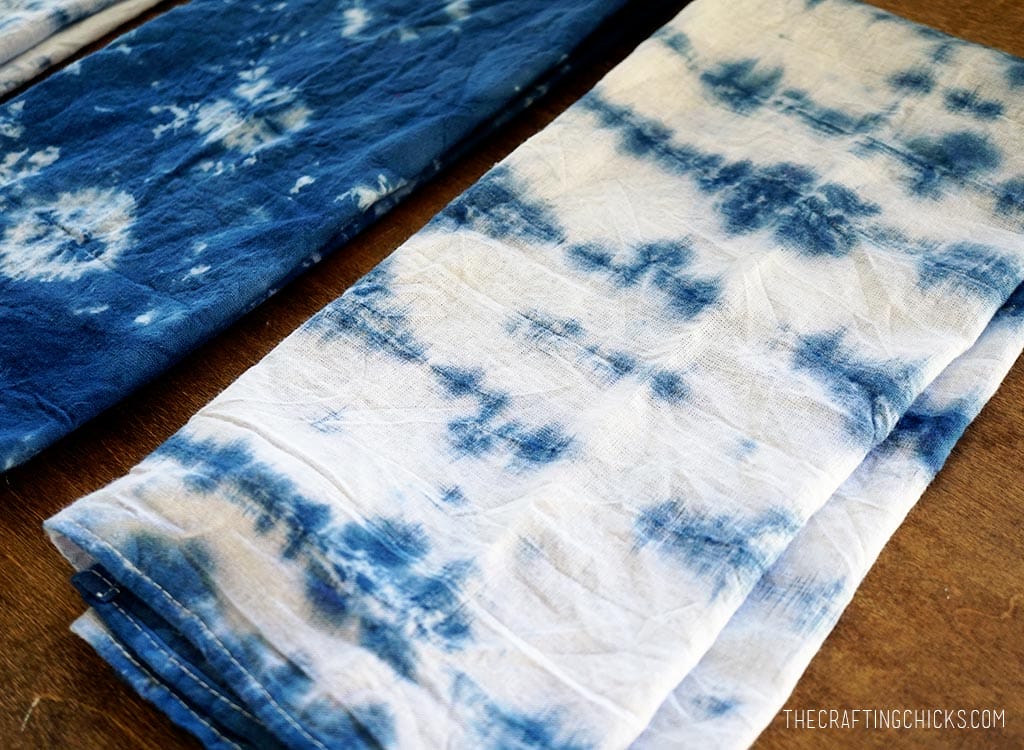
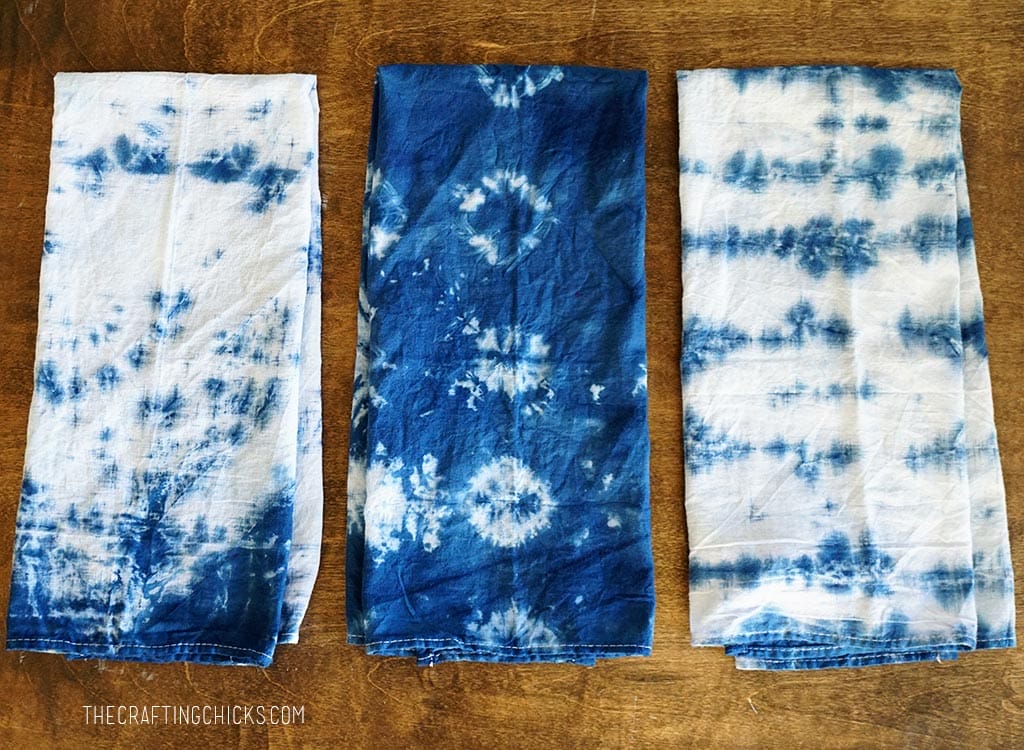
Which is your favorite? I’m loving the circles created by the rubber bands.
Did you try tie-dyeing, and now you’re ready to try the more refined Shibori style of dyeing?

This was very helpful – going from start to finish and showing each step. Thanks.