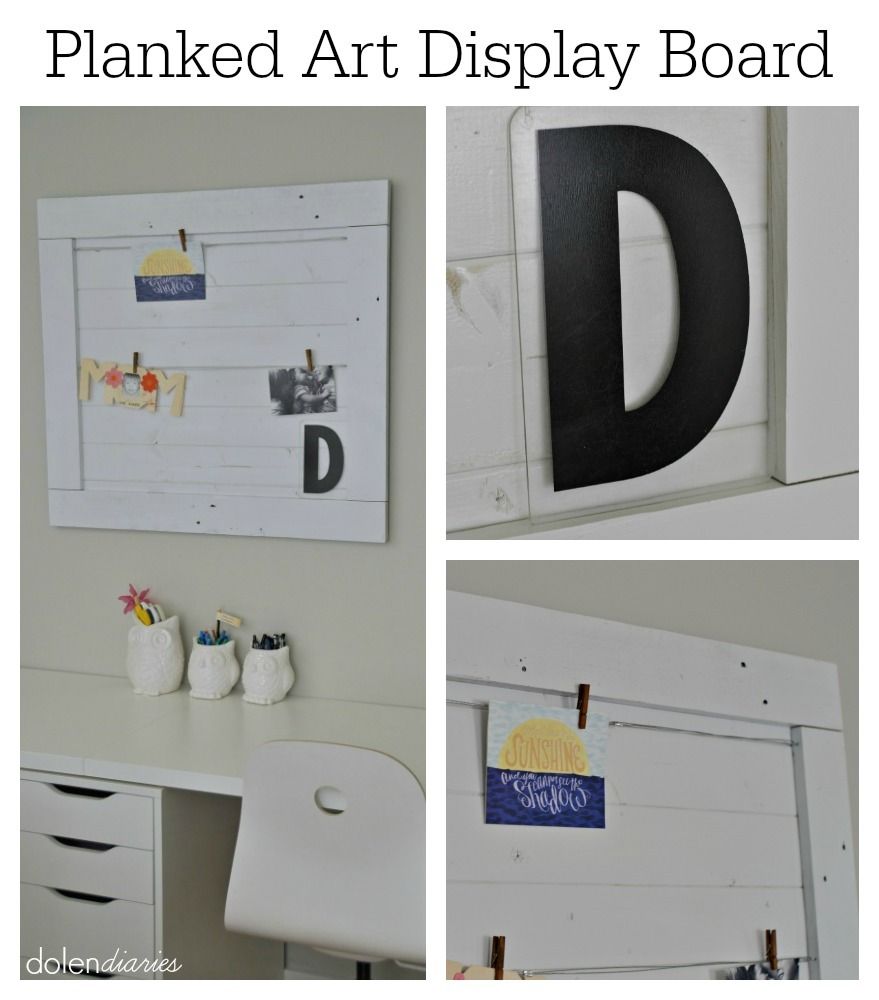
Planked Art Display Board
Hello Crafting Chicks readers, my name is Shelly Dolen. I blog over at Dolen Diaries where I share my family’s adventures in creativity! Our latest creative adventure was moving into a “new” fixer upper. We have so many projects going on right now that I feel like we are in heaven! One of the bigger projects I am working on is organizing a craft room / office space for me and my husband, Micah, to share. (Yikes I have A LOT of stuff! This process has made me worry that I will soon be featured on one of those hoarders shows!)
After a trip to Ikea we had a desk with two work spaces and some cute modern chairs but no bulletin or display board. I didn’t want it to look or feel like I stepped into Ikea every time I came in here to work so I decided we needed a garage date night to make a Planked Art Display Board to make this room feel more like us!
To make your own Planked Art Display Board you’ll need:
- 8 wainscot plank paneling pieces 3.5″ x 32″ *you can get a 12 pack at Lowe’s in this exact length
- 2 1×4 cedar fence boards cut down 2 pieces 34″ & 2 pieces 23″ *we used reclaimed fence boards
- Picture Wire 6.7 mm x 7.6m
- 4 eye hooks
- 2 cable crimps
- wire cutters
- wire crimper or pliers
- air staple gun with 1″ staples or a drill with 1″ screws
- hand drill with 1/16″ drill bit
- 2 1″ screws
- white spray paint
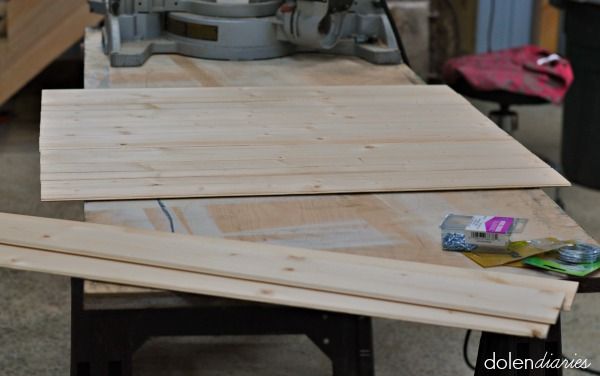
To start, I laid our plank pieces out so I could arrange where I wanted all the different grooves, knots, etc. to land.
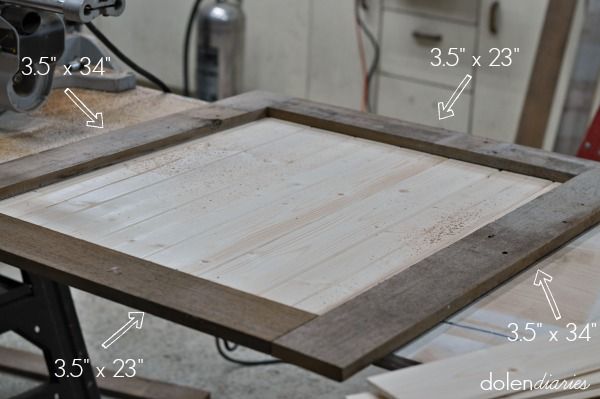
Next, I looked at the 1x4s to decide which sides would show. I played around with the frame pieces on top of the planks until I was happy with their arrangement. I preferred the look of the longer frame pieces being on the top and bottom rather than the sides. Then I stacked the planks and frame pieces back up in order from top to bottom and set them aside to give us room to start assembly.
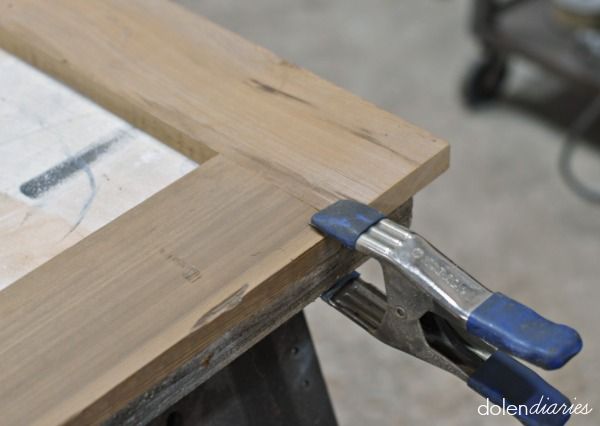
I laid the frame out front side down and Micah clamped the corners together squarely onto the work table. *It’s important to make sure that you are laying your frame out squarely or you’re going to have a wonky finished product.
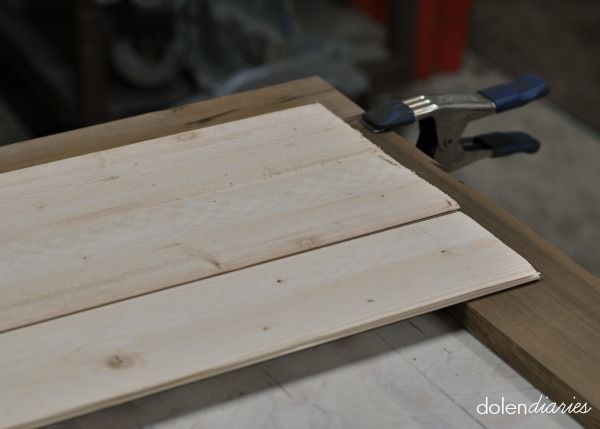
Once all the corners were securely clamped, I laid out my planks centered on top of the frame face side down.
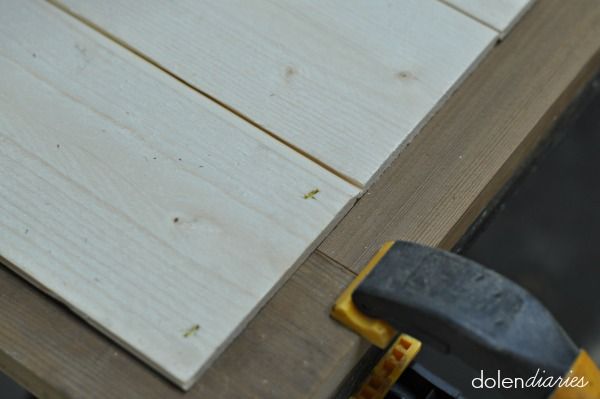
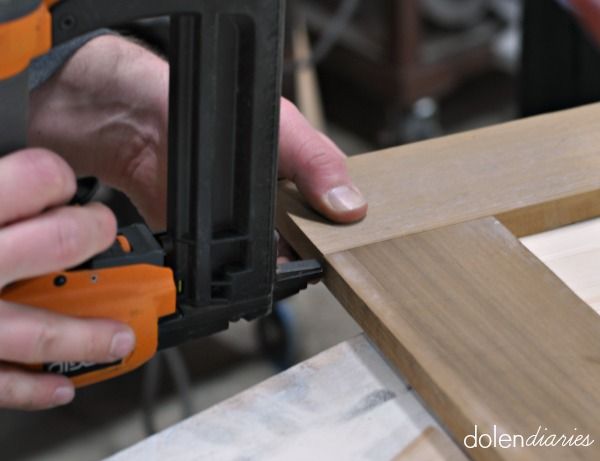
We used an air stapler to attach the planks all along the edge of the frame. We chose an air stapler for ease but if you don’t have one you could use 1″ screws.
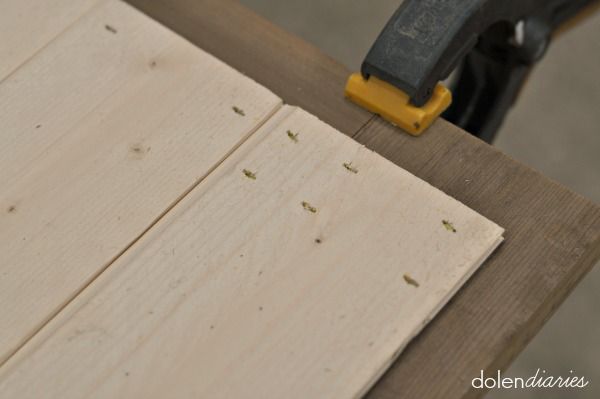
After I had gone all around the perimeter of the planks with staples, Micah added a few extras on the top and bottom corners to give it a little more strength.
Just to make sure it was strong enough to hang and support artwork, he added a staple on each of the frame seams.
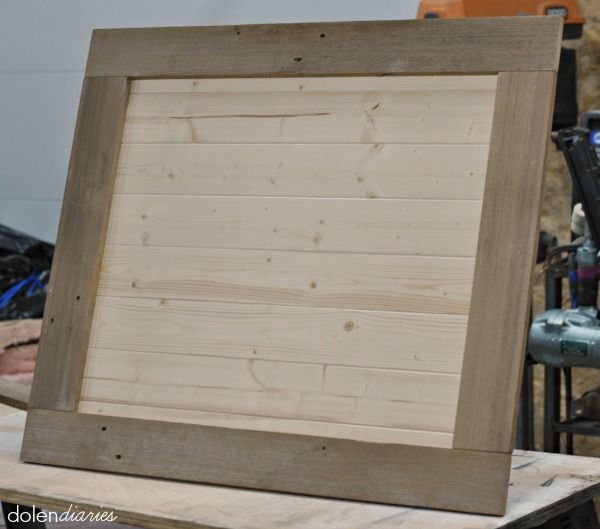
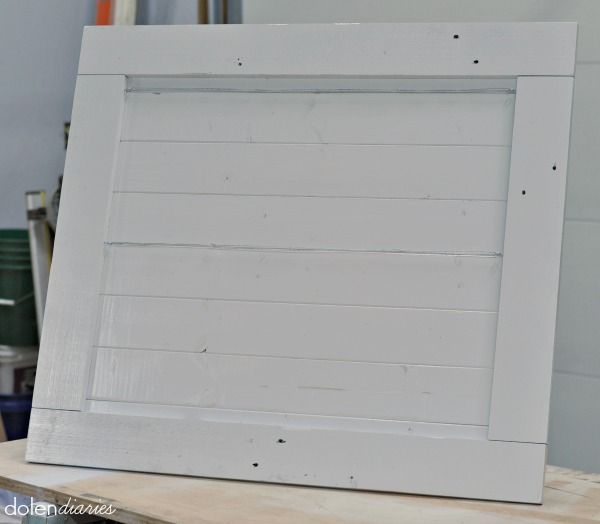
Our planked art display was ready for paint!
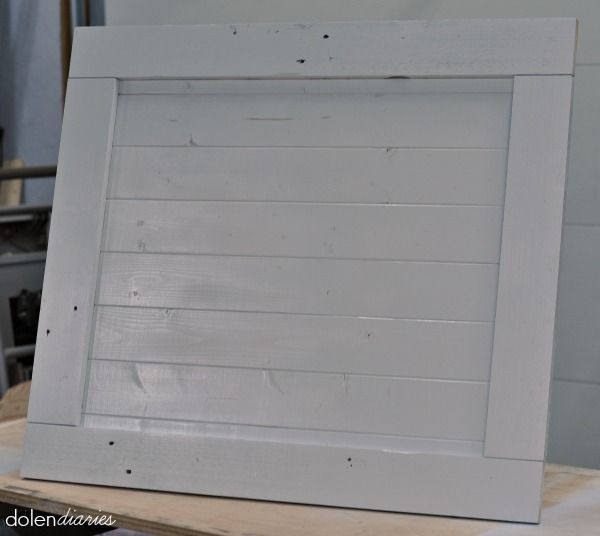
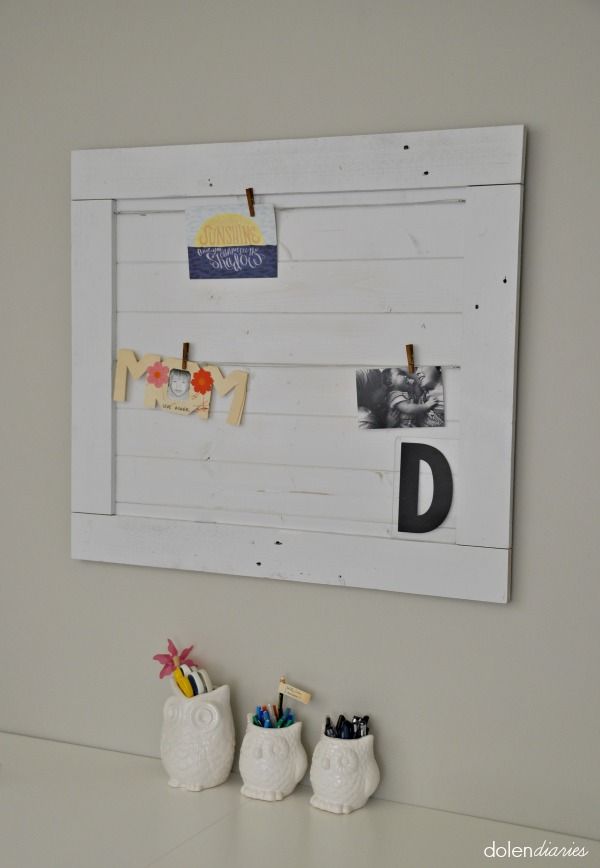
Our office color is Repose Grey by Sherwin Williams. I love this color with our white desk and chairs so I thought white would be the perfect color choice for our planked art display as well! After one heavy coat of paint, I could see just a hint of wood here and there. It was just that touch of rustic that we both adore so we decided one coat was enough.
After the paint was dry it was time to add the wires! I figured that two rows of wires would allow for perfect artwork hanging room. To make it easy I lined up our wire path with the grooves in the planks. Micah predrilled the holes for the eye hooks.
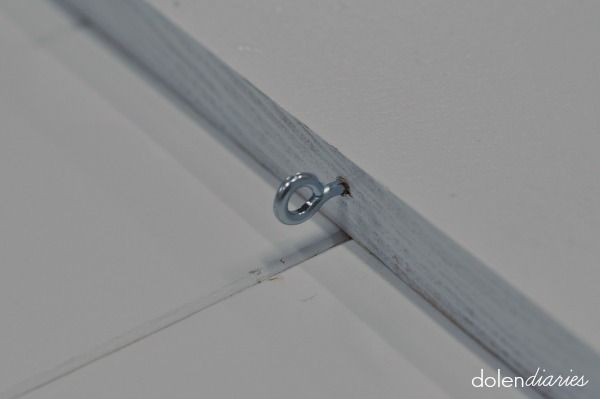
The next task was to twist in the eye hooks and I have to say it was tougher than I thought it would be! I started all gung-ho and then made Micah finish because my finger tips were sore. (Girly hands!)
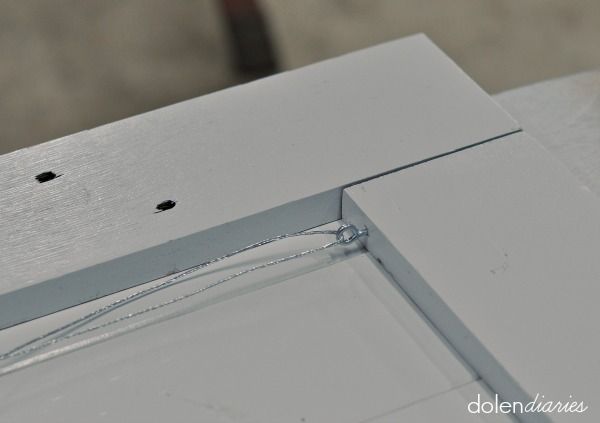
We decided the best way to make the wire as tight as possible was to loop it around each of the eye hooks.
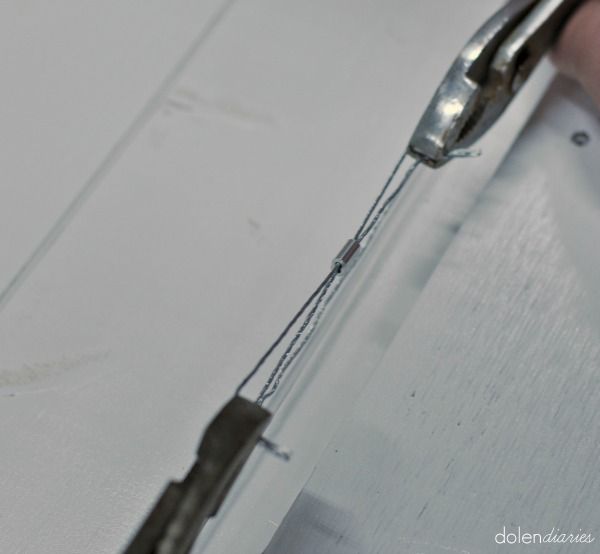
Micah slid a cable crimp onto the wire and clamped a pair of pliers on each end of the wire. We each grabbed a pair of pliers and pulled the wire taunt.

While the wire was held taunt, Micah crimped the cable crimp together.
We trimmed the wire ends and repeated the process for the second row of wire.
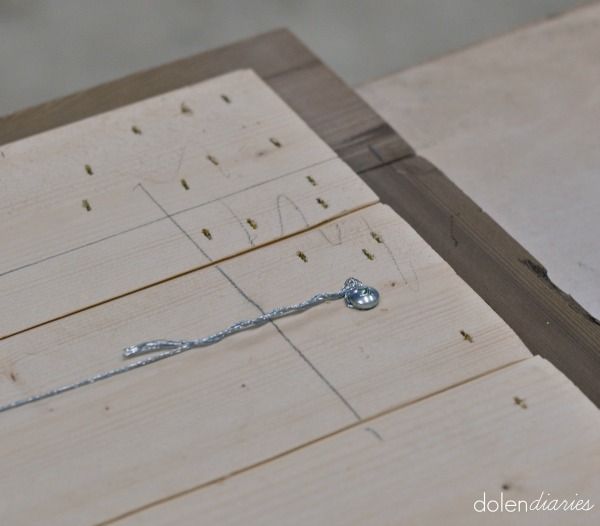
Lastly, we snipped off more wire and secured it to the back of the board for hanging.
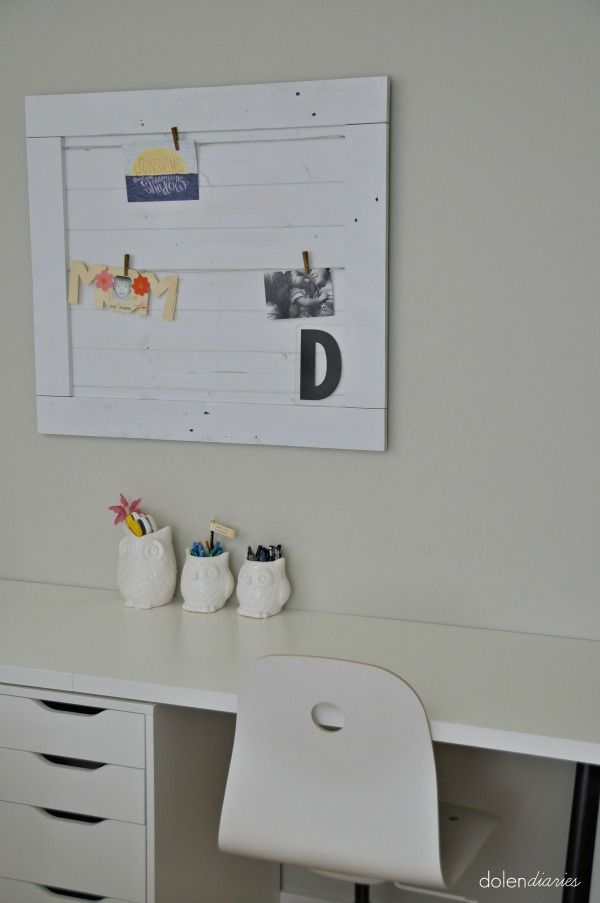
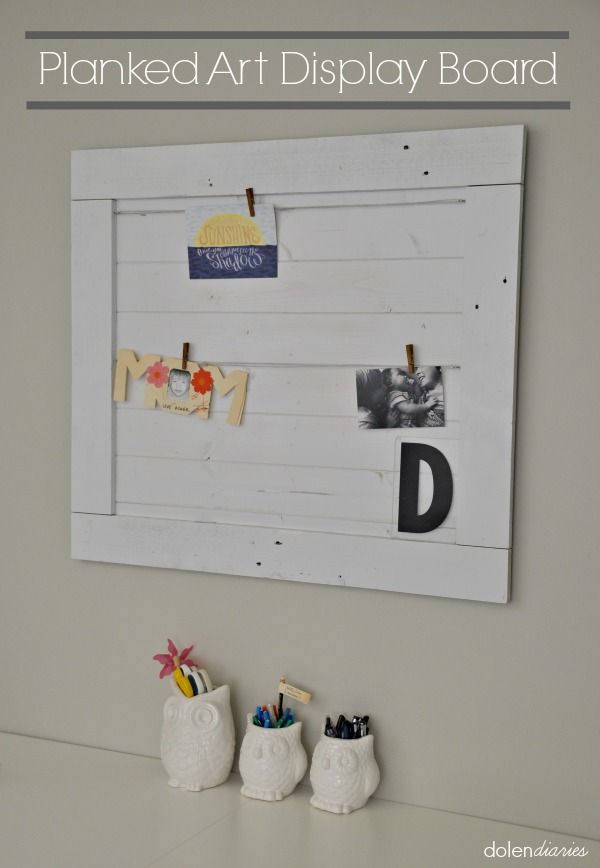
I absolutely adore how our DIY Planked Art Display turned out, don’t you!?!
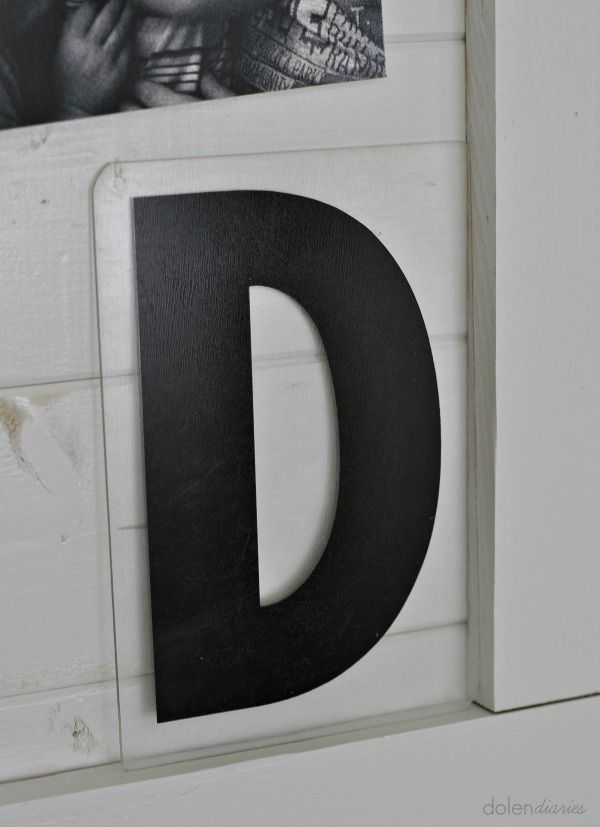
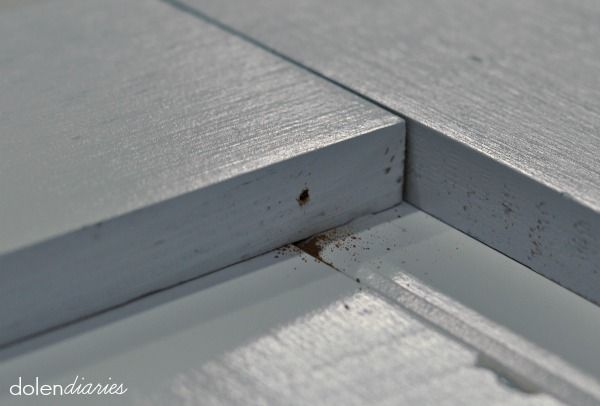
The little ledge on the bottom of the frame is the perfect spot for this vintage reader board letter.
While Micah’s happy with just what we have on the board now, I can’t wait to fill it up with some of the works of art our boys create for us! Would you be a board filler like me or a minimalist like Micah?
Thank you all SO much for letting me share our Planked Art Display Board with you! I’d love it if you would pop by Dolen Diaries to say hi and don’t forget to pin this project for your next garage date night!


Super cute! I love being able to display my kids artwork!
I’d be a board filler like you, but in an annoyingly perfectionist way, where everything had to be balanced. 🙂 I love that you mixed in something rustic with your new IKEA pieces! It looks great.
I LOVE this!!! What a great idea!
Love this! I am definitely a board filler like you ha! Such a cute idea.
Very cute! I love the white…Ooo and the owls. 🙂
Love any type of storage that gets things up and off of my desk! This is super cute!
I love it! The white makes a perfect backdrop for a display board, but the texture of the planks makes it so much more interesting! Pinning!
I LOVE this! So pretty AND functional. 🙂