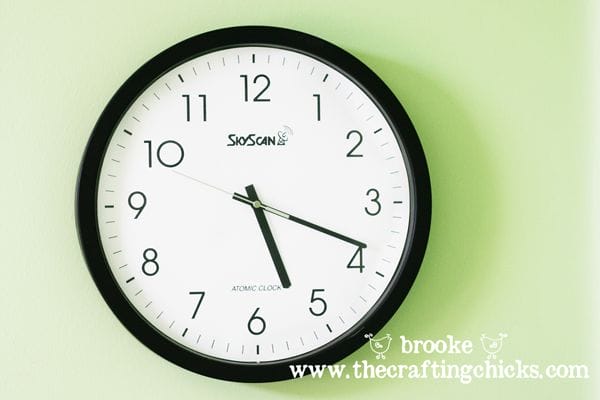
I’m one of those people who sometimes likes to save things in the hopes to one day use them to make an amazing project! Maybe I’m a slight “craft pack rat” but I just like to think I can see the crafty and thrifty potential in things. {Perhaps you saw my little “trash to treasure” kitchen bar stools that got a much-needed makeover with Mod Podge and some pretty fabric!} Well, sometimes my husband has a hard time seeing my vision and wants to throw perfectly usable things away. Case in point: we had this old dusty clock laying around in the basement. It had served well in my husband’s home office in our old house. But when we moved it just didn’t quite work with our new desk and decor. He wanted to get rid of it, but I had something much better in mind! Shall I show you how you can Design Your Own Clock ?
Here’s the before. . .
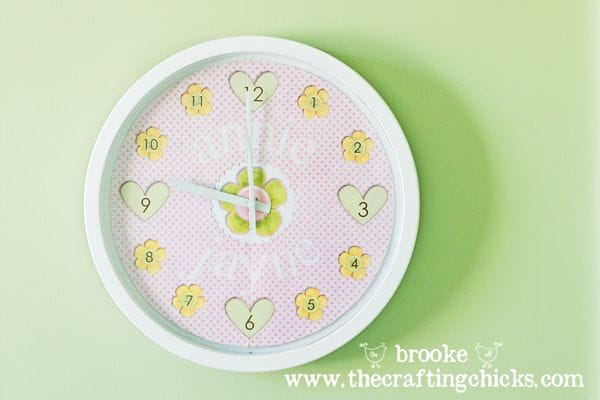
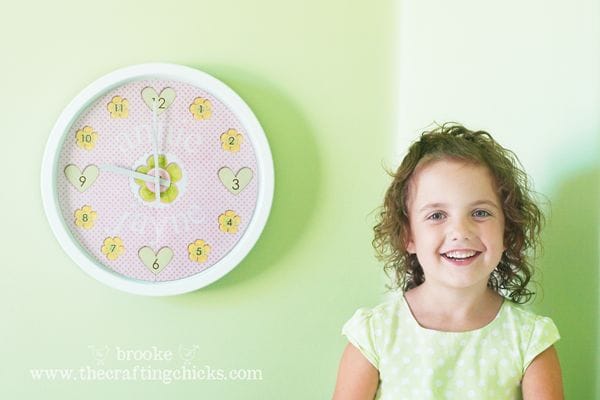
and here’s the after!
Ahhhh, much cuter! I’m so glad I saved it from the garbage can!
It was a pretty simple project to take the clock from sensible and slightly dull to girly and adorable, perfect for my daughter’s room. I’ll tell you what I did and then you can design your own clock to hang on your wall!
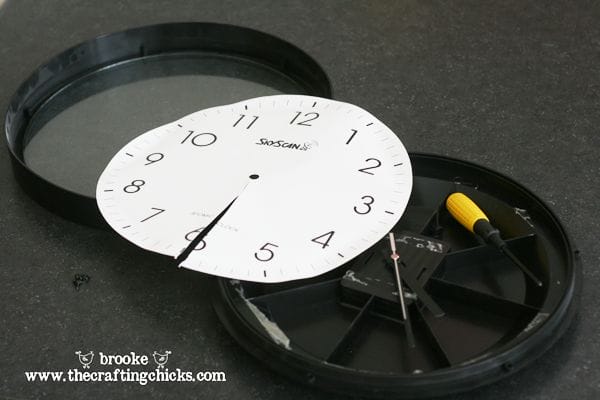
The first thing I did was take that old boring clock apart. It was quite liberating. 🙂
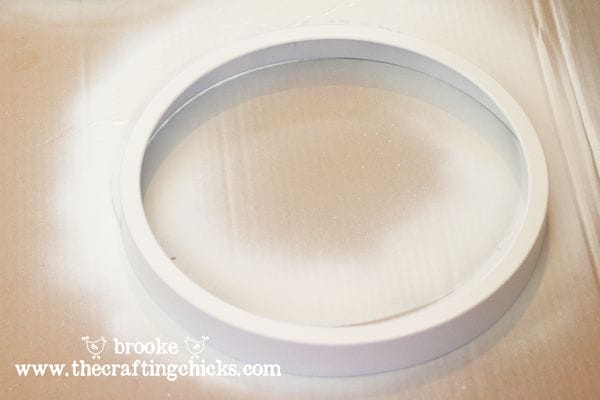
I set aside the glass front and spray painted the frame and base with a few coats of some white semi-gloss.
While waiting for the parts to completely dry I worked on the most fun part–creating a cute clock face! I measured the original clock face (aka a flimsy piece of paper with numbers and lines on it). It ended up being 12 inches in diameter.
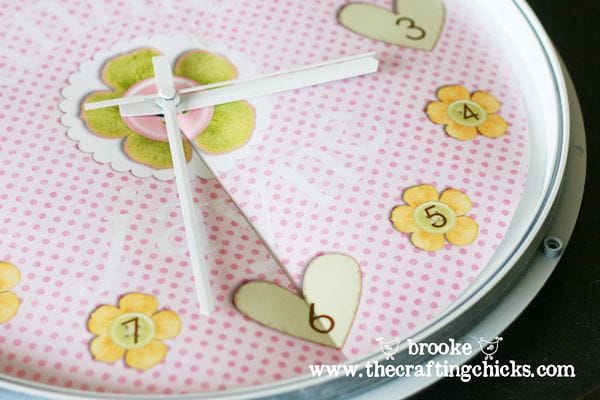
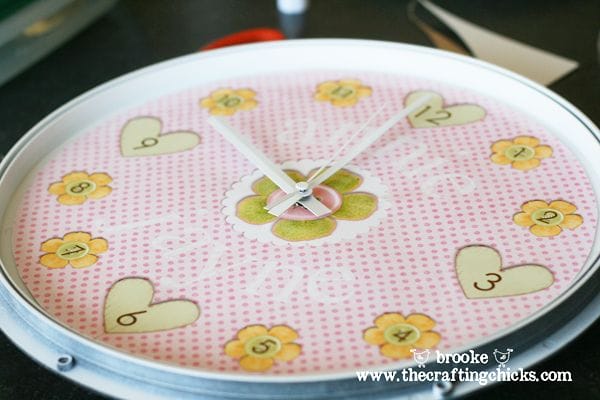
Then I went to into Photoshop and created a 12 inch circle. I used a variety of digital scrapbooking papers and embellishments by the Shabby Princess to design a new, personalized clock face that matches the colors in my daughter’s bedroom. I even added her name just for fun. I sent the finished clock design off to Costco for printing. Then I fed my kids lunch and attempted to clean my pigsty of a house.
My sweet husband picked up the print from Costco for me (he braved it on a HOT Saturday too! He gets a prize!) and then I cut out the clock face. I had to cut into part of the clock face as shown above in order to fit it around the clock mechanism, that blasted thing would not come out and I didn’t want to break it in my attempts. So I was fine with doing a little cut. I used double sided sticky tape to stick the new clock face into the base. It worked great!
Then I put the whole thing back together!
Here she is, looking oh so pretty now with a new paint job, a shiny clean glass front, and polkadots and flowers to make one little girl very happy.
If you don’t have an old clock to use, you can find one at a thrift store, or you can buy a wooden base and the clock mechanism at many craft stores inexpensively.
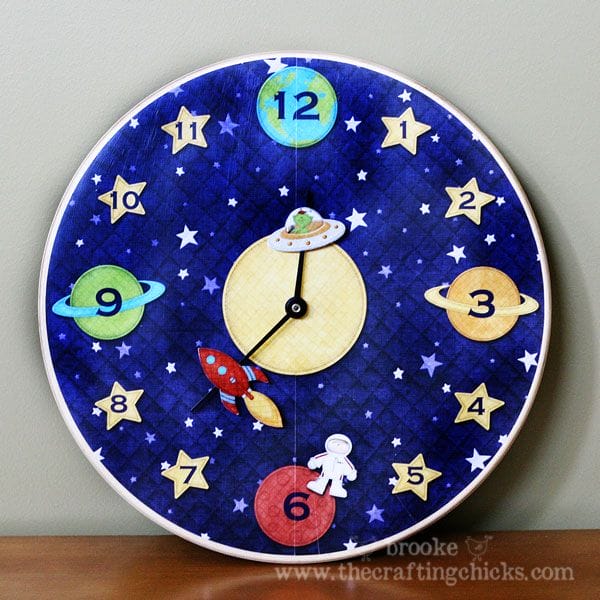
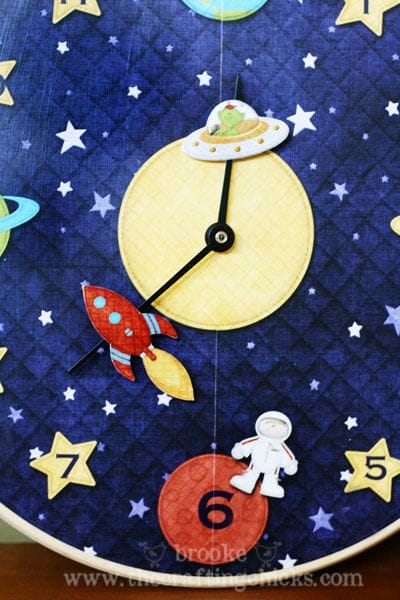
I also made a clock awhile back for my son. He wanted a space clock, so instead of spending 100 billion dollars at Pottery Barn, I decided to roll up my sleeves and design my own with my trusty arsenal of Photoshop, Mod Podge, and fun digital scrapbooking supplies from NitWit Collections.
I printed it at Costco and used Mod Podge to adhere it to a large wooden circle base. That’s it! It was fun to add a spaceship or two onto the hands of the clock so it looks like they are zipping from one planet to the next as the time ticks by. 🙂
My kids LOVE their own unique clocks! It was so much fun to design them to fit their personalities. And, it’s fun to use something I already had and turn it into something fabulous! Now, go out and make some fun clocks for your house!




So darn clever and cute Brooke!
Way cute! Nicely done!
Your little Annie looks just like you! My boys would love the outer-space clock!
Oh my goodness, these are darling! And, what an easy way to change up a child’s room. Love it.
These clocks are so darling you did a great job on them I will be featuring them today feel free to check it out and grab a button if you’d like!
http://soverycreative.blogspot.com/2010/07/design-your-own-clock.html
Really cute! I love the idea of using scrapbook images. I’ve been wanting to do something like this for my craft room to decorate. All I need to do is find a cheap clock to makeover!
I am so like you. I hate to throw things away thinking that I can make them useful. Too cute Brookie!
How cute! What a great idea! I used to have an ugly clock that I totally could have redone – oh well! Thanks so much for sharing.
Brooke, you’re amazing! You have the cutest ideas, I always look forward to your posts. This is my favorite craft site out there. You guys all ROCK!
How fun – thanks for sharing your ideas/tutorials. I have to try this.
Loved this idea. I’ve had a clock just sitting around our new house for about a year now, wondering what to do with it. Well, today was the day. Check it out at my family blog http://heyhansons.blogspot.com/
Thanks Brooke!
Hi Brooke 🙂 I just wanted to stop by and let you know that I linked to this post today from the new Home & Garden channel at Craft Gossip. 🙂 My hope is to share many of the fabulous projects I see everyday with the vast CG audience. I hope you will not only stop by and subscribe to CG, but will tell your friends about the new category! Hope you see some traffic from it!
Your feature will appear in the main Craft Gossip RSS feed, on the main home page and can be found directly here
http://homeandgarden.craftgossip.com/clocks-5-different-ways/
If you would like a “featured by” button, you can grab one here!
http://homeandgarden.craftgossip.com/grab-a-craft-gossip-button/