My husband runs. He doesn’t like to be called a runner, but he does run. Last year while training he was faced with a problem – he liked to run with his phone, but hated all the armband cases. He said the phone was too heavy to have on his arm, I said he could run with his old iPod Nano. He said he relied too much on a running app on his phone to leave it at home.
What to do, what to do?
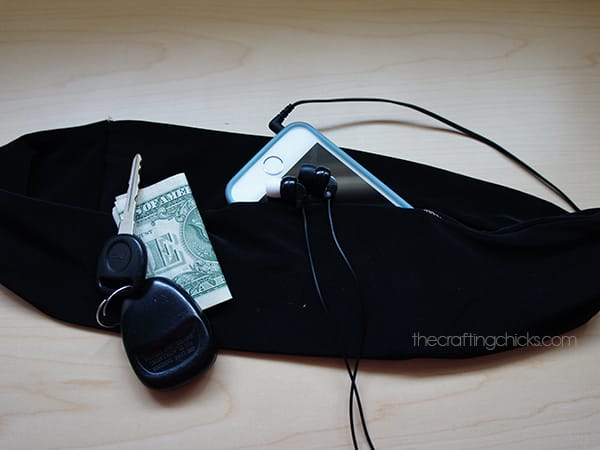
Then one day he sent me a link to a running belt and asked if I could make him one. It didn’t look too difficult, so I picked up some Spandex and gave it a try. He loves running with it, so I thought I’d share instructions in case you are stuck in the same predicament.
You’ll need Spandex for the belt. The stretch allows the belt to fit snuggly around the waist, and hold the contents close to your body to prevent bouncing.
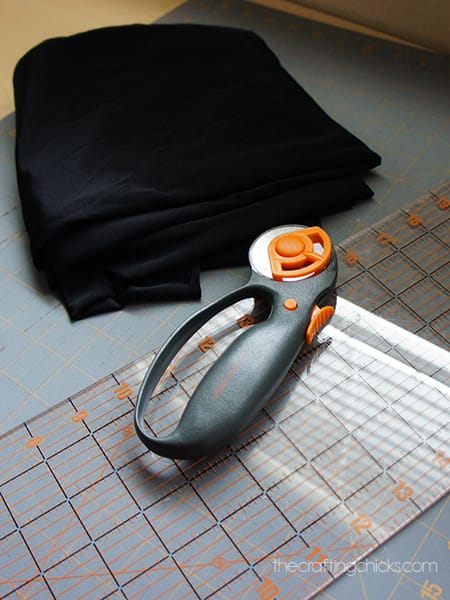
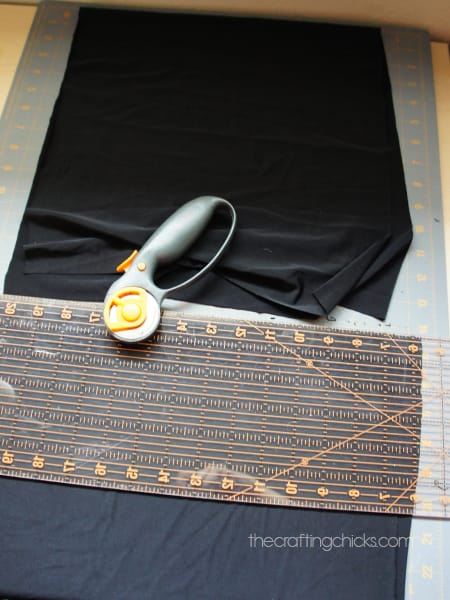
First, cut a 14″ width piece. Spandex comes in 45″ width, so I fold it a couple times so it fits on my cutting mat.
If you can find thick spandex you won’t need this wide of a piece. The spandex I’ve found seems thin, so I double fold it to help hold everything tight. For thick spandex cut 6.5″ wide and skip straight to step 2.
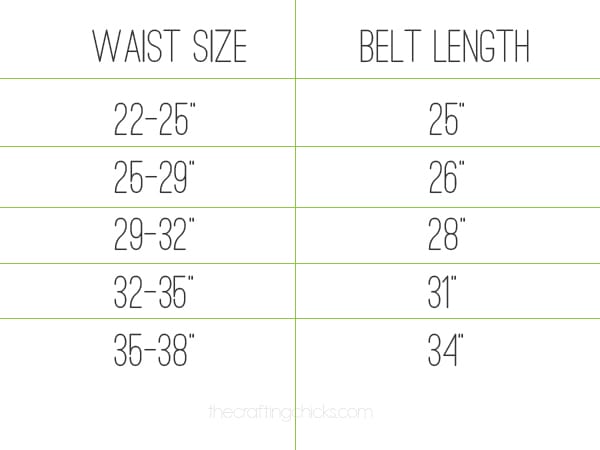
Next, you’ll need to know the size of your waist. Measure where you plan to wear the belt. If you plan on wearing the belt lower on your hips, then measure there. The chart above will give you a good idea of how long to make the belt, although there will be some differences depending on the type of Spandex and how much it stretches. I always err on the side of making it bigger because it is a lot easier to cut more off at the end than it is to add extra back on.
Cut the 14″ piece to the desired length (add a little extra for the seam allowance).
Once your Spandex is cut to size fold it in half and serge along the edge. If you don’t have a serger you could try using an overlock stitch or a zig zag, don’t use a straight stitch because it won’t stretch with the spandex. If there is any way you could beg a friend with a serger to help you out I think you’d be a lot happier with the results.
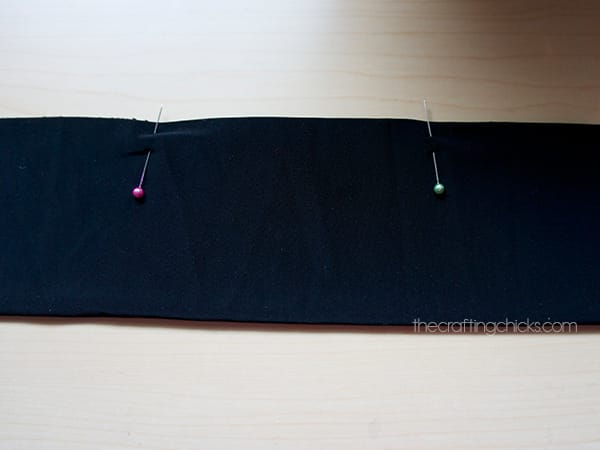
Then you’ll fold it in half again, and leave an opening for the pocket. The 2 pins are marking where the pocket will be, so I’ll serge up to the pink pin, and start again at the green pin.
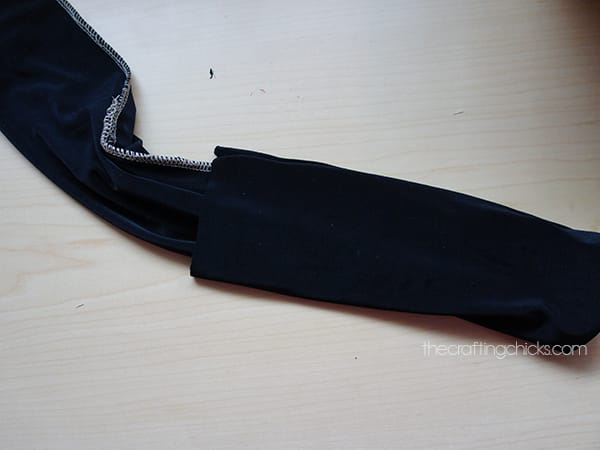
Then turn the tube right side out.
Fold in half length wise and serge the ends together, making a loop.
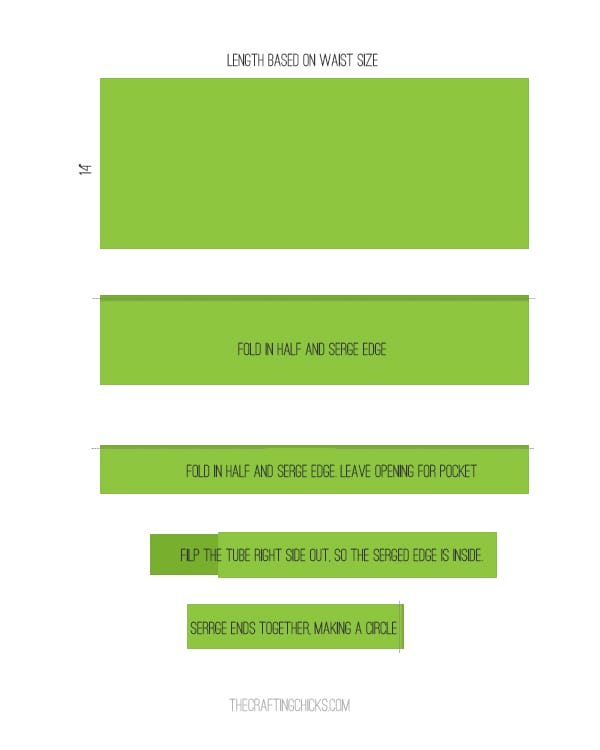
And just in case I’ve totally lost you, here’s some rough drawings that may help:
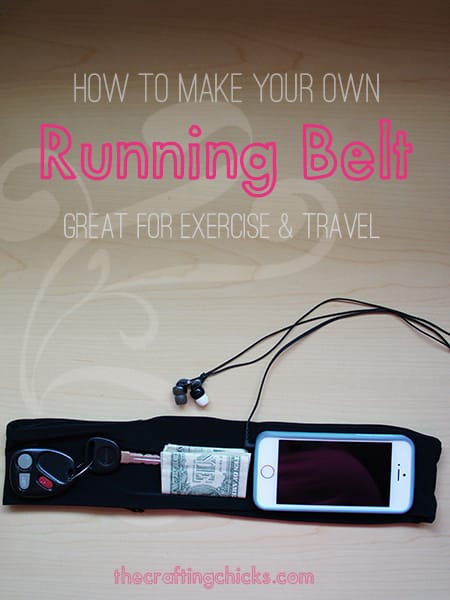
I tease my husband that this is the new fanny pack. Only it’s way cooler, sleeker and definitely doesn’t scream “tourist”. Although I think it would work just as well at Disneyland as it does at the gym.

Wow – this is great! So useful!!
Where do you buy spandex?
Picked mine up at JoAnn’s
Hi, love your idea! Seems so simple but I do have one question. Since it is a spandex/stretchy material, did you have to sew it taut or with elastic? I just don’t want the seems to break when and if I’m putting it on. Thanks so much!
The overlock stitch allows the seam to stretch without breaking. If that’s not possible you could try a zig zag stitch, or use elastic thread.
Most machines, even older mechanical machines have what is called a “Triple Stretch Stitch”. It is designated by three vertical dashed lines. It’s a straight stitch but stretches and is meant for sewing on knits without using a zig zag.
Does he just pull it on?
Yes-over his head.
Wow, thanks! This is just what I was looking for! We will be traveling extensively this summer and I was concerned about pick pockets. I’ve been searching for a secure hidden place to keep my cash, credit cards and passport. I may have to make it a little wider to accommodate the passport.
Thanks for the great tutorial!
Dianne
I just discovered this — AWESOME! Thanks for sharing, I can’t wait to make it. 🙂
My this looks a lot like. Hip sisters j product Hope you have the rights for this pattern
I used to run, but developed a disc disease, so my running days have ended, however I can still walk or hike in moderation, so this would be a great waist belt. I like to listen to Audible books,and or music so this would be a great belt to have. Thanks for the tutorial.
so it keeps everything secure without a zipper or Velcro keeping the pocket shut?
The entire tube acts as the pocket-so you can position things away from the opening and everything stays secure.
I am not a runner and I don’t run. But…I do like to walk. I generally walk in yoga pants as they are comfortable and breathe. Unfortunately, they do not have any pockets! So, this will work perfectly to hold my keys and phone. Thank you so much.
I love how basic and simple it is. I have a case on my phone so it doesn’t fit into a flipbelt. So looking at your pattern I cut my fabric 18 in. wide- it made a big difference and works great. With several pockets in it and made of the same fabric I used for a wide waistband skirt I wore them together and no one realized it.
Thanks so much for the tutorial! I tried it out today with some cotton(95) lycra(5) from my stash. I was happy it worked well. I wore it today as went for a walk/jog and was pleased by how well it worked. Thanks so much for the awesome tutorial!
I have thicker material and wanted to go with the 6.5 width, I’m thinking I will need to serge both long sides before folding or I have unfinished material edges–I didn’t see this in your directions but now working on it that’s coming up. Just thinking out loud! Thanks
I really love this band. Been looking at different methods. This one looks really simple. Your instructions clear and easy. I am goin to make this and thinking about a couple of smaller openings added for like a small set of keys and card/cash. What do you think? On vacation right now and wish I already had one. Will get to when I get home. I’m always outside working in yard and this will be perfect