Disclosure: This is post is part of Michael’s #createtoeducate campaign and I received a gift card for my supplies. All opinions are mine.
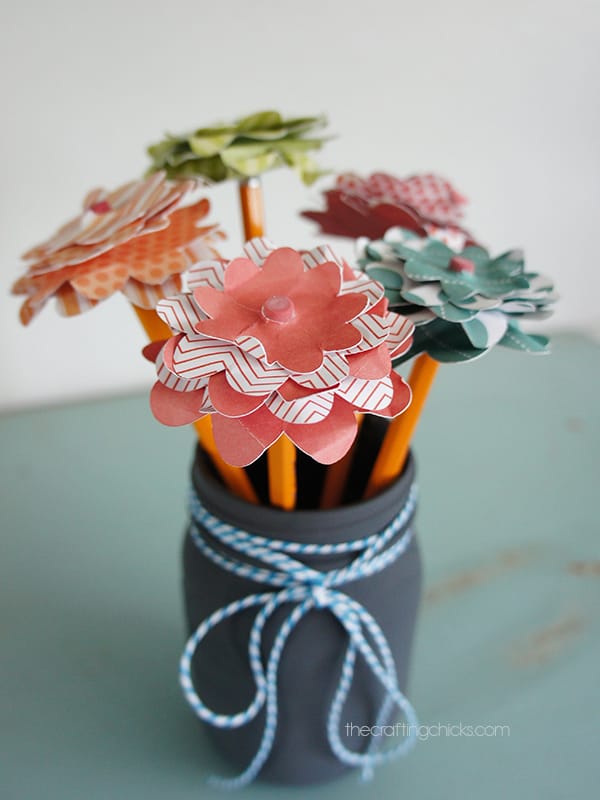
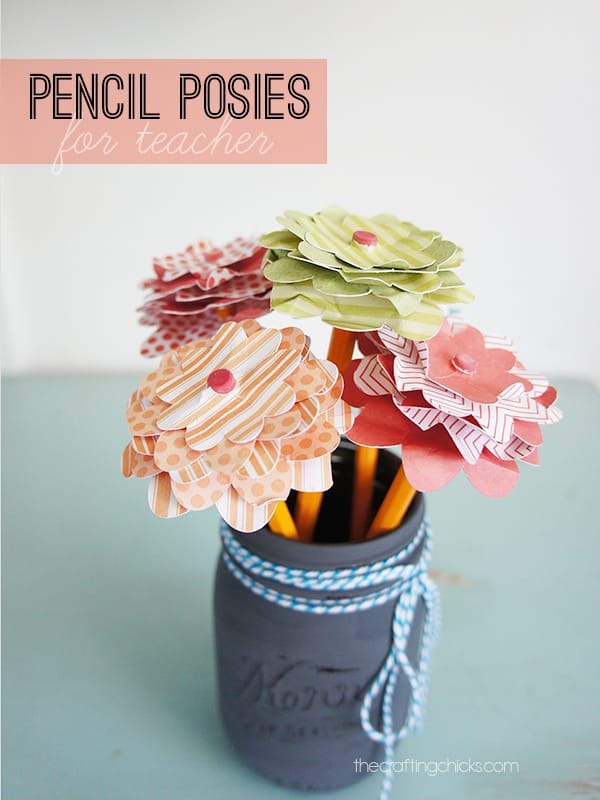
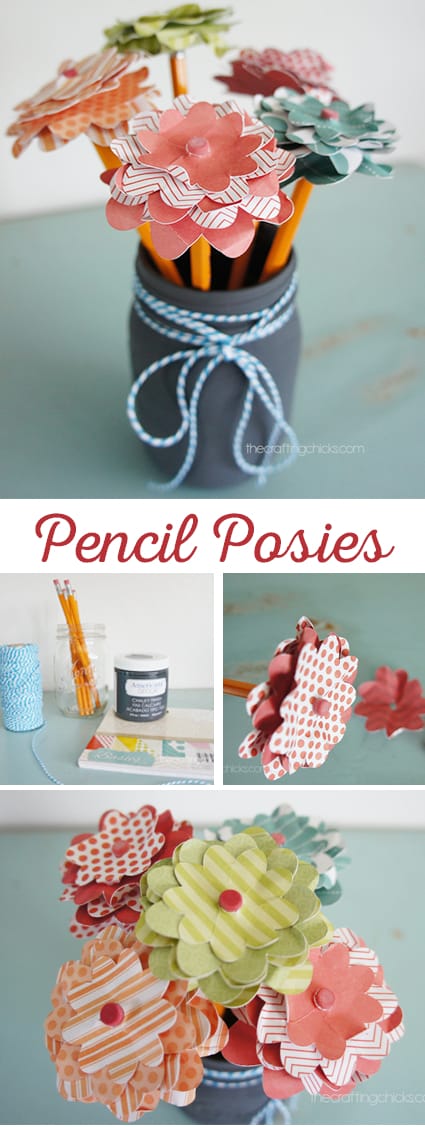
Here’s a cute little back to school gift that is completely applicable and useful for the classroom!
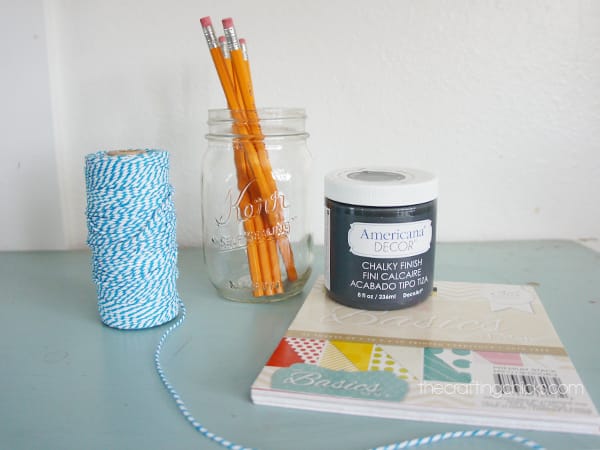
Supplies:
Americana Chalky Finish Paint
6″ Double-Sided Cardstock
Pencils
Mason Jar
Bakers Twine
Cricut Explore
Step 1:
Paint the jar with the the Americana Chalky Finish paint and while it is drying we’ll work on the flowers.
Step 2:
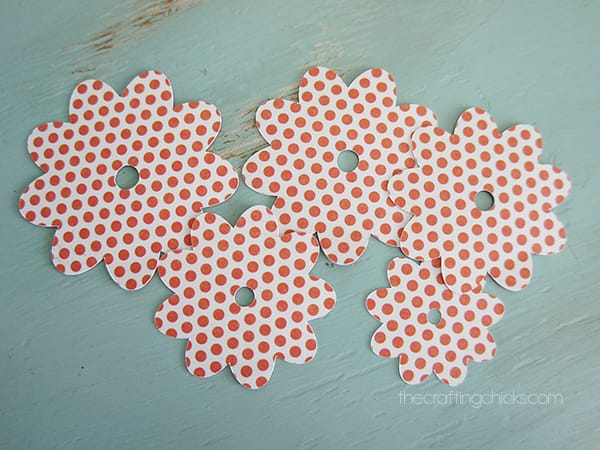
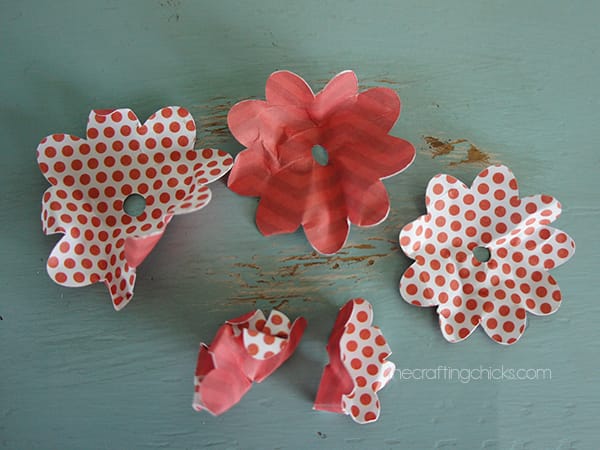
First, cut flowers out. I used a Cricut Explore and one of their 3D flowers. The hole is already in the middle and was the perfect size to fit over the eraser. I cut 5 layers that gradually get smaller from double sided cardstock. All 5 flowers fit perfectly on the 6″ cardstock, which was perfect! I love double sided cardstock because the colors always coordinate and you can get a different patterns without having to load and cut a ton of paper in the Cricut.
Step 3:
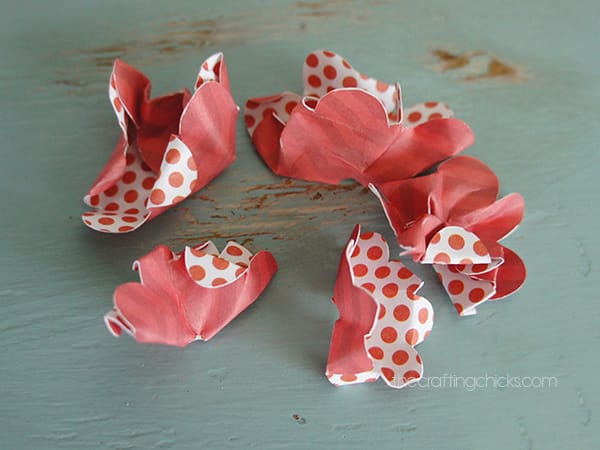
Once the flowers are cut, crumple them. This will give them dimension and texture.
See how they no longer lay flat and the petals go both up and down.
Step 4:
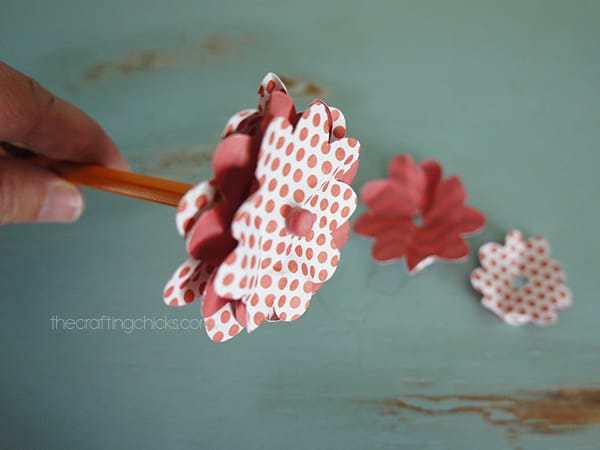
Then simply slide the petals over the eraser and arrange so that the edges alternate and you can see the scalloped edges.
Step 5:
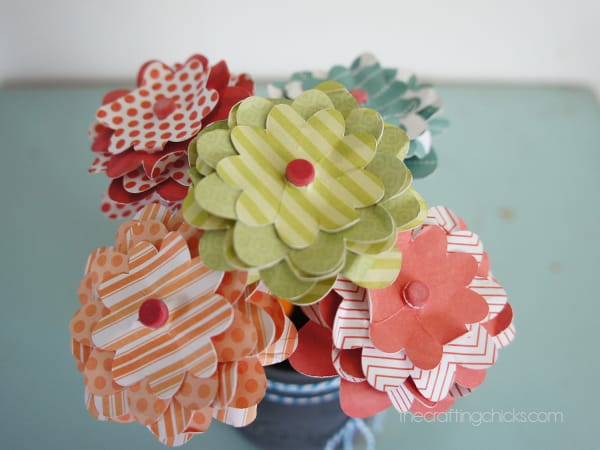
Place flowers in the painted jar and tie up with baker’s twine.
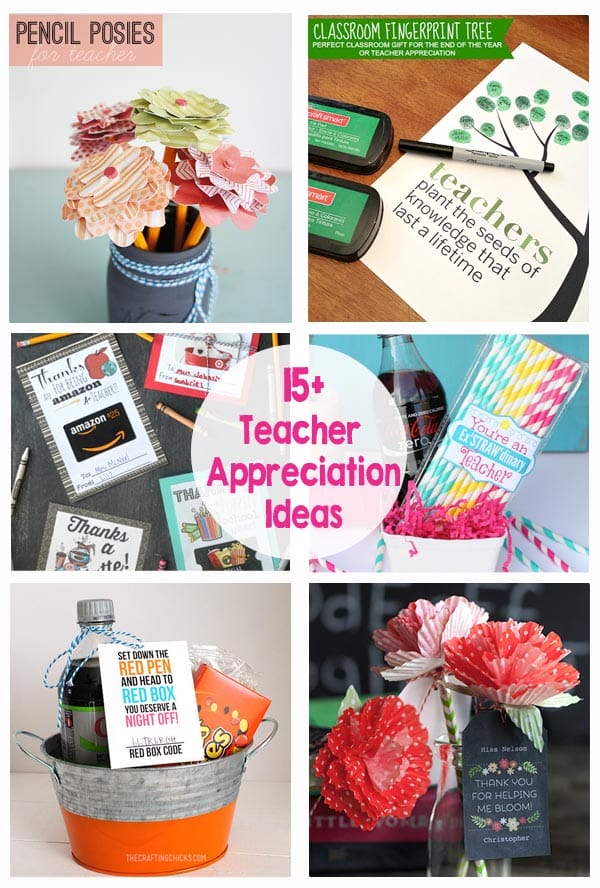
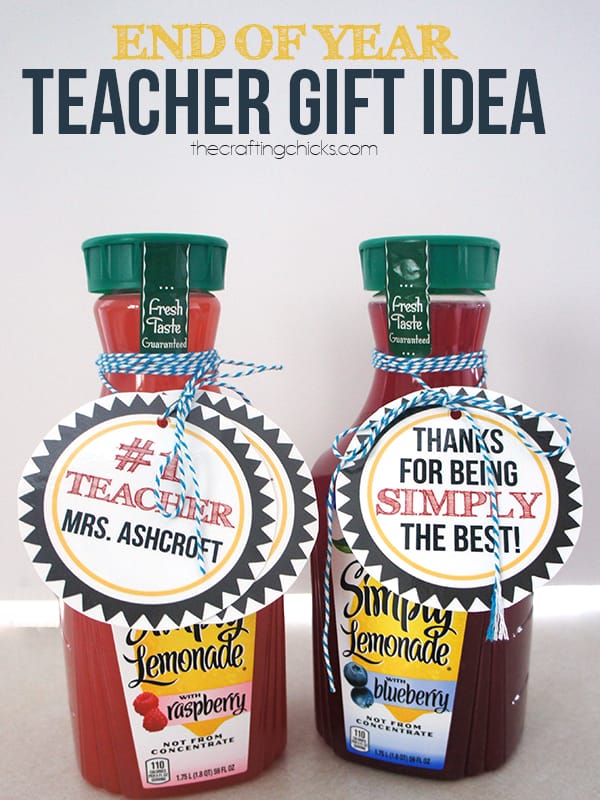
We have tons of other teacher gift ideas you may want to check out:
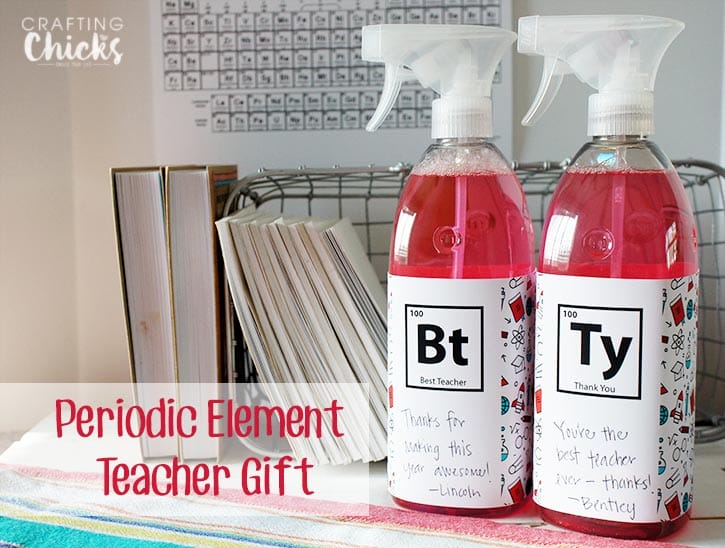
Periodic Element Teacher Gift, for the science lover.


What do you do if you do not have a cricut cutter? Do you have a template possibly we can use?
Sorry I don’t have a template, but they’re scalloped circles with a hole punched in the middle. It would be totally do-able without a cutter!