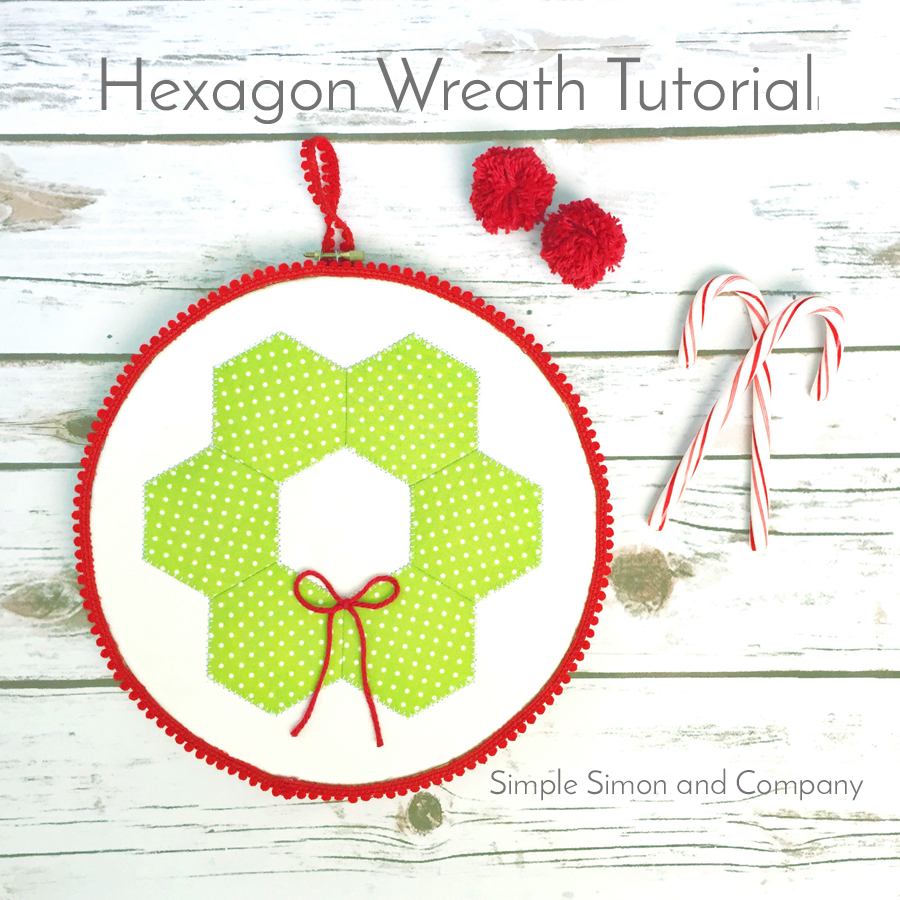
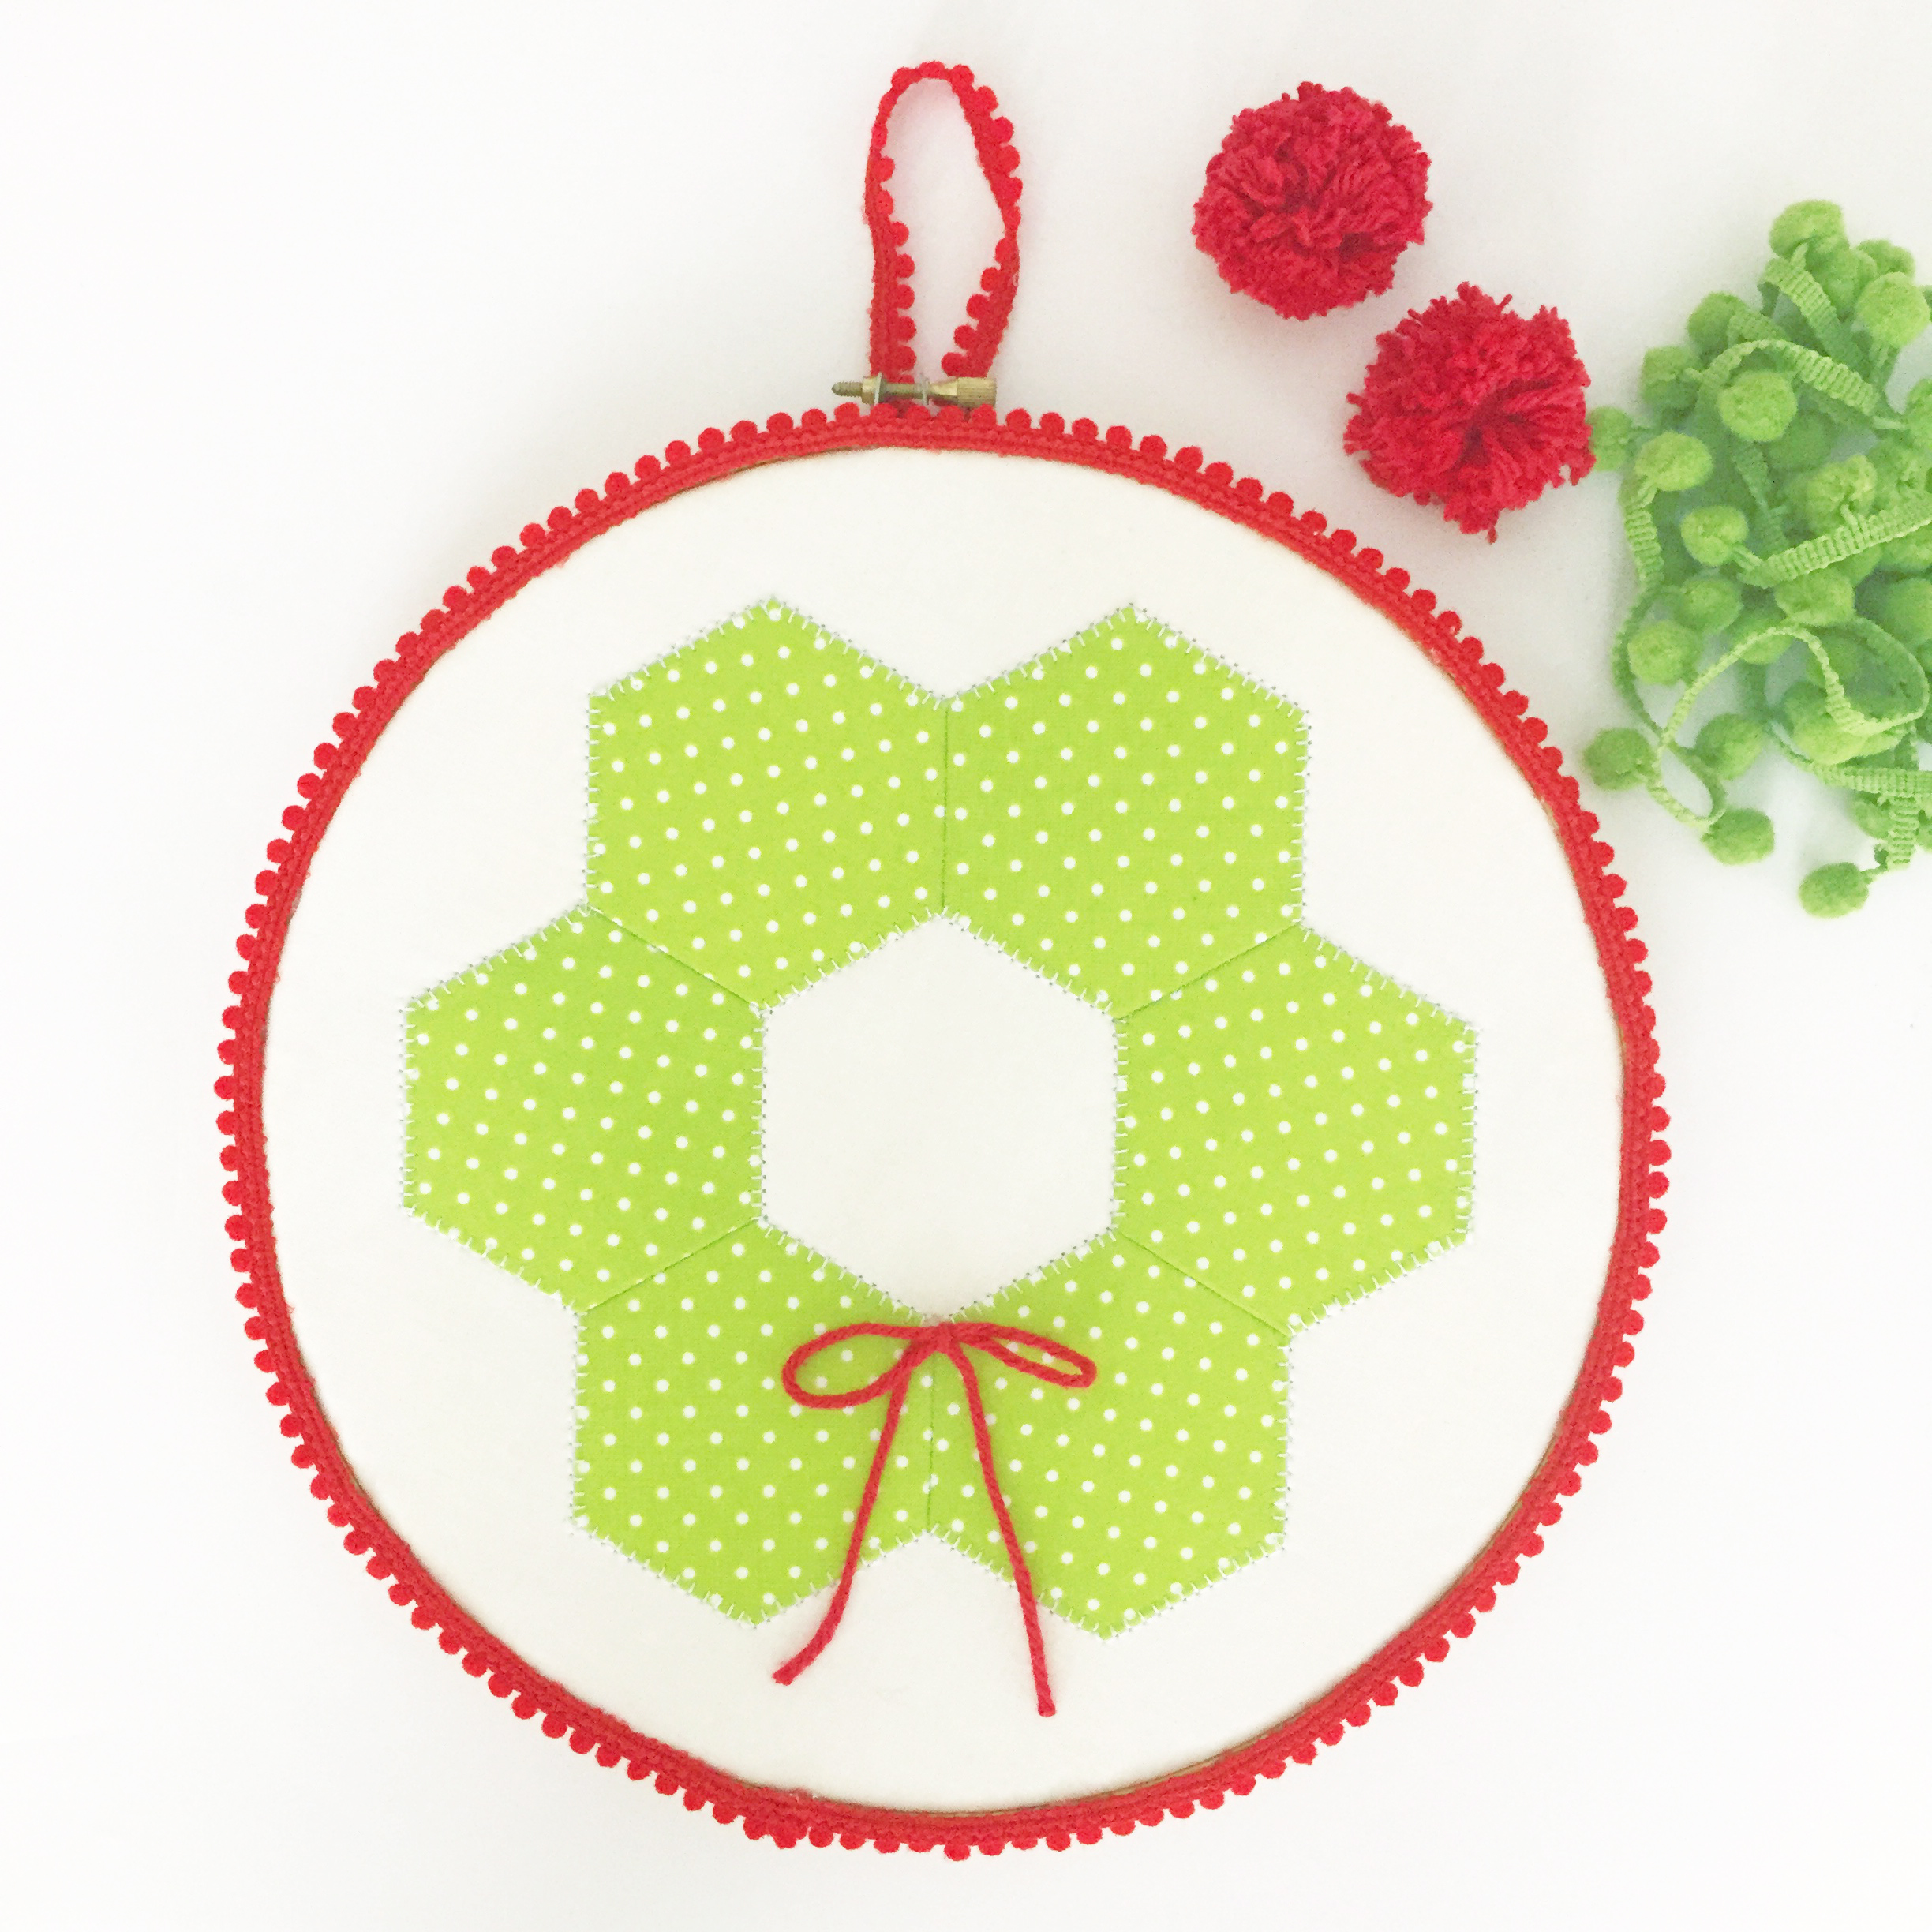
Hexagon Wreath Tutorial
Hi everyone! I am Elizabeth, one half of the duo of sisters-in-law who blog together at Simple Simon and Company. At Simple Simon and Company we love simple sewing, quilting and craft projects that anyone can do. We have a motto at Simple Simon that “anyone can sew” and we really believe it. If you can operate a gas pedal on a car you can “drive” a sewing machine! And while today’s project is not stitching on a sewing machine—it is still simple.
If you are anything like me you are spending half the day in carpool lines and/or lessons or appointments with your kiddos….and so lately I have been taking some craft supplies with me in the car. This tutorial is for a form of quilting called English Paper Piecing but don’t be afraid of the title…it is a super simple form of handstitching or sewing.
Materials:
*Green fabric square 3″ by 3″
*Hexagon Paper Pieces (6)
*Embroidery Hoop
*Red pom pom trim
*Scrap of red yarn
*18″ by 18″ white fabric square
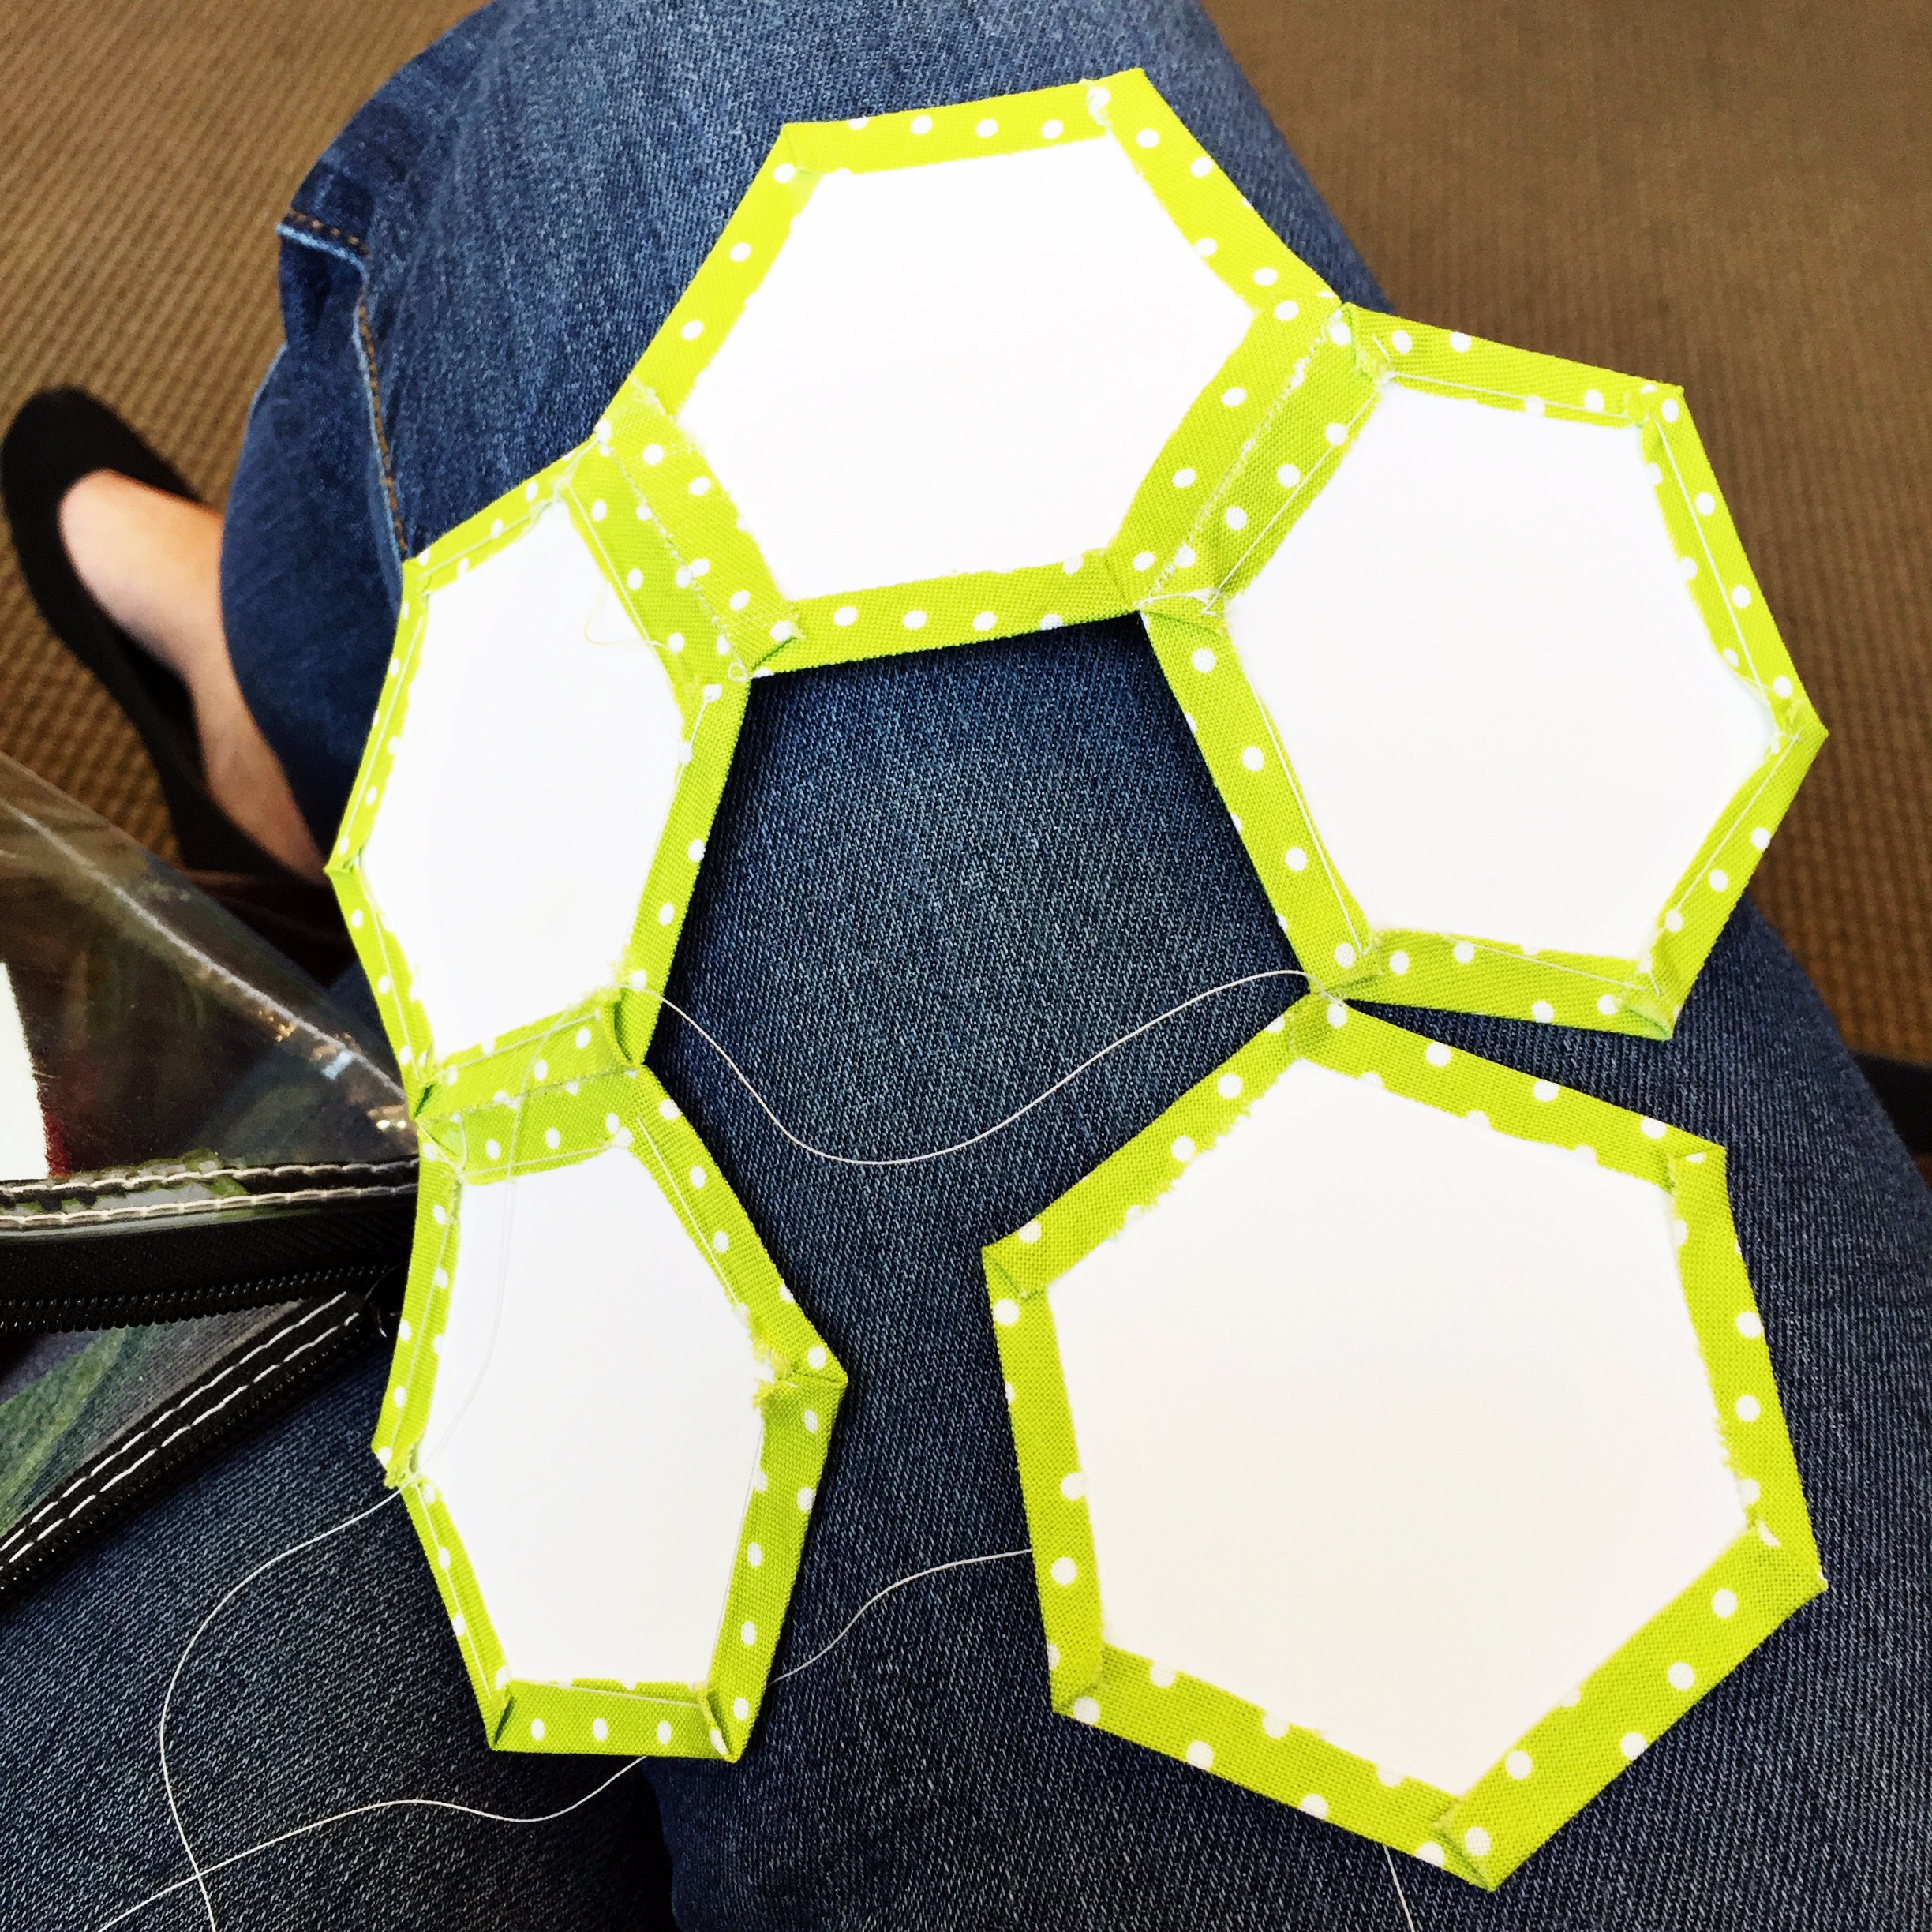
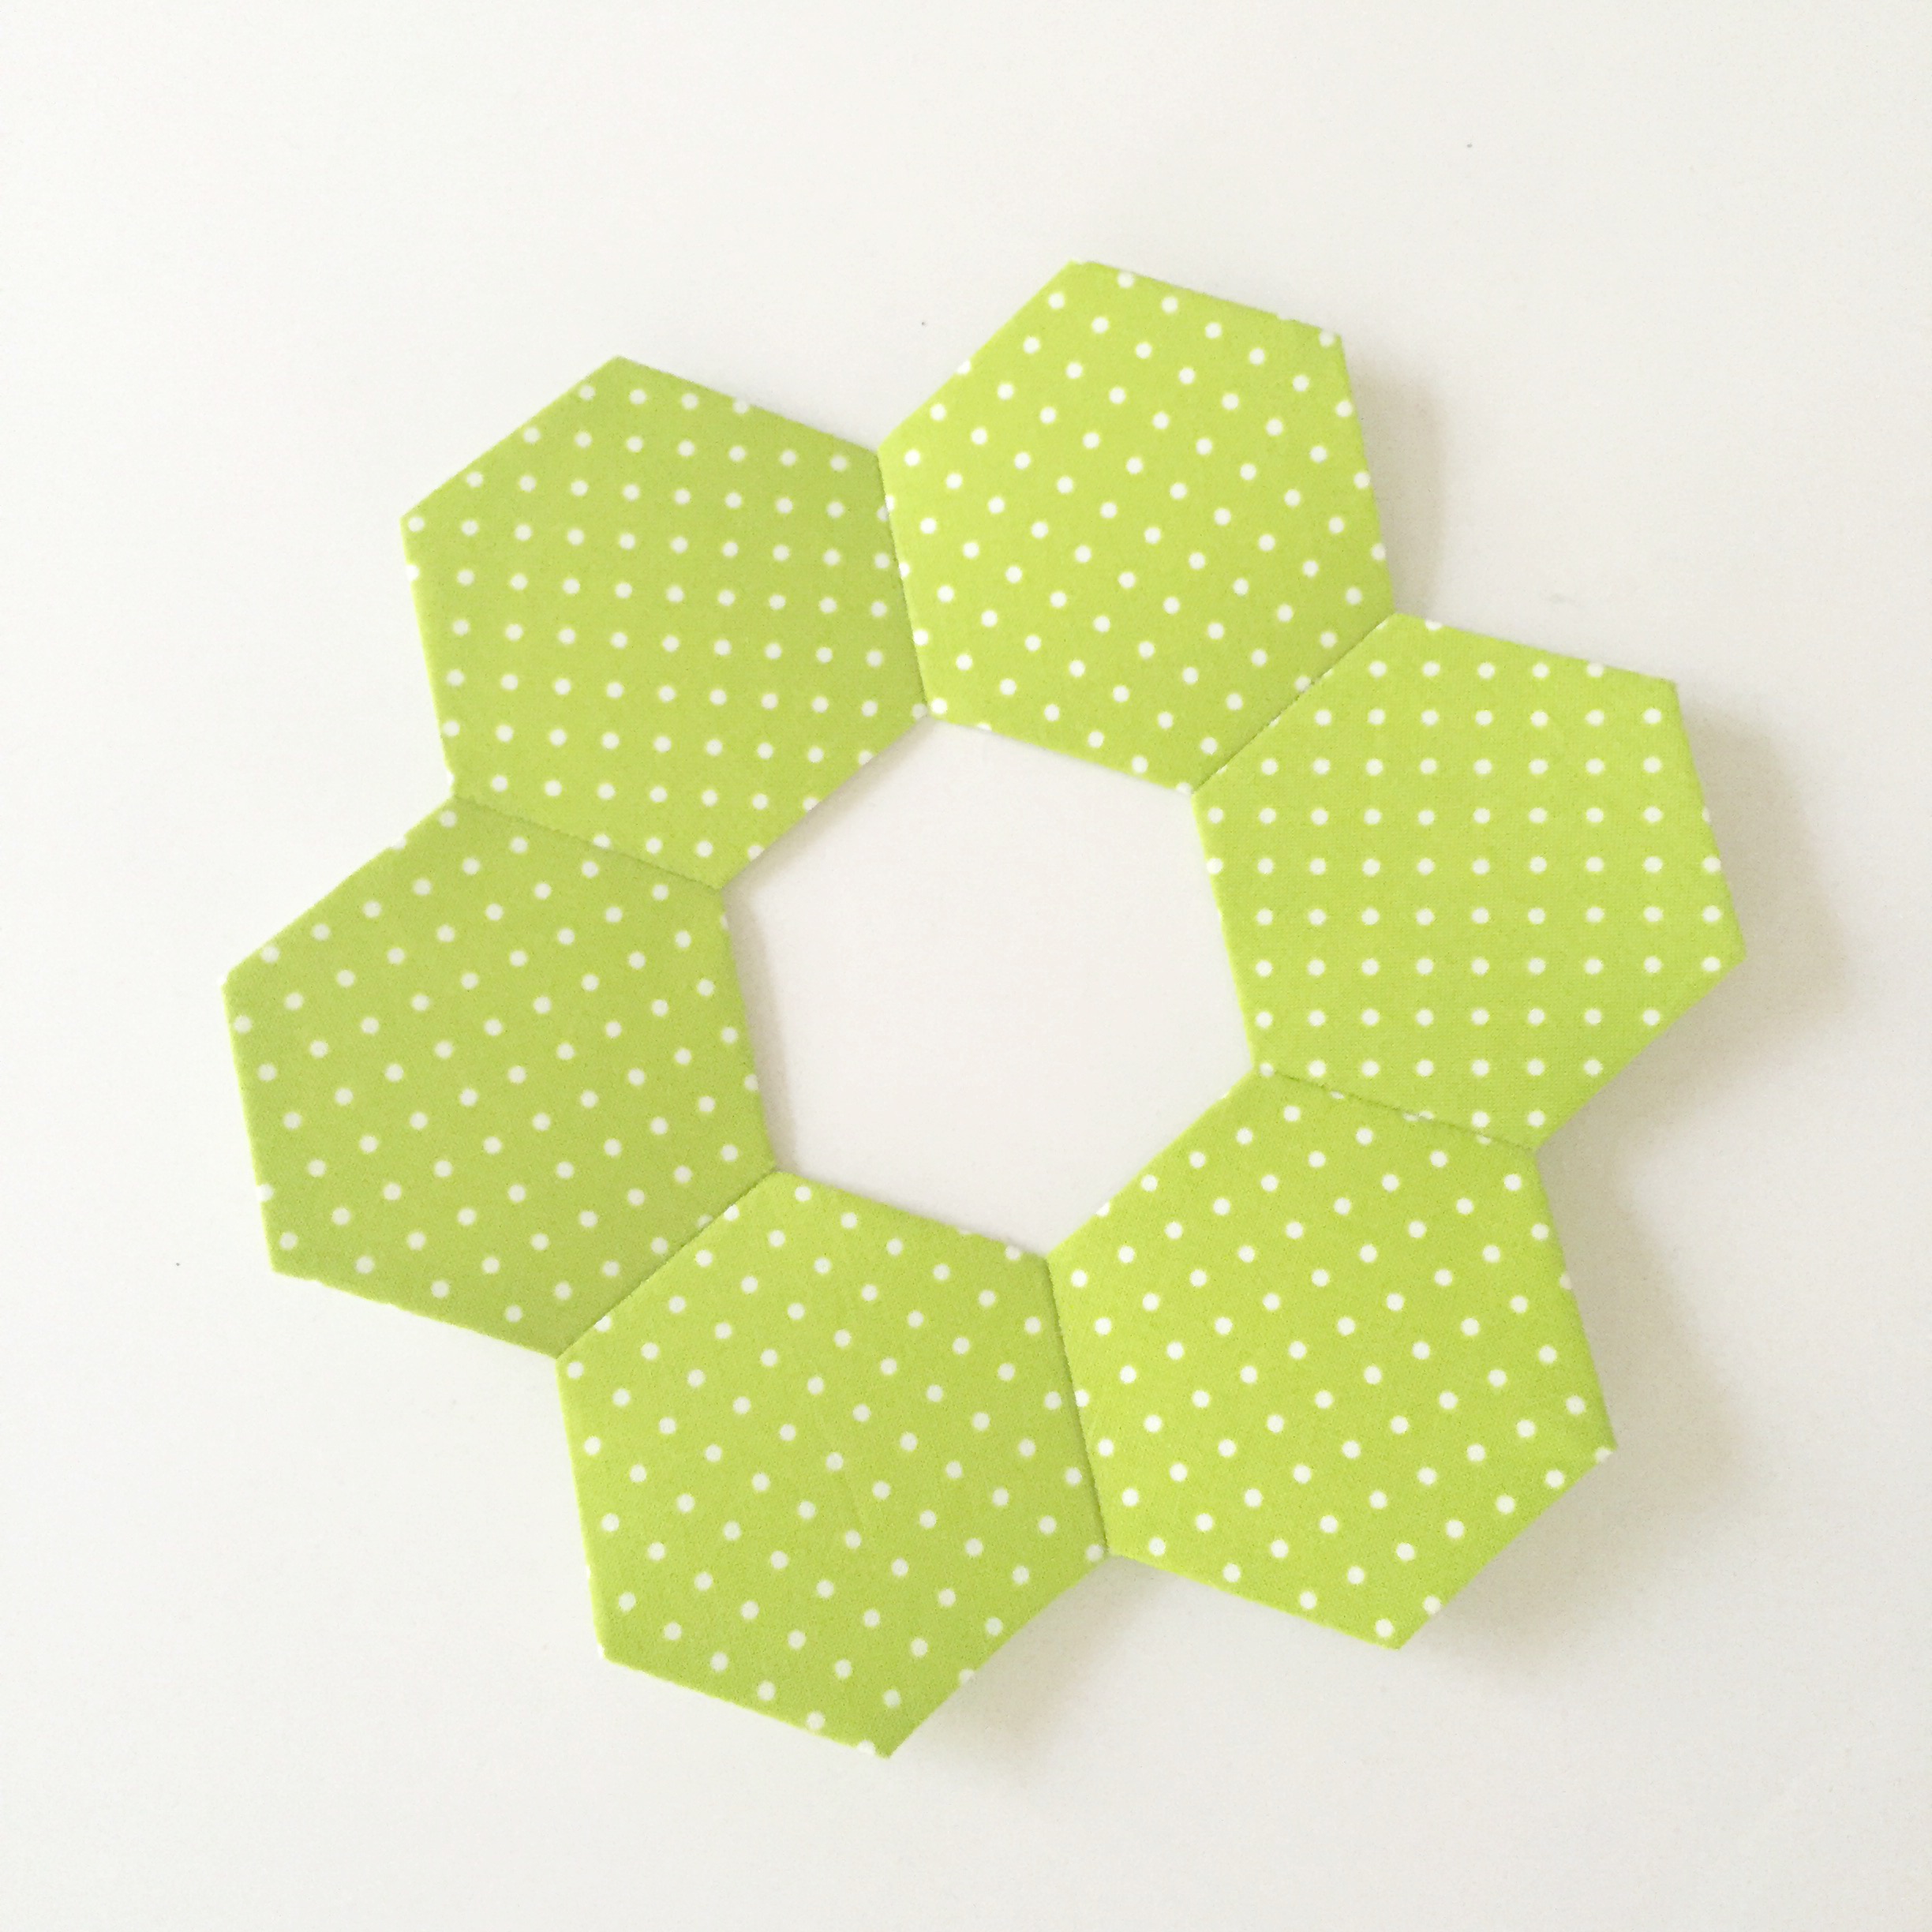
Step 1: Make your 6 EPP (English Paper Piecing) hexagons. I actually made most of this wreath while two of my kiddos were getting their cavities filled. If you need a TUTORIAL for making the HEXAGONS, CLICK HERE. Stitch the 6 hexagons together in a wreath shape.
Step 2: After all 6 of your hexagons are sewn together, take the papers out and turn the wreath over.
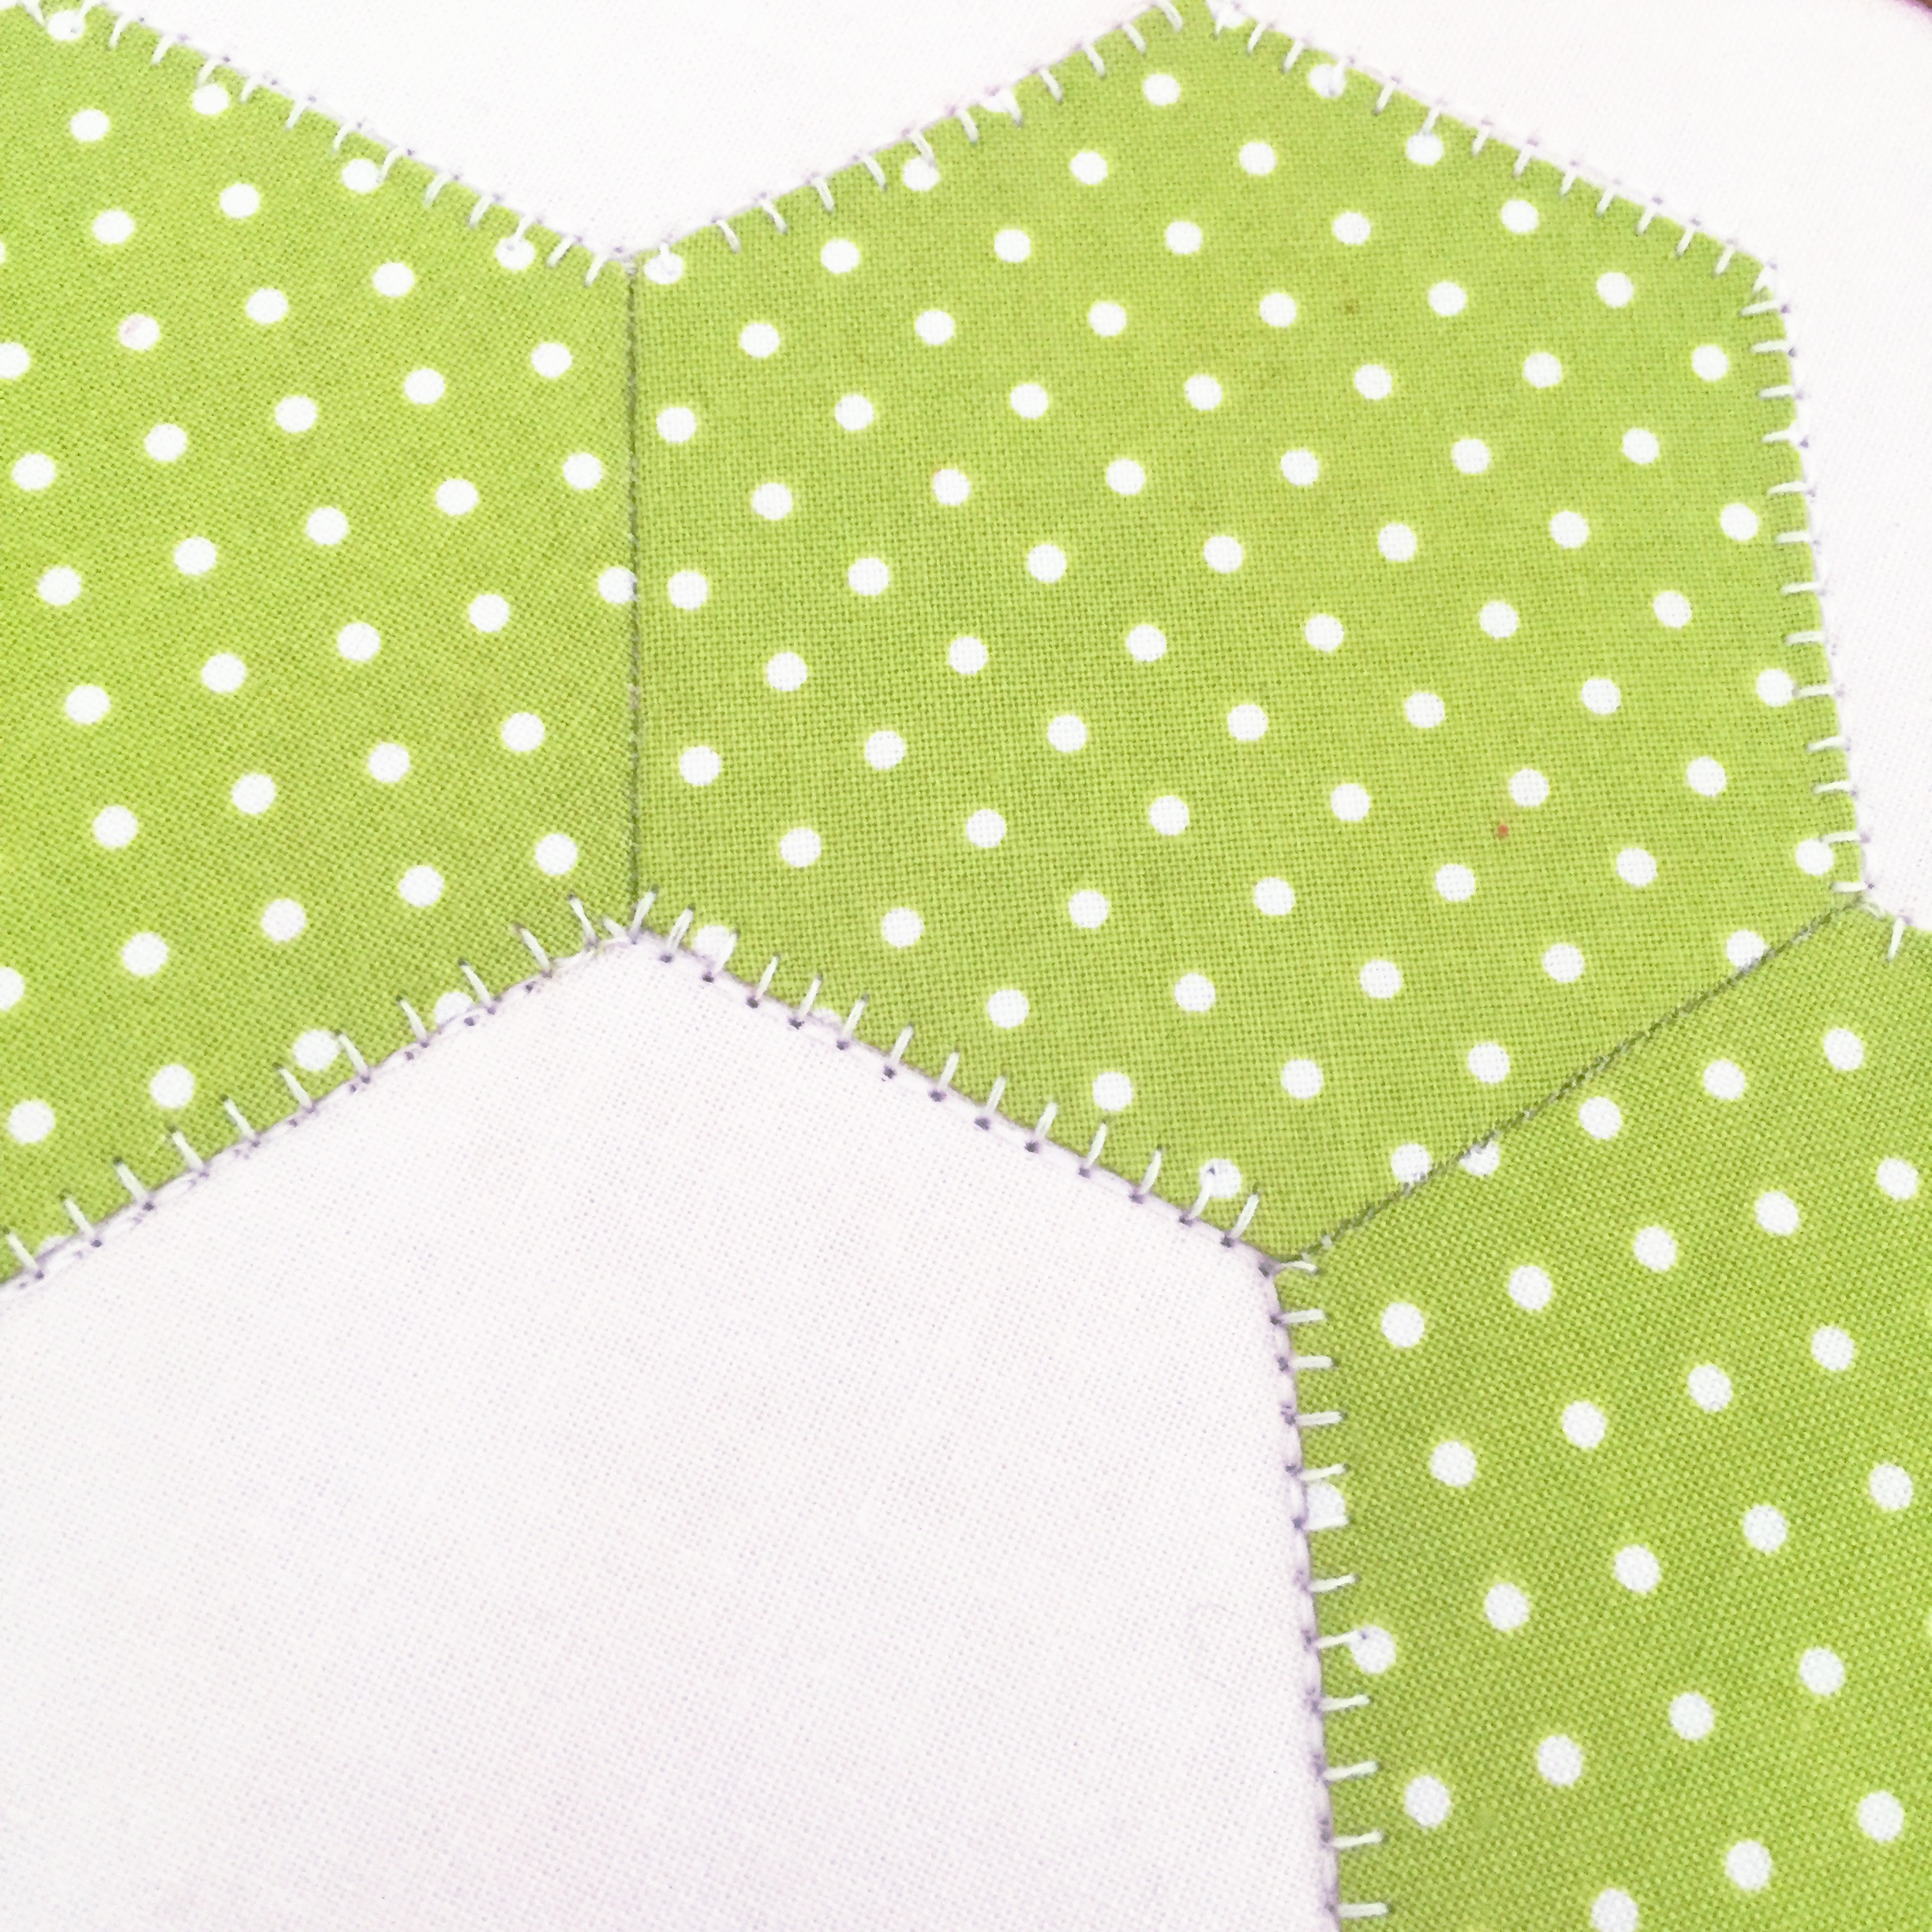
Step 3: Place the hexagon wreath onto the 18″ by 18″ white fabric and stitch it down onto your fabric.
Step 4: Once your wreath is stitched down you can insert it into your embroidery hoop. I then used bit of a red yard scrap made into a bow at the bottom of the wreath.
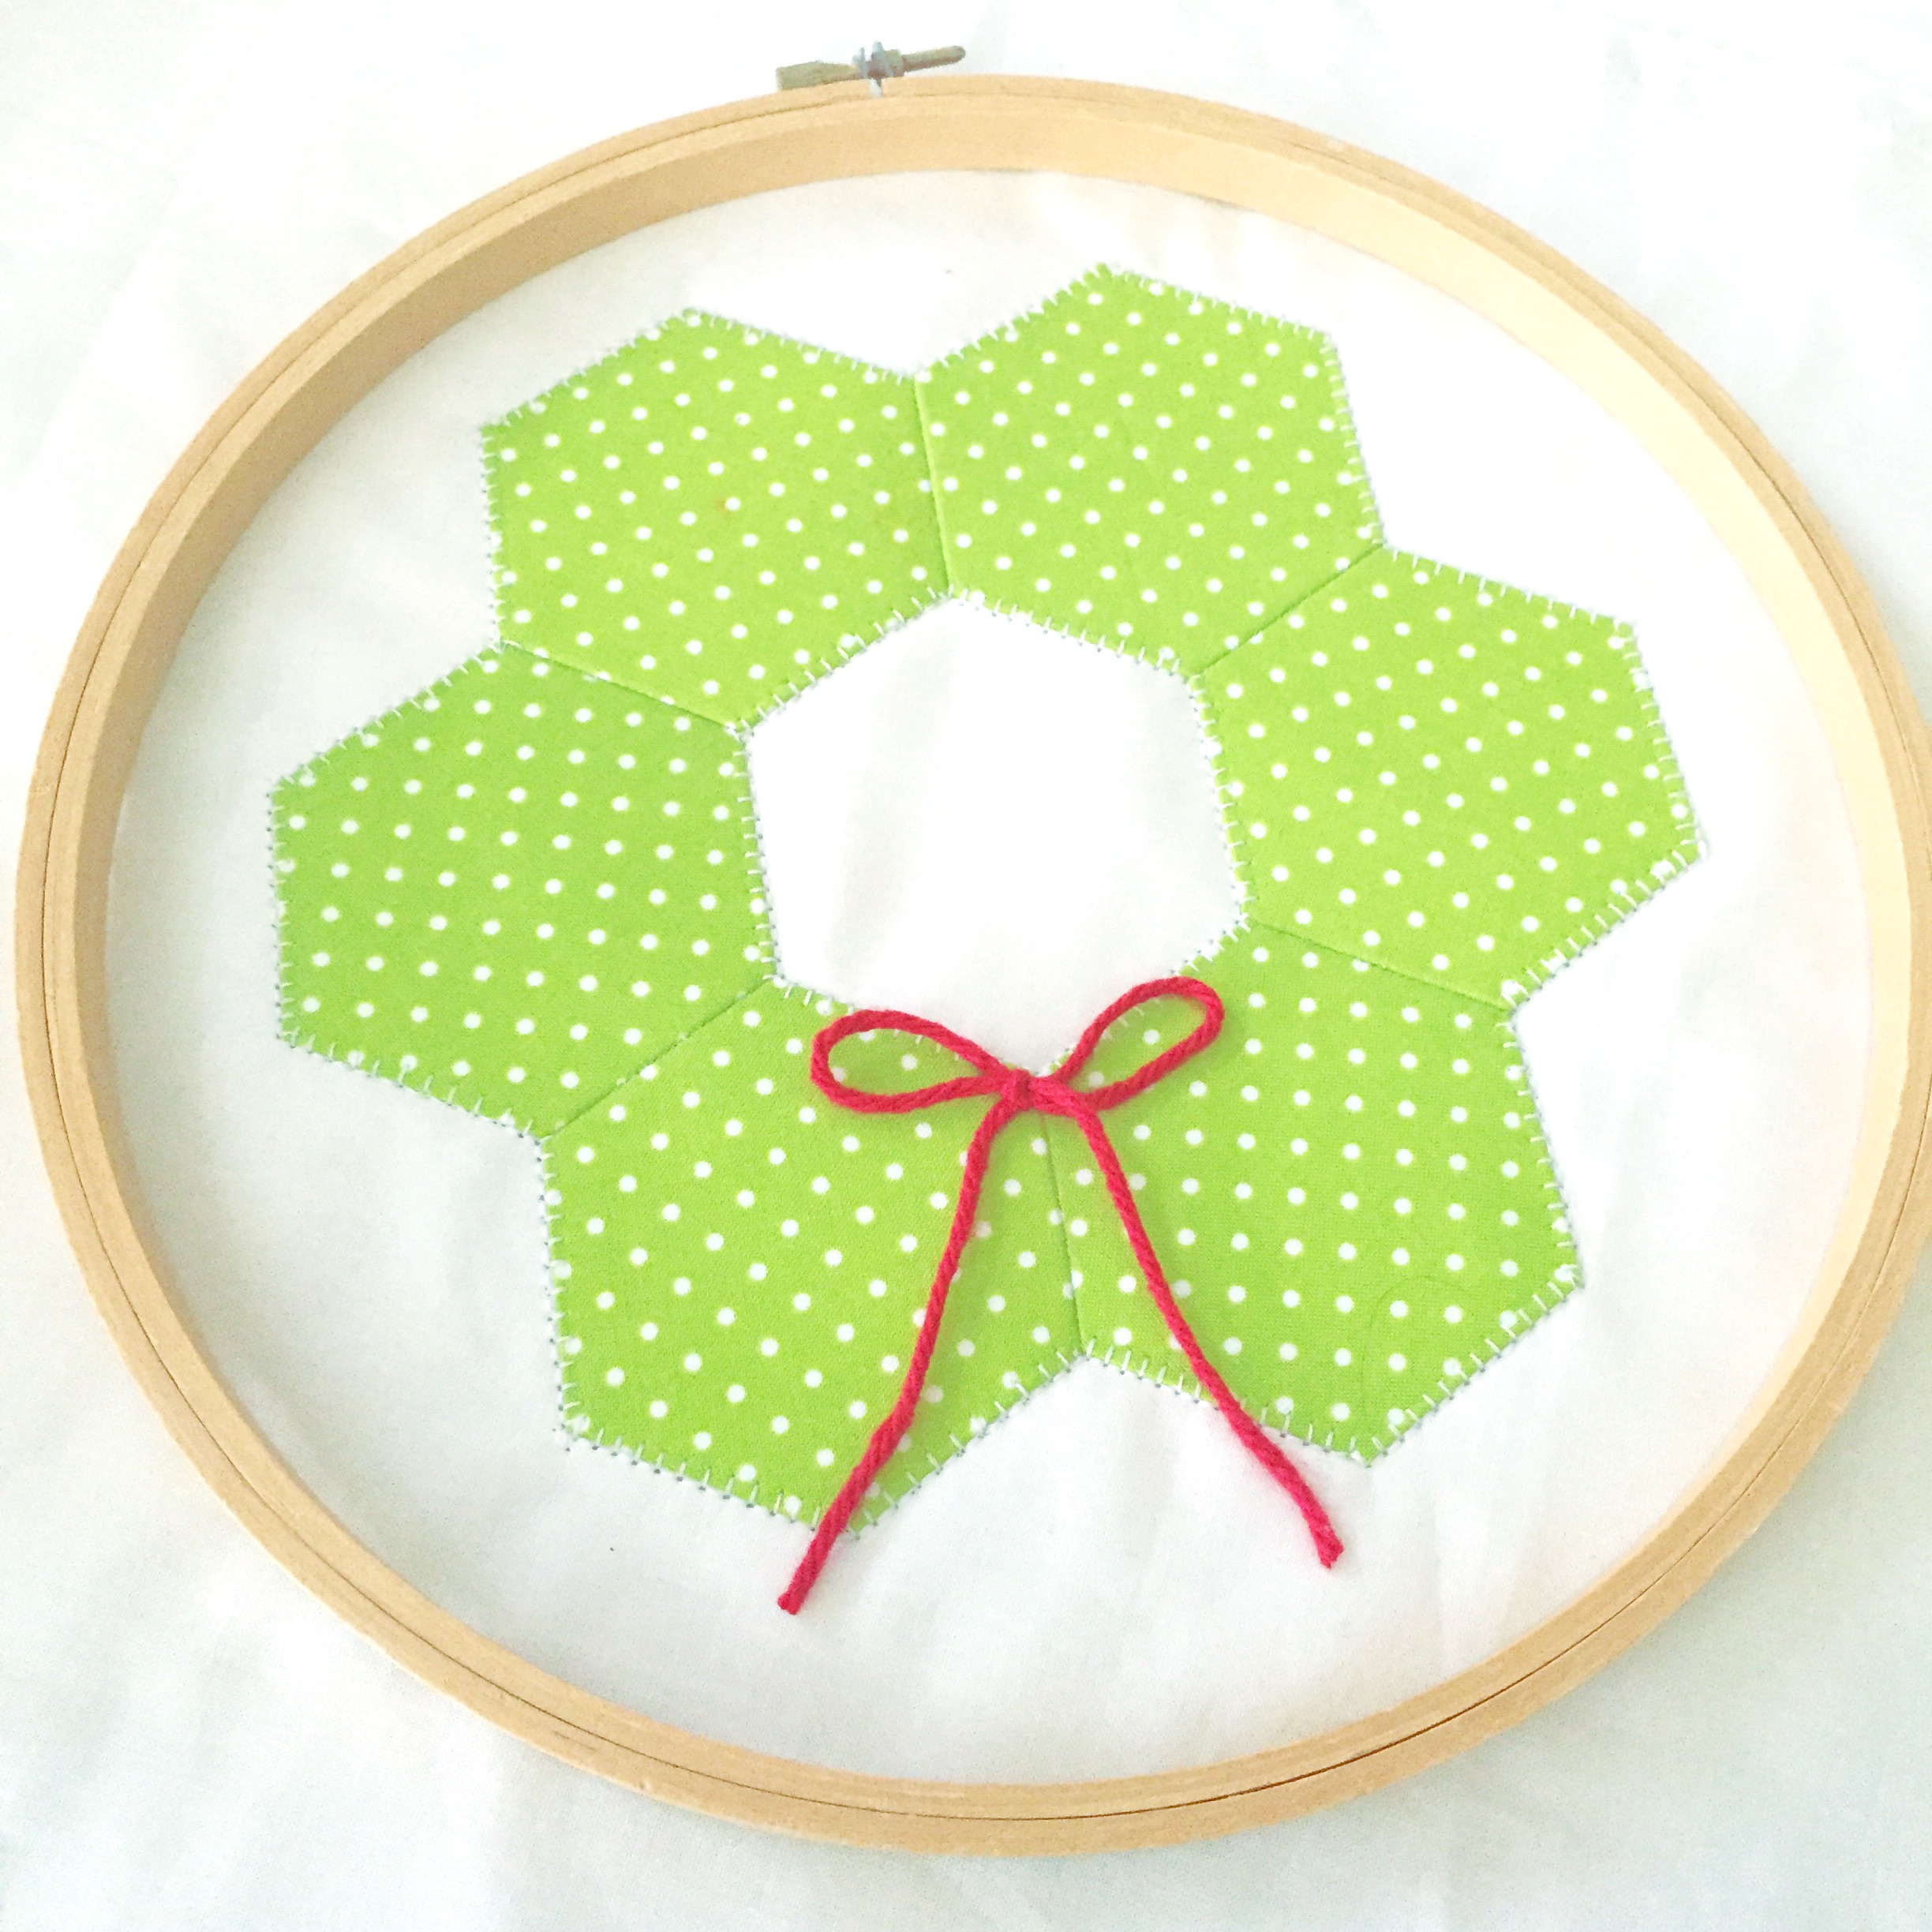
Step 5: Add some small pom pom trim to the embroidery hoop and you are done!
To find other simple sewing or quilting projects you can join us over at Simple Simon and Company.