Hi. I’m Ali from Dream Crafter. (Hi, Ali) And I have a confession to make. I am one of those people that takes down the Christmas decorations the day after Christmas and start putting up Valentines Day stuff. (Gasp!) Phew! I am so glad I got that off my chest.
I know. I skip right over New Years. I should be kicked out of the blogging world of super moms forever. But I just really love the idea of filling my house with a ton of girly frilly stuff since I live in a house full of boys. (Seriously, its 4 versus 1.)
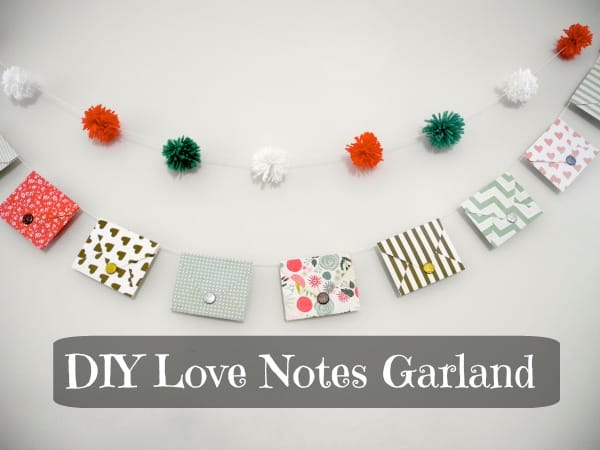
When I found this cute paper on clearance at my local scrapbooking store I knew just what I was going to do with it. Make a love note garland!
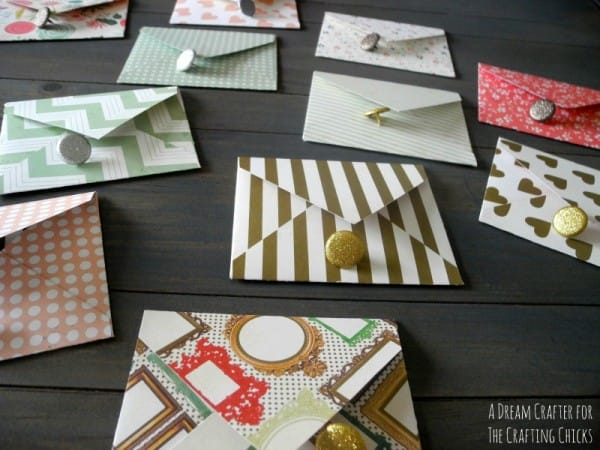
I love the golds, blues and just the right amount of corals in this paper. It is SO me. I instantly looked up how to fold paper into tiny envelopes. Turns out…its a lot harder than it looks. Don’t be deceived. I ended up using this tutorial HERE. After a bunch of wasted paper and three hours later…I came up with these babies.
I decided to do about 12 envelopes and it was just about the right length. (My garland is just under four feet long.) Of course, this all depends on how you want to space them as well.
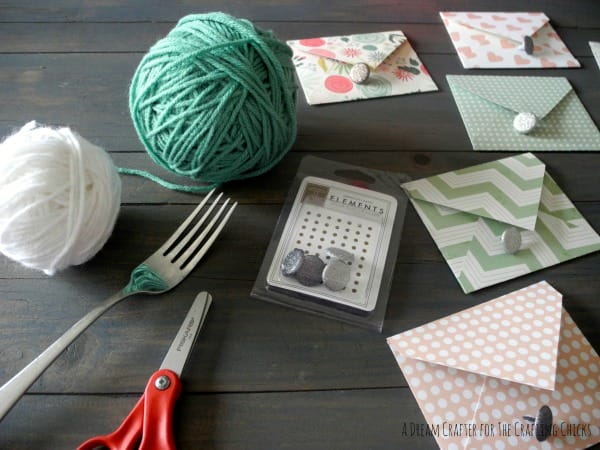
Once all my envelopes were made, I had to have some glittery brads to add to the fronts to hold them closed. Naturally.
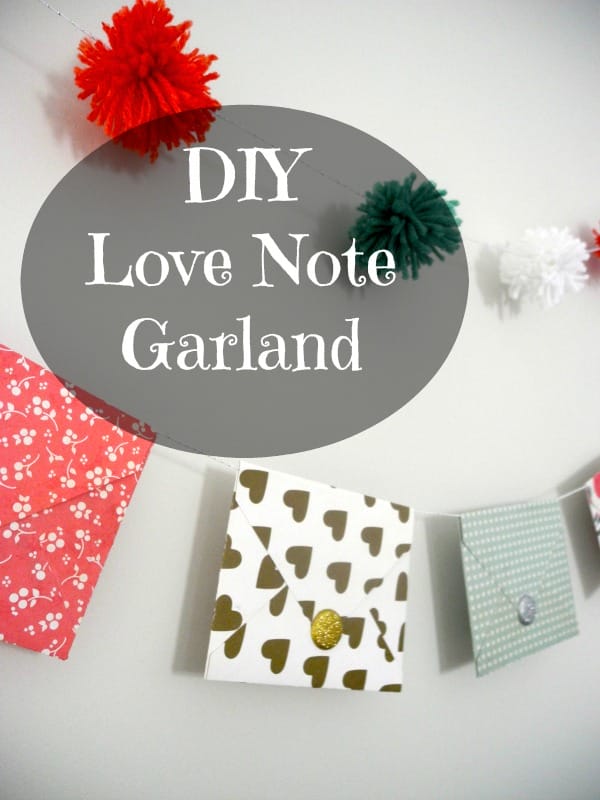
Once you line all the envelopes up in the order you want them, take a TINY amount of glue (from a glue stick and just put some on the top crease so when you string them on the ribbon, they don’t slide around.
I also made some pom-poms that match with some coordinating yarn I had laying around and strung those on some bakers twine. If you don’t know how to make a pom-pom they are SUPER easy. Just use the FORK TRICK.
Now use some washi tape or something cute to hang your love note garland up! (This is the time in which I wish I had a real mantle.)
Be sure to stop by Dream Crafter in the next few weeks to see how Valentines Day has, indeed, exploded all over my house. 🙂
-Ali


Leave a Reply