It’s nearly Halloween again and we here at Ella and Annie are super excited to be back sharing our fun paper bag haunted house craft! This “not so scary” haunted house craft is perfect for kiddos of all ages and easy for beginners. That means that everyone can participate! You probably already have what you need right now. Let’s take a look…
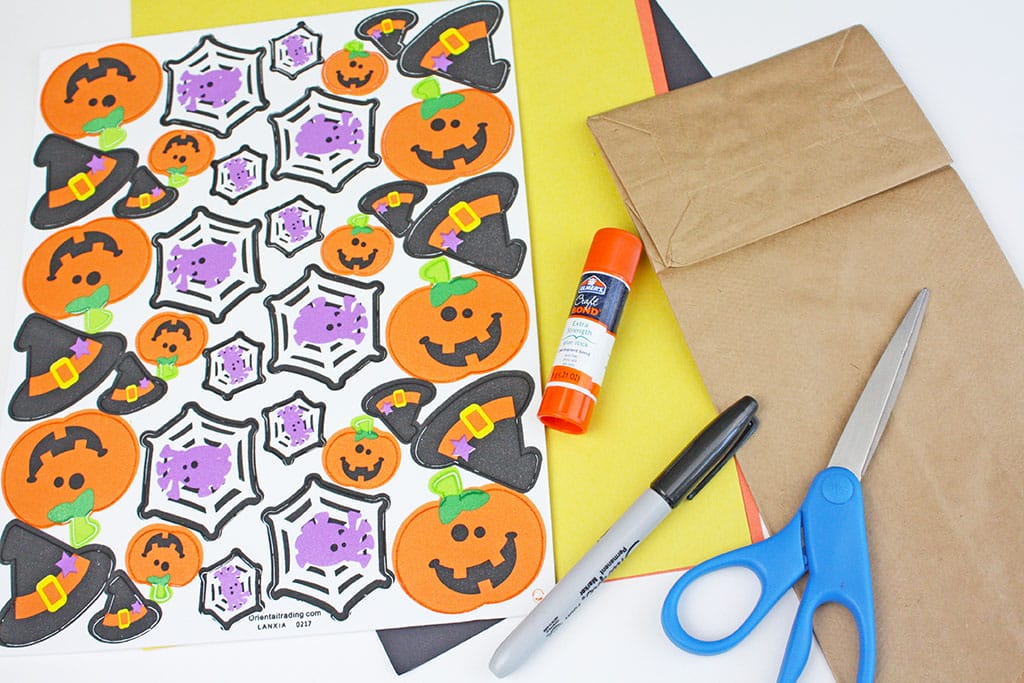
What you need:
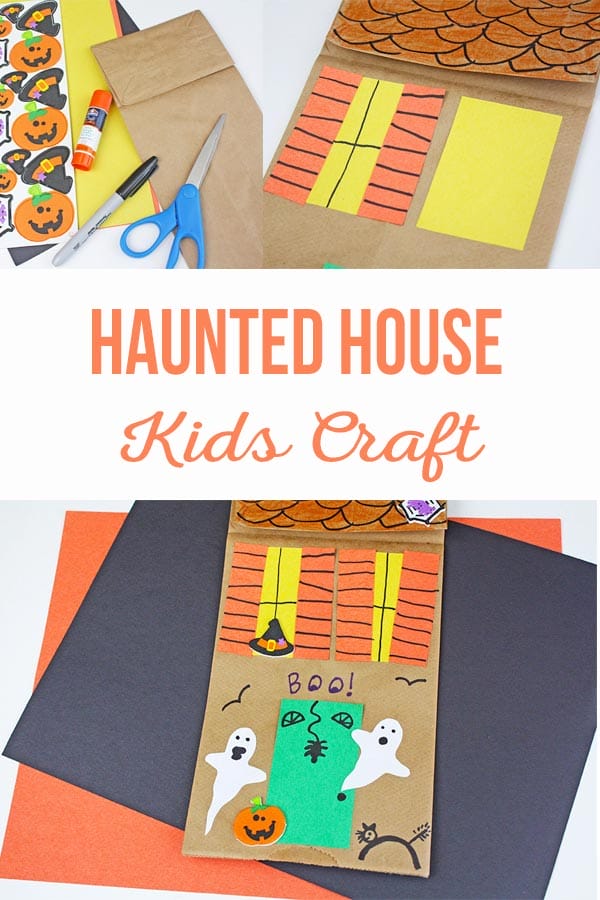
- Paper Lunch Bag
- Crayons and Markers
- Glue
- Construction Paper
- Halloween Stickers (optional)
- Scissors
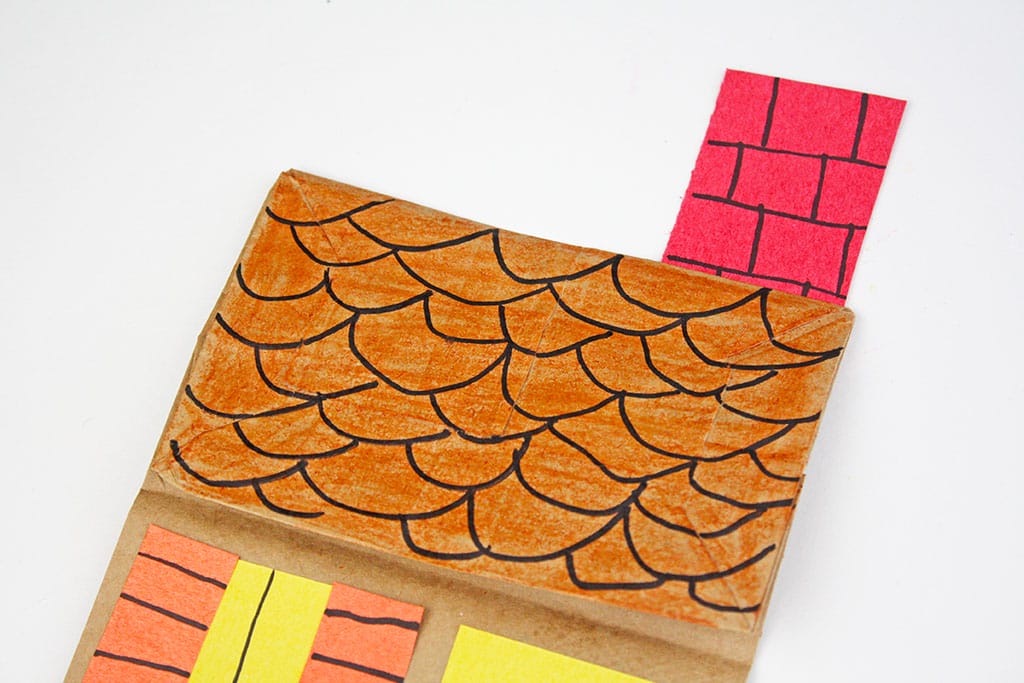
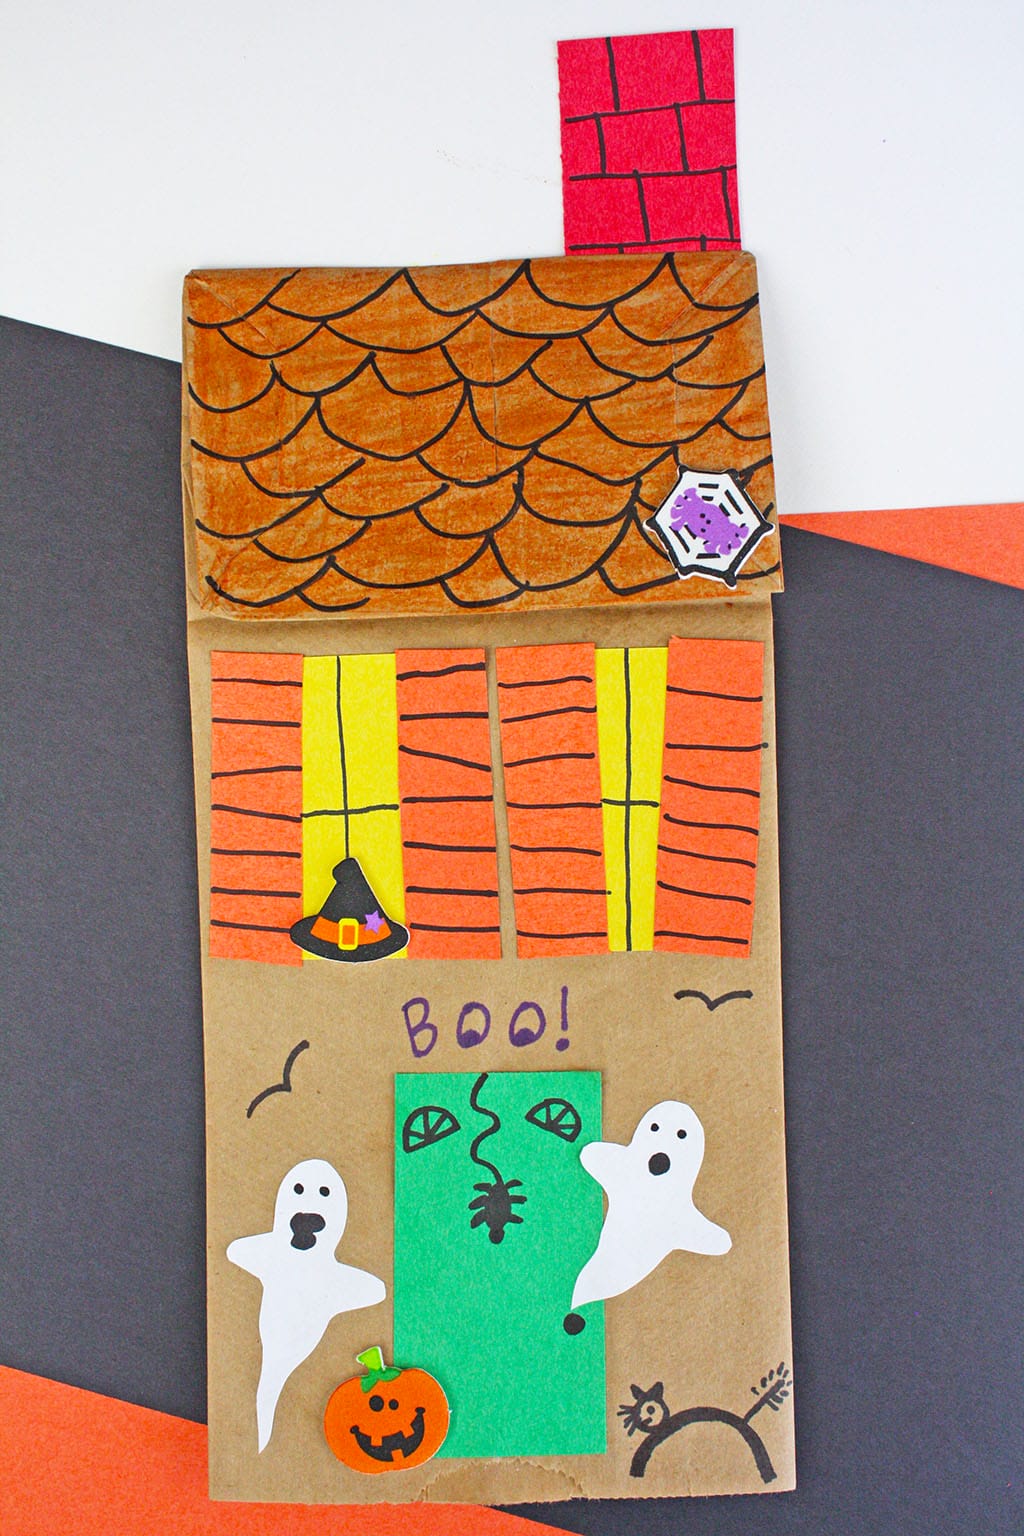
Start by making the roof. Turn the paper bag over so that the flap is facing up. We colored the flap with a brown crayon and then used a black marker to add shingles. Cut a small red rectangle from red construction paper and draw black lines to make bricks. Glue the chimney to the back of the roof.
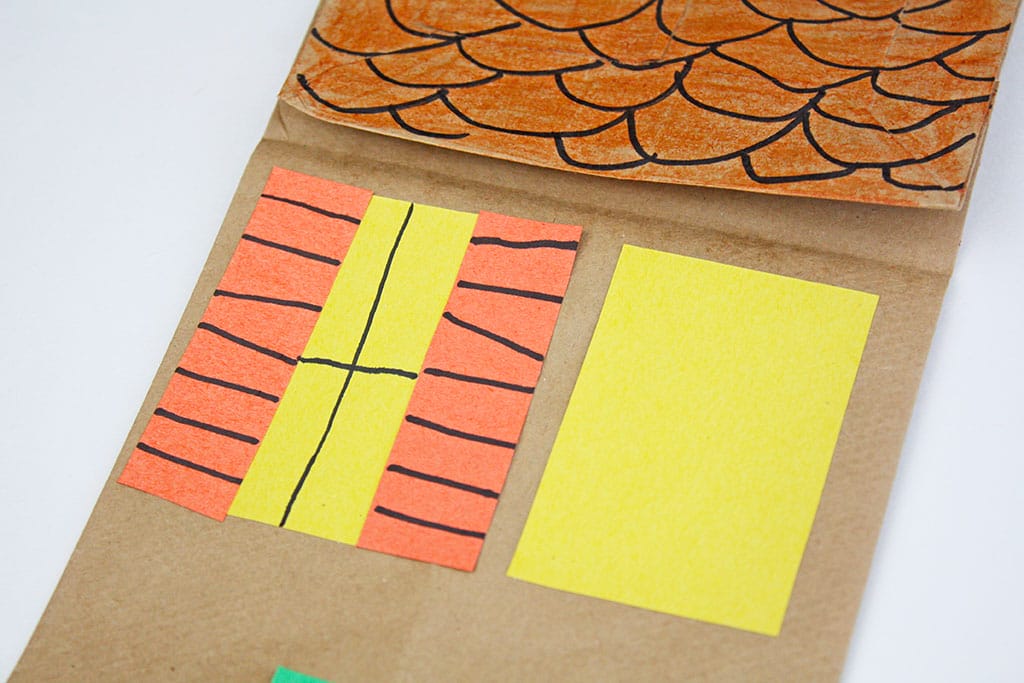
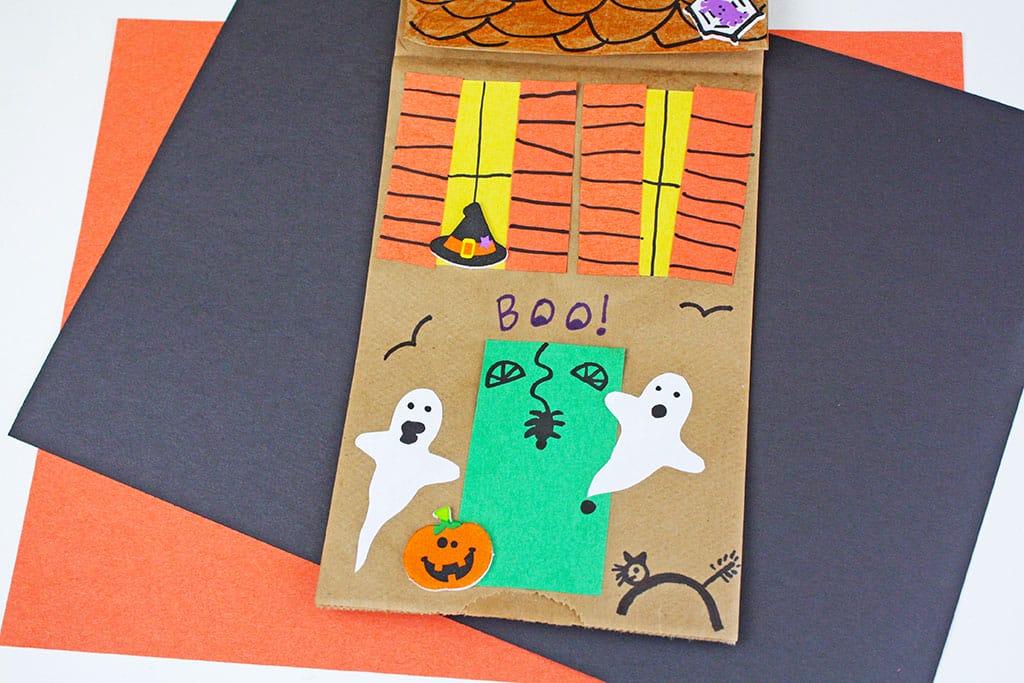
Cut two yellow rectangles from yellow construction paper and draw a plus sign with black marker to make the window’s frame. glue both the windows onto the front of your haunted house. The girls used orange construction paper to make the shutters for the windows; adds a spooky touch!
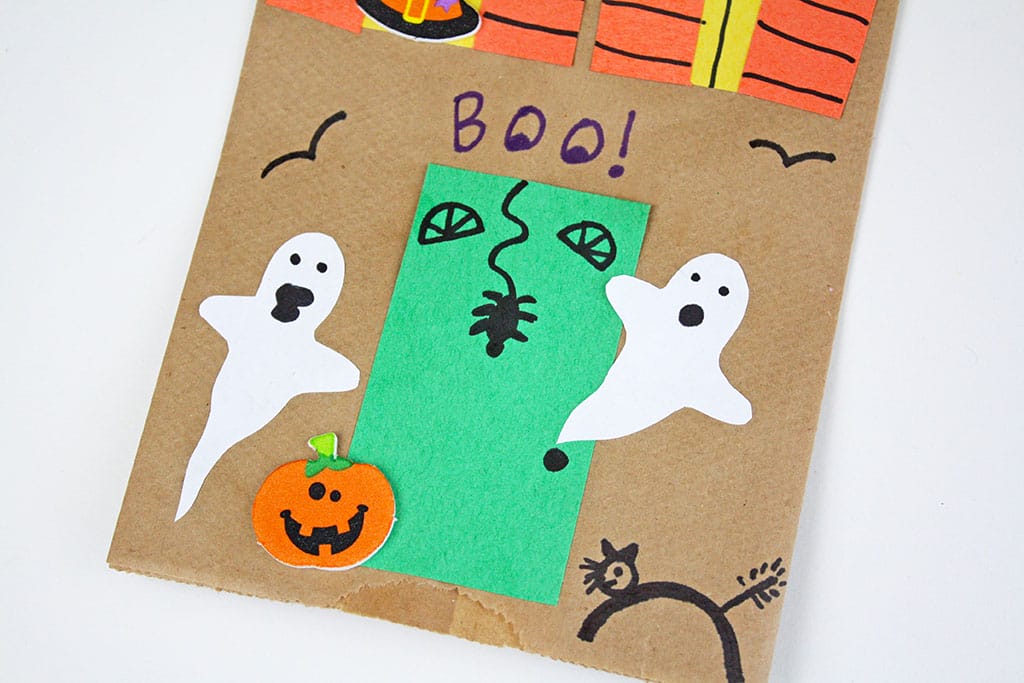
Cut a small rectangle from green construction paper to make the front door, glue onto the house. Now it is time to add the finishing touches. You can draw bats with a black marker, and use any fun Halloween stickers to decorate your paper bag haunted house. Annie cut ghosts from white copy paper and drew silly faces on them after she glued them to the bag. Add as much or as little detail as you like.
Thank you again for letting Ella and Annie share their “not so scary” paper bag haunted house with you this Fall. For more of our awesome crafts, DIY projects and recipes follow us on Instagram and Pinterest!
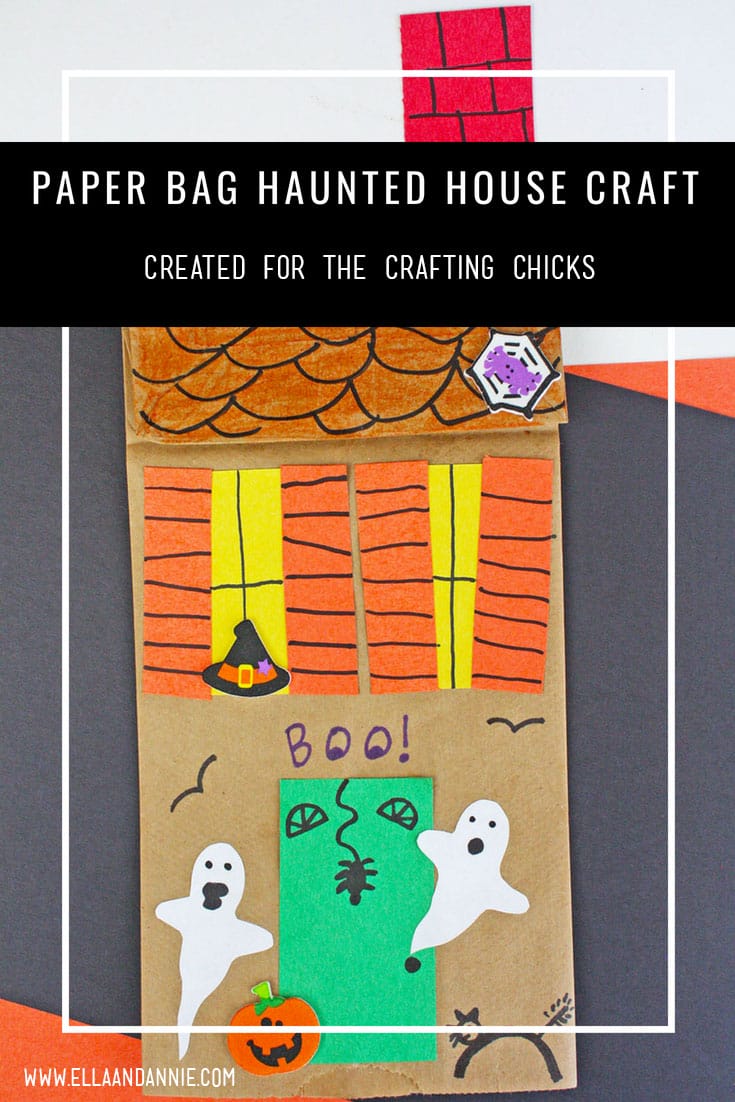

[…] Paper Bag Haunted House from The Crafting Chicks: Here’s a super simple haunted house for little ones. The bottom of a paper bag makes the perfect rooftop, and the rest of the bag can be embellished with construction paper cutouts and stickers. […]