This post is sponsored by Stampin’ Up! All opinions are my own.
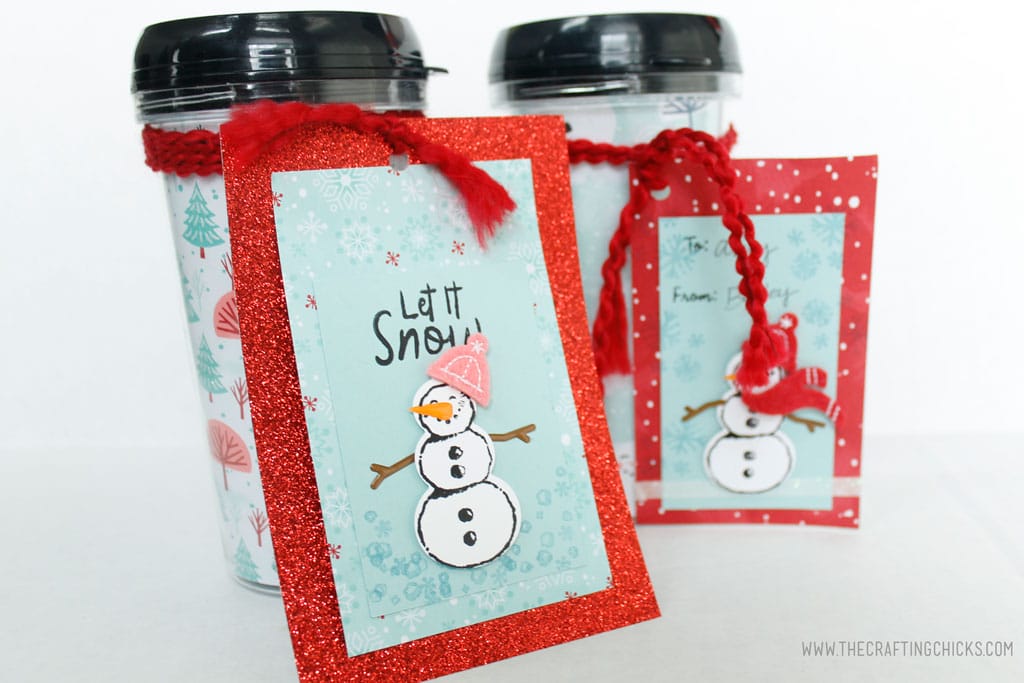
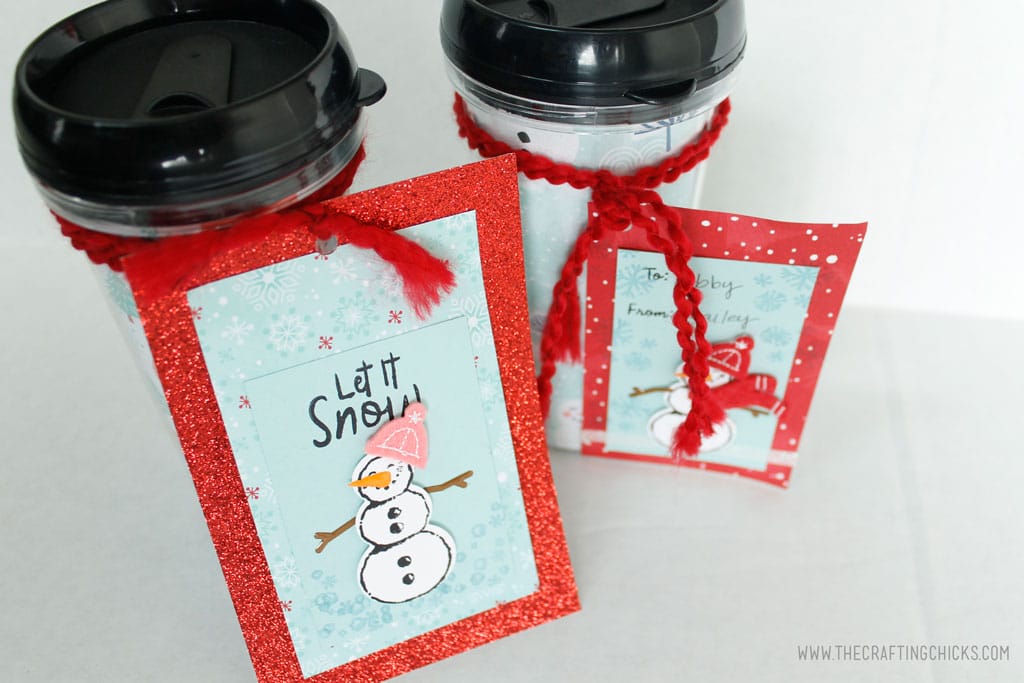
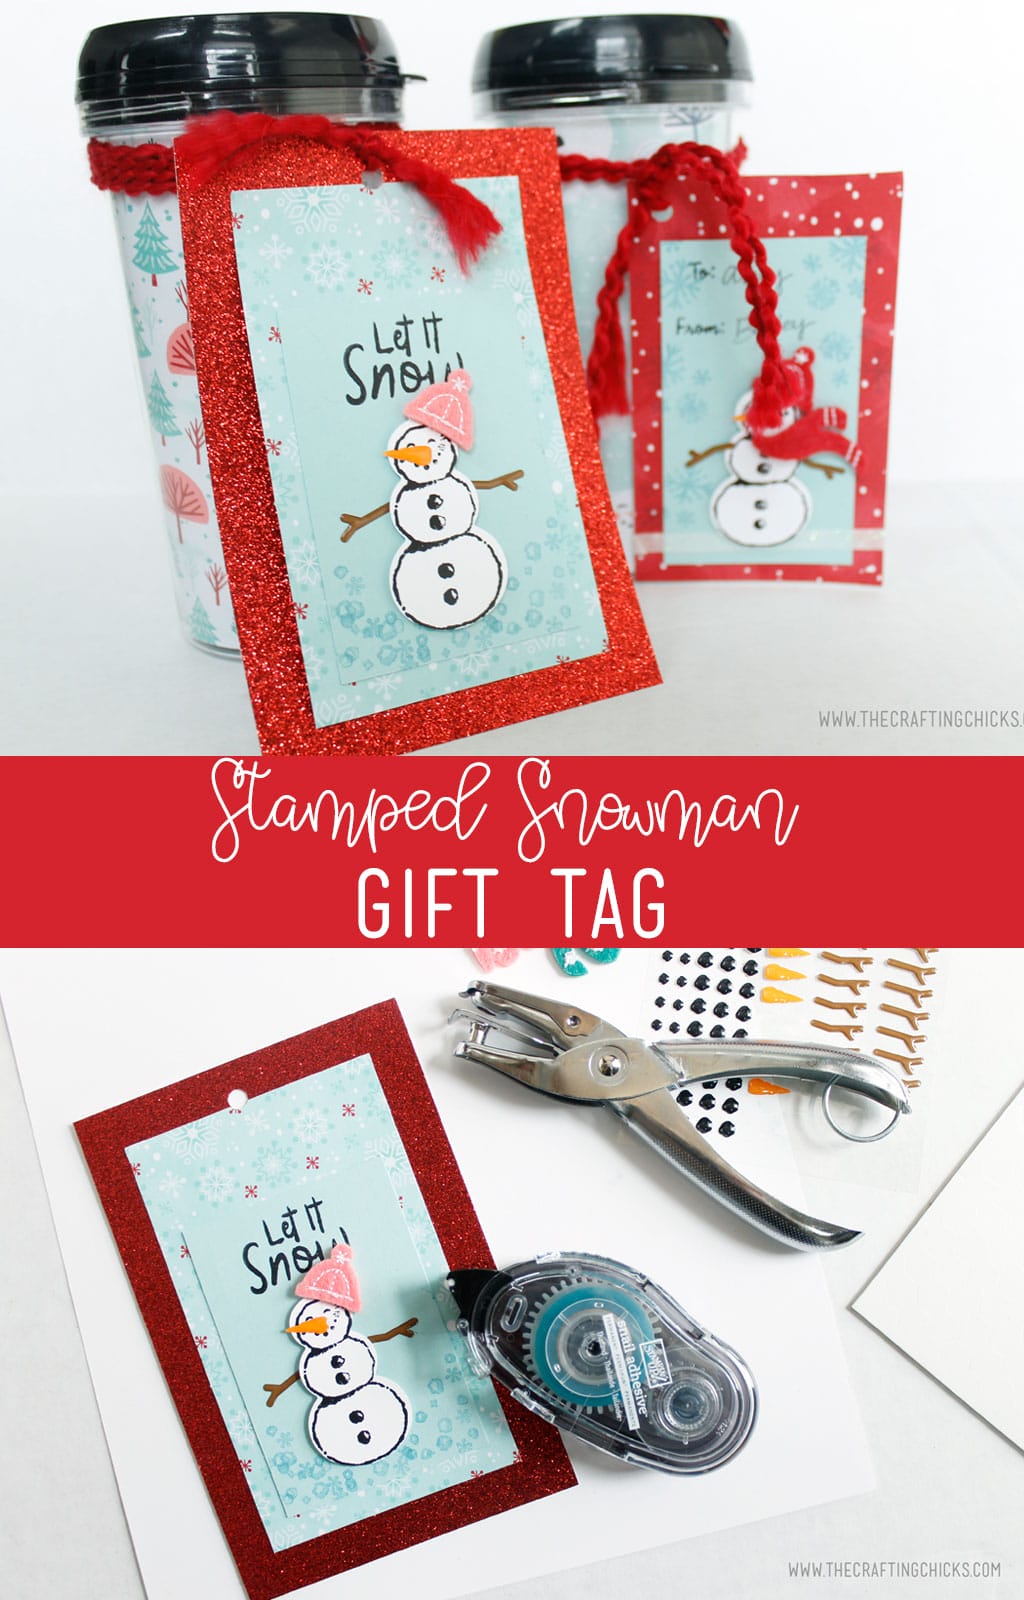
Give your gifts some extra flair with an adorable Stamped Snowman Gift Tag. The perfect way to add creativity to your gifts.
With the hustle and bustle of the season, sometimes it’s nice to sit down and do a little crafting.
I pulled out this adorable Snowman Season Stamp Set, and decided to make some fun tags with my daughters. They love crafting and I love spending time with them, so this was the perfect chance to slow down and be together.
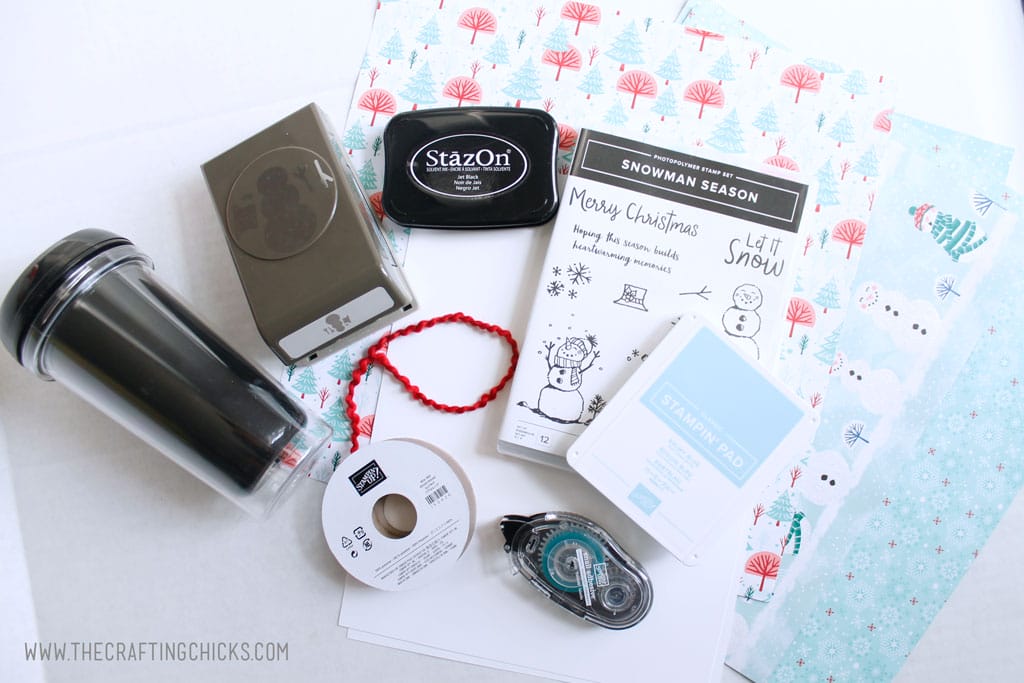
Here’s what you’ll need to make your own Stamped Snowman Gift Tag.
- Snowman Season Stamp Set
- Snowman Builder Punch
- Let it snow specialty Designer Series Paper
- Real Red Glimmer Paper
- Real Red Curly Ribbon
- Let it Snow Embellishment Kit
- Foam Dots
- Snail Adhesive
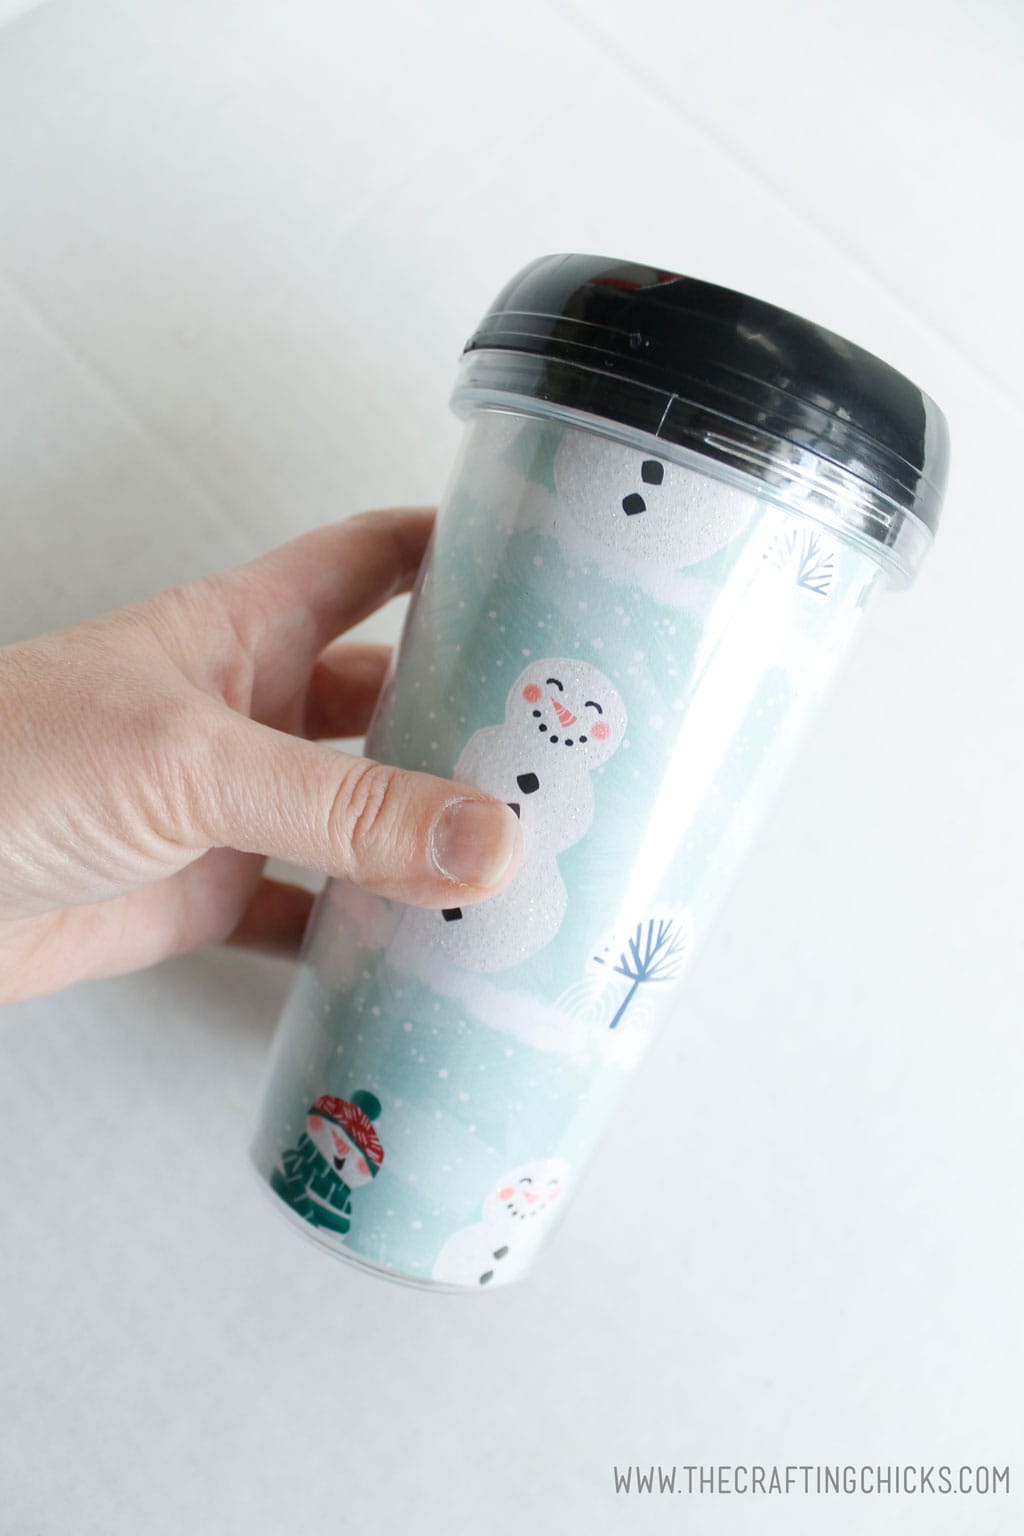
- DIY Mug
Making the DIY Mug
Step 1:
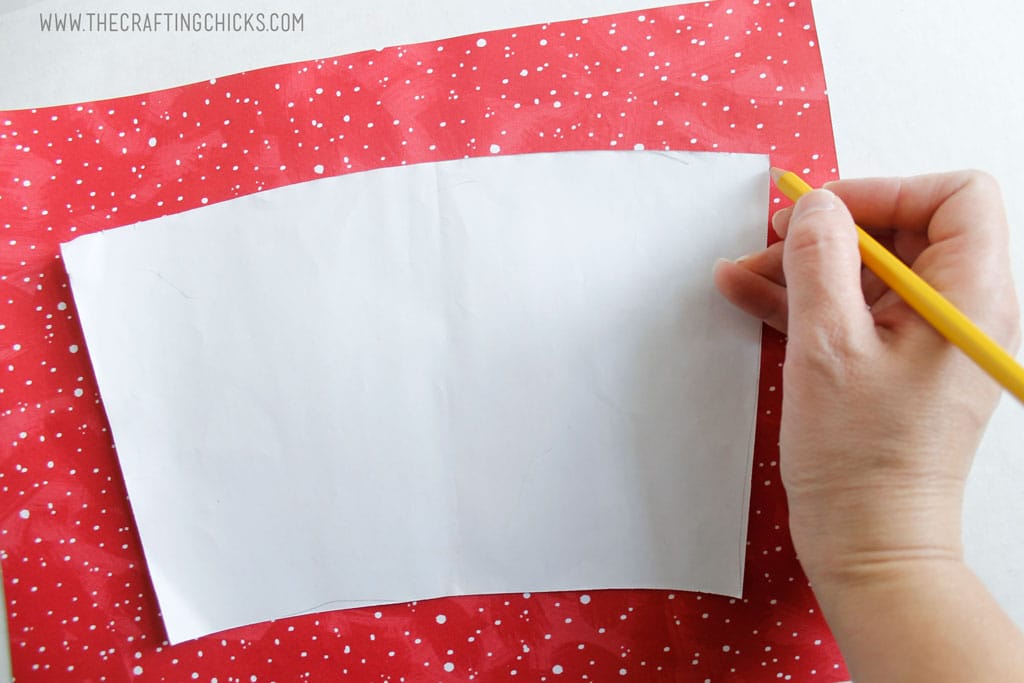
Start out by removing the template from inside the DIY Mug.
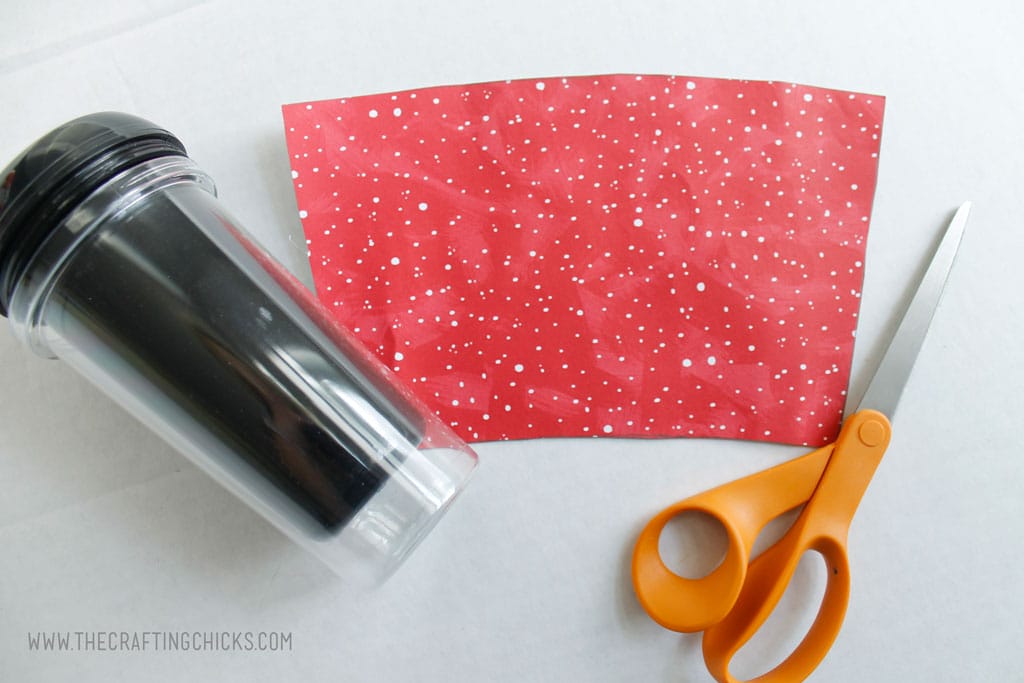
Place it on a piece of Let it snow specialty Designer Series Paper of your choice, and trace the outline.
Step 2:
Fold the cut out template to fit inside the DIY Mug.
Making the Stamped Snowman Gift Tag for the DIY Mug
Step 3:
Now we are ready to start making the Snowman Tag.
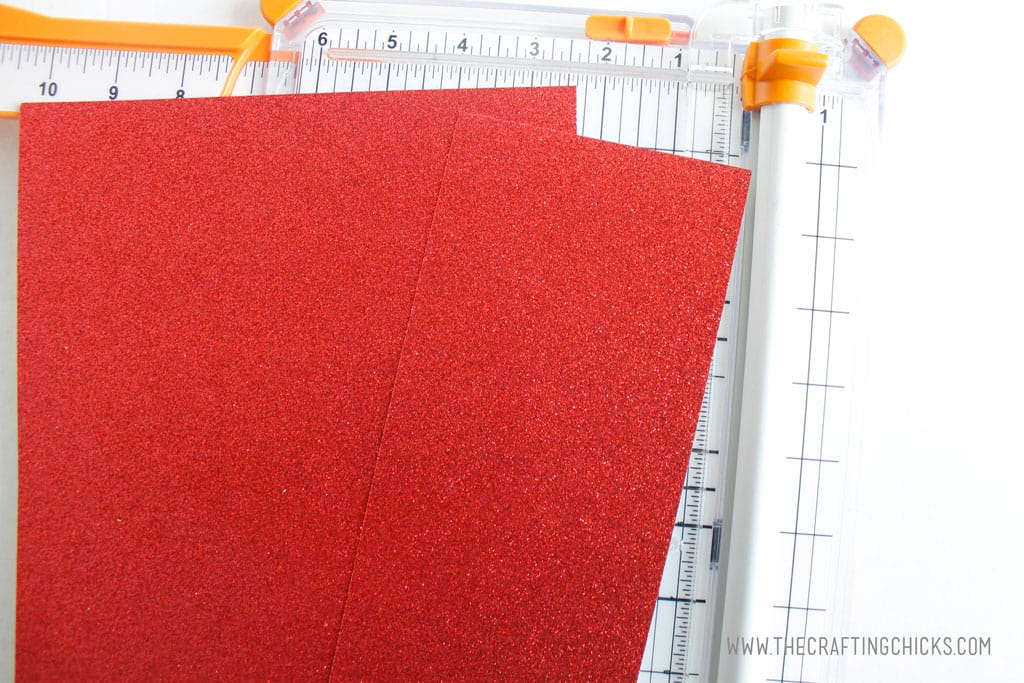
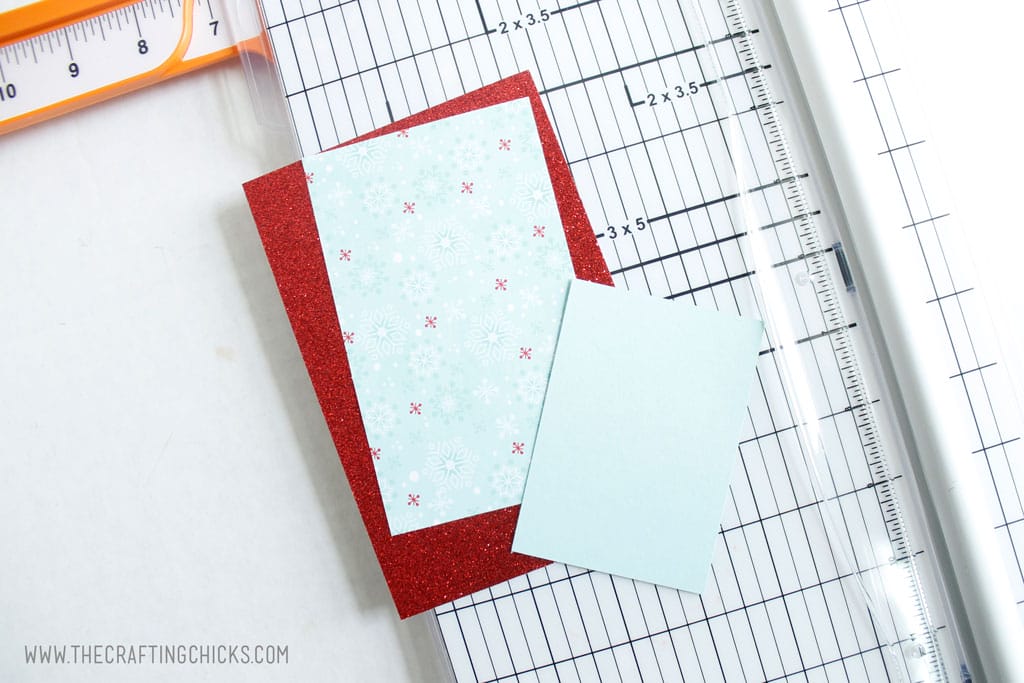
Begin by cutting the Real Red Glimmer Paper into 4″ x 6″.
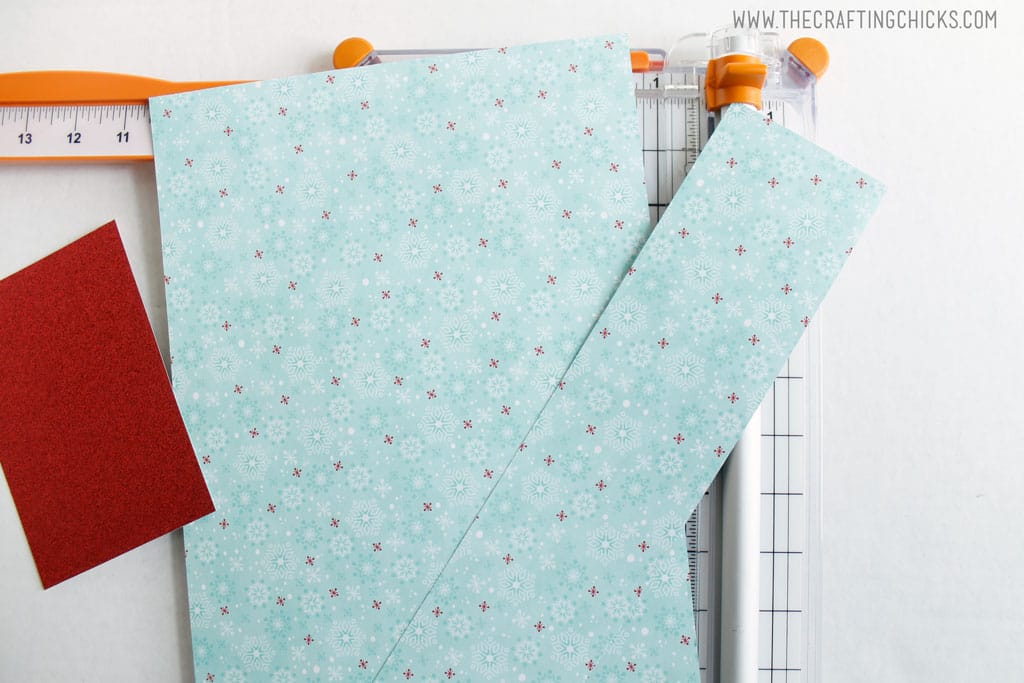
Then cut a sheet from the Let it snow specialty Designer Series Paper, into 3.5″ x 5″.
Next, cut a coordinating plain paper, like this blue, into 3″ x 4″.
Step 4:
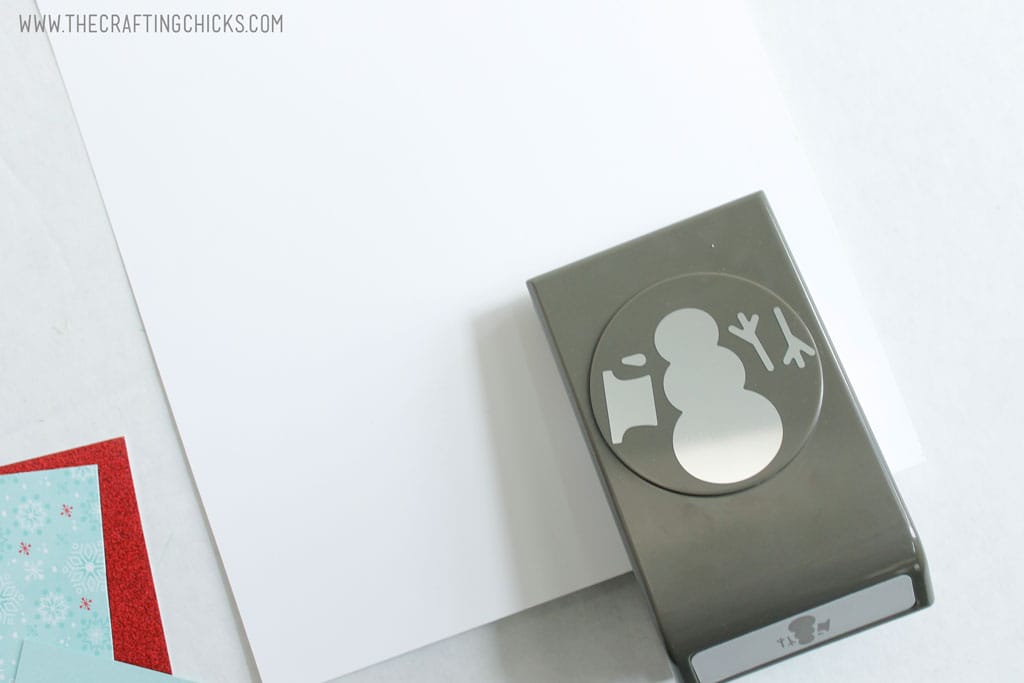
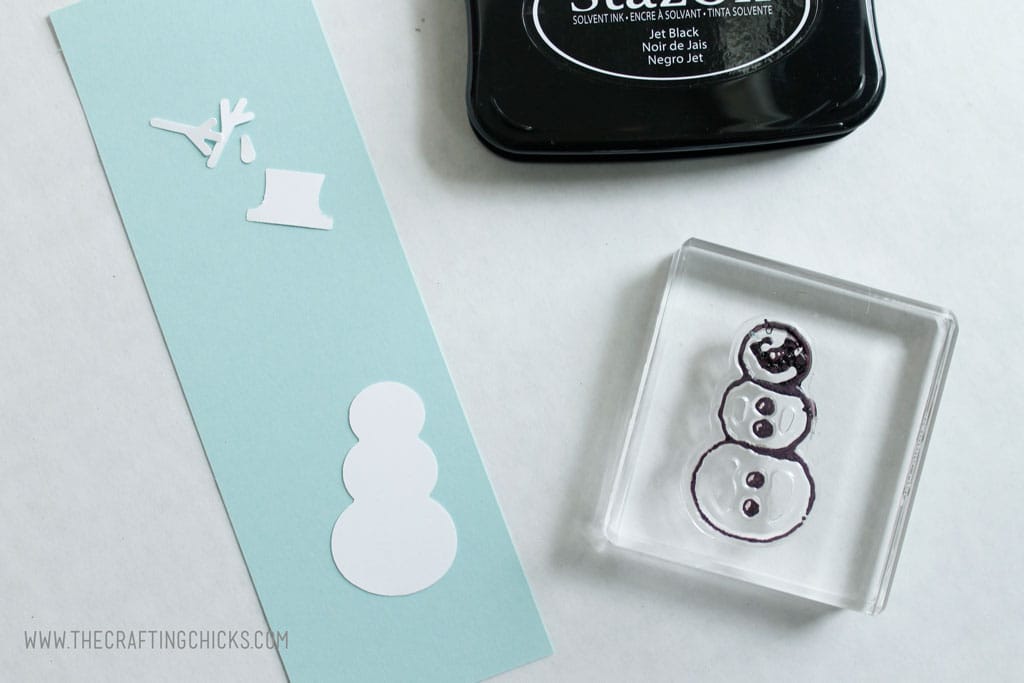
Take a piece of the White Paper Cardstock and, using the Snowman Builder Punch, punch out a snowman shape.
Step 5:
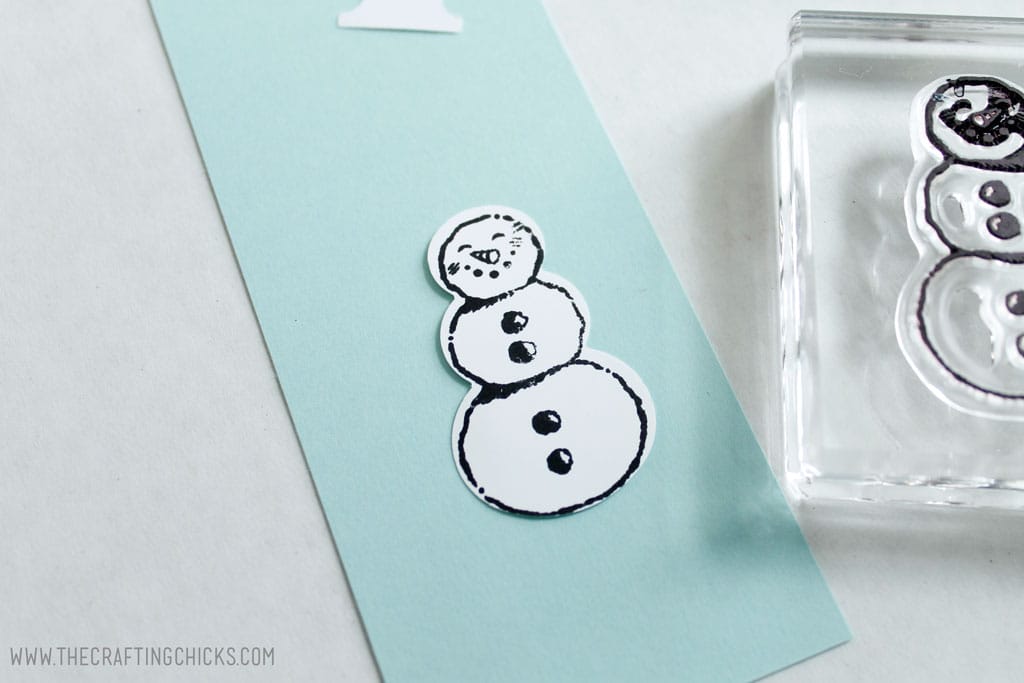
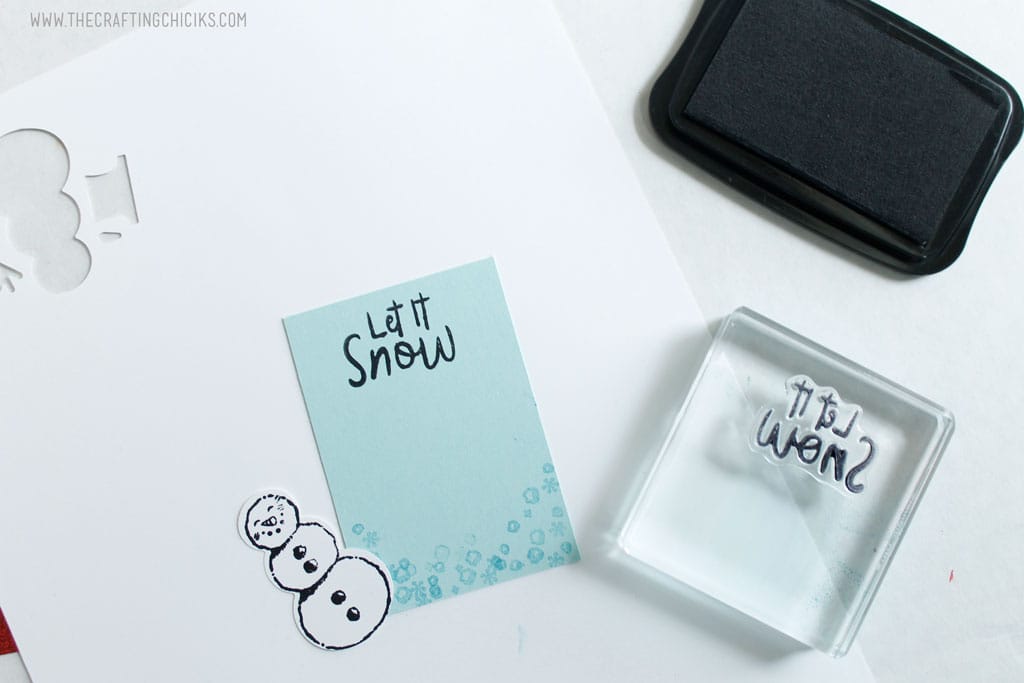
Choose the snowman stamp you prefer from the Snowman Season Stamp Set, and stamp onto the blue paper with black ink.
Step 6:
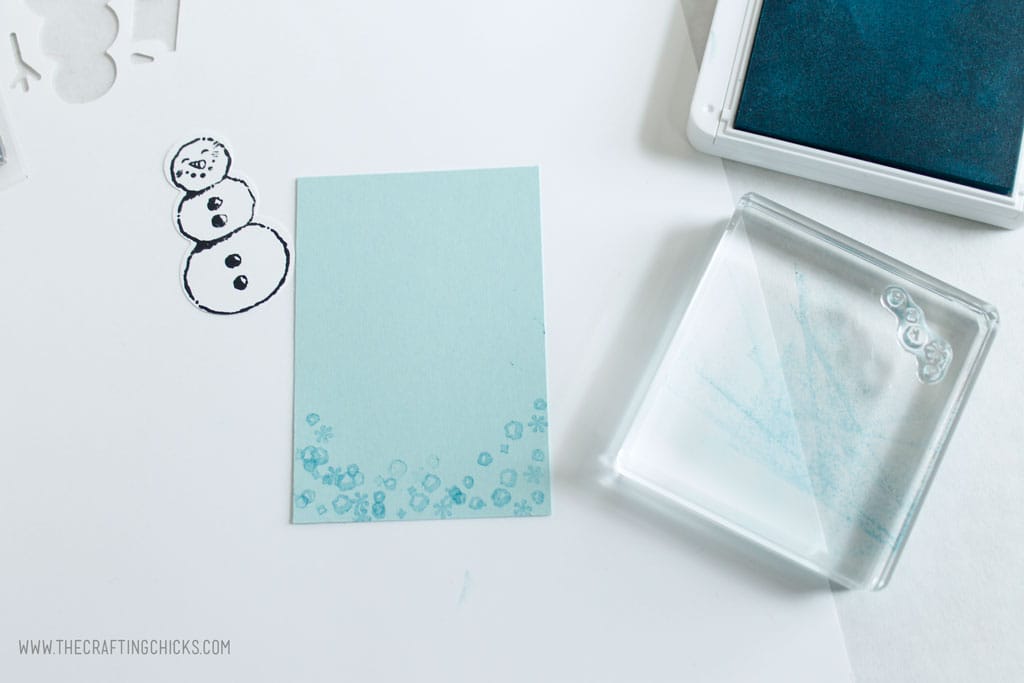
I wanted to add a little more to the blue paper before adding my snowman. So I took some blue ink and stamped snow from the Snowman Season Stamp Set on the bottom half of my blue paper.
Step 7:
To make this a gift tag, you’ll want to add a sentiment. I love that the Snowman Season Stamp Set comes with a few different options for these.
Step 8:
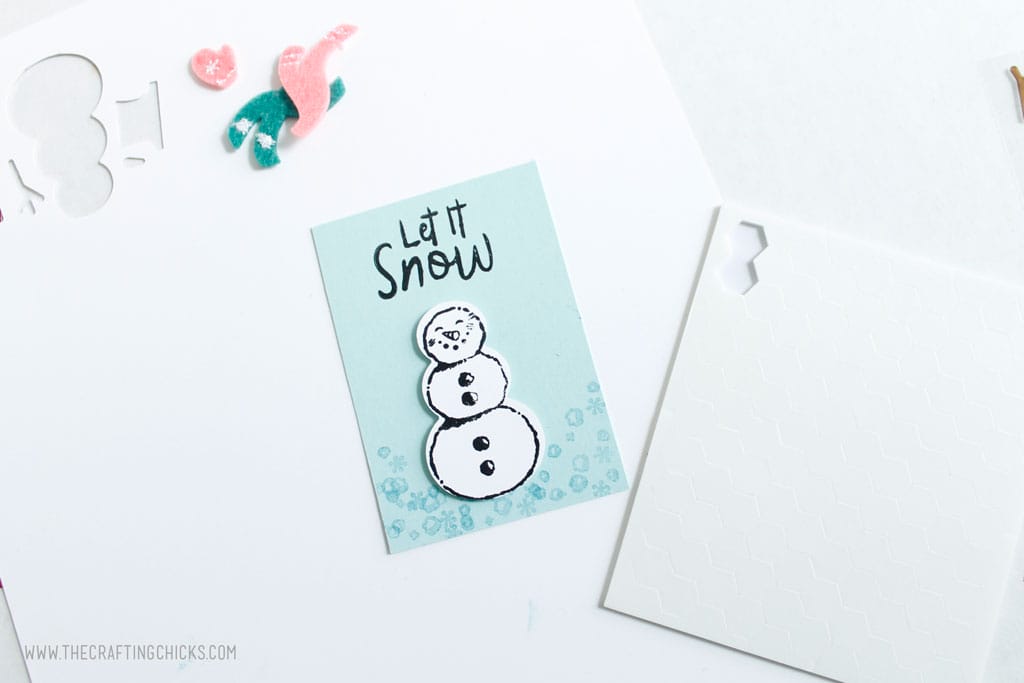
Add the snowman to the blue tag using Foam Dots.
Embellish your Snowman
Step 9:
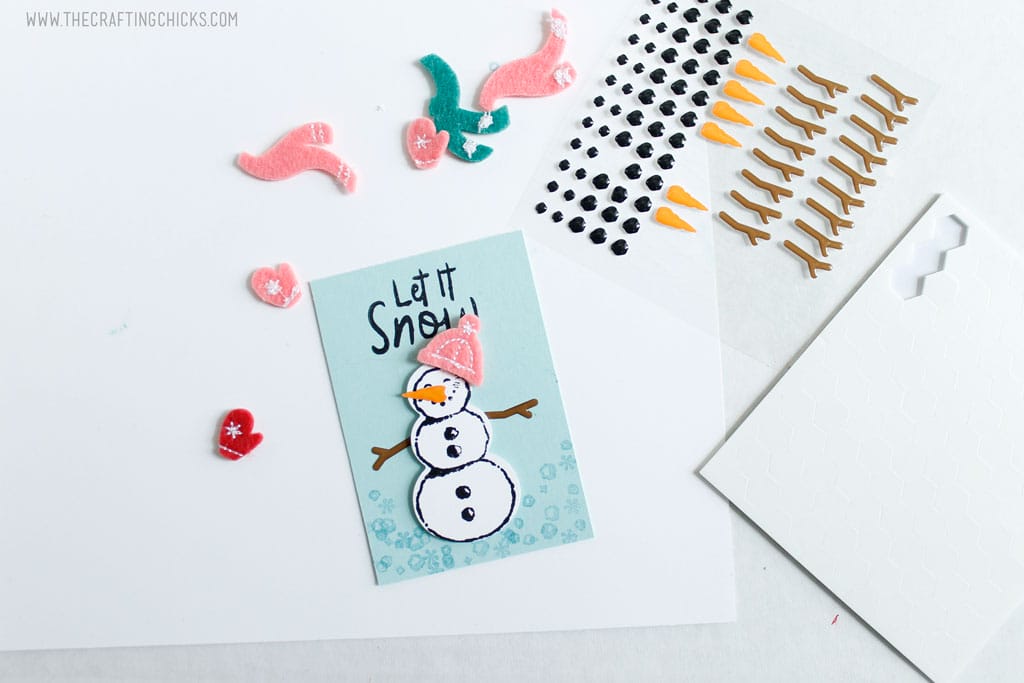
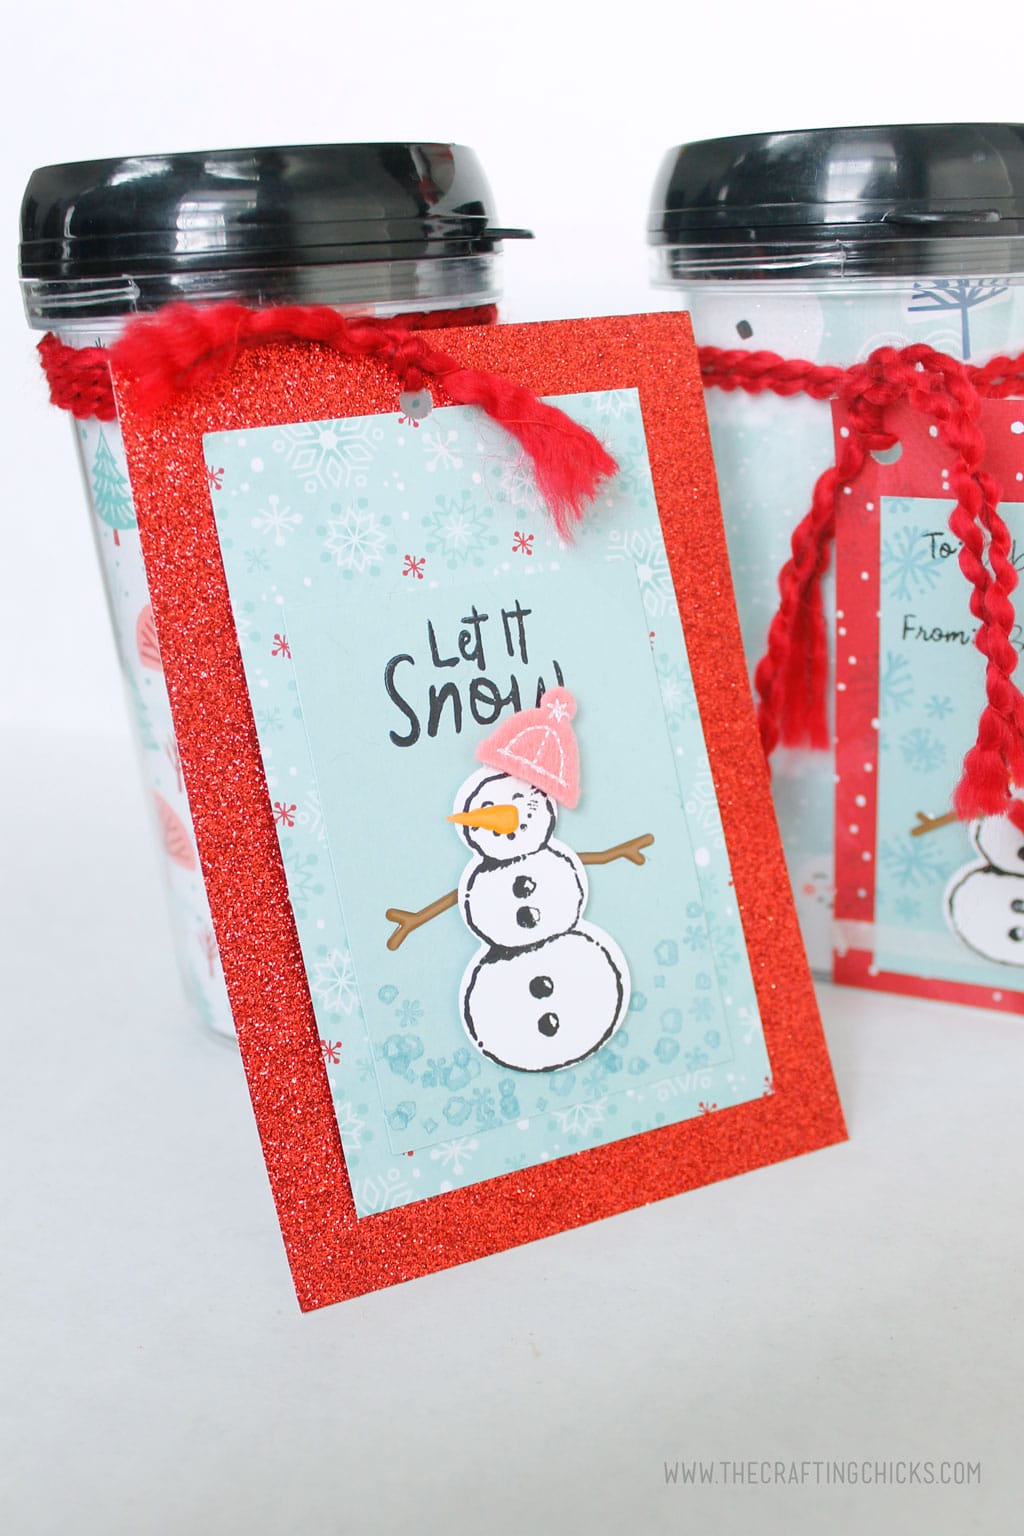
Now this is my favorite step. Add embellishments to the snowman with the Let it Snow Embellishment Kit. How cute are those felt scarves, hats, and mittens? And the enamel coal buttons, carrot noses and stick hands just make this snowman so dang cute!
Step 10:
Now that your snowman is decorated, it’s time to put the tag together.
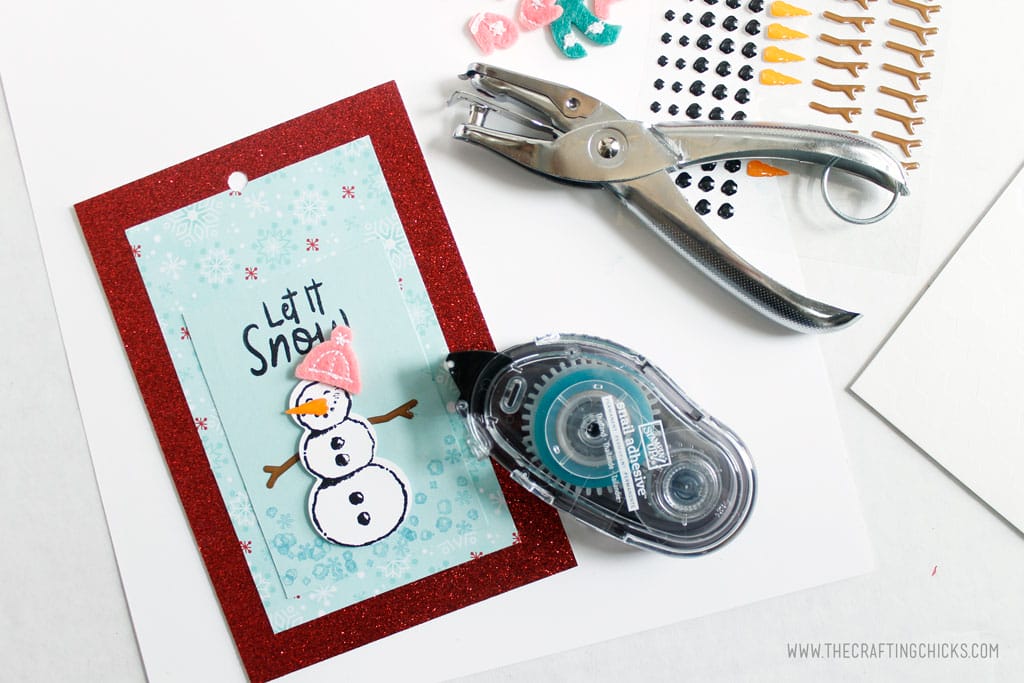
Just begin layering the papers. I ran a small amount of Snail Adhesive along each piece of the tag to secure it in place.
Punch a hole in the top of the tag and add to your DIY Mug using the Real Red Curly Ribbon.
And there you have it. One adorable Stamped Snowman Gift tag on a DIY Mug. Pair this with some of your favorite hot chocolate for the perfect handmade gift idea!
If you want to learn more about these products, contact a Stampin’ Up! demonstrator. You can easily find one near you by visiting www.stampinup.com and clicking on the “Find a Demonstrator” button.
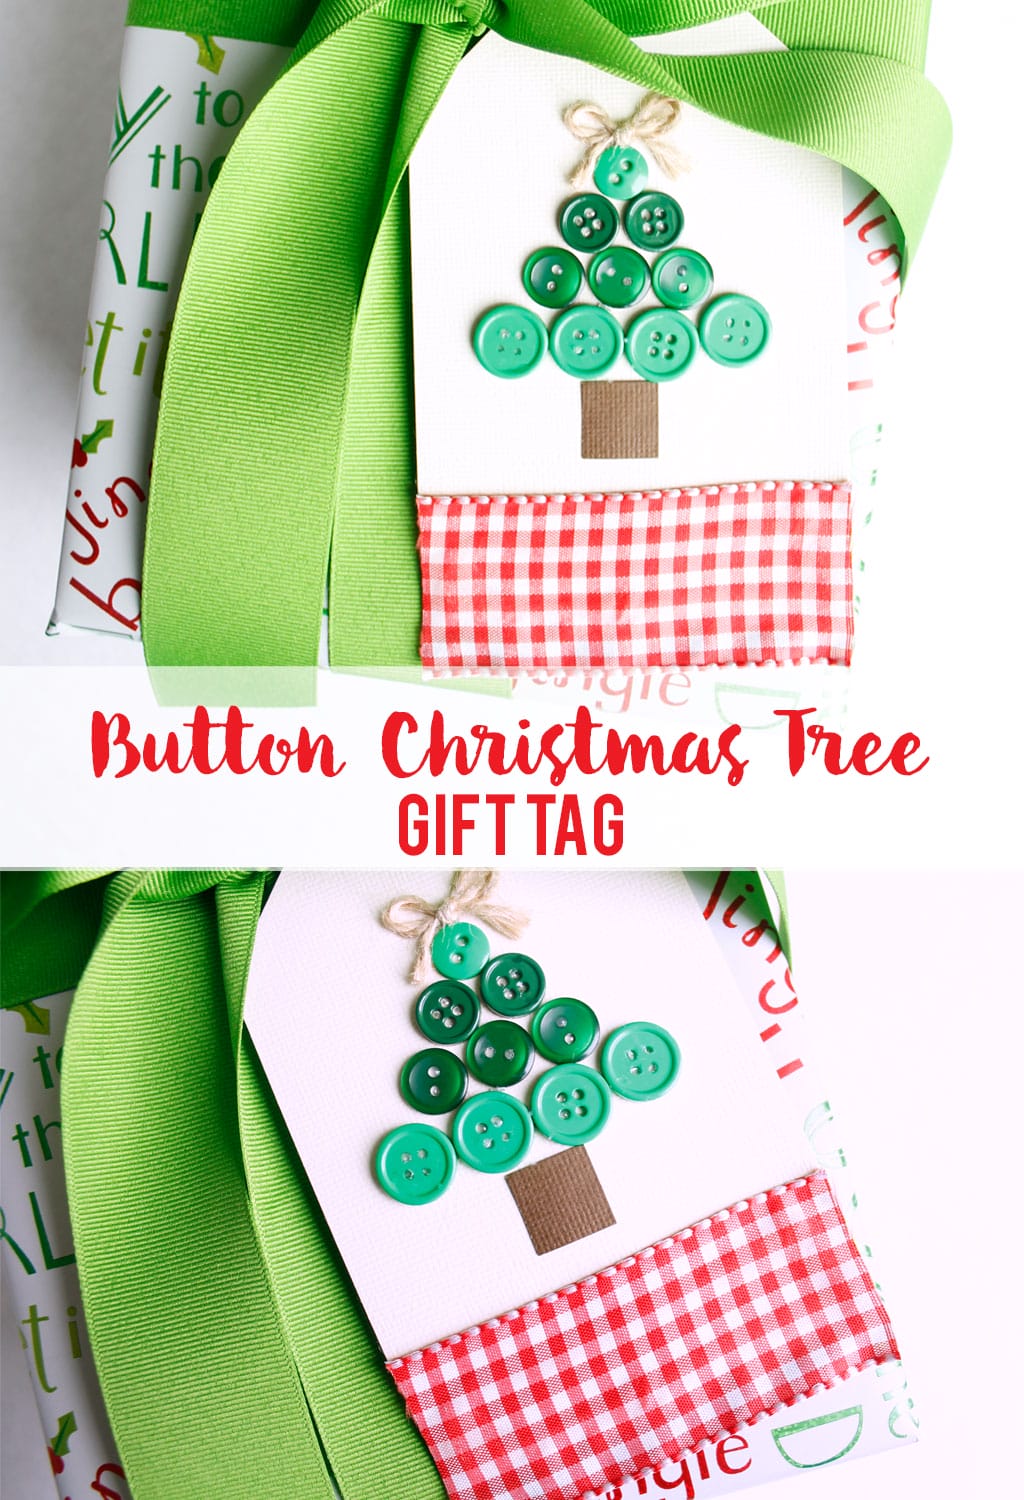
For more Christmas gift tag ideas, check out these posts.
18 Clever Christmas Printables
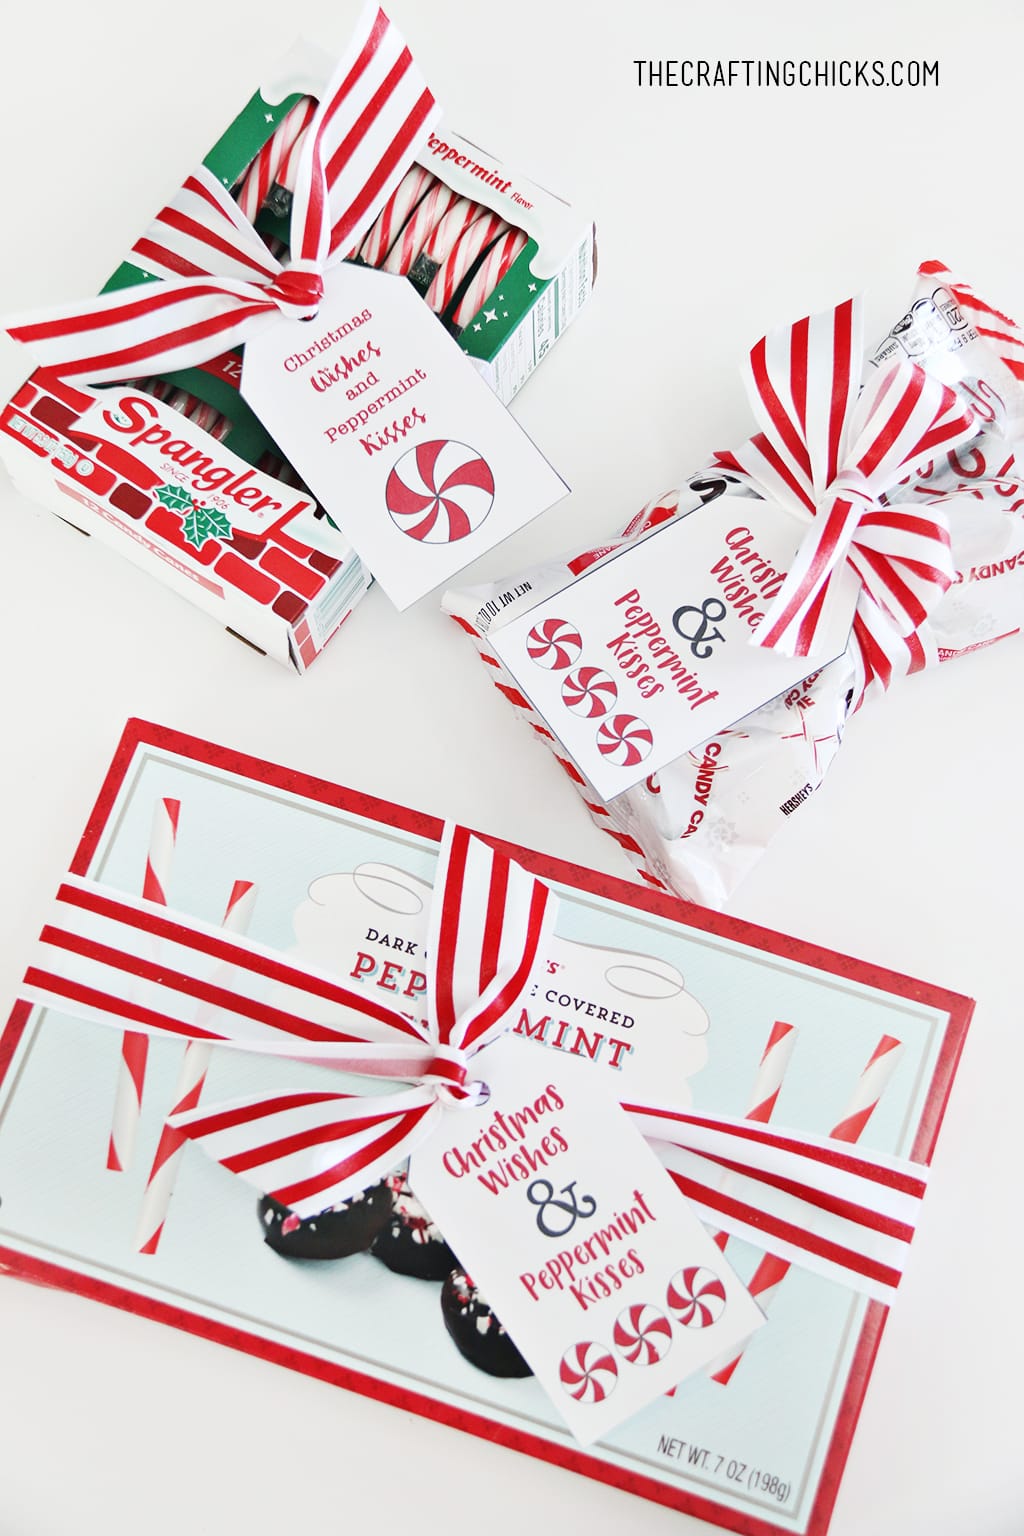
Peppermint Gift tag Free Printable

Leave a Reply