DIY Striped Blackout Curtains {using ScotchBlue Painter’s Tape with Edge-Lock Protector}
Last week I adored Becky’s darling Striped Frame she made using ScotchBlue’s new Painter’s Tape with Edge-Lock Line Protector. I’m back today with another painting project using ScotchBlue!
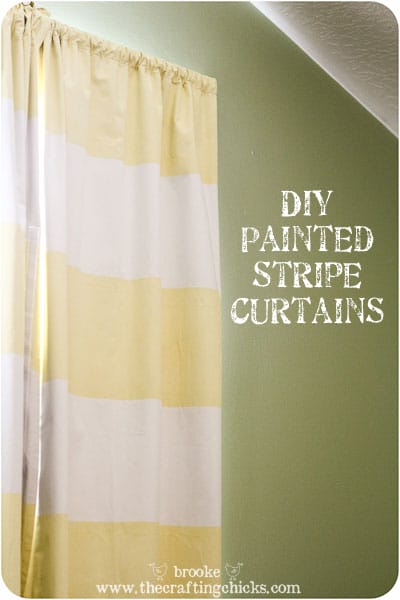
I have loved the stripe trend we’ve been seeing for awhile now in design, and I’ve been wanting to add some stripes in my home somewhere. When 3M contacted us about this great ScotchBlue tape it gave me the motivation to get a project done! 🙂 Enter Project: DIY Striped Curtains.
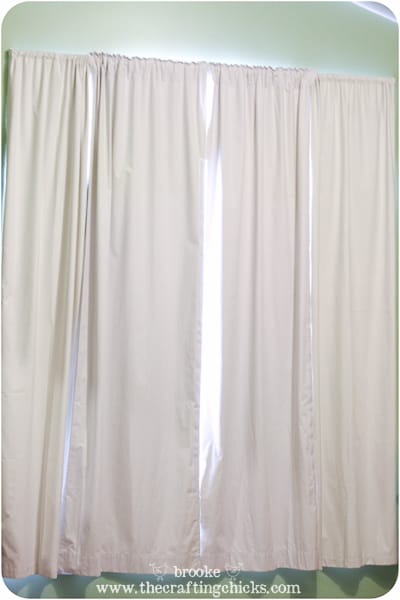
Our girls’ room has a large East-facing window with another semi-circular window above it that lets in a ton of natural light. I LOVE natural light, but I don’t love it so much when it wakes kids up super early or keeps them awake too late in the summer. 🙂 So for the past few years I’ve hung some blackout curtains to make the room nice and dark for sleeping. Plus it acts as an insulator to keep the room warmer in the winter and cooler in the summer.
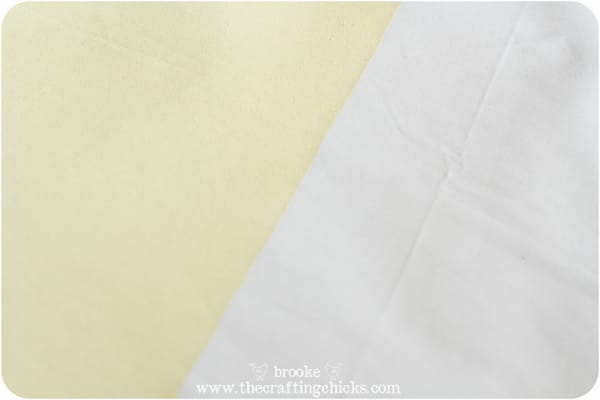
The only problem is that they were . . . well . . . boring. They were plain and white-ish, and I’d been planning on making some curtains to go on top of the blackout curtains to match the bedroom but let’s face it—I’m a busy mama and I just never got around to it. Then I saw some tutorials via Pinterest about painting curtains and knew that is what I would do: give those old blackout curtains a fresh makeover with painted stripes!
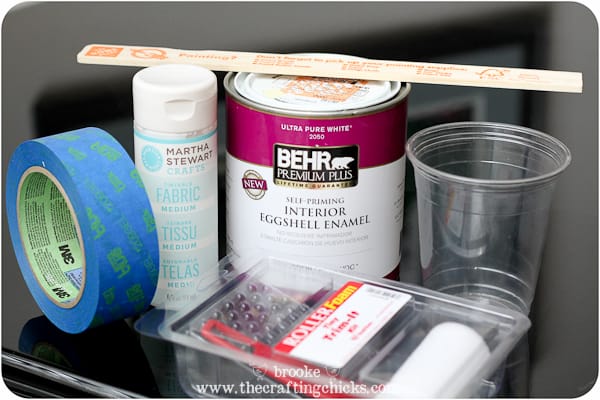
Here’s what I used for these DIY Striped Curtains:
- Curtains (mine were 4 panels of blackout curtains)
- Paint (I used a quart of eggshell latex paint in a pale yellow color)
- small foam paint roller
- ScotchBlue Painter Tape with Edge-Lock Protector
- Fabric Paint medium
- Paint stick
- plastic cup (for mixing the fabric medium & paint together)
- measuring tape and a pencil
First I’d recommending ironing your curtains. I skipped that step (hey, I don’t like ironing!) and regretted it. Lesson learned!
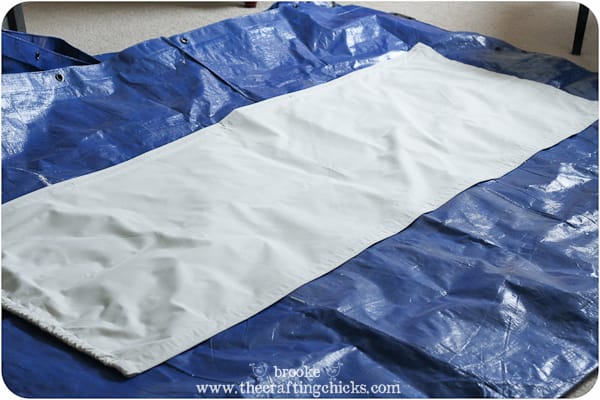
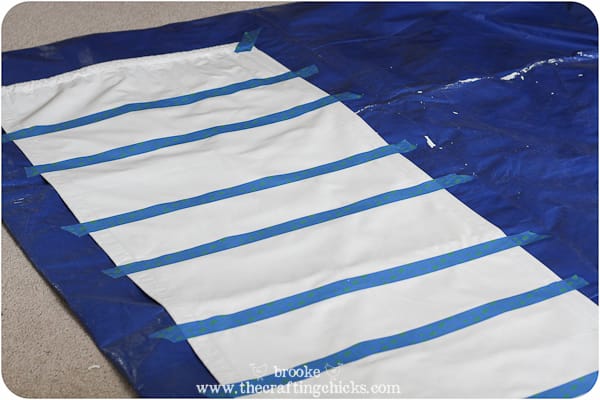
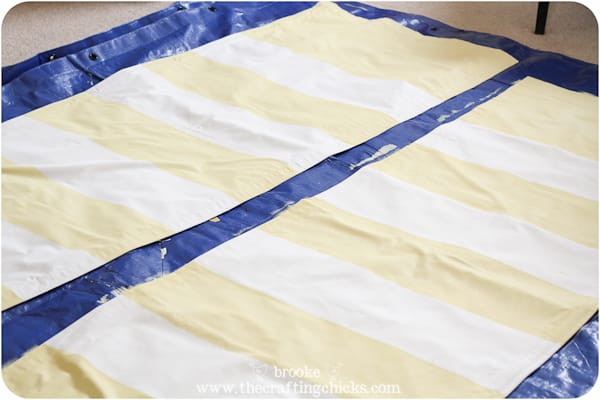
I laid out the panel on top of a tarp and figured out my measurements. I decided on an 8 inch wide stripe with a thicker stripe at the bottom of the panel. I marked every 8 inches lightly with a pencil and did it on both of the long sides of the panel.
Then I taped across the panel, lining up with my markings on each side. Remember to put the tape on the outside of the marks on the stripes you will be painting (that’s why some of those stripes look wider than others). I pushed down along the edge of the tape to make sure it was secure and tight onto the fabric.
Next I prepped the paint. When you use paint on fabric it is a good idea to use some sort of a fabric medium that you can mix in with the paint so that it doesn’t stiffen up on the fabric and make it super crusty. I found the Martha Stewart fabric medium at Michaels and followed the instructions on the bottle. Basically it’s 1 part fabric medium to 2 parts paint. I poured it into a plastic cup and mixed it on up—it doesn’t affect your paint color at all.
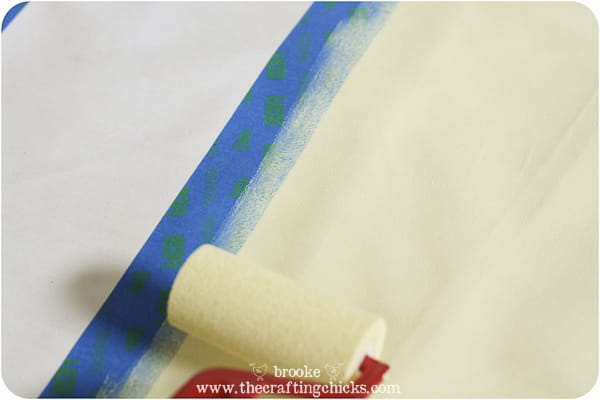
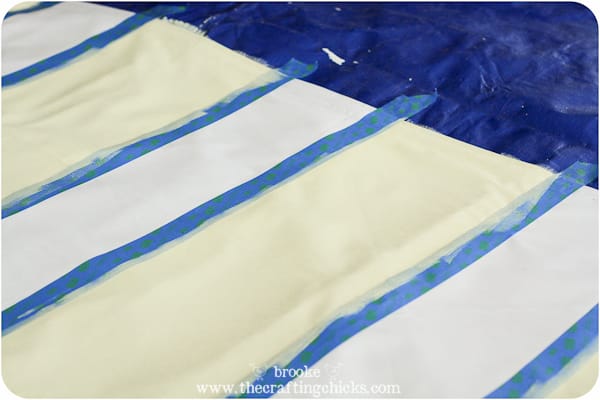
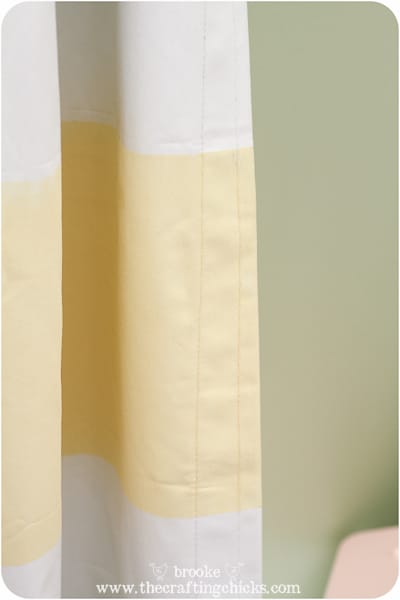
Time to bust out those stripes! I rolled the paint on with a small foam paint roller. Paint on an even coat and watch your boundaries with the tape! I only did one coat of paint and it turned out just dandy. You may want to do more than one coat depending on the look you’re going for.
**Can I share a moment of fear at this point? I’ll admit, while I knew that the ScotchBlue tape worked on a variety of surfaces I was a bit nervous that it wouldn’t really make crisp lines on fabric. I’d never done anything like this before and I was worried that it would be a miserable craft fail! So with my heart pounding I didn’t even wait for the paint to completely dry before I ripped off the tape to check my lines.
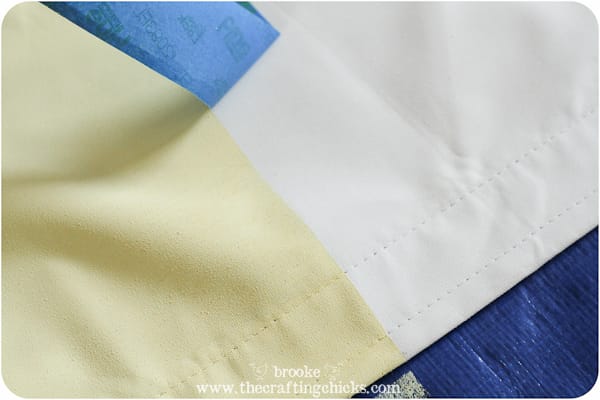
And what do you know? IT WORKED! YAY! I got awesomely crisp stripes on my curtains! YAY!
I’m pretty sure I danced a jig. Nope, I don’t have a picture of THAT.
Then I repeated the same thing on the other 3 panels. It really only took me a few hours to bust out this whole project!
(Bytheway, let the paint dry for 24 hours, then heat-set with your iron before washing.)
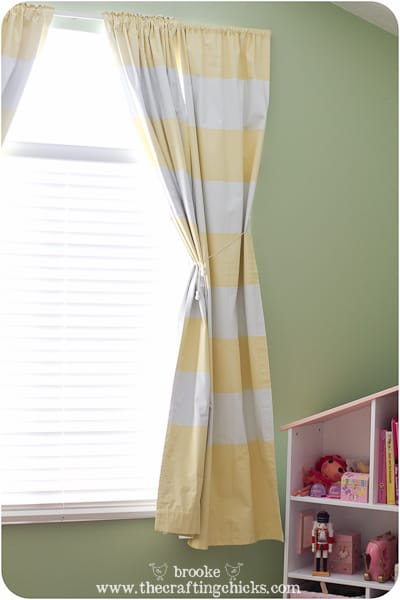
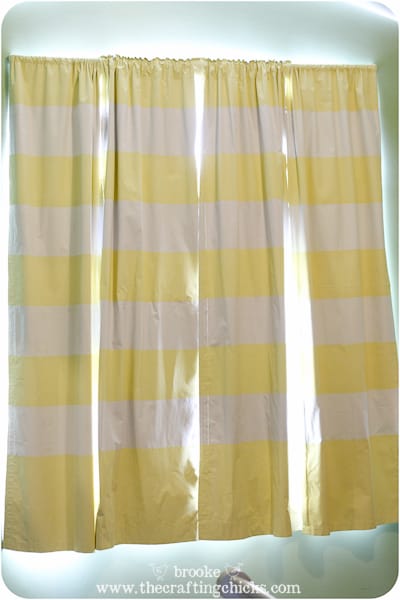
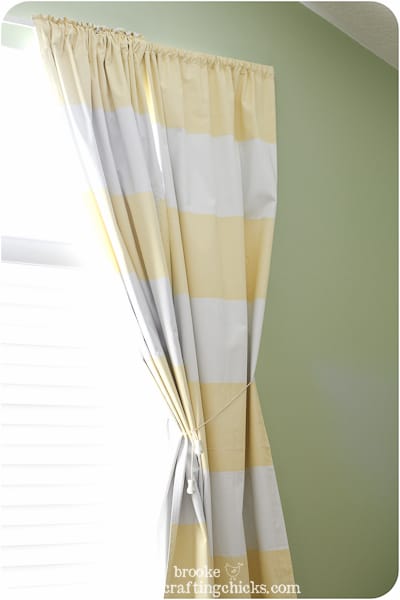
I was so happy when they were finally hung back up on the window, adding a fresh new look compared to the tired/boring old drapes from before.
(It’s hard to take pictures of blackout curtains, lol!)
Bottom line: I loved using ScotchBlue Painter’s Tape. It didn’t leave any residue or stickiness. It came off super easy. It left a deliciously crisp line. It adhered pretty well to the fabric, only a few little spots bled because I didn’t double check them, but no biggie. It helped me cross off something I’d been wanting to do from my never-ending project list! 🙂
Right now at Home Depot stores you can get a rebate for a buy 2 get 1 free on the new ScotchBlue Painter’s Tape with Edge-Lock Paint Line Protector. Better hurry in and snag this deal before it’s gone next week!!
Now I’m looking for more things to stripe-ify! 🙂 What will you do with ScotchBlue?
This post was brought to you in partnership with 3M and ScotchBlue Painter’s Tape. I was compensated by the advertiser to write this post, but my thoughts, opinions and words are my own. Twitter Handle: @ScotchBlueBrand Campaign Hashtag: #ScotchBlueEdgeLock Brand website: http://www.scotchblue.com YouTube page: http://www.youtube.com/

Super cute curtains and a great tutorial!
These curtains look awesome! Thanks for the great tutorial.
These curtains turned out SUPER CUTE! I’ve been wanting to do something similar to the curtains in my spare bedroom but, wasn’t quite sure what yet. This gives me a great idea & proves that making the stripes isn’t that difficult after all! Great job & thanks for sharing!
Do you think this would work on basic duck or twill fabric, or even dupioni silk? Is these any thing I can put in the paint mixture to make it shinier? I’m going for orange stripes on the dupioni silk. thanks!
Do you think this would work on basic duck or twill fabric, or even dupioni silk? Is these any thing I can put in the paint mixture to make it shinier? I’m going for orange stripes on the dupioni silk. thanks!
Michele
I love these! We’ve had blackout curtains for my daughter since she was born 2 1/2 years ago… They’re okay, but definitely not adding any pizzazz to the room. I might have to try this. Awesome!
The curtains turned out so cute, I love the color! I’ve been wanting to paint my living room curtains, maybe I’ll get brave and give it a try. 🙂
I never would have thought of painting my curtains but this looks fairly easy and adds a lot of character to the room. Thanks for sharing.
lexmallabooks.com
Fantastic, fantastic, fantastic! So happ I found this {and repinned it} on pinterest. 🙂
Cute! I sewed mine together and put curtains over them already, otherwise I would do this.
I never leave comments but wanted to let you know that your style sheet is not working on Chrome. I use Windows 7 and Chrome, and I am pretty sure Chrome is the most popular browser. I had to go over to IE to read your website. 🙁 Just trying to be helpful 🙂
Thanks for the heads up! We will get that worked out. 🙂
Painting curtains is so easy, and I love the versatility of it. Great job!
I painted my curtains too! 🙂
http://owensolivia.blogspot.com/2011/09/faux-ombre-chevron-curtains.html
These curtains came out beautiful!!
Hi –
Just stumbled on this while looking for the perfect pale yellow stripe blackout curtains and now am feeling inspired! Are the blackout curtains fabric? If so, where did you find them?! The only ones I have been able to find are a not-so-pretty plastic like kind!
Thanks!
Loved your tutorial. I’m about to attempt this project tomorrow morning with my boyfriend and we’re making black stripes. I’m just a little nervous because we bought a quart of black paint. I hope it’s enough! Thanks for posting!