Michaels Holiday Dream Tree Challenge REVEAL!
HERE IT IS!!
It’s been a whirlwind of a week as I’ve worked hard to create a dreamy Christmas tree using products from Michaels Stores—all part of their Holiday Dream Tree Challenge. On top of that, throw in my daughter’s 7th birthday, pulling off a surprise birthday party for that special 7 year old, helping some family members move, and then having our basement flood and having to take care of all of that mess, and I can promise you that I am looking forward to resting and relaxing this Thanksgiving. 🙂 I’m really excited today is the day to reveal my tree!
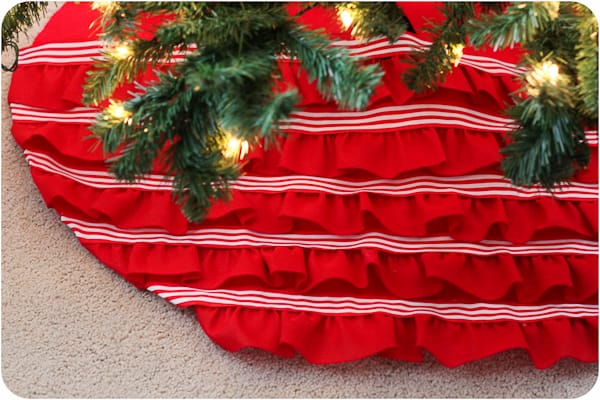
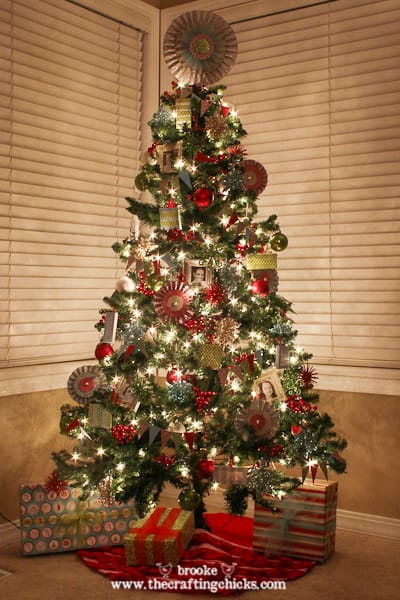
I’ve already shared my No Sew Ruffled Tree Skirt with you as a little sneak peek, now I’ll show you more of the tree details close up!
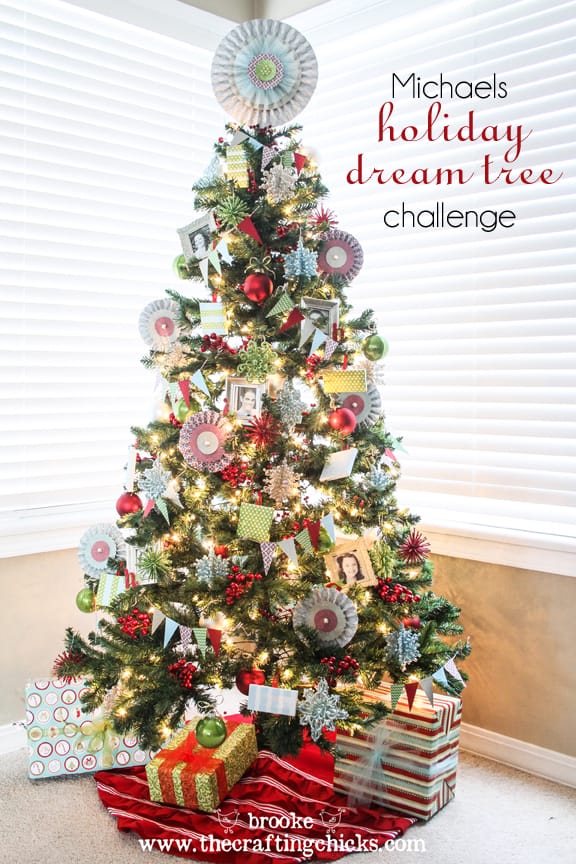
You can see I went with a favorite color palette of mine that I’ve always loved for Christmas: red, sage green, turquoise, and some silvers/golds. I added in LOTS of glitter, some fun patterns and cute projects that I handmade along with some help from my mom and my grandmas at a family dinner the other night. 🙂 It’s so fun to get creative with my family and I was thankful for their help, especially my mom who stayed up way too late with me putting everything on the tree! Thanks MOM!
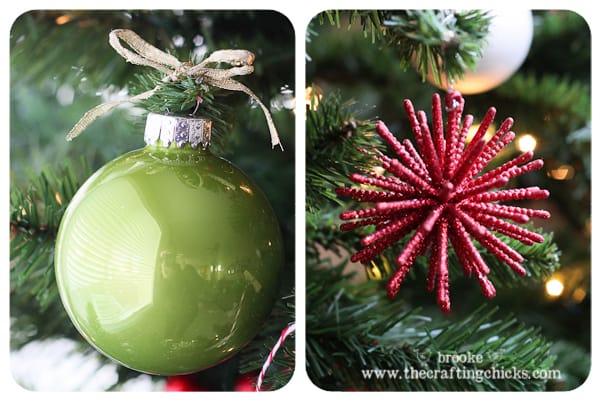
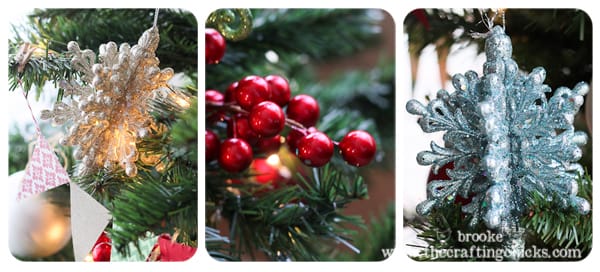
Here are some of the lovely elements on the tree, all found at Michaels:
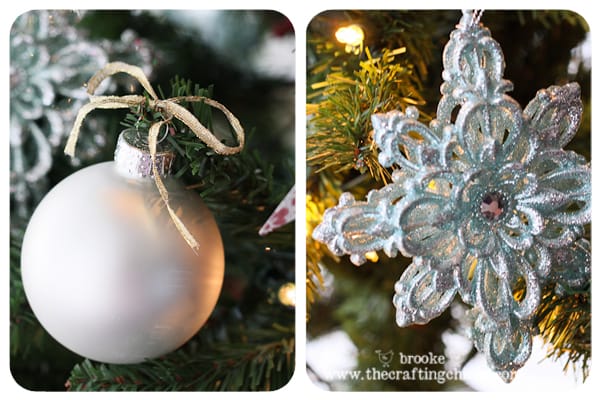
round glass ornaments (red, matte silver/cream, green)
thin wire gold ribbons in bows on top of the round ornaments
sparkly glitter snowflakes (silvery/gold, turquoise, aqua)
Glitter starburst/swirly ornaments (red and bright green)
thin red berry garlands (wrapped around the tree trunk in the middle)
red berry clusters
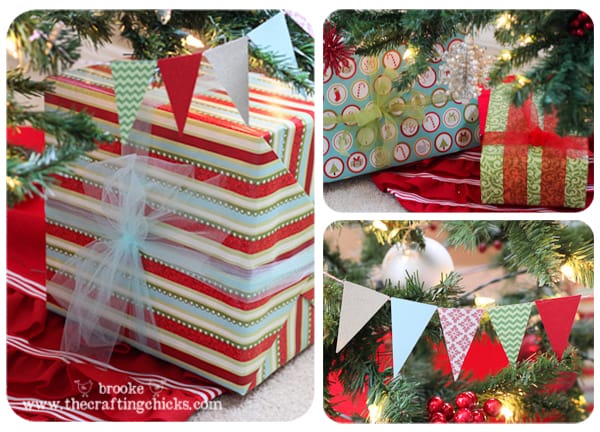
cute coordinating gift wrap
I love how bright and sparkly and cheerful this tree is, and how all of the elements came together in way that was pretty close to my vision of how I wanted it to look! Now, I’ll highlight the handmade projects for the tree.
TREE TOPPER
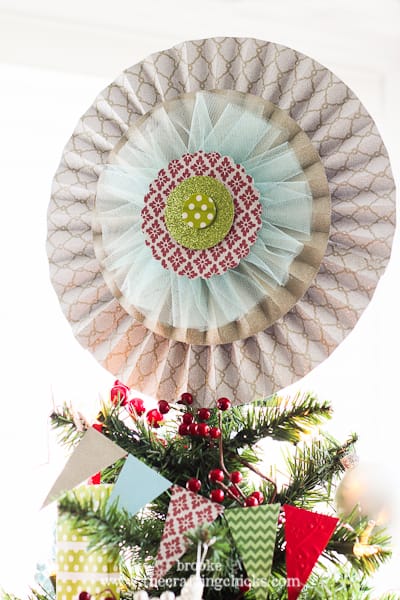
Michaels had some beautiful star tree toppers but I decided to get crafty and make one myself. I always love paper lollies (or medallions or rosettes or accordian circles) and knew it would be a perfect topper. I used glittery, shimmery scrapbook paper, from Recollections called “Holiday Glitzy Glitter” paper pack. You guys, this paper is GORGEOUS!! The pictures don’t do it justice.
Kami from No Biggie has a great tutorial on how to make paper lollies so I won’t go into details on how to make them. The biggest one is about 12 inches in diameter. I layered two paper lollies, then used a layer of turquoise tulle ribbon gathered up, then used some paper punches (found at Michaels) to create some scalloped circles topped with smaller circles. The green and white polka dot is made from washi tape I found in the scrapbooking section! I love how this paper lolly tree topper ties in all of my colors.
MINI PENNANTS
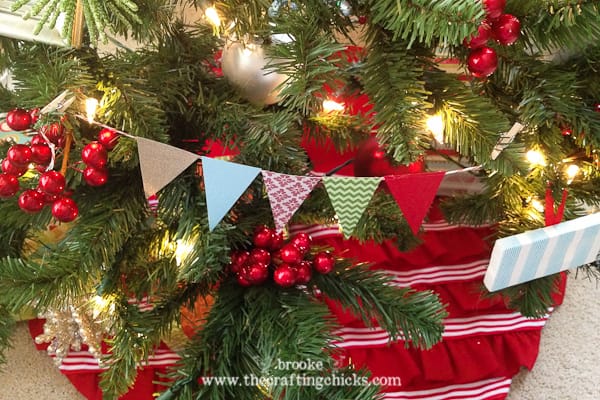
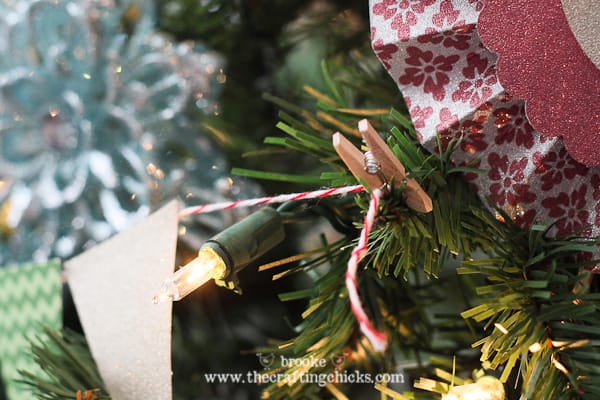
I can’t get enough of mini pennants and banners. I don’t think I’ll ever stop loving them. My dream tree would definitely include them! I used some of the Recollections “Holiday Glitzy Glitter” paper, embossed red paper, plain turquoise cardstock and some fun green chevron by K & Company at Michaels.
I found Martha Stewart bakers twine in red (comes in a pack with red, brown and green) and hot glued it on the back of a variety of triangles. Next I grabbed a few packages of mini clothespins (aren’t they darling!) to hang them all over the tree. LOVE.
FESTIVE PAPER LOLLIES
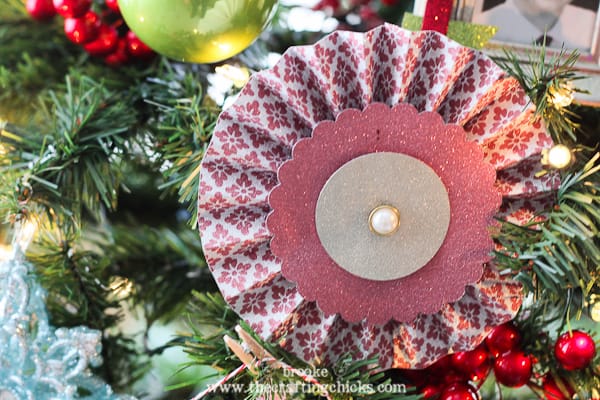
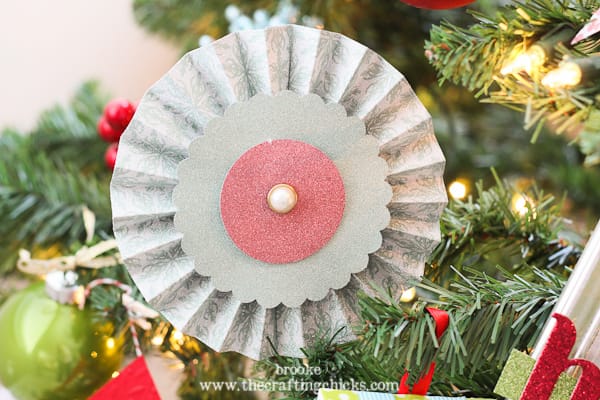
To coordinate with the paper lolly tree topper I created some smaller paper lollies using the same “Holiday Glitzy Glitter” paper using the same technique. Paper punches for the scalloped and regular circles layered on top, then a pretty pearl and gold brad in the center.
MINI CANVAS
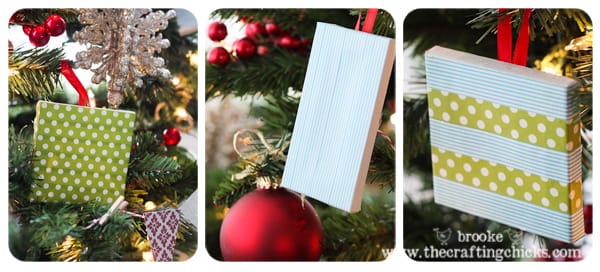
I found these adorable mini canvases (come in packs of 4 in square and rectangle) and knew I wanted to somehow use them for the tree. This was a super simple project that has lots of possibilities! All I did was cover them with strips of washi tape! They remind me of little presents. I hot glued some thin red ribbon on the back to hang on the branches.
MINI FRAMES
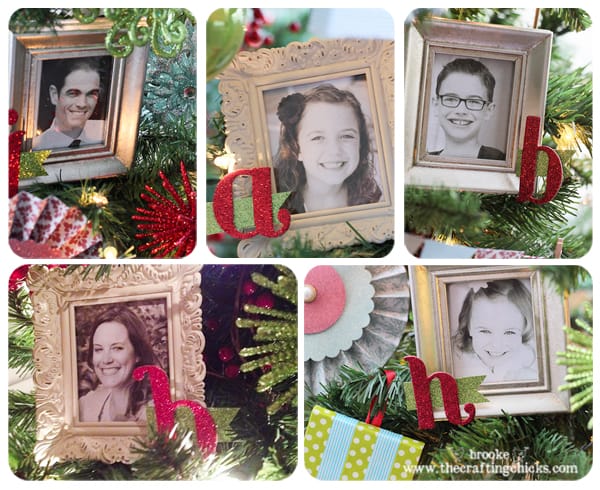
I wanted to make this sort of a fun “family tree” and include some photographs of our family. I’m actually planning on adding more extended family photos later. I used cream and pewter mini frames from Michaels–they are 2.5 x 3 inch frames. I printed photos in sepia to go with the goldish/silver tones in the tree.
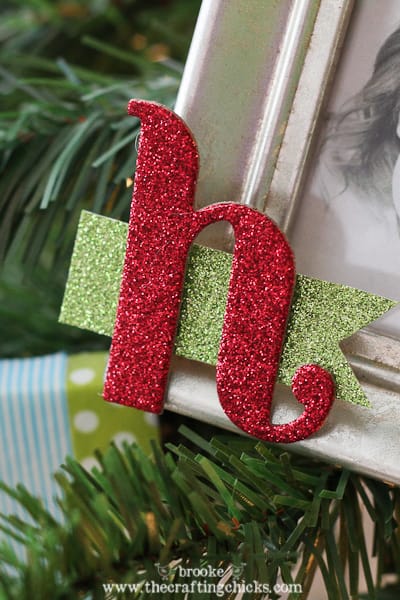
To continue with the glitter theme I cut some simple tags out of green glitter paper and topped them with each person’s initial in red glitter (alpha found in the scrapbooking section of Michaels). A dab of hot glue attached them to the frame and I love how it finished it all off.
The tree looks completely magical at night with the twinkly lights shining on the glitter and sparkly papers and photos of my sweet family. It really is a dream tree to me! 🙂
I loved participating in this challenge and I am excited to see the trees created by fellow blogger friends! Michaels will be sharing them later on their social media outlets: Facebook, Twitter, and Pinterest.
*********************
Posts in this series:
Intro to Michaels Holiday Dream Tree Challenge
No Sew Ruffled Christmas Tree Skirt
Michaels Holiday Dream Tree Challenge Reveal
*********************
Happy Holidays to you all!
Looking for more inspiration, be sure to check out all of our dream trees:
Red, Black and White Christmas Tree
Turquoise and Silver Dream Tree
Disclosure: This is the third post in a series of posts sponsored by Michaels Stores. I was provided with gift cards and free product in return for participating in this challenge. All thoughts and opinions are my own–I shop at Michaels often so I’m no stranger to their awesomeness! 🙂



I love it….especially the pennants with the mini clothespins SO CUTE!
WOWZA!!!!!!!!!!!!!!!!! It is GORGEOUS!!!!!!!!!!!!!!!!!
So Beautiful!! The right decorations can make something simple turn into amazing!!
That is simply GORGEOUS, Brooke!
I love every single square inch of it!! The mini pennants and photos are definitely a must on any tree!
The stuff you made is my favorite. I love the paper lollies and pennant.
Lovely!!
danielle
gorgeous. you are SO talented. loving those lollies.:)
So pretty Brooke! 🙂
This tree is fabulous! I love all of the personalized elements that you included, especially the picture frames!
Oh..love all these details. The little bunting and glittered letters on the frames are perfect!! Will have to check out that paper collection!!
WOW!!!! I love it- especially the pennants with the mini clothespins! I’ll be copying you again!
Oh my goodness…so pretty and such great ideas..thanks for sharing.
Well done! Your tree looks beautiful!
Monogramming the picture frames was a great touch of personalization. Great job!