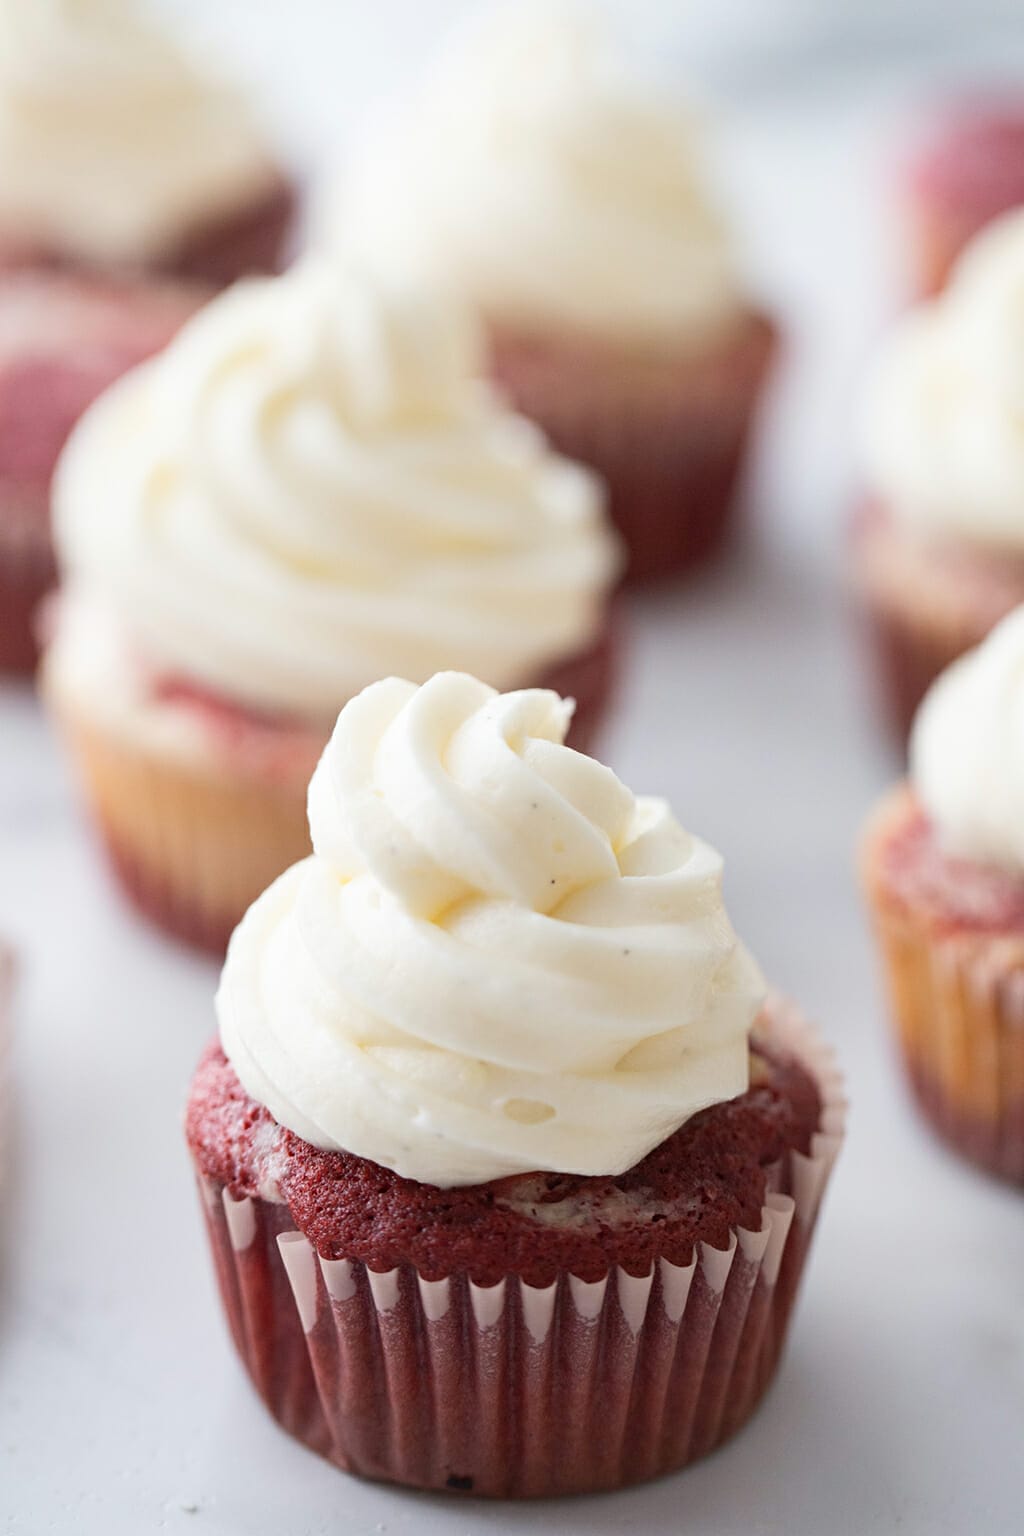
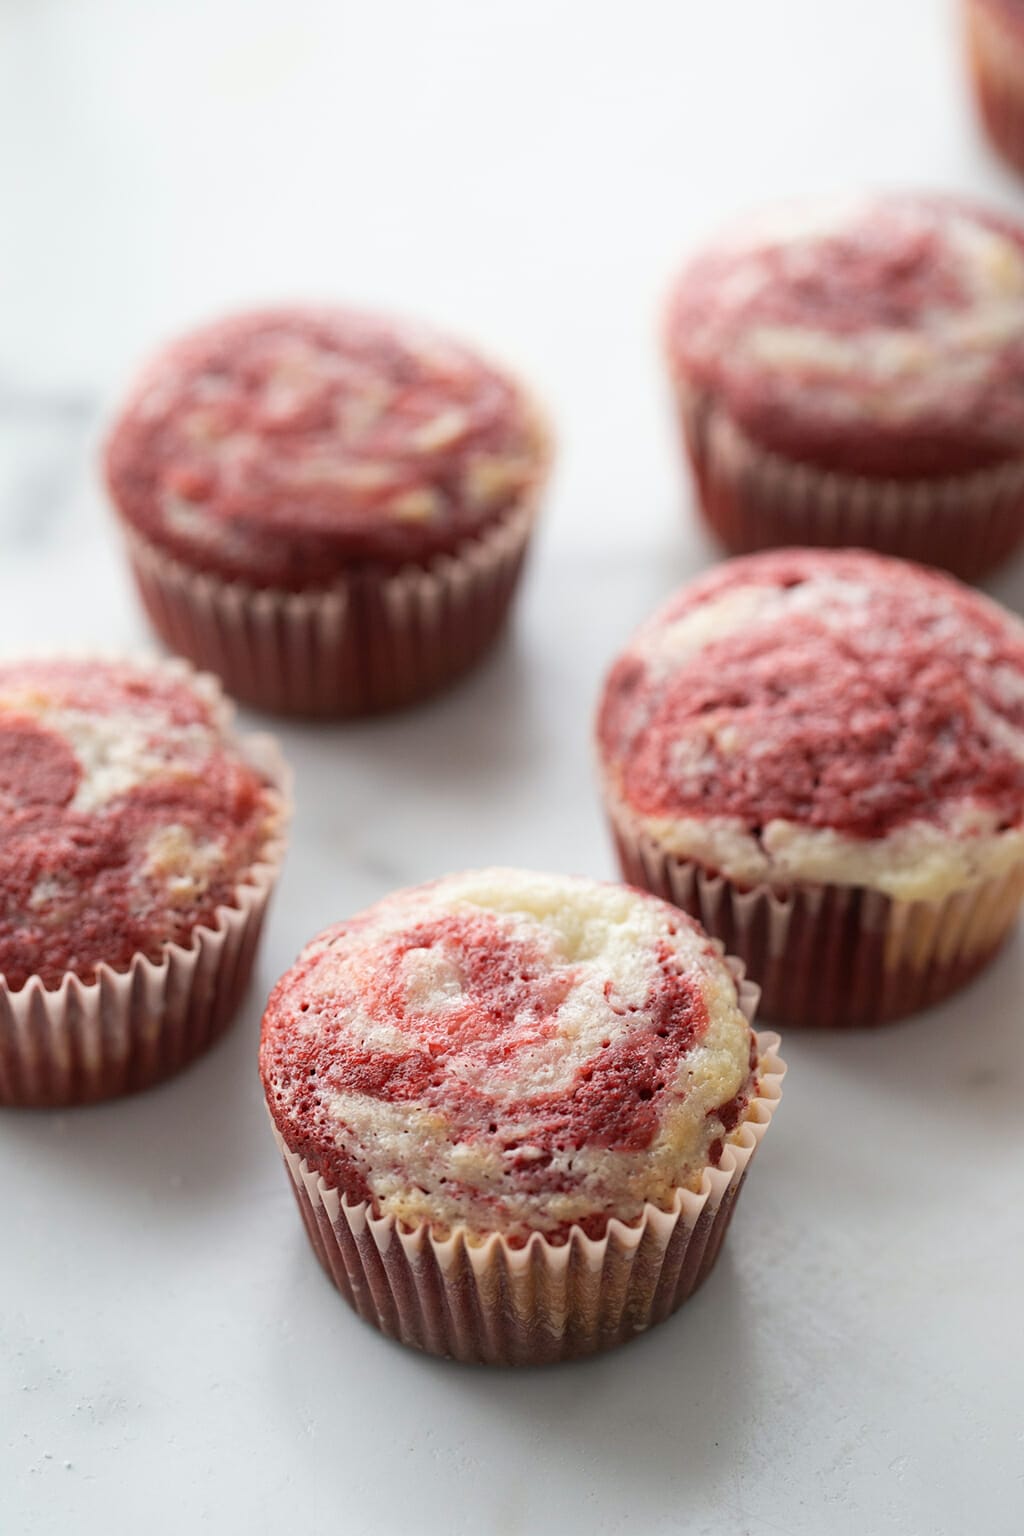
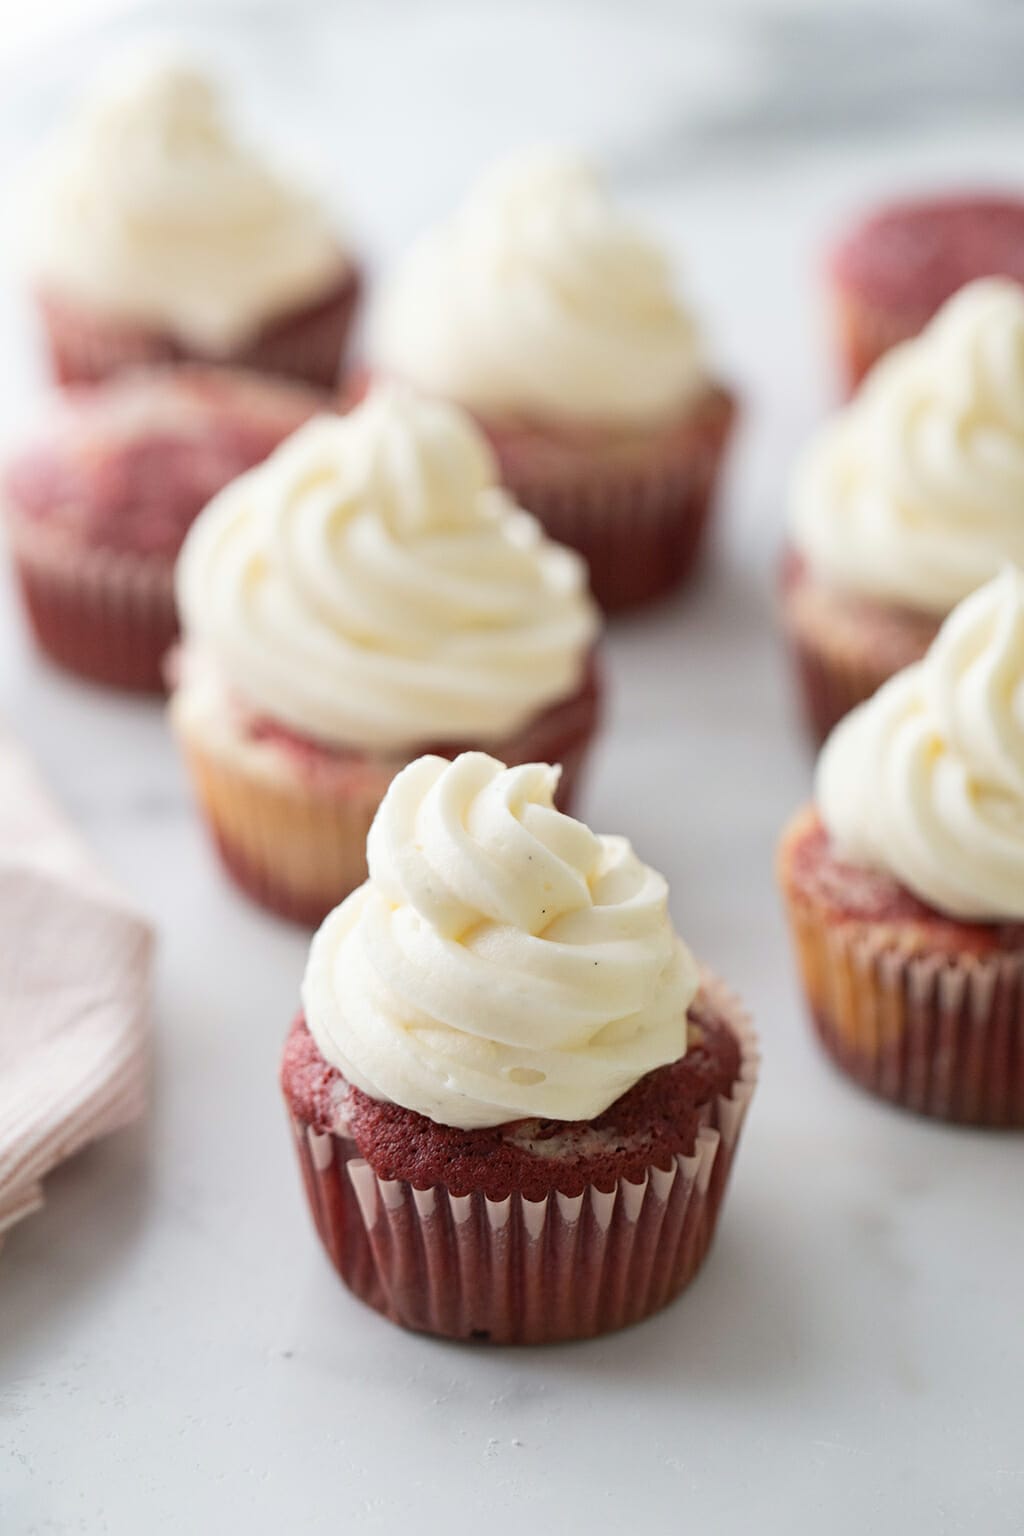
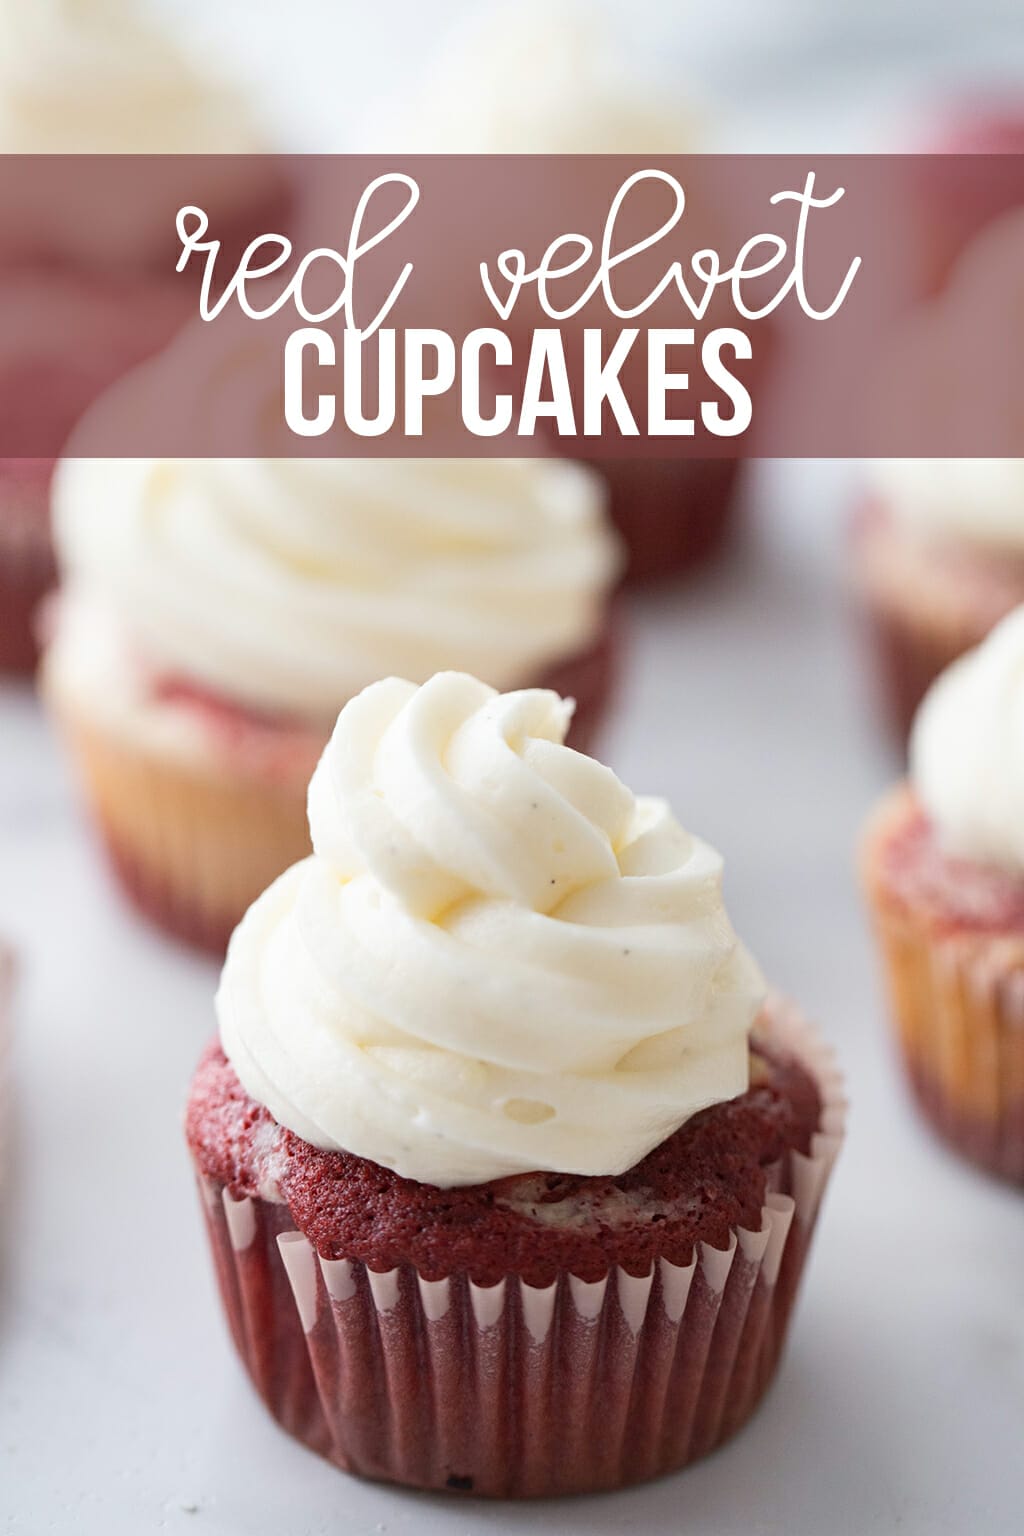
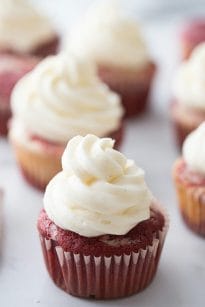
Red Velvet and Cream Cheese Cupcakes are a Valentine’s favorite my family loves. These red and white swirled cupcakes topped with a delicious cream cheese frosting will be a hit at your house too!
Red Velvet and Cream Cheese Frosting
Red Velvet Cupcakes Instructions
- Preheat the oven to 350°F. Beat the butter and sugar in an electric mixer for 3 minutes on medium speed until light and fluffy.
- Add the eggs, one at a time, beating until each is fully incorporated. Be sure to scrape down the sides of the bowl to ensure even mixing.
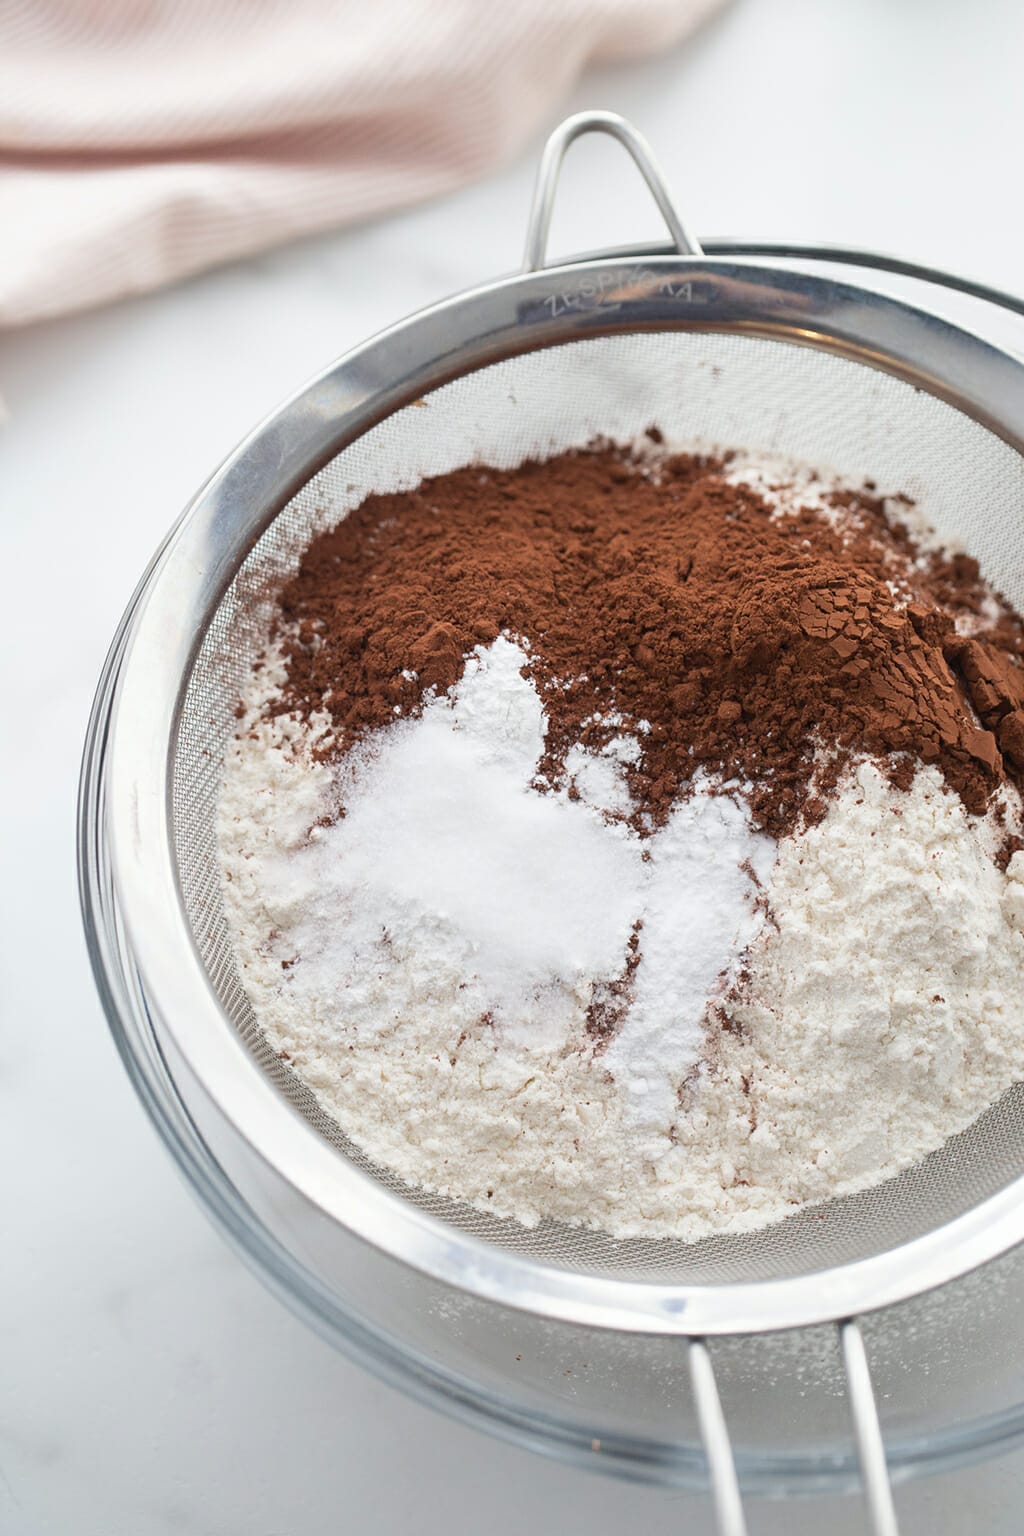
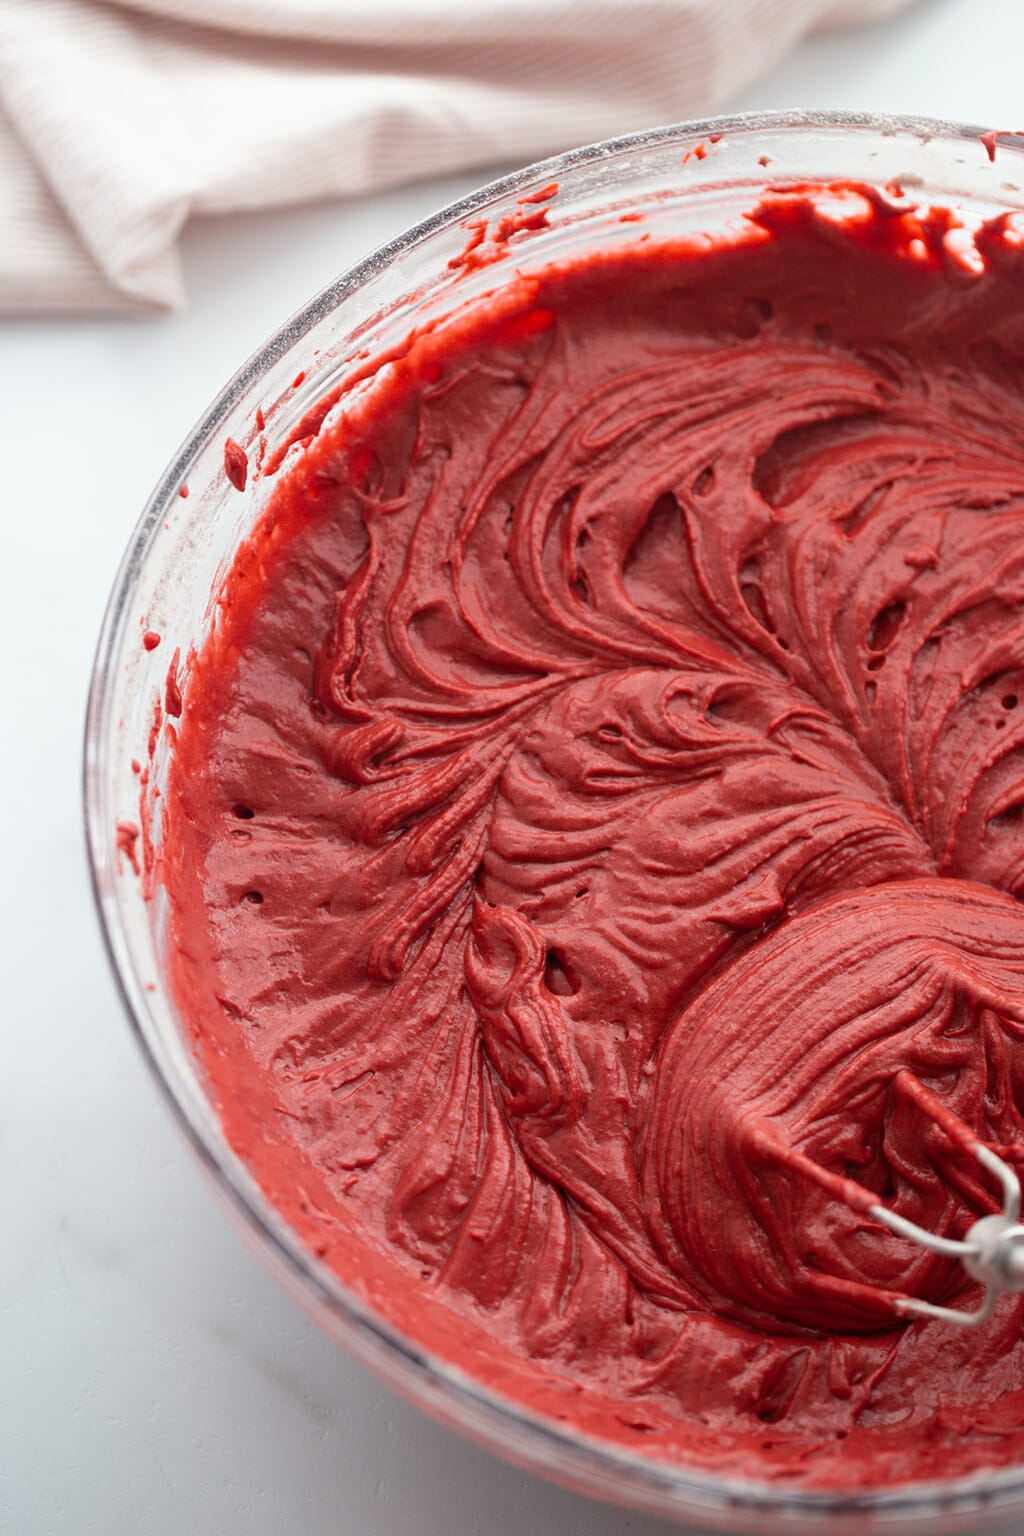
- In a large bowl, sift together the cake flour, cocoa powder, baking soda, baking powder, and salt. In another bowl whisk together the buttermilk, vinegar, vanilla extract, and red food coloring.
- Add a fourth of the dry ingredients and mix, then add a third of the wet. Continue adding in a dry, wet, dry pattern, ending with the dry ingredients.
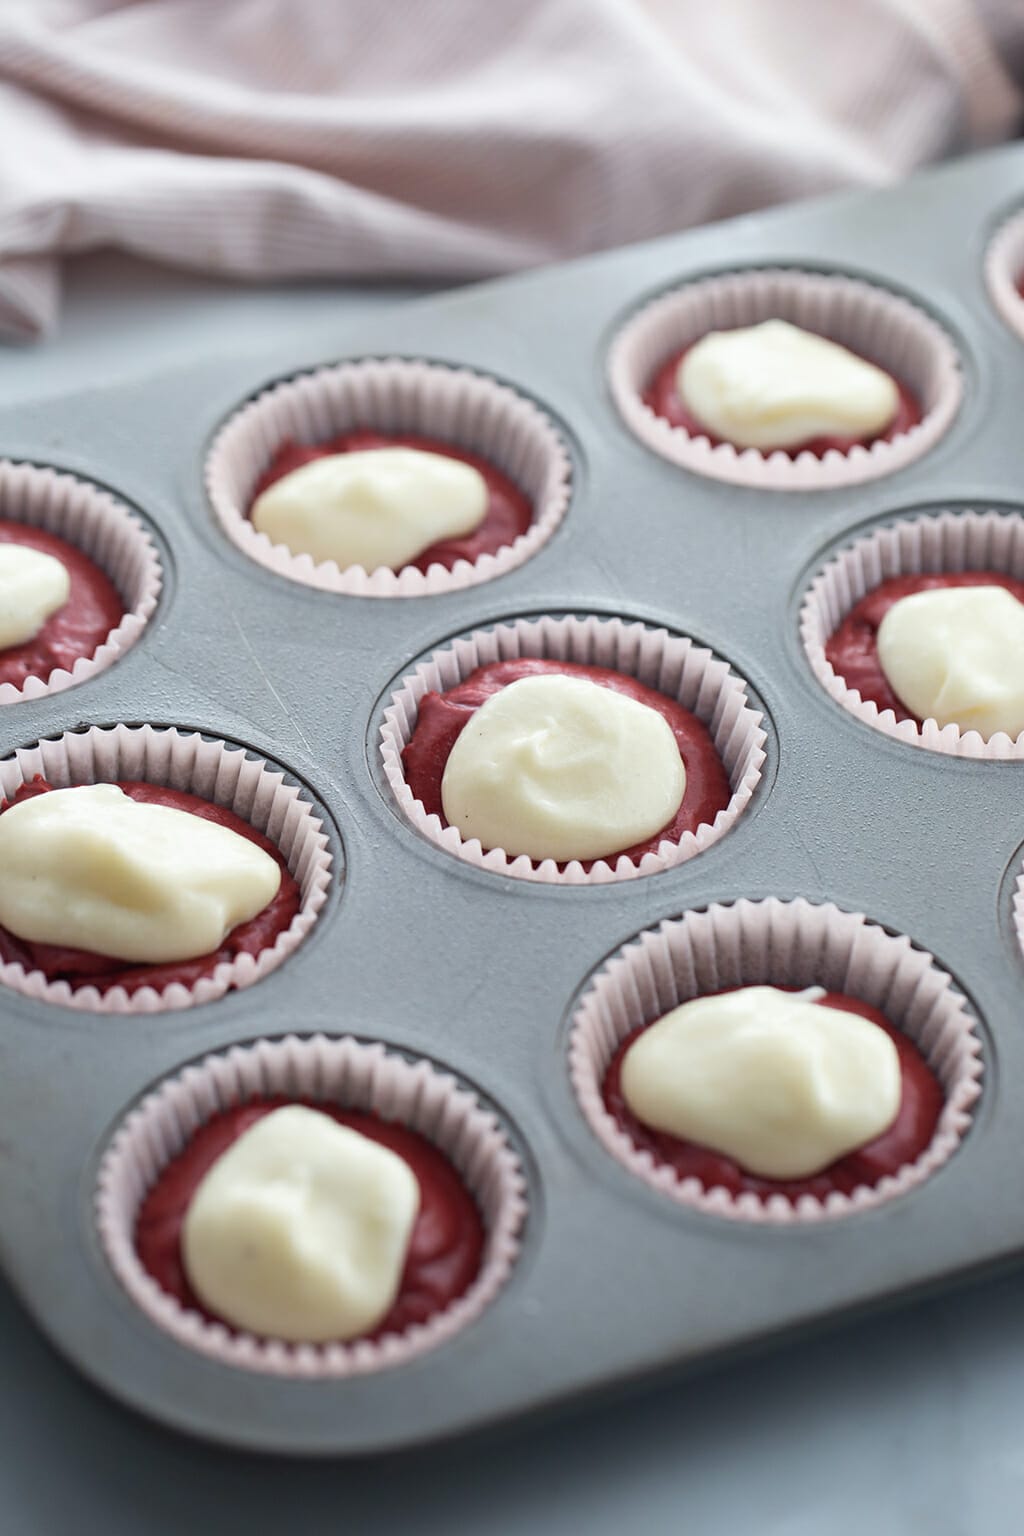
- Scoop into cupcake papers, about 2/3 of the way full and then scoop in some of the cream cheese filling.
- Swirl the batter around in the cupcake liner with a knife. Bake for 18-22 minutes or until a toothpick comes out clean.
- Allow to cool for one minute in the pan then transfer to a wire rack to cool completely. Makes about 2 1/2 dozen cupcakes. You will need to refrigerate them since there is cream cheese involved.
Cream Cheese Frosting
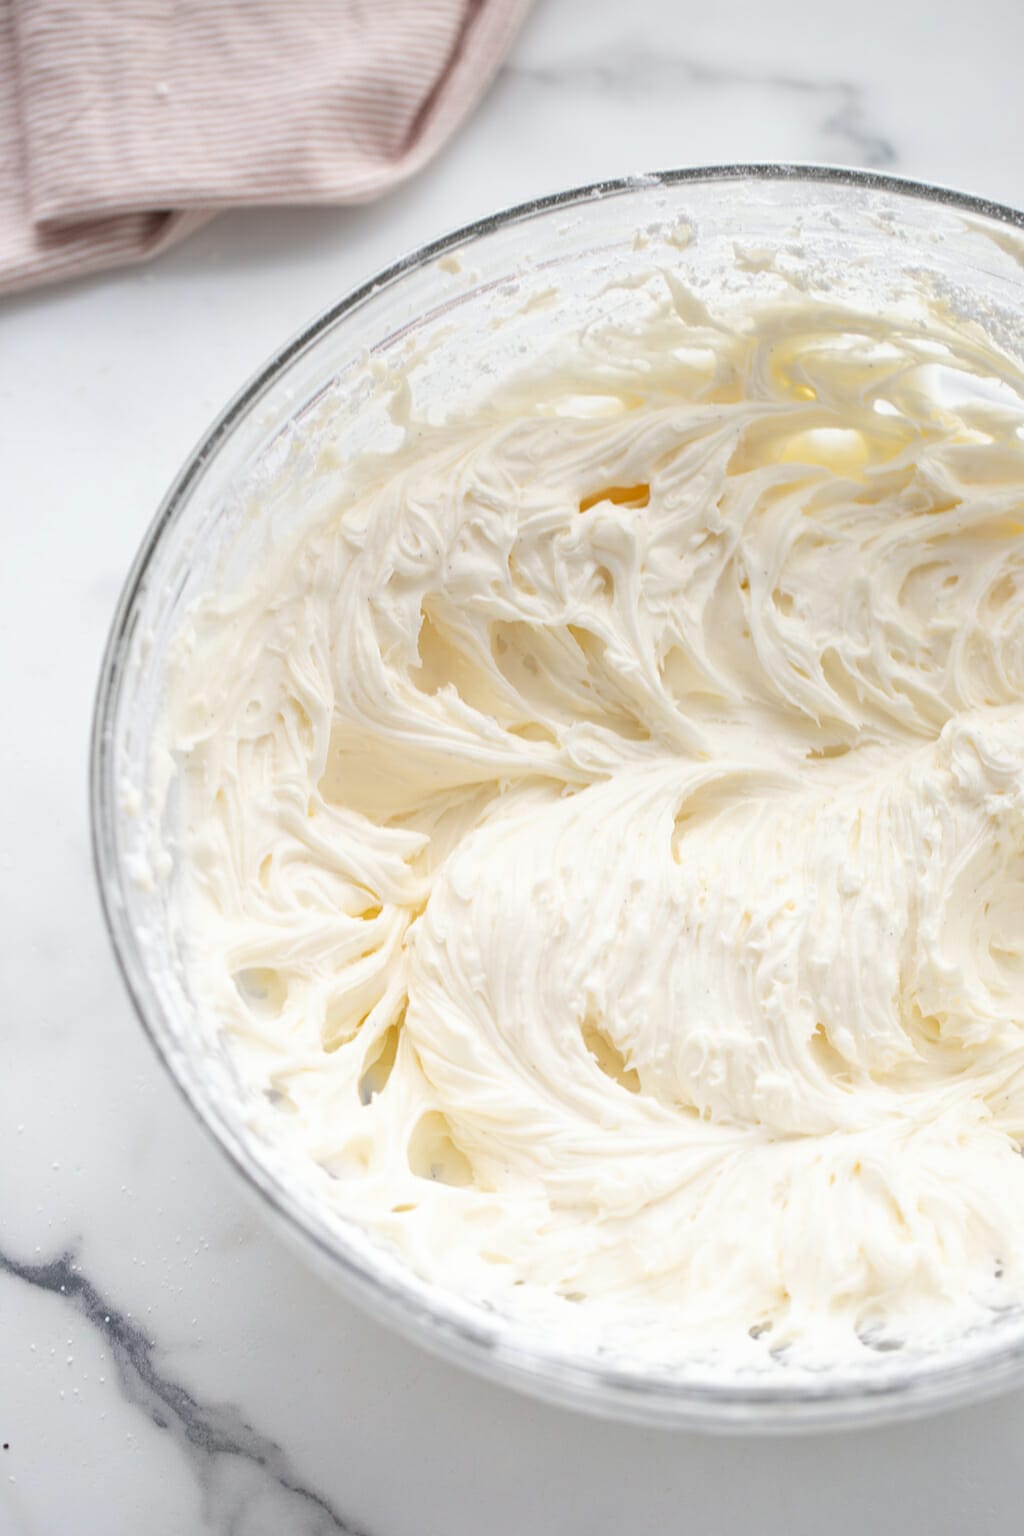
Cream the butter and cream cheese together, about 3 minutes. Scrape down the sides and bottom of the bowl to ensure even mixing.- Add the vanilla extract and mix.
- Add the powdered sugar, continually taste to get to desired sweetness. Pipe onto cooled cupcakes.
Red Velvet and Cream Cheese Cupcakes
Author: The Crafting Chicks
Ingredients
- 1½ cups of sugar
- ½ cup (1 stick) of butter, room temperature
- 2 eggs, room temperature
- 2⅓ cups of cake flour
- 2 tablespoons of Dutch-processed cocoa powder
- 1 teaspoon of baking soda
- 1 teaspoon of baking powder
- ½ teaspoon of salt
- 1 cup of buttermilk*
- 1½ tablespoons of red food coloring
- 1 teaspoon of vanilla extract
- 1 teaspoon of distilled white vinegar
- (Or you could just use a box mix.)
- Cream Cheese Filling
- 1- 8 oz package of cream cheese
- 1 egg, slightly beaten
- 1 cup sugar
- ½ teaspoon vanilla
- Frosting ingredients
- ½ cup of butter (1 stick), room temperature
- 8 oz of Philly cream cheese (1 package), room temperature
- 2 - 3 cups of powdered sugar
- 1 teaspoon of vanilla extract
- *You can make your own buttermilk by adding a tablespoon of distilled white vinegar to milk and letting it stand for about 10 minutes.
Instructions
- Preheat the oven to 350°F. Beat the butter and sugar in an electric mixer for 3 minutes on medium speed until light and fluffy.
- Add the eggs, one at a time, beating until each is fully incorporated. Be sure to scrape down the sides of the bowl to ensure even mixing.
- In a large bowl, sift together the cake flour, cocoa powder, baking soda, baking powder, and salt. In another bowl whisk together the buttermilk, vinegar, vanilla extract, and red food coloring.
- Add a fourth of the dry ingredients and mix, then add a third of the wet. Continue adding in a dry, wet, dry pattern, ending with the dry ingredients.
- Scoop into cupcake papers, about ⅔ of the way full and then scoop in some of the cream cheese filling. Swirl it around in the cupcake with a knife.Bake for 18-22 minutes or until a toothpick comes out clean.
- Allow to cool for one minute in the pan then transfer to a wire rack to cool completely. Makes about 2½ dozen cupcakes. You will need to refrigerate them since there is cream cheese involved.
- The Frosting
- Cream the butter and cream cheese together, about 3 minutes. Scrape down the sides and bottom of the bowl to ensure even mixing.
- Add the vanilla extract and mix.
- Add the powdered sugar, continually taste to get to desired sweetness. Pipe onto cooled cupcakes.
I also thought it would be fun to use green food coloring and make these Green Velvet Cupcakes for St. Patrick’s Day. Let me know if you try it.



YUMMY!
Those look so tasty, I may have to make some when my Lily gets better!:)
Those look and sound delicious!