Hello Crafting Chick readers! I’m so happy to be a part of this fun series for 3 reasons…1-I love sharing idea’s with people. 2-It makes me take time to craft. 3-I have a Christmas gift finished!
Many of you have seen my previous Crafting Chick photography posts…how to make eyes sparkle, 10 tips to awesome phone photos, the 2 biggest mistakes in product photography, and 3 secrets to better family photos but here’s a little recap of me…I love rice crispy treats, The Property Brothers, photography (duh!) and I really really love to help people de-mystify their cameras so they can turn into awesome photographers! I even have a an entire website created to do just that. It’s called the Key to Pictures Academy. Right now I’m giving away a free ebook on how to pose kids naturally. No fake smiles here! Here’s a link: http://keytopictures.com/
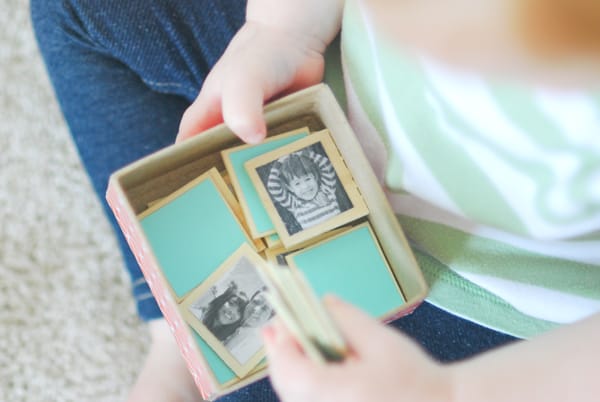
Because I am all about photography I really wanted to think of a gift idea that included pictures. I also love using photos in gifts because it makes it so much more personal. So anyways, I didn’t have a clue what I was going to share and I found myself wandering the aisles of Micheals. Which isn’t bad. I actually love to saunter aimlessly through craft store. While I was in the wood aisle I took notice of the little wooden tiles and remembered a cool gift that my Dad made for us one year for Christmas. It was a memory game using pictures of all of us growing up over the years. My parents keep the game at our family cabin and we have all loved playing it and reminiscing every time we visit.
My Dad is a woodworker and created a beautiful masterpiece with different woods and a playing board. My rendition is not as elaborate but still a great finished product if I do say so myself. And possibly the best things about it…
It’s only cost $3.40! sa-weet.
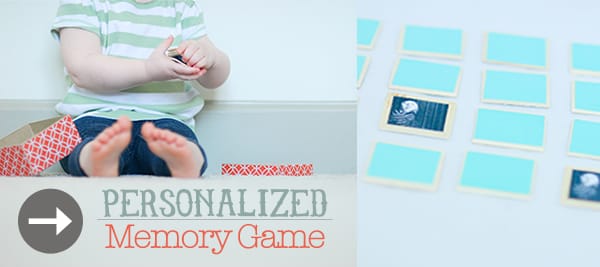
Let’s get started, shall we? I am sharing this fun DIY Personalized Memory Game!
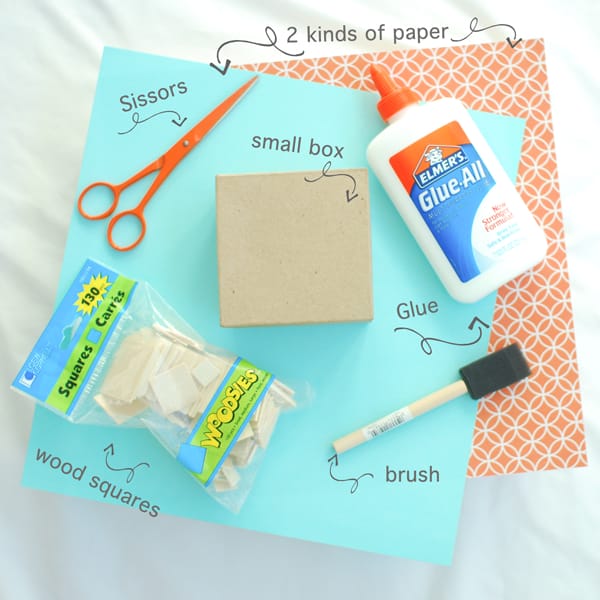
Here are your supplies:
You will most likely already have a brush, glue-not school glue (or modge podge), and scissors so you will only need to pick up the wood tiles, a little box, and cute paper.
The wood tiles and box were found in the wood aisle at Micheal’s. I used a 50% off coupon for the wood tiles making them $2 and the box is regularly priced at $1.
The first thing you will need to do is gather your pictures for the game. This particular bag has 24 wood tiles so found 12 pictures. (You need 2 of each picture) I made the game for my in-laws so I used pictures of all of their grandchildren and children. Instead of calling each family asking for pictures I just went to their facebook pages and took some pictures from there. Right click on the photo and click “save image as…”. From there save it to a designated folder on your computer.
Once you have all of the pictures found and saved, pull them all into Photoshop to size them correctly and arrange them on one page for printing. Here’s how…
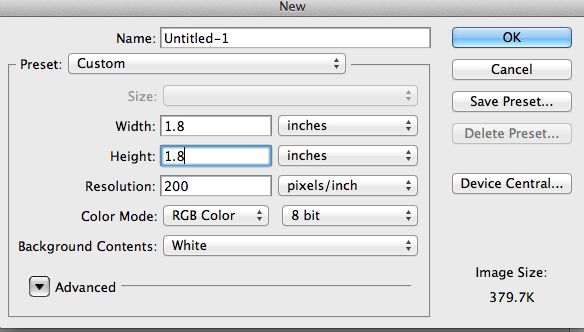
In Photoshop create a new project using these dimensions: height 1.8 in. and width 1.8 in. My wood tiles are 2 in. and you want to make your photo just a bit smaller. Make the resolution 200 pixels/in.
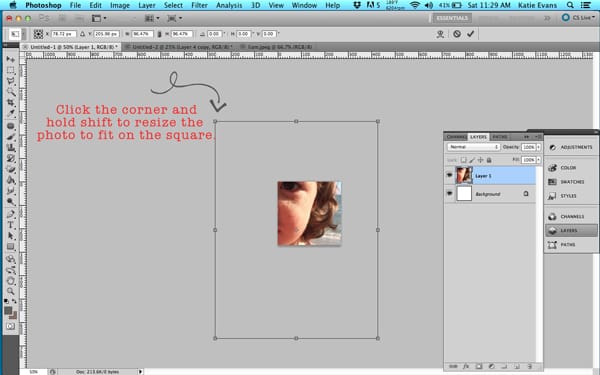
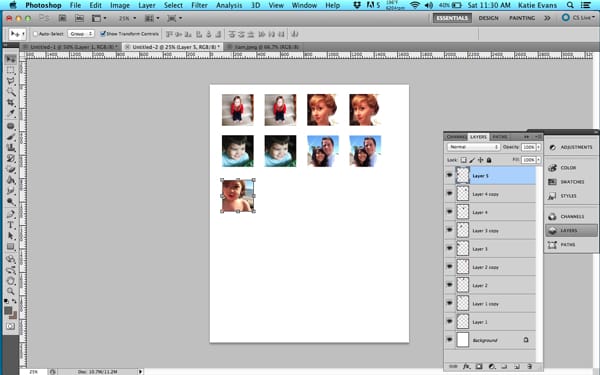
From there open up your images you saved from Facebook or whatever images you will be using. Drag your image over to your new 1.8×1.8 page you created. Then while holding shift, click on the corner of the image and drag it in making it smaller so it will fit in your 1.8 square. It will look like this:
Once you have your picture resized, create another new project using whatever dimension of the paper you will be using to print the photos. I used a normal piece of cardstock so my dimensions were 8.5 in. by 11 in. Once that is created go back to your new little square picture and drag it to the 8.5 x 11 page. Start arranging the photos in rows so that will all fit. It will look like this:
To duplicate your photo, in the layers tab right click over the picture your want to duplicate. Select “Duplicate Layer”. Then click and hold your arrow over the actual cursor and drag it over to the side.
You can print out your page of photos at your home or even make your page and 8×10 and send it out to be printed at a lab. Once you have them, cut out each picture and glue them on your wood tiles. Be sure to go back and add a layer over the top of them to seal them on the tile.
Next, cut out 24 squares of your favorite paper to glue on the back of the tiles. I cut these out in 1.8 in. squares as well.
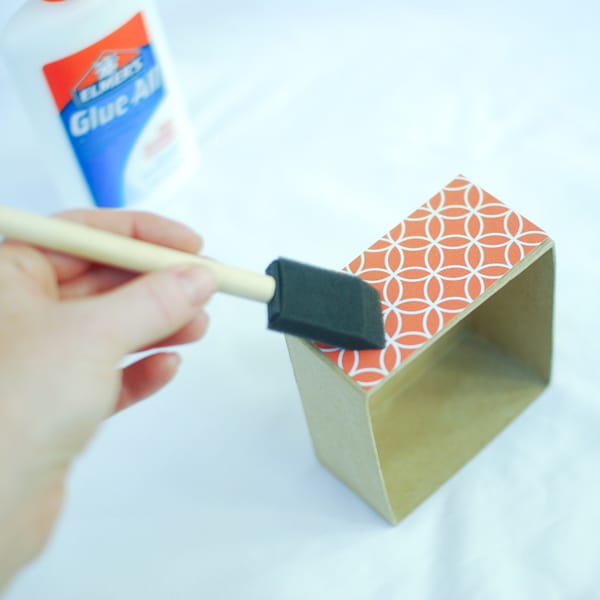
The only thing you have left to do is cover the box! I’m not super accurate about cutting the sides. I just lay down the box and trace around each side on the back side of my paper and then hand cut it out. Once I have all the sides cut out, I glue or modge podge them on to the box and add a layer of glue to outside. Like this:
easy peasy.
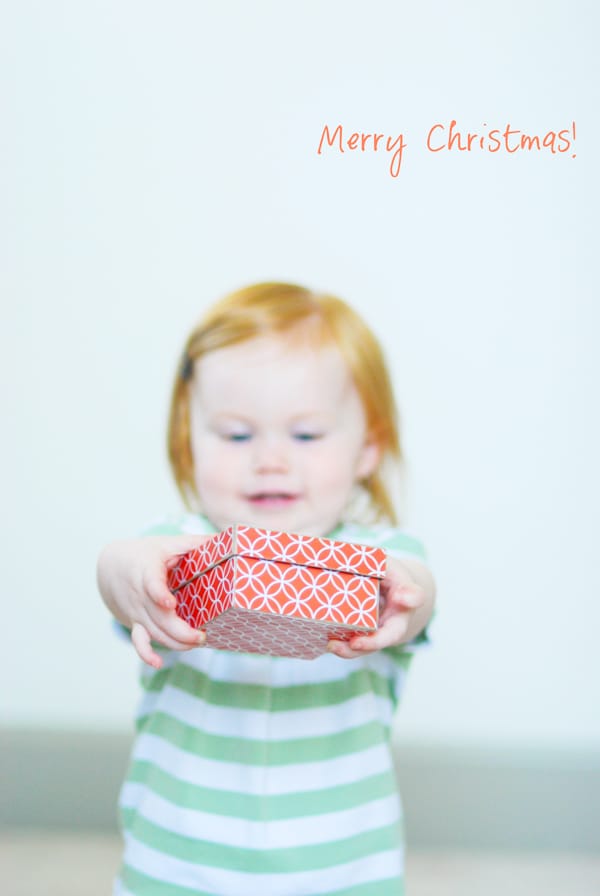
It’s a fun gift to make and a fun gift to receive. Everyone wins! 🙂



Hi,
How do you adjust the size with something other than Photoshop. I have Preview or iPhoto and they both measure size by pixels. Do you know how many pixels a 1.8X1.8 inch square would be? I love this project and want to make it!
Thank you!
Hey Jordan!
I bet you could do it in a word document. You can insert a picture into your document and then adjust the dimensions right on the page by holding the corner of the photo and moving it toward the center. There’s even a ruler at the top of the page.
Hi Katie,
Thank you so much- what a good idea!
Jordan