Thanks so much Crafting Chicks for having me here today. I’m Laura and I blog at Make Life Lovely, a creative blog filled with craft tutorials, DIY projects, and lots of fun party ideas!
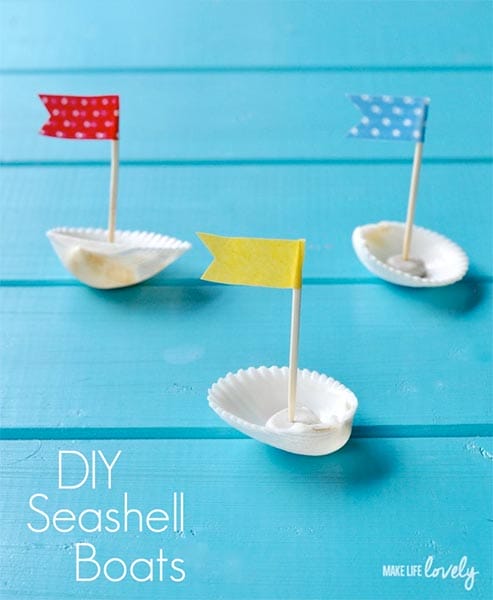
Today I’m sharing an easy craft that is fun for kids to make, especially on those long summer days when they get bored so easily. We took some plain shells from the craft store and turned them into tiny little sail boats that float in the water! This craft is easy, fun, inexpensive, and will provide lots of hands-on play time for your kids.
Once the boats are finished, your kids can play with them in the bathtub, the pool, or even at the lake or on the beach. Here’s the step by step directions so that you can make your own with you kids!
Shell Boat Craft
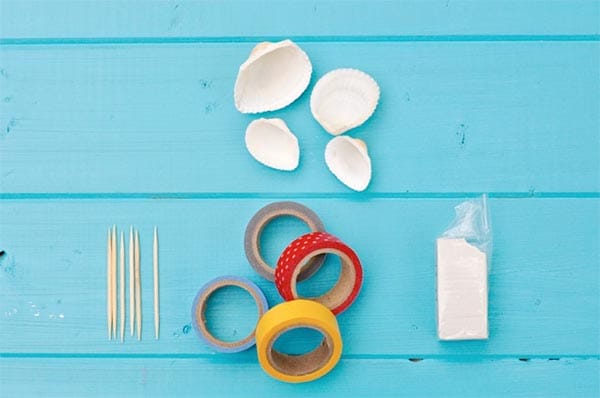
Supplies:
- White seashells that float (Ours came from the craft store)
- Toothpicks
- Washi tape (or paper and glue)
- White polymer clay
Before starting this craft, fill a bowl with water and test some of your shells t0 make sure that they will float (if you want the boats to float). I bought a big bag of shells and the large ones all floated once we added the sails, but the smaller ones didn’t because the weight was too heavy. Be sure to use the larger white shells that float!
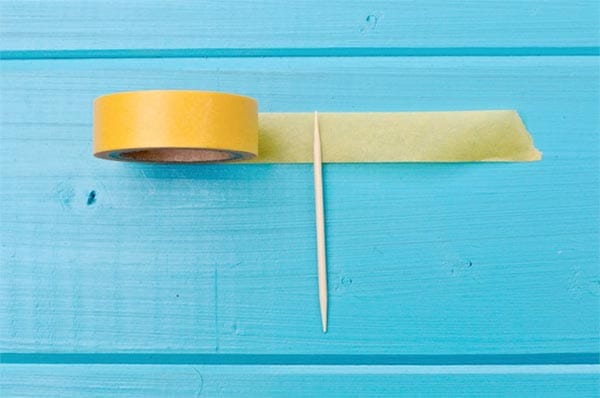
First we will make the sails. Unroll a bit of washi tape, and place a toothpick at a 90 degree angle on the tape strip.
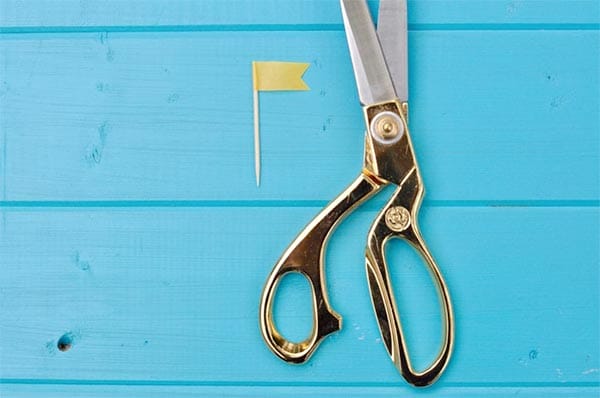
Fold the tape over to make a flage, and trim the end with scissors.
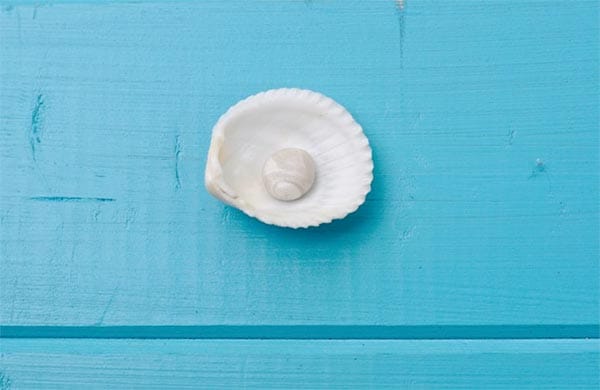
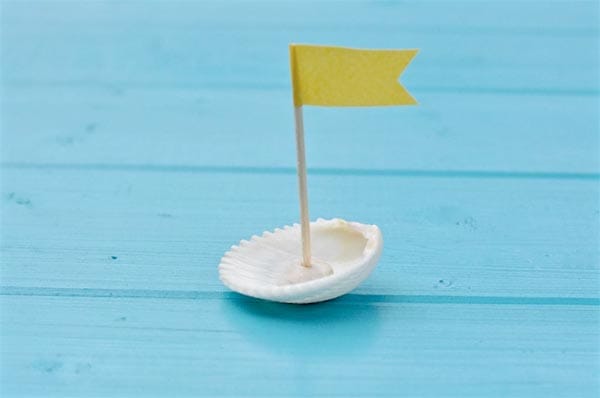
Roll around a small piece of polymer clay in your hands to soften it, and make into a ball. Slightly press the clay ball into the middle of the shell. Place a toothpick in the middle of the clay ball to hold it in place.
And there’s your boat! So easy, right?
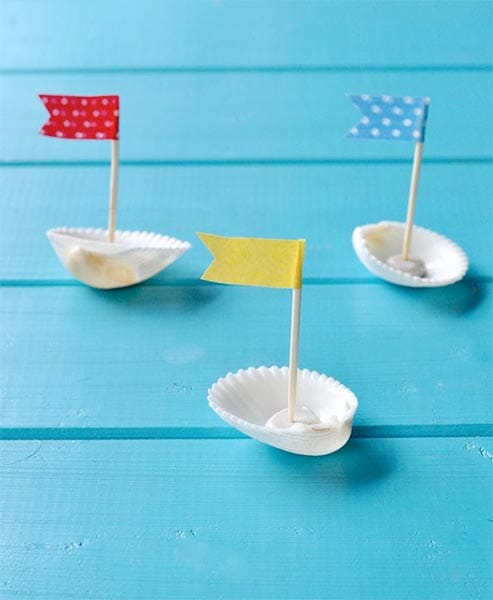
Now your kids can make a whole fleet of cute little seashell boats. 😉
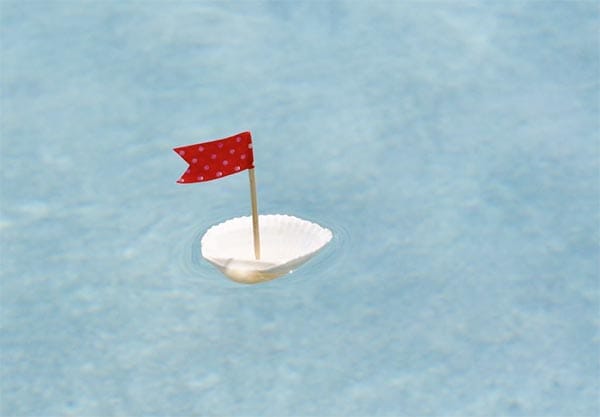
Now for the fun part- floating them! You have to place these in the water carefully so they don’t fill with water, but once you put them down they will float for a long time. We took ours in the pool and played with them and the kids loved them! The wind blew them across the surface of the water just like a sailboat, and we were surprised at how quickly they moved!
You could also paint the insides and/or outsides of the boats to personalize them (and to keep the kids busy longer!).
I hope you enjoyed this fun kids craft! You can find lots more craft and party ideas on my blog Make Life Lovely. I’d love for you to stop by!
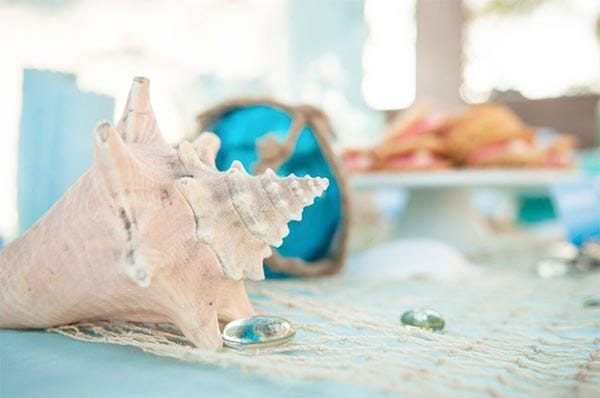
You might also like the Under the Sea party I put together for my daughter. It’s one of my favorites!
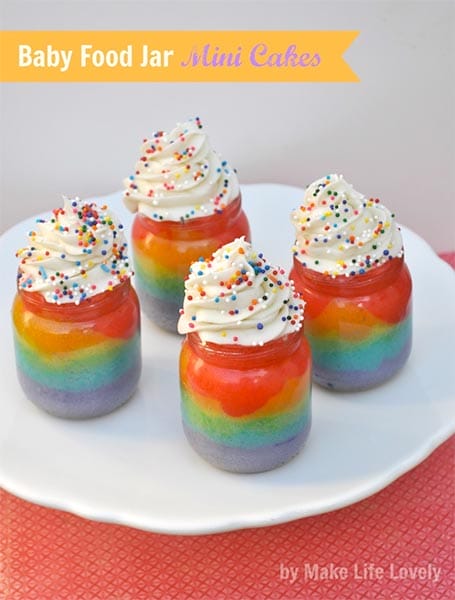
Reuse those baby food jars and make yummy Mini Rainbow Cakes with them!
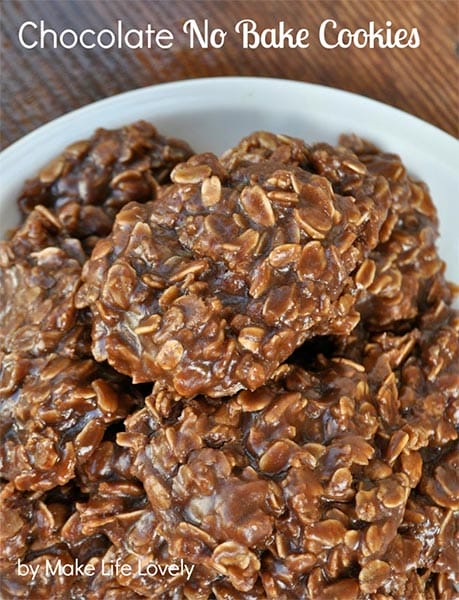
These Chocolate No Bake Cookies are a weekly treat at my house, and are a hit with everyone that eats them.
If you liked this post, I’d love for you to follow me on Facebook, Pinterest, and Instagram. Thanks for following!


[…] sharing my tutorial over on The Crafting Chicks as part of their Summer Survivial […]